The clattering of mixing bowls and the scent of melting chocolate can make any kitchen feel cozy, but it’s the rich taste of these Butterfinger Balls that truly summons nostalgia. When I decided to whip up a batch, I was looking for a simple yet delicious treat that would transport me back to carefree days filled with laughter and sweet confections.
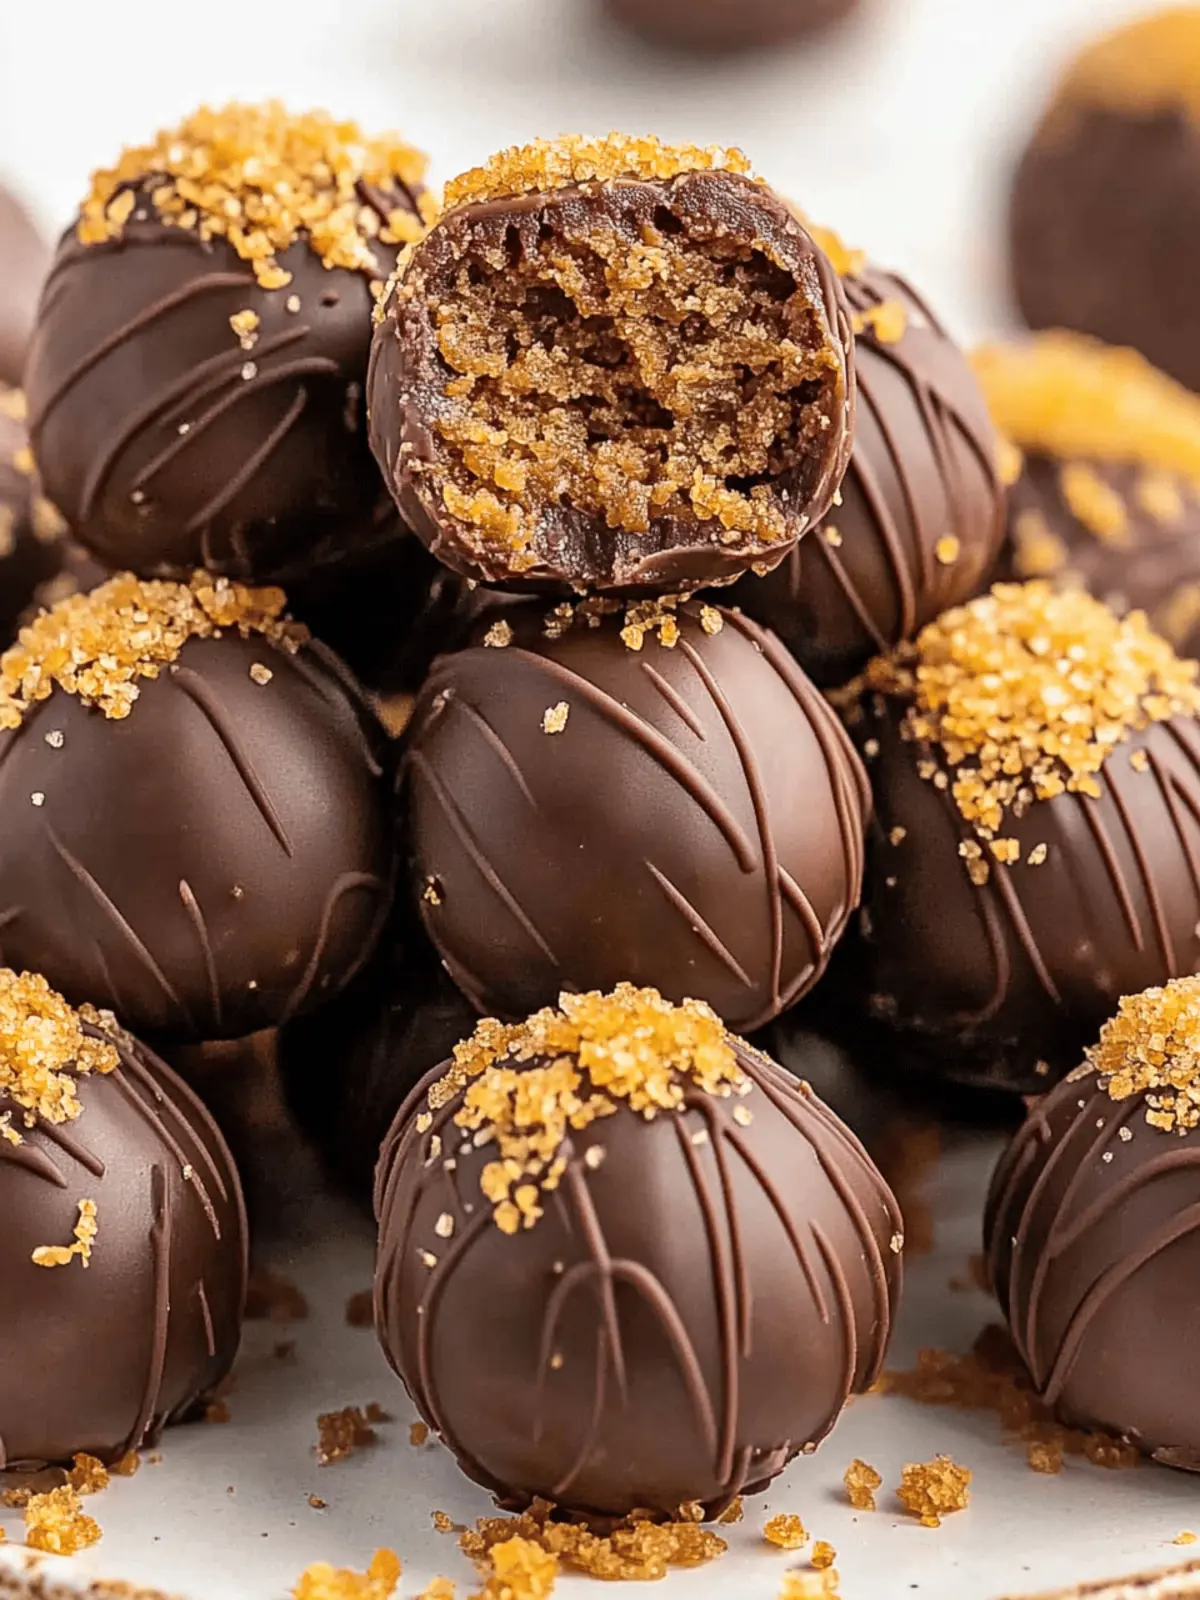
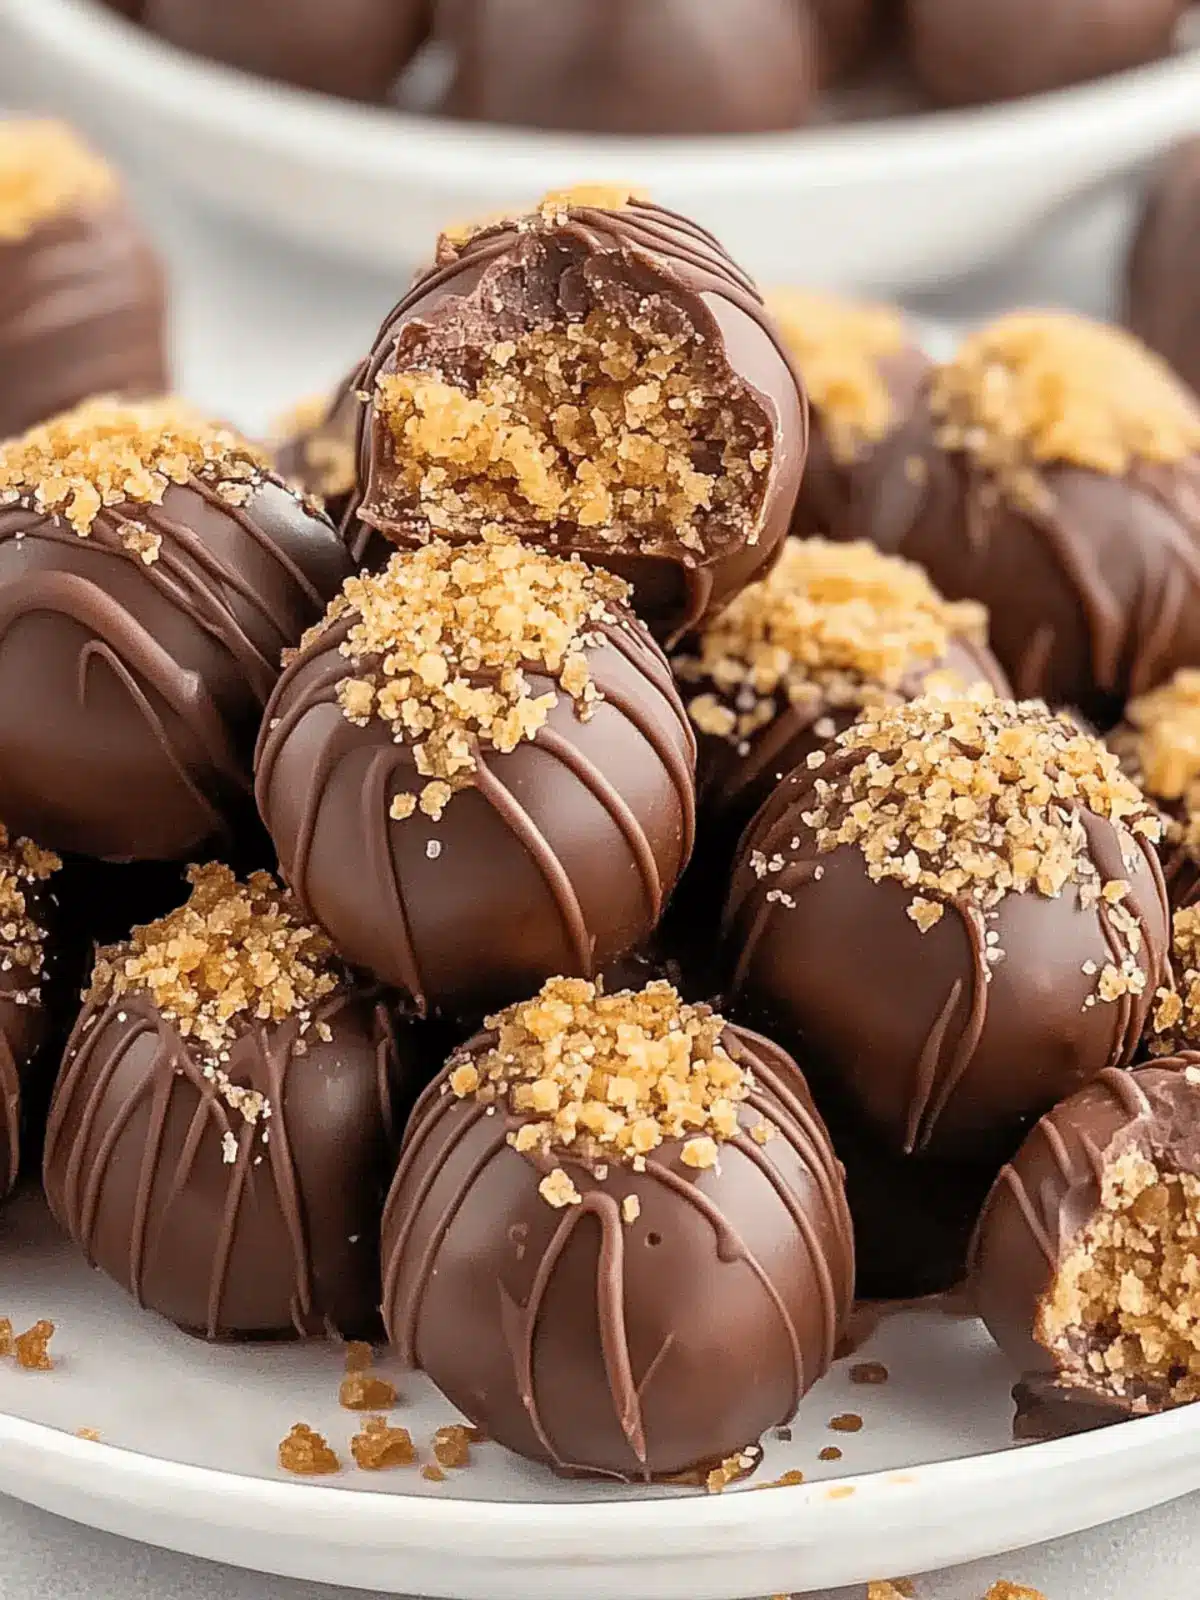
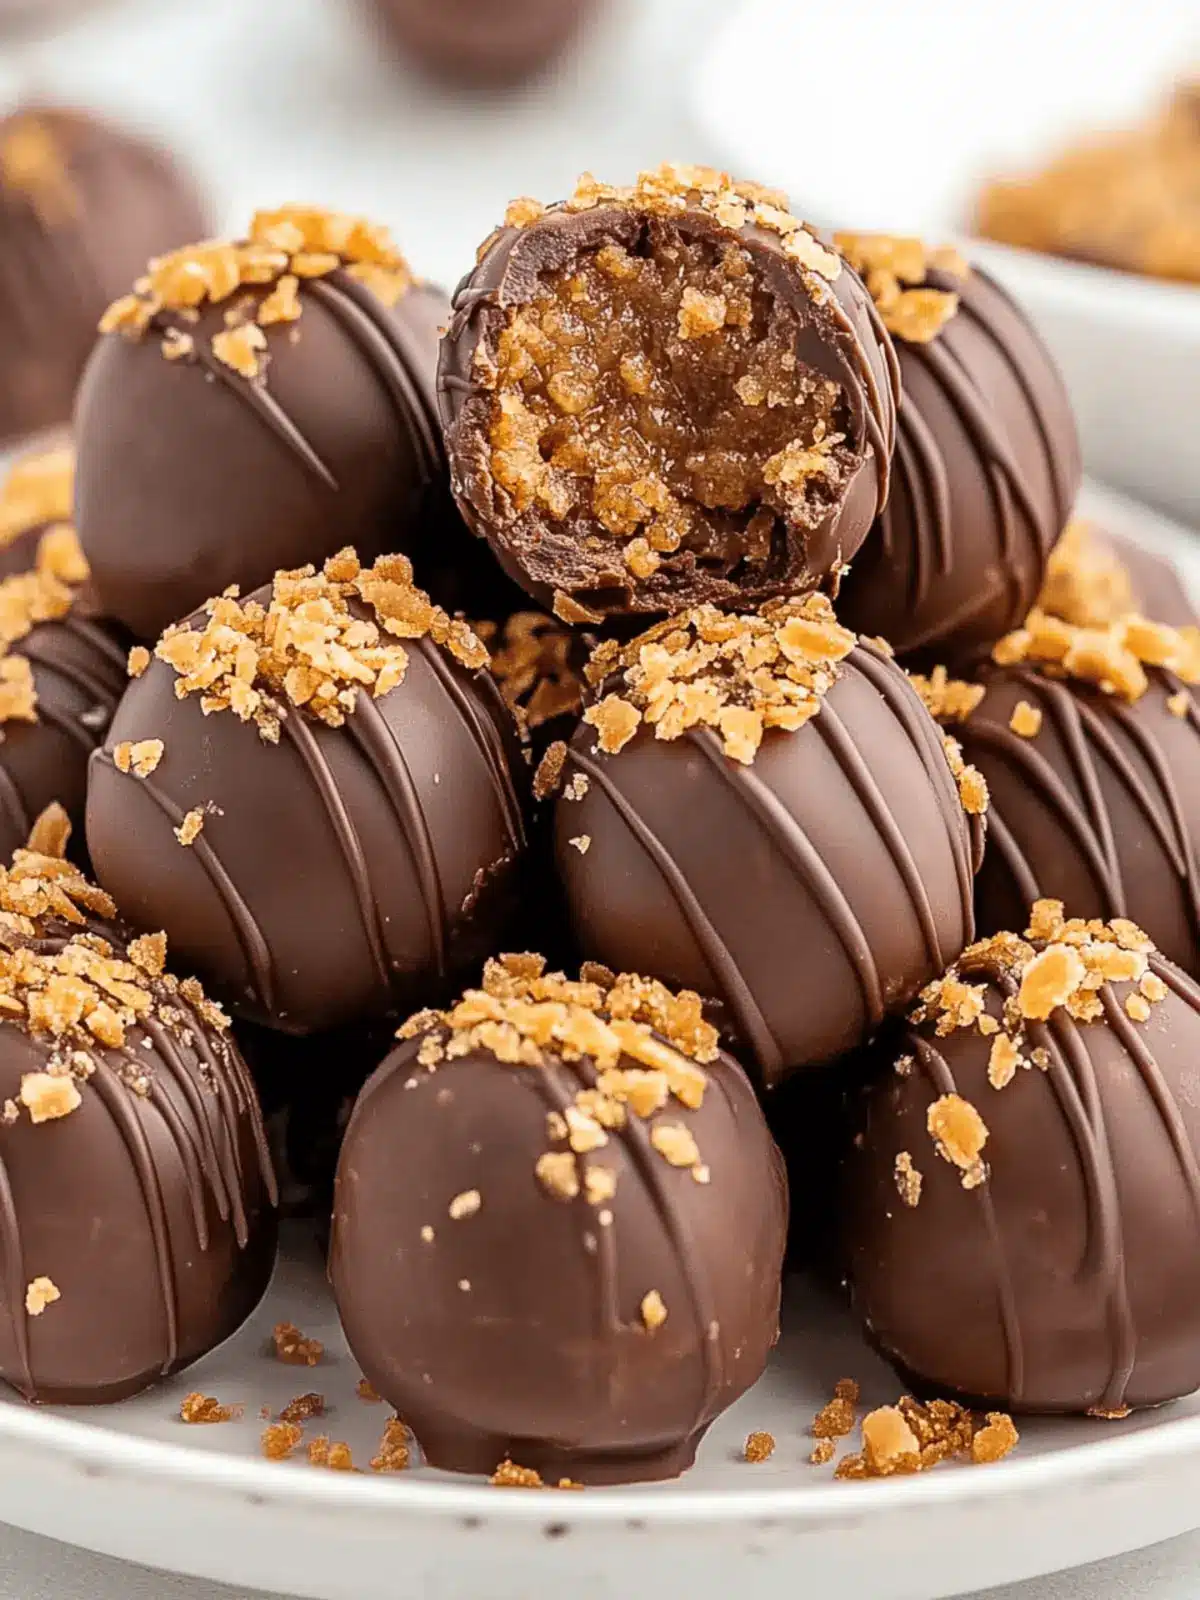
Picture this: creamy peanut butter and a hint of vanilla seamlessly blended with crunchy bits of Butterfinger, all cocooned in a velvety chocolate shell. This delightful combination is not only easy to make but is also guaranteed to please every crowd—from family movie nights to spontaneous get-togethers. The best part? You don’t need any fancy equipment or techniques to create these little delights. Just a handful of ingredients and a few simple steps separate you from this irresistible treat!
So, if you’re tired of the same old snacks or want to impress your guests without the stress, join me as we dive into the joy of making Butterfinger Balls—your new go-to indulgence!
Why are Butterfinger Balls a Must-Try?
Irresistible flavor: The combination of creamy peanut butter and crunchy Butterfinger will have you craving more.
Easy to make: No complex techniques required—perfect for every home cook!
Crowd-pleaser: Whether it’s for family gatherings or parties, these treats always disappear fast.
Versatile: You can enjoy them as is or dip them in chocolate for an extra special touch.
Quick to prepare: These delightful bites come together in no time, plus a brief chilling period is all they need.
If you’re ready for a sweet adventure in your kitchen, check out more of our easy dessert recipes to keep the fun going!
Butterfinger Balls Ingredients
For the Base
- Creamy peanut butter – a smooth base that brings rich flavor and binding texture.
- Unsalted butter – ensures you control the saltiness and adds creaminess.
- Powdered sugar – provides sweetness and helps achieve a delightful texture.
- Vanilla extract – enhances the flavor profile and complements the peanut butter.
- Pinch of salt – balances sweetness and intensifies flavors in your Butterfinger Balls.
For the Crunch
- Butterfinger candy bars – crushed to add that unmistakable crunch and sweet, buttery flavor.
For Dipping (Optional)
- Semisweet or milk chocolate – choose your favorite for a rich, indulgent coating for your treat.
Now that you’re all set with these ingredients, it’s time to bring the magic to life! Let’s get those bowls clattering and aromas wafting through your kitchen!
How to Make Butterfinger Balls
-
Combine Ingredients: In a mixing bowl, add the creamy peanut butter, softened unsalted butter, powdered sugar, vanilla extract, and a pinch of salt. Stir until the mixture is well combined and smooth.
-
Add Crunch: Gently fold in the finely crushed Butterfinger candy bars until they are evenly distributed throughout the creamy mixture, creating a deliciously crunchy texture.
-
Prepare Surface: Line a baking sheet with parchment paper or wax paper. This will prevent the Butterfinger Balls from sticking and make cleanup a breeze!
-
Roll into Balls: Scoop tablespoon-sized portions of the peanut butter mixture and roll them into balls with your hands. Place each ball on the prepared baking sheet, ensuring they have a bit of space between them.
-
Melt Chocolate: If you choose to dip your balls, melt the semisweet or milk chocolate in a small saucepan over low heat, stirring constantly until it’s completely smooth. Alternatively, melt it in the microwave in short intervals, mixing between each interval.
-
Dip the Balls: Using a fork or dipping tools, take each peanut butter ball and dip it into the melted chocolate. Make sure they are evenly coated and gently tap off any excess chocolate before returning them to the baking sheet.
-
Chill: Place the baking sheet in the refrigerator for about 30 minutes, or until the chocolate is fully set and firm to the touch.
-
Store: Once set, carefully remove the Butterfinger Balls from the refrigerator and transfer them to an airtight container for storage. They’re ready to enjoy any time you crave a sweet treat!
Optional: Drizzle extra melted chocolate on top for a decorative touch!
Exact quantities are listed in the recipe card below.
How to Store and Freeze Butterfinger Balls
Room Temperature: You can keep Butterfinger Balls at room temperature for up to 3 days in an airtight container, though refrigeration is recommended to maintain freshness.
Fridge: For optimal freshness, store your Butterfinger Balls in the fridge for up to 2 weeks. Be sure to use an airtight container to prevent them from absorbing any odors.
Freezer: If you want to save some for later, Butterfinger Balls can be frozen for up to 3 months. Just layer them with parchment paper in an airtight container to keep them from sticking together.
Reheating: Enjoy them cold straight from the fridge or let them sit at room temperature for about 10 minutes to soften slightly before indulging!
What to Serve with Butterfinger Balls?
Indulging in these sweet treats is even more delightful when paired with the right accompaniments.
-
Fresh Fruit: Juicy strawberries or sliced apples add a refreshing contrast, balancing the sweetness of the Butterfinger Balls.
-
Vanilla Ice Cream: Creamy, smooth vanilla ice cream complements the crunchy texture perfectly, enhancing the dessert experience.
-
Coffee: A warm cup of coffee provides a rich, aromatic backdrop that elevates the flavors, perfect for afternoon snacking.
-
Milk: Classic pairing! A cold glass of milk brings a comforting element and mixes splendidly with the peanut butter and chocolate.
-
Chocolate Sauce Drizzle: For an extra touch of decadence, drizzle some warm chocolate sauce over the Butterfinger Balls before serving.
-
Nutty Trail Mix: A crunchy, nutty trail mix on the side offers a delightful textural contrast and a healthy element to balance the sweetness.
-
Caramel Dip: For those who crave a little extra, a sweet caramel dip can enhance the flavor profile and add another layer of indulgence.
-
Sparkling Water: A refreshingly fizzy drink can cleanse the palate between bites, making each indulgence feel even more special.
Tips for the Best Butterfinger Balls
Choosing Chocolate: Use high-quality chocolate for coating to enhance flavor. Avoid cheap chocolate that might not melt smoothly or have a waxy finish.
Consistent Sizing: Ensure each peanut butter ball is of uniform size for even chilling and coating. This way, they all look appealing and set at the same time.
Chill Thoroughly: Don’t skip the chilling step! Properly chilling the Butterfinger Balls ensures the chocolate coating sets perfectly and keeps the balls from becoming gooey.
Measuring Ingredients: Accurately measure the powdered sugar, as too much can lead to overly sweet treats. Start with 2 cups and adjust if needed to find your perfect balance.
Peanut Butter Choice: Stick to creamy peanut butter for the best texture. Natural peanut butters can be too oily and impact the overall consistency of your Butterfinger Balls.
Make Ahead Options
These Butterfinger Balls are perfect for meal prep enthusiasts! You can prepare the peanut butter mixture up to 24 hours in advance by following the first three steps of the recipe and storing the mixture in an airtight container in the refrigerator. This will keep the flavors fresh and prevent browning. When you’re ready to serve, simply roll the mixture into balls and dip them in chocolate, as directed. For even more convenience, once the chocolate has set, these treats can be stored in the refrigerator for up to 3 days! Just remember to keep them in a sealed container to maintain their delicious quality, ensuring they’ll be just as delightful when you need a quick snack or dessert.
Butterfinger Balls Variations
Feeling adventurous? Let’s take your Butterfinger Balls to the next level with these fun twists!
-
Nut-Free: Substitute creamy peanut butter with sunflower seed butter for a deliciously nut-free alternative that retains richness.
-
Dairy-Free: Use coconut oil in place of unsalted butter and dairy-free chocolate for a completely dairy-free treat everyone can enjoy.
-
Crunchy Twist: Add crushed pretzels or nuts to the mixture for a delightful salty-crunchy punch that contrasts beautifully with the sweetness.
-
Mini Version: Roll smaller balls for bite-sized treats, perfect for parties or as fun after-school snacks for the kids.
-
Flavor Boost: Stir in a tablespoon of honey or maple syrup for added sweetness and a touch of natural flavor.
-
Spicy Heat: For a surprising kick, sprinkle in a pinch of cayenne pepper to the mixture before rolling them into balls.
-
Coconut Coated: Roll your finished Butterfinger Balls in shredded coconut instead of dipping them in chocolate for a tropical flair that’s equally delightful.
-
Stuffed Surprise: Add a small piece of a chocolate or caramel candy in the center of each ball before rolling them for an extra burst of flavor!
These variations allow you to create your own signature Butterfinger Balls that will keep friends and family coming back for more! Enjoy experimenting!
Butterfinger Balls Recipe FAQs
How do I choose the best ingredients for Butterfinger Balls?
Absolutely! When selecting your ingredients, opt for creamy peanut butter that is smooth and free of added sugars or oils. Make sure your Butterfinger candy bars are fresh—avoid ones with dark spots or a chalky texture, as they indicate staleness. For the chocolate, high-quality semisweet or milk chocolate will melt better and enhance the overall flavor of your Butterfinger Balls.
What’s the best way to store Butterfinger Balls?
To maintain their deliciousness, store Butterfinger Balls in an airtight container. They’ll stay fresh for up to 3 days at room temperature, but refrigeration is preferred for longer storage. In the fridge, they can last up to 2 weeks. Just be sure to separate layers with parchment paper to avoid sticking!
Can I freeze Butterfinger Balls, and how should I do it?
Very! You can freeze Butterfinger Balls for up to 3 months. First, lay them out on a baking sheet in a single layer and freeze until solid. Once frozen, transfer them to an airtight container or a Ziploc bag, layering parchment paper between rows to prevent sticking. To enjoy, simply let them sit at room temperature for about 10 minutes before indulging!
What should I do if my chocolate isn’t melting properly?
Common hiccup! If your chocolate isn’t melting smoothly, it may be due to overheating. Try melting it slowly over low heat, stirring continuously, or use a microwave in short bursts of 15-20 seconds, stirring in between. If it becomes grainy, adding a teaspoon of vegetable oil can help bring it back to a smooth consistency.
Are there any dietary considerations I should keep in mind for Butterfinger Balls?
Absolutely! Be cautious of almond allergies if you use certain nut butters as substitutes. Additionally, those sensitive to gluten should check for certified gluten-free Butterfinger candy bars, as the standard kind may contain gluten. If you’re simply looking to decrease sugar, consider using a sugar-free powdered sugar alternative, but be aware this may change the texture slightly.
What if I want to make a healthier version of Butterfinger Balls?
Certainly! You can substitute a natural nut butter for the peanut butter to lower processed ingredients, and use a sugar substitute for the powdered sugar to reduce sugar content. Instead of chocolate, try rolling the balls in crushed nuts or a dusting of cocoa powder for flavor without the added sugar. Keep proportions consistent, and adjust according to taste!
Irresistible Butterfinger Balls: A Sweet DIY Delight
Ingredients
Equipment
Method
- In a mixing bowl, add the creamy peanut butter, softened unsalted butter, powdered sugar, vanilla extract, and a pinch of salt. Stir until the mixture is well combined and smooth.
- Gently fold in the finely crushed Butterfinger candy bars until they are evenly distributed throughout the creamy mixture.
- Line a baking sheet with parchment paper or wax paper to prevent the Butterfinger Balls from sticking.
- Scoop tablespoon-sized portions of the peanut butter mixture and roll them into balls with your hands. Place them on the prepared baking sheet.
- Melt the semisweet or milk chocolate in a small saucepan over low heat, stirring constantly until smooth.
- Dip each peanut butter ball into the melted chocolate, ensuring they are evenly coated, and tap off any excess chocolate.
- Place the baking sheet in the refrigerator for about 30 minutes, or until the chocolate is fully set.
- Once set, transfer the Butterfinger Balls to an airtight container for storage.

