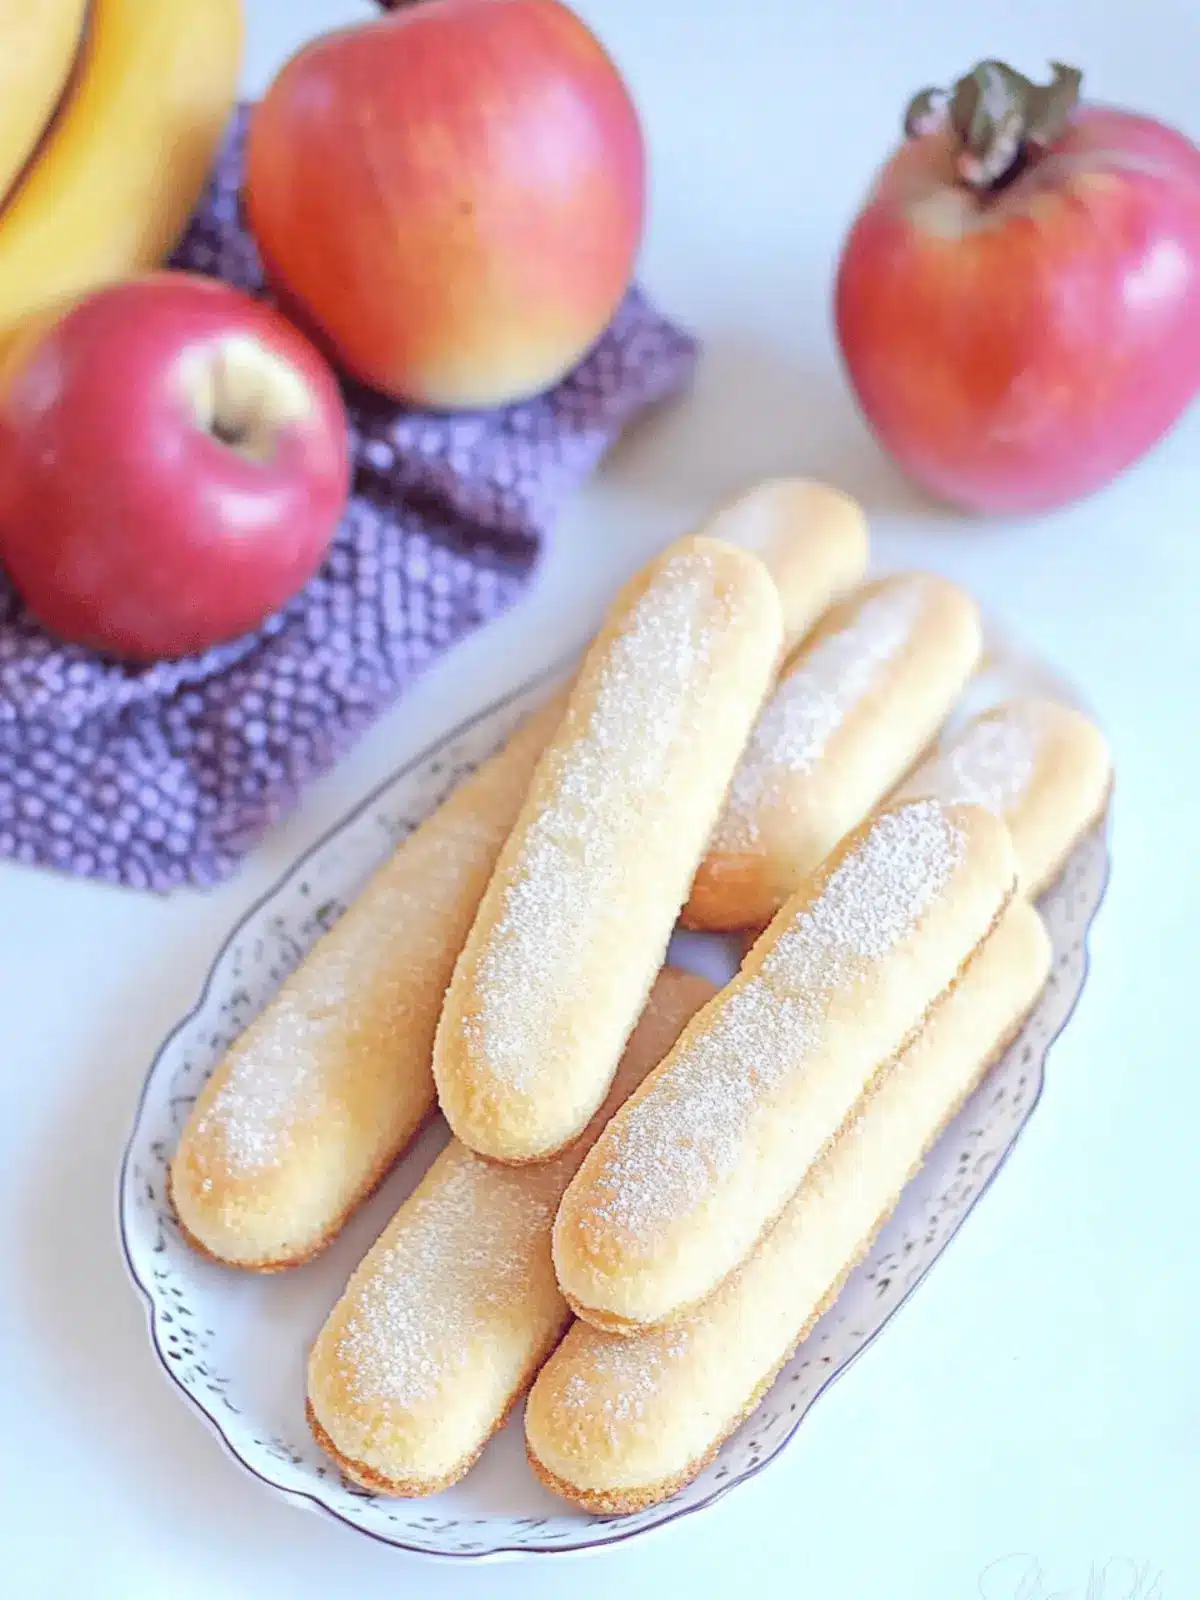
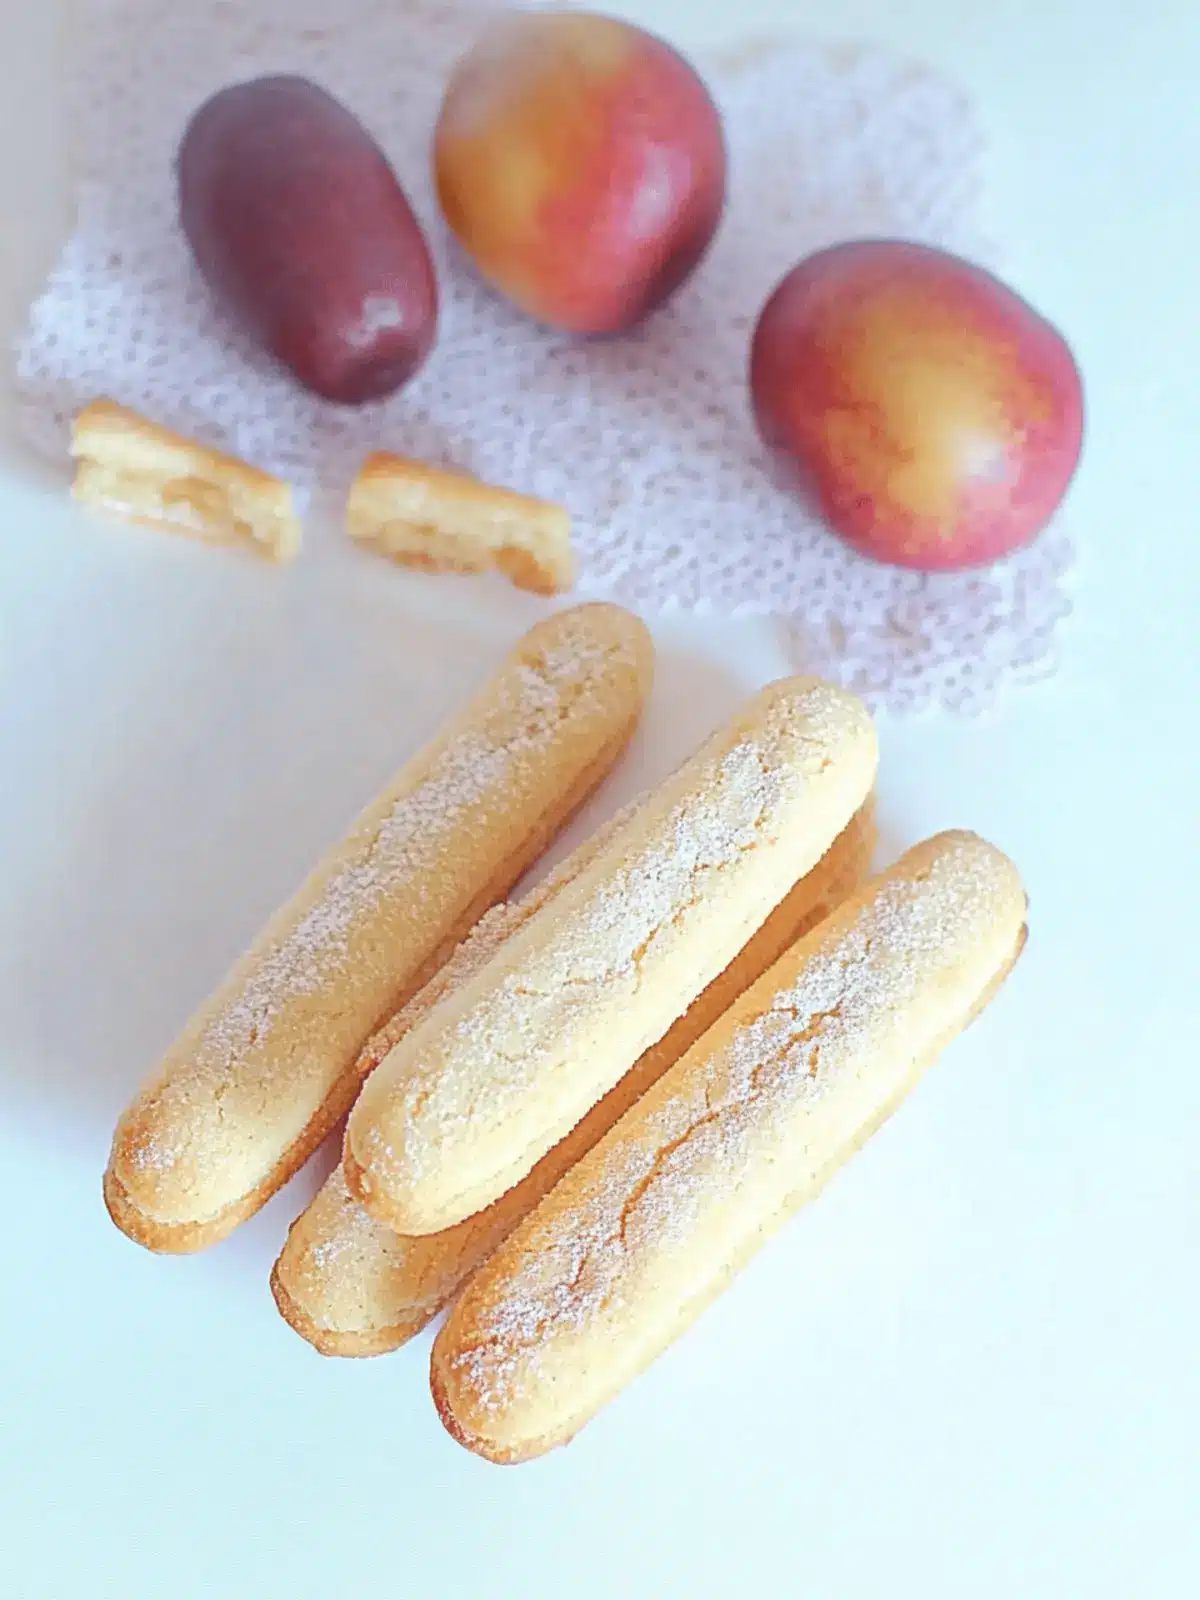
There’s a certain charm in the simplicity of baked treats that evoke fond memories, and for me, ladyfingers cookies fall squarely into that category. The moment I crack open a few eggs, I can already picture the delightful pastel shapes of these airy cookies lining my kitchen counter, ready to be enjoyed with a cup of tea or a scoop of ice cream.
The surprising ease of whipping egg whites into fluffy perfection transforms this modest recipe into a culinary masterpiece that can elevate any gathering. You’d never believe it takes just 35 minutes to whip up these cloud-like delights that are perfect for sharing—or, if I’m honest, keeping all to myself!
What makes these ladyfingers truly special is not just their melt-in-your-mouth texture, but also their versatility. Whether you’re crafting a classic tiramisu or simply dusting them with powdered sugar for a light snack, they add a touch of elegance to any occasion. So let’s dive into this recipe and bring a bit of joy to your kitchen!
Why are Ladyfingers Cookies a Must-Try?
Light and Airy: These cookies are delightfully soft, creating a melt-in-your-mouth experience that’s simply irresistible.
Quick to Make: In just 35 minutes, you can have a batch ready, making them an ideal choice for last-minute gatherings.
Versatile Treat: Enjoy them alone, serve with coffee, or layer in desserts like tiramisu for an elegant touch.
Simple Ingredients: With just a handful of pantry staples, this recipe is easy to whip up without fuss.
Crowd Pleaser: Their unique shape and texture elevate any dessert table, sure to impress family and friends.
If you want to explore more delightful cookie recipes, check out my easy cookie collection!
Ladyfingers Cookies Ingredients
• Get ready to bake these delightful cookies with simple yet essential ingredients!
For the Batter
- 3 large eggs free range – Ensure your eggs are at room temperature for better volume when whipped.
- 2/3 cup granulated sugar – This sweetens the batter while helping to stabilize the egg whites.
- Pinch of salt – Enhances the overall flavor of the cookies.
- 1/4 tbsp vanilla extract – Adds a warm, aromatic flavor to the ladyfingers.
- 1 cup all purpose flour, sifted – Using sifted flour ensures a light texture in the cookies.
- 2 tbsp cornstarch – Helps create that fluffy, airy consistency in your ladyfingers.
- 1 tsp lemon zest (optional) – A touch of citrus can brighten the flavor of the ladyfingers.
For Dusting
- Powdered sugar – Dust generously to create a sweet finishing touch that looks as delightful as it tastes.
Now that you have all the ladyfingers cookies ingredients ready, let’s jump into the directions next!
How to Make Ladyfingers Cookies
-
Preheat the Oven: Adjust your oven rack to the middle position and preheat to 350°F. This step ensures an even baking temperature for your cookies.
-
Prepare the Baking Sheets: Line two cookie sheets with baking paper, which prevents the cookies from sticking and allows for easy removal once baked.
-
Set Up the Piping Bag: Fit a large piping bag with a 1/2-inch round tip, preparing for the fun part of piping those delicate cookie fingers.
-
Separate the Eggs: Carefully separate the eggs; place the yolks in a large bowl and the whites in a stand mixer fitted with a whisk attachment for easier whipping.
-
Whip the Yolks: Using a hand mixer, whip the egg yolks with half the sugar until pale and fluffy, a process that adds volume and sweetness to your batter.
-
Add Flavor: Beat in the vanilla extract, infusing the mixture with warmth and aroma that elevates your cookies.
-
Fold in Lemon Zest: If you’re using it, gently fold in the lemon zest with a silicone spatula for a lovely burst of freshness.
-
Whip the Egg Whites: In the stand mixer, whip the egg whites on medium-high speed until fluffy; then, slowly add the remaining sugar while continuing to whip until stiff peaks form, which provides structure to your cookies.
-
Combine Mixtures: Gently fold the whipped whites into the yolk mixture using a silicone spatula, being careful to maintain that airy texture you’ve created.
-
Mix the Dry Ingredients: In a separate bowl, mix flour with cornstarch and a pinch of salt using a small whisk, ensuring there are no lumps for smooth incorporation into the batter.
-
Incorporate the Flour: Slowly add the flour mixture to the batter, folding gently with a spatula to combine everything without deflating the airy batter.
-
Pipe the Cookies: Transfer the batter to the piping bag, twist to close, and pipe fingers of about 3″ x 1″, leaving 1″ between each for spreading while baking.
-
Dust and Bake: Dust the cookies with powdered sugar and bake in the preheated oven until puffed and slightly golden, about 12 to 15 minutes, keeping an eye on them.
-
Bake the Second Tray: Bake the second tray of cookies similarly to ensure you have plenty of delicious ladyfingers to enjoy.
-
Cool the Cookies: Allow the cookies to cool completely in the tray at room temperature, which helps them achieve the perfect texture.
-
Store Properly: If not using immediately, transfer the cookies to an airtight container to keep them fresh and delightful for later.
Optional: Serve with a dusting of more powdered sugar for an elegant presentation.
Exact quantities are listed in the recipe card below.
How to Store and Freeze Ladyfingers Cookies
Room Temperature: Store unfilled ladyfingers cookies in an airtight container at room temperature for up to 3 days, ensuring they remain soft and delightful.
Fridge: If you prefer a longer-lasting option, these cookies can be stored in the fridge for up to a week; just make sure they are covered to prevent drying.
Freezer: For longer storage, freeze ladyfingers cookies in a single layer on a baking sheet, then transfer to a freezer-safe bag for up to 3 months. Thaw before serving.
Reheating: When you’re ready to enjoy frozen cookies, allow them to thaw at room temperature. You can lightly heat them in the oven at 300°F for about 5 minutes for that fresh-baked goodness.
Make Ahead Options
These Ladyfingers Cookies are perfect for meal prep enthusiasts! You can prepare the batter up to 24 hours in advance by mixing all the ingredients and storing it in a covered bowl in the refrigerator. This helps the flavors meld beautifully. Additionally, you can pipe the cookies onto the baking sheets and refrigerate them for up to 2 hours before baking to ensure they keep their shape. When you’re ready to bake, simply dust them with powdered sugar and pop them in a preheated oven. By prepping these ladyfingers ahead of time, you’ll save valuable minutes during busy weeknights while still enjoying light, airy cookies that are just as delicious!
What to Serve with Ladyfingers Cookies?
These airy delights deserve a companion that complements their lightness and sweetness beautifully.
- Fresh Berries: The tartness of strawberries or raspberries balances the sweetness of ladyfingers, offering a burst of flavor and color.
- Whipped Cream: Fluffy whipped cream makes a perfect dip for ladyfingers or a lovely topping, enhancing the experience of each bite.
- Chocolate Sauce: A drizzle of rich chocolate sauce adds a delightful contrast, making your presentation as enjoyable as the taste.
- Espresso: The bold, rich notes of a freshly brewed espresso create an elegant pairing that awakens the senses beautifully.
- Lemon Curd: The tart and creamy lemon curd pairs wonderfully with ladyfingers, enhancing their flavor and adding a zesty twist.
- Ice Cream: Pair these cookies with a scoop of your favorite ice cream for a delightful dessert that’s both light and indulgent.
- Fruit Sorbet: A refreshing fruit sorbet helps cleanse the palate, making it a delightful contrast to the soft, sugary cookies.
- Tea: A cup of fragrant tea, such as Earl Grey or chamomile, offers a calming addition that enhances the cookie’s ambiance.
- Mousse: Light and airy chocolate or fruit mousse can elevate your dessert table and make for a lovely bite alongside ladyfingers.
- Coffee: A warm cup of coffee provides the perfect pick-me-up alongside ladyfingers, creating a cozy atmosphere for enjoying your treats.
Expert Tips for Ladyfingers Cookies
- Egg Freshness: Use fresh eggs, preferably free-range, for better volume and a richer flavor in your ladyfingers cookies.
- Perfect Peaks: Ensure the egg whites are whipped to stiff peaks for maximum airiness; under-whipped whites will result in flat cookies.
- Gentle Folding: When combining the mixtures, fold gently to preserve the air you’ve created, which is key for that light texture.
- Sifting Matters: Always sift the flour and cornstarch together to eliminate lumps; this ensures a smooth batter for your ladyfingers.
- Watch the Bake: Keep a close eye on your cookies as they bake; overbaking can result in a dry texture. Aim for a slight golden color.
Ladyfingers Cookies Variations
Get creative with your ladyfingers cookies by trying out these fun and flavor-packed twists!
-
Chocolate Dipped: Dip cooled cookies in melted dark chocolate for an indulgent treat that combines rich cocoa with the airy texture of ladyfingers. Perfect for special occasions!
-
Almond Flavor: Substitute vanilla extract with almond extract to introduce a nutty depth. This variation pairs beautifully with coffee.
-
Cocoa Powder: Add a couple of tablespoons of cocoa powder to the batter for a delightful chocolate version. These chocolate ladyfingers are perfect for tiramisu or simply enjoyed with a glass of milk.
-
Spiced Up: Mix in a pinch of cinnamon and nutmeg for a warm, cozy flavor. The spices will infuse a festive flair, making them ideal for holiday gatherings.
-
Citrus Burst: Include the zest of orange or lime in addition to or instead of lemon zest for a zesty kick. The citrus enhances the overall flavor and adds a refreshing note.
-
Nutty Crunch: Fold in finely chopped nuts like hazelnuts or pistachios to the batter. This adds a delightful texture and nutty flavor that complements the soft cookie.
-
Chili Heat: For a surprising twist, add a dash of cayenne pepper to the batter. The kick of heat contrasts wonderfully with the sweetness, creating a unique taste sensation.
-
Coffee Infusion: Mix in a teaspoon of espresso powder into the beaten yolk mixture for a mocha twist. Coffee lovers will savor this sophisticated flavor!
Ladyfingers Cookies Recipe FAQs
How do I choose the right eggs for Ladyfingers Cookies?
Absolutely! I recommend using fresh, free-range eggs as they provide better volume when whipped and yield richer flavor. Look for eggs with clean, unbroken shells and check the expiration date to ensure freshness.
How should I store Ladyfingers Cookies?
For optimal freshness, store unfilled ladyfingers in an airtight container at room temperature for up to 3 days. If you’d like to keep them longer, place them in the fridge, where they can last for about a week. Just ensure they’re covered to avoid drying out!
Can I freeze Ladyfingers Cookies?
Yes, definitely! To freeze, lay the cookies in a single layer on a baking sheet to prevent sticking. Once frozen, transfer them to a freezer-safe bag, where they can be stored for up to 3 months. When you’re ready to enjoy them, simply let them thaw at room temperature.
How can I troubleshoot flat Ladyfingers Cookies?
If your cookies turn out flat, it could be due to under-whipped egg whites. Make sure you whip the egg whites until they form stiff peaks. This requires that you incorporate the sugar gradually while whipping; it helps stabilize the air and achieve that perfect ladyfinger texture.
Can I adjust the recipe for dietary considerations?
Absolutely! If you have concerns about allergies, you can experiment with egg substitutes like aquafaba (the liquid from canned chickpeas) for a vegan-friendly version. However, achieving the same airy texture might require some additional adjustments, like increasing the cornstarch or adding a stabilizer like cream of tartar.
What should I do if the cookies become too hard after baking?
If your ladyfingers are overly hard, it’s often due to overbaking. Aim for a slight golden color and keep an eye on them. If you find your cookies are hard after storing them, you can place a slice of bread in the container for a few hours. The cookies will absorb moisture and soften up!
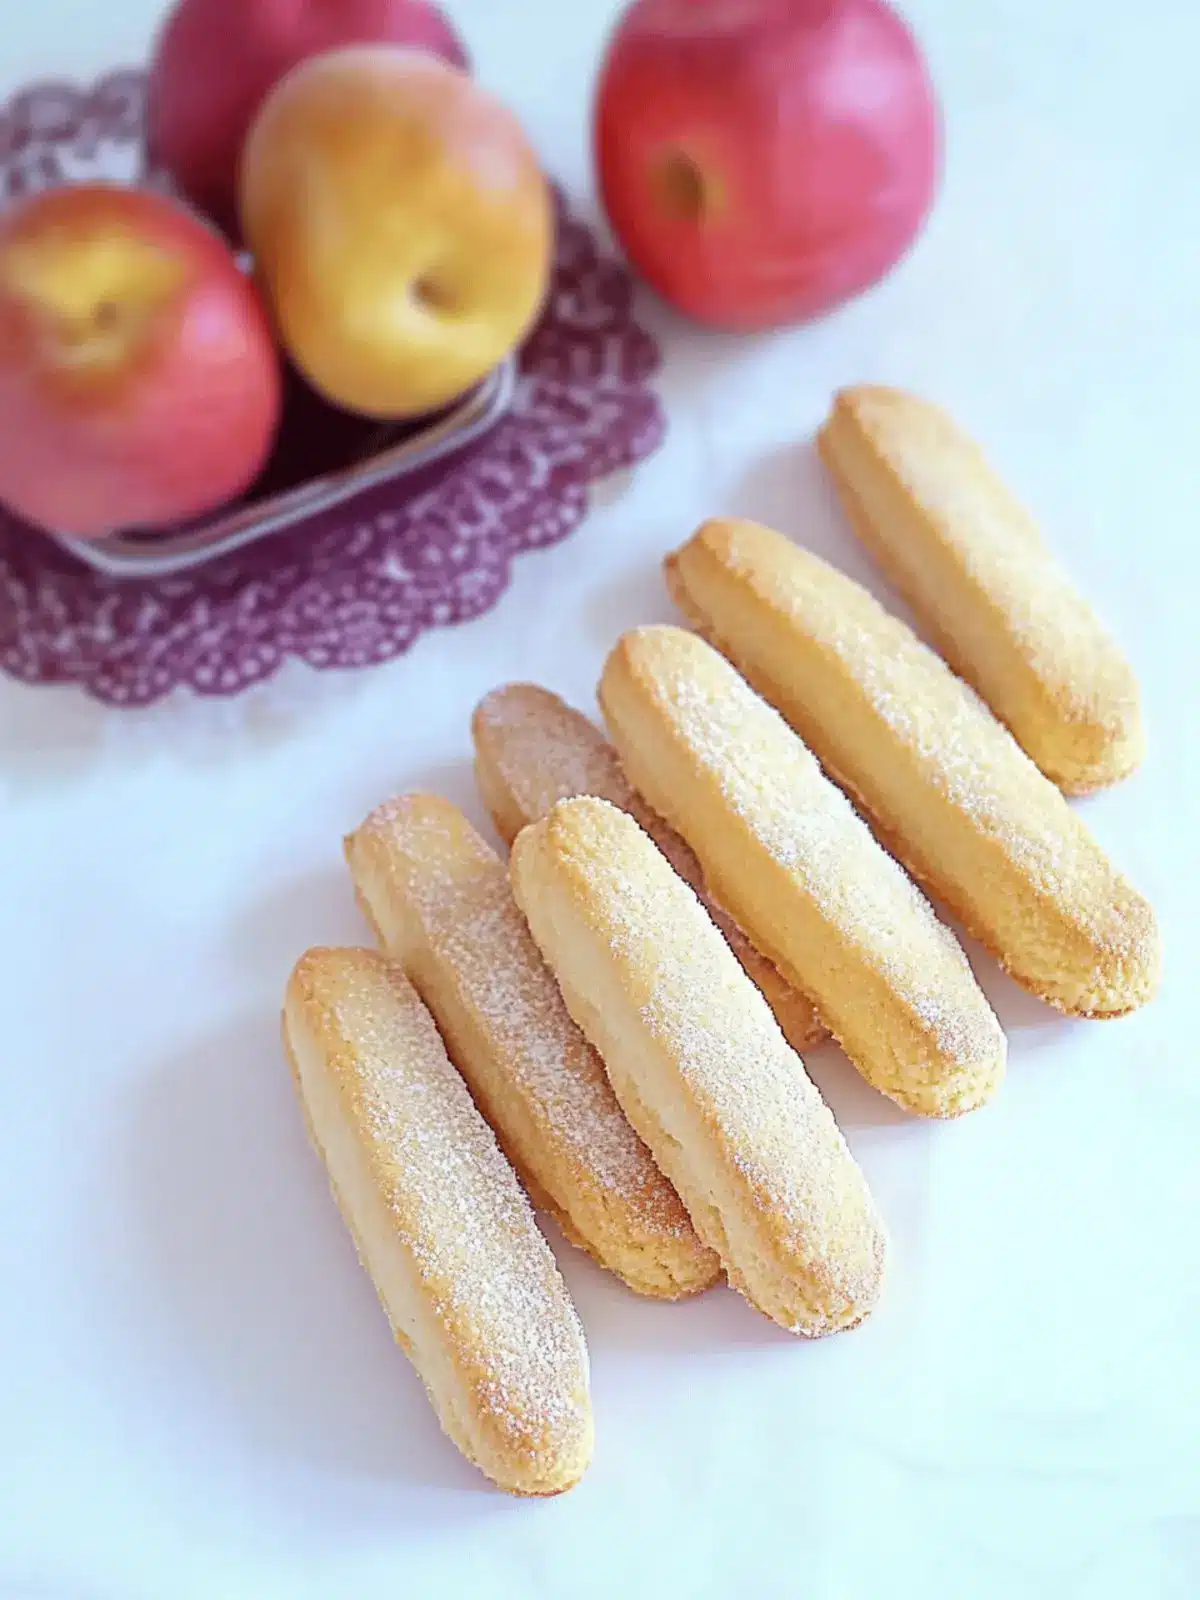
Whip Up Irresistible Ladyfingers Cookies in 35 Minutes
Ingredients
Equipment
Method
- Preheat the Oven: Adjust your oven rack to the middle position and preheat to 350°F.
- Prepare the Baking Sheets: Line two cookie sheets with baking paper.
- Set Up the Piping Bag: Fit a large piping bag with a 1/2-inch round tip.
- Separate the Eggs: Carefully separate the eggs; place the yolks in a large bowl and the whites in a stand mixer.
- Whip the Yolks: Whip the egg yolks with half the sugar until pale and fluffy.
- Add Flavor: Beat in the vanilla extract.
- Fold in Lemon Zest: If using, gently fold in the lemon zest with a silicone spatula.
- Whip the Egg Whites: Whip the egg whites on medium-high speed until fluffy; then, add the remaining sugar until stiff peaks form.
- Combine Mixtures: Gently fold the whipped whites into the yolk mixture.
- Mix the Dry Ingredients: In a separate bowl, mix flour with cornstarch and a pinch of salt.
- Incorporate the Flour: Slowly add the flour mixture to the batter, folding gently.
- Pipe the Cookies: Transfer the batter to the piping bag and pipe fingers of about 3" x 1", leaving 1" between each.
- Dust and Bake: Dust the cookies with powdered sugar and bake for about 12 to 15 minutes.
- Bake the Second Tray: Bake the second tray of cookies similarly.
- Cool the Cookies: Allow the cookies to cool completely in the tray.
- Store Properly: If not using immediately, transfer to an airtight container.
- Optional: Serve with a dusting of more powdered sugar.

