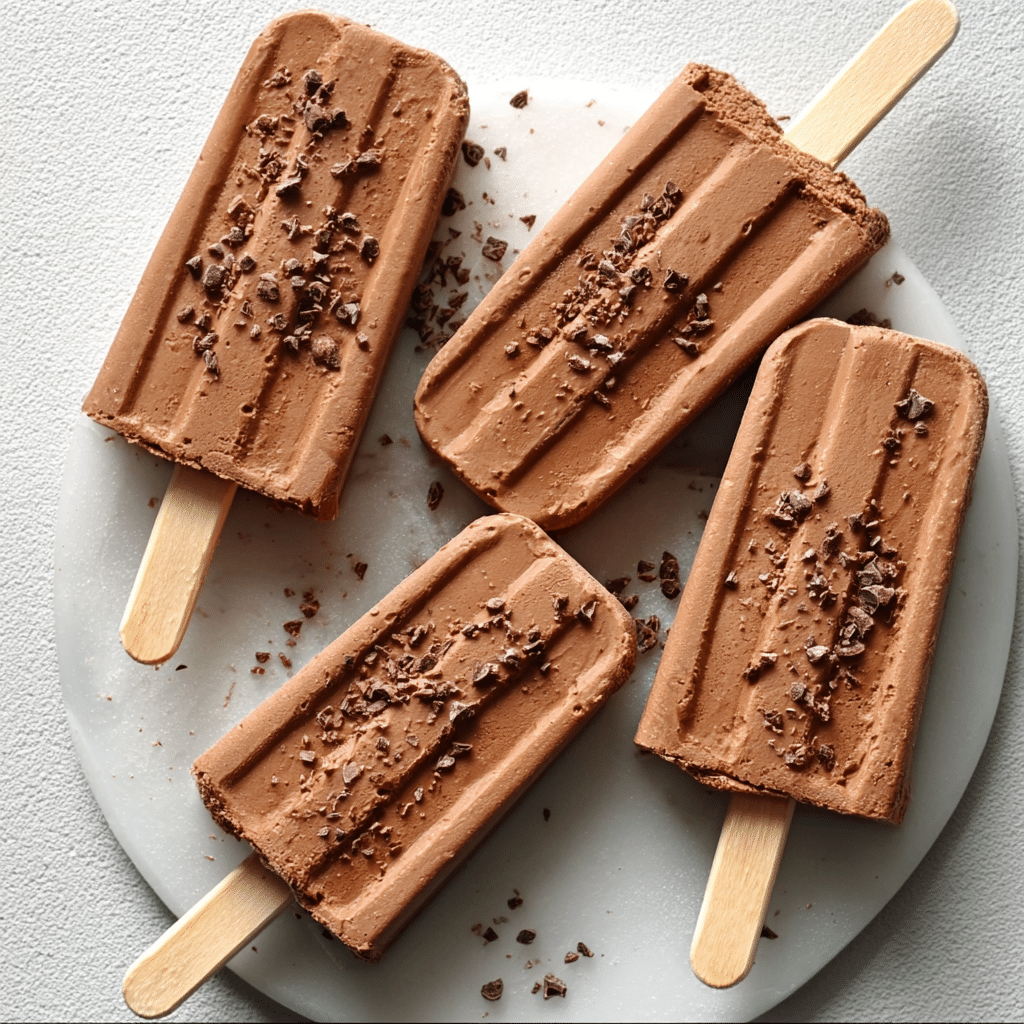
The magic of summer is captured perfectly in these Creamy Chocolate Fudge Pops. Made with simple pantry staples like instant pudding mix, sweetened condensed milk, and vanilla, these popsicles are as easy to prepare as they are to devour. Each bite delivers rich, velvety chocolate flavor with just the right amount of sweetness and creaminess.
Whether you’re cooling off poolside, entertaining kids during a hot afternoon, or craving a nostalgic chocolate fix, these fudge pops hit the spot. Customize them with mix-ins like mini chocolate chips or crushed cookies for added fun and texture. This no-bake recipe is a lifesaver for busy families and dessert lovers alike.
Full Recipe
Ingredients:
-
1 (3.4 oz) box instant chocolate pudding mix
-
2 cups cold milk
-
1/2 cup heavy cream
-
1/4 cup sweetened condensed milk
-
1 teaspoon vanilla extract
-
Pinch of salt
-
Optional: 1/2 cup mini chocolate chips or crushed cookies
Directions:
-
In a large mixing bowl, whisk together the pudding mix and cold milk until smooth and thickened (about 2 minutes).
-
Add the heavy cream, sweetened condensed milk, vanilla extract, and a pinch of salt. Whisk until well combined.
-
If desired, gently fold in mini chocolate chips or cookie crumbs for added texture.
-
Pour the mixture evenly into popsicle molds, leaving a small space at the top for expansion.
-
Insert sticks and freeze for at least 4–6 hours, or until fully set.
-
To release, run warm water over the outside of the molds for a few seconds.
Prep Time: 10 minutes | Freezing Time: 4–6 hours | Total Time: 4 hrs 10 mins
Kcal: 180 kcal | Servings: 8 popsicles
The Perfect Frozen Treat: Creamy Chocolate Fudge Pops
There’s something undeniably nostalgic about chocolate fudge popsicles. For many, they instantly bring back childhood memories of sticky fingers, drippy treats on hot sidewalks, and the refreshing sweetness of summer vacation. These homemade Creamy Chocolate Fudge Pops take that classic delight and elevate it using simple ingredients, rich flavors, and a silky texture that rivals any store-bought option.
What makes these popsicles so special is the perfect balance between creaminess and cocoa intensity. By using instant pudding as the base and enriching it with condensed milk and heavy cream, the result is a treat that’s smooth, decadent, and satisfying in every bite. You don’t need an ice cream maker or special tools — just a few pantry staples, a mixing bowl, and a popsicle mold. They’re easy, no-bake, and highly customizable.
Why Make Homemade Popsicles Instead of Buying Them?
Store-bought fudge popsicles might be convenient, but they often contain a long list of additives, preservatives, and artificial flavors. Making your own at home allows you to control the ingredients — you know exactly what’s going into your family’s dessert. You can make them richer, lighter, dairy-free, or add fun textures like crushed cookies or mini chocolate chips.
Besides, homemade treats always carry that extra bit of love and intention. They’re fresher, more flavorful, and more satisfying because you made them yourself. It’s also a great way to get the kids involved in the kitchen and create food-based memories that go beyond eating.
The Texture Advantage of Using Instant Pudding
One of the standout features of these fudge pops is their texture — unbelievably smooth and creamy. That’s largely thanks to instant pudding mix. Unlike traditional popsicles that can turn icy or hard after freezing, this version stays soft and creamy, even after hours in the freezer.
The instant pudding thickens quickly, forming a luscious base that blends seamlessly with cream and condensed milk. When frozen, it gives that “bite-through” consistency that feels like biting into a soft truffle rather than a hard ice cube. It’s a unique experience that adds indulgence to a simple summer dessert.
Ideal for Summer Parties and Make-Ahead Desserts
Creamy Chocolate Fudge Pops are a lifesaver when you need a fuss-free dessert option for a party or gathering. You can make them a day or two in advance, keep them frozen, and simply pop them out when it’s time to serve. No ovens, no mess, no melting disasters at the last minute.
They also work well for kids’ birthdays, pool parties, backyard barbecues, or even casual weeknight treats. Because they’re frozen individually, portion control is built-in, and there’s no need for slicing or plating. It’s grab-and-go dessert at its best.
Customization Ideas for Every Chocolate Lover
One of the best things about this recipe is how easy it is to customize. Want a richer chocolate experience? Use dark chocolate pudding mix instead of regular. Want to lighten it up? Substitute milk with almond or oat milk. Add in some texture with crushed Oreos, sprinkles, nuts, or mini marshmallows for a rocky road twist.
You can even layer the popsicles with peanut butter, caramel sauce, or a swirl of strawberry jam to take the flavor profile to new heights. For a healthier spin, mix in some Greek yogurt or cut the sweetness by reducing the condensed milk slightly.
Kid-Friendly and Adult-Approved
These popsicles are universally loved. Kids are drawn to their chocolatey goodness and creamy texture, while adults appreciate their depth of flavor and nostalgic appeal. They’re free of artificial dyes and flavors (if you choose natural ingredients), making them a treat you can feel good about serving to little ones.
Additionally, you can make them in smaller molds for toddler-sized portions or go all out with jumbo molds for an indulgent grown-up dessert.
A Great Starting Point for Dessert Experimentation
If you’re new to making frozen desserts, this recipe is a fantastic place to start. It doesn’t require cooking or fancy equipment, which means there’s little room for error. You can experiment with flavorings like hazelnut extract, espresso powder, or mint essence to create variations that match your palate.
Over time, you’ll get comfortable enough to branch out into other popsicle creations — like fruit-based pops, creamy coconut blends, or boozy adult-only versions. Once you realize how easy and rewarding it is, you’ll never go back to buying a box from the freezer aisle.
Storage Tips and Tricks
To keep your fudge pops in top condition, store them in a sealed container or wrap them individually in plastic wrap once they’re fully frozen. This prevents freezer burn and keeps the flavors fresh. They should last up to 2–3 weeks in the freezer, though they’re likely to be gone long before that.
If you’re making a large batch, label them with the date so you can rotate older pops first. Also, avoid stacking them directly on top of each other unless they’re wrapped, to prevent sticking.
Nutrition and Portion Control
Each popsicle comes in at about 180 calories, making it a reasonable treat for those watching their intake. They’re satisfying enough to curb a sweet craving without going overboard. If you want to lighten the recipe further, consider using low-fat milk or dairy-free alternatives, or reduce the amount of sweetened condensed milk.
Despite being a dessert, these fudge pops can be incorporated into a balanced lifestyle — especially when you know exactly what’s in them.
Conclusion: A Simple, Indulgent Treat Worth Making
Homemade Creamy Chocolate Fudge Pops are more than just a dessert — they’re an experience. They bring together the comfort of familiar flavors, the joy of creating something from scratch, and the satisfaction of indulging in something that feels both rich and refreshing. Whether you’re a busy parent, a dessert enthusiast, or someone looking to relive childhood summer days, these fudge pops will never disappoint.
Simple, flexible, and irresistibly creamy, this recipe will easily become a staple in your freezer during warmer months. So grab your popsicle molds, whip up a batch, and savor the magic of homemade chocolate delight — one frozen bite at a time.