There’s nothing quite like the comforting aroma of garlic wafting through the kitchen, transforming an ordinary meal into something spectacular. When I first whipped up this Garlic Pita Bread, I didn’t expect to uncover a true crowd-pleaser—one that pairs perfectly with dips, salads, or simply enjoyed fresh out of the pan. It all started with a lazy afternoon, fumbling through my pantry for something delicious to make. Just a handful of ingredients later, and I was savoring soft, pillowy pitas enriched with buttery garlic goodness.
This recipe allows you to embrace the joy of making bread from scratch, bringing love and warmth to your table without the fuss of complicated techniques. Best of all, it’s surprisingly easy to prepare and offers a delightful twist to your dinners or snack times. Whether you’re entertaining friends or just feeding your family, homemade Garlic Pita Bread is sure to become a staple that you’ll turn to again and again. So, roll up your sleeves and let’s get baking!
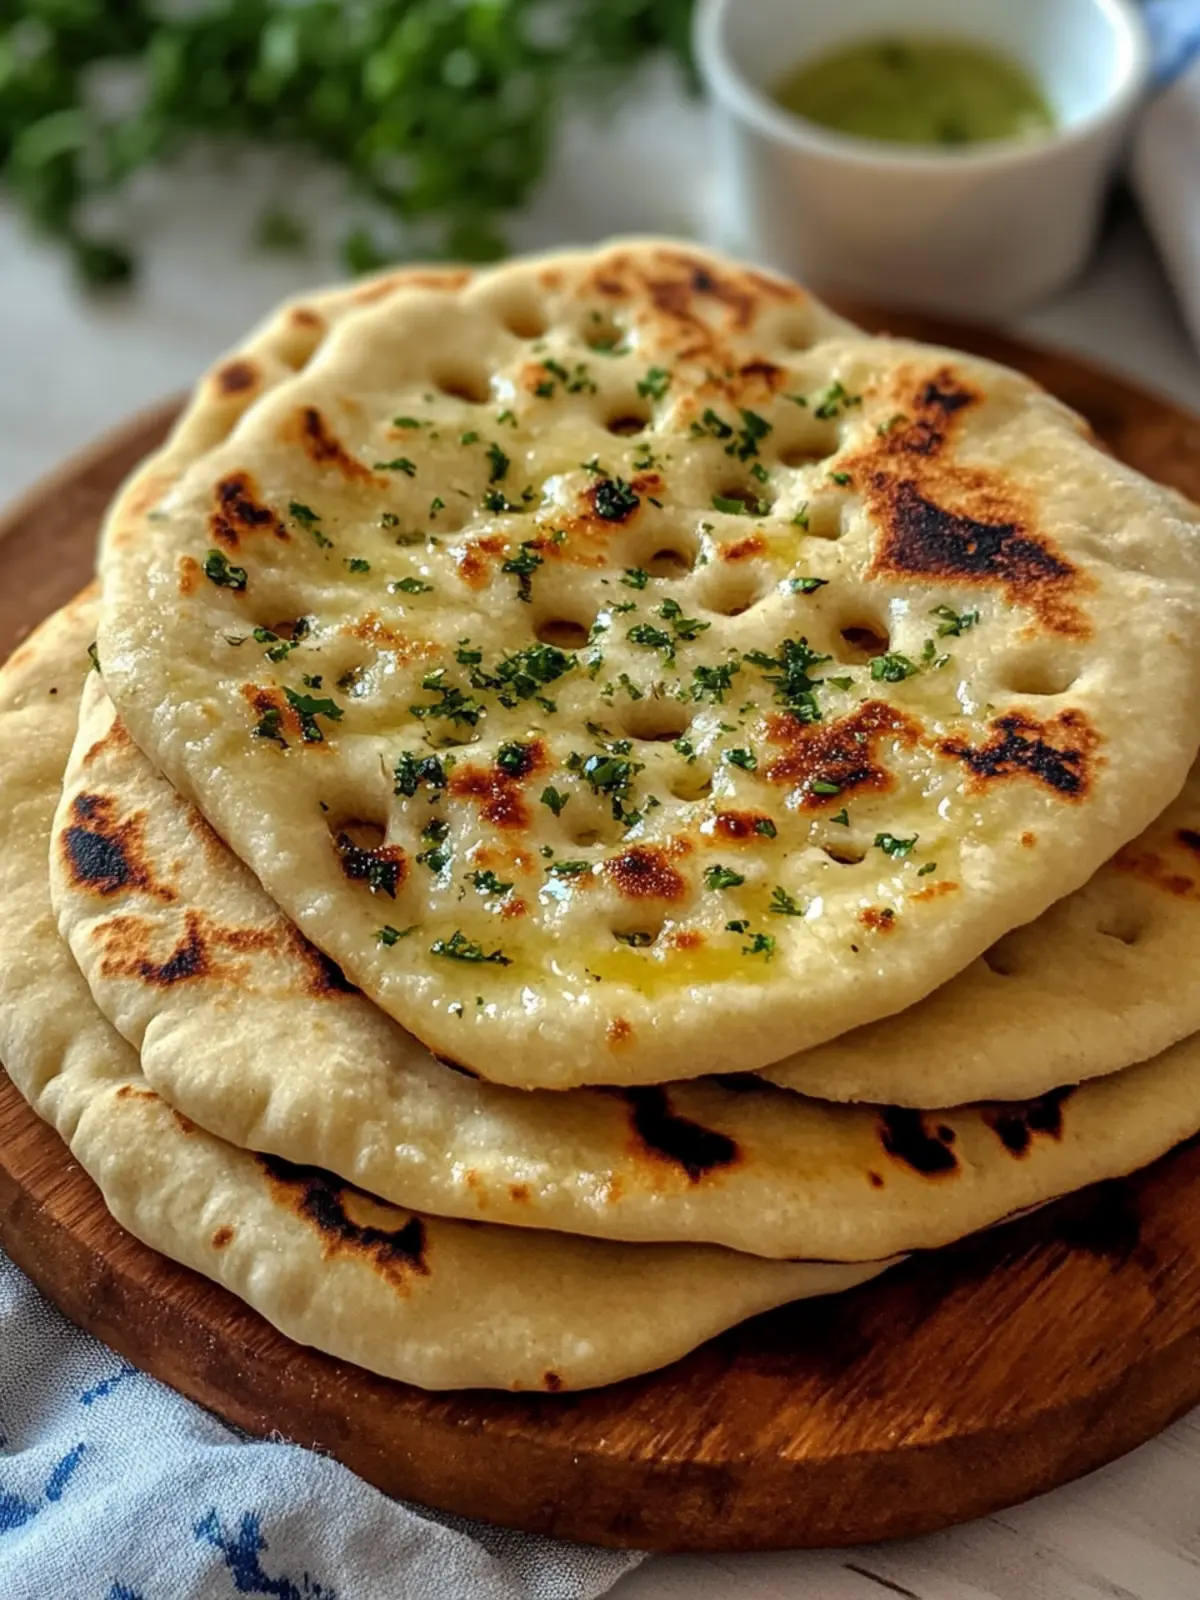
Why is Garlic Pita Bread a must-try?
Irresistible aroma: The scent of freshly baked garlic pita fills your kitchen, creating an enticing atmosphere.
Simple ingredients: Just a few pantry staples yield rich, delicious results.
Easy preparation: Even beginners can whip these up without stress.
Versatile: Perfect for dips, with soups, or as a snack!
Crowd-pleaser: Watch your family and friends rave about this delightful addition to any meal.
For an ideal pairing, consider serving it with your favorite hummus recipe!
Garlic Pita Bread Ingredients
Unleash your culinary creativity with these simple components!
For the Dough
- All-purpose flour – This is the base that gives your pita bread its structure and texture.
- Salt – Enhances the flavor of your garlic pita bread and balances the taste.
- Active dry yeast – The rise and fluffiness of your pita depend on this magical ingredient!
- Milk – Adds richness and tenderness to the dough.
- Water – Helps bring your dough together, activating the yeast.
- Olive oil – A splash of healthy fat for flavor and moisture in your dough.
For the Garlic Butter Topping
- Butter – This is the luxurious base that ensures your garlic spread is rich and delicious.
- Garlic – Freshly minced for that bold and aromatic flavor that makes your pita irresistible.
- Fresh parsley – A bright, herbaceous touch that complements the garlic perfectly.
Embrace the art of homemade cooking with this Garlic Pita Bread recipe that brings joy to your kitchen!
How to Make Garlic Pita Bread
-
Combine the dry ingredients in a large bowl by whisking together flour, salt, and yeast. This simple mix forms the foundation of your delicious garlic pita bread.
-
Add warm milk and warm water to the dry ingredients. Stir the mixture until you have a shaggy mass, signaling the start of your dough adventure.
-
Incorporate olive oil into the shaggy dough. Use your hands to knead it together, ensuring all stray bits come together into a smooth dough.
-
Cover the bowl securely with plastic wrap, then lay a kitchen towel over it. Let the dough rest for 1 hour until it has doubled in size, filling your kitchen with anticipation.
-
Dust a clean work surface with flour and place the dough down. Gently work it into a flat circle, shaping it with love and care.
-
Divide the dough into 6 equal pieces. Take one piece at a time, roll each into a ball, and cover the dough balls with a towel to keep them warm and cozy.
-
Roll out one ball with a floured rolling pin into a circle about 1/4 inch thick. Repeat the process with the remaining dough balls, setting the stage for your lovely pitas.
-
Heat a large pan over medium-high heat. Add a small drizzle of olive oil, then carefully place one pita down. Cook until bubbles form, about 30 seconds, then flip and cook for 1-2 minutes until golden brown.
-
Cover the cooked pita bread with a kitchen towel to keep them warm while you repeat the cooking process with the remaining dough.
-
Melt butter in a microwave-safe bowl for 30 seconds. Mince garlic and parsley, then stir them into the melted butter. Spread this delicious mixture evenly over each cooked pita for a flavorful finish.
Optional: Serve with a sprinkle of extra parsley for a beautiful presentation!
Exact quantities are listed in the recipe card below.
How to Store and Freeze Garlic Pita Bread
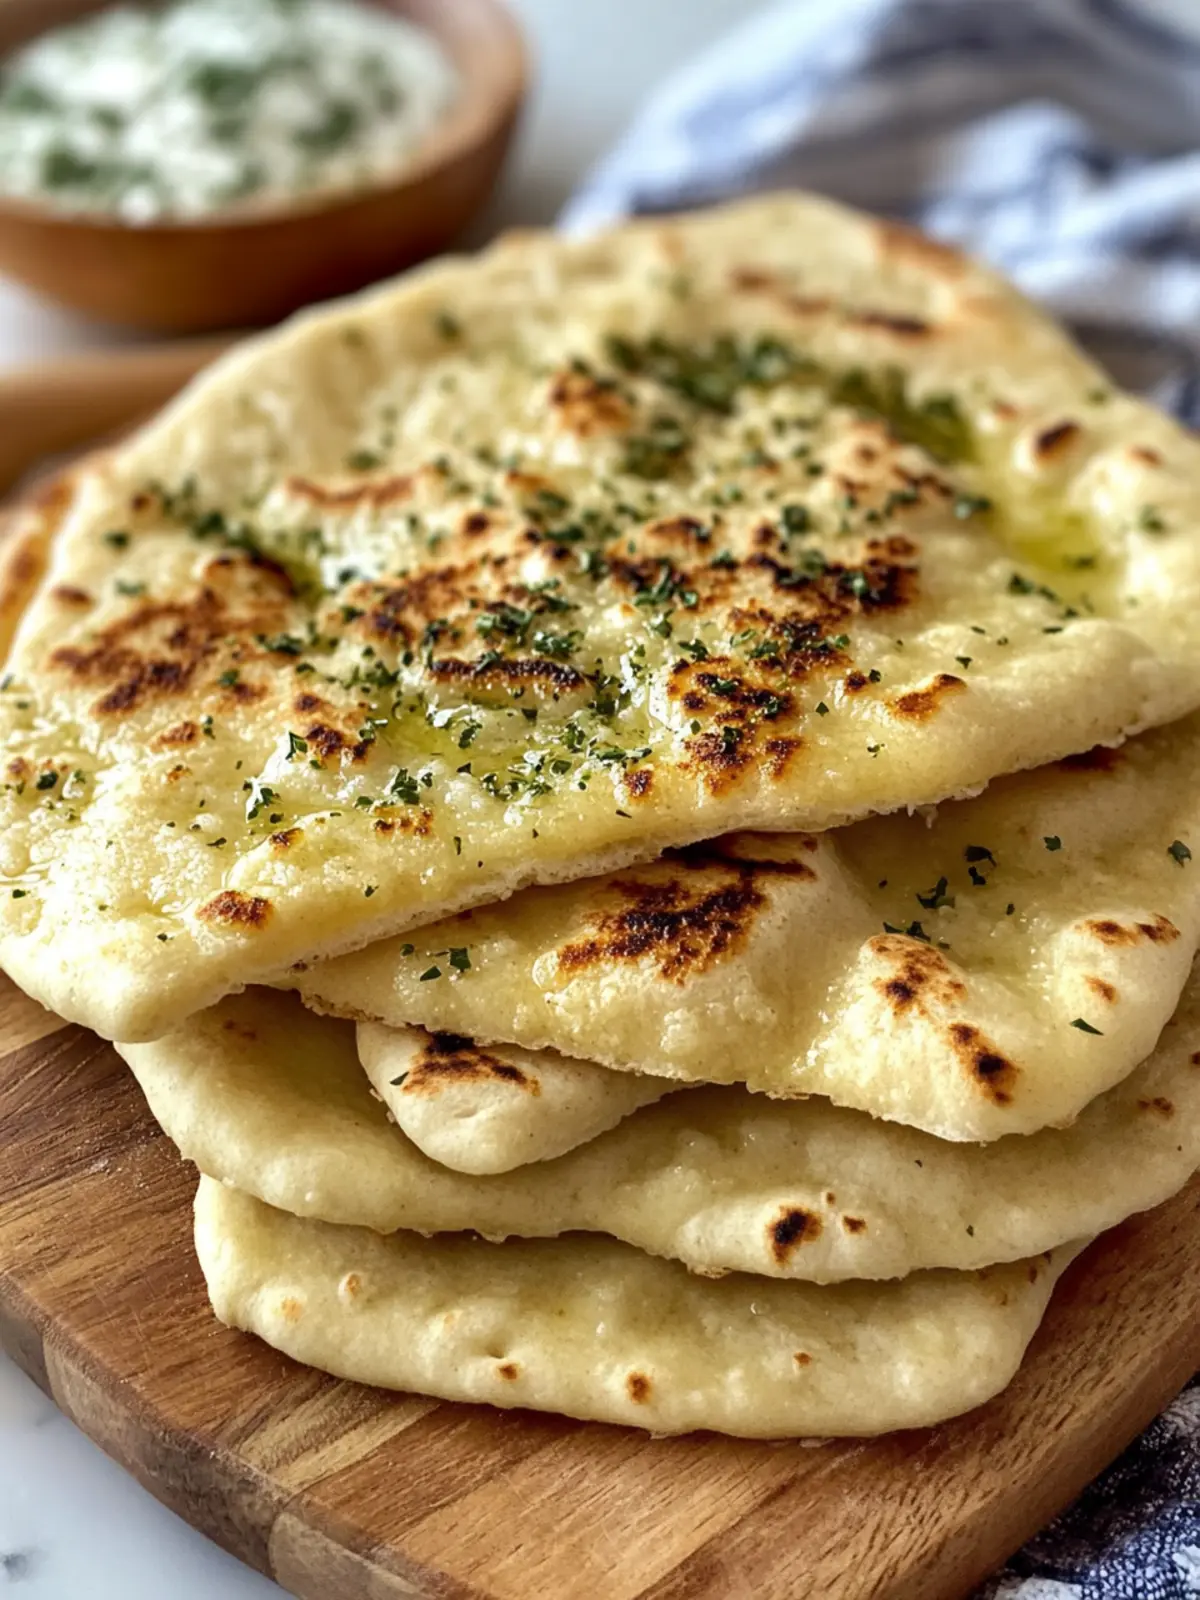
Room Temperature: Keep cooked garlic pita bread wrapped in a kitchen towel for up to 3 days to maintain softness and aroma.
Fridge: For longer storage, place your pita bread in an airtight container in the fridge for up to 1 week. Reheat in a hot pan for best results.
Freezer: Freeze garlic pita bread in an airtight bag or wrap each piece in plastic wrap for up to 2 months. Thaw at room temperature before reheating.
Reheating: To enjoy your garlic pita bread, reheat in a skillet on medium heat for 1-2 minutes on each side or until warm.
What to Serve with Garlic Pita Bread?
Transform your meal into a delightful feast with fantastic pairings that will leave everyone asking for more.
- Hummus: This creamy dip pairs beautifully with the warm, garlicky flavors, creating a satisfying and flavorful combination.
- Tzatziki Sauce: The cool yogurt and cucumber dip offers a refreshing contrast to the richness of garlic pita bread, enhancing each bite.
- Grilled Chicken: Juicy chicken infused with spices brings a savory depth, making every piece of pita a piece of culinary heaven.
- Roasted Vegetables: Earthy, caramelized veggies add a pleasant crunch and a whirlwind of flavors that complement the soft pita.
- Greek Salad: Fresh tomatoes, cucumbers, and olives create a vibrant, refreshing side that perfectly contrasts the warm bread.
- Chickpea Salad: This hearty dish adds protein and a zesty flair to your meal, making it a delightful and nutritious pairing.
- Red Wine: A glass of smooth red beautifully balances the rich flavors of garlic pita, turning your dinner into an elegant affair.
- Mint Tea: The herbal notes of mint tea cleanse the palate, leaving you refreshed after enjoying the warm and buttery pita.
- Chocolate Mousse: For dessert, a light chocolate mousse offers a rich ending, creating a wonderful balance with the garlic bread.
Experiment with these pairings, and you’ll find the perfect harmony to enjoy your garlic pita bread!
Garlic Pita Bread Variations
Feel free to get creative and customize this delicious recipe to suit your tastes!
-
Whole Wheat: Substitute all-purpose flour with whole wheat flour for a heartier, nuttier flavor. Your pita will be wholesome and satisfying!
-
Gluten-Free: Use a gluten-free flour blend to enjoy this recipe free from gluten. Just be sure to check the quality to ensure a fluffy texture!
-
Herb-Infused: Mix dried herbs like oregano or thyme into the dough for a fragrant twist. Each bite will burst with delicious flavor!
-
Cheesy Delight: Sprinkle shredded cheese into the dough or melt some on top after baking for a cheesy garlic pita experience that’s simply irresistible.
-
Spicy Garlic Pita: Add a pinch of red pepper flakes to your garlic butter for a spicy kick. It will elevate your dish to a whole new level of flavor!
-
Mediterranean Flair: Include chopped sun-dried tomatoes or olives in your dough for a Mediterranean twist. Each pita becomes a tangy, savory delight.
-
Sweet Twist: Replace garlic with cinnamon and sugar for a sweet version, perfect for breakfast. Serve warm with honey for a delightful treat!
-
Vegan Version: Substitute butter with vegan butter and use almond or oat milk in the dough for a plant-based option that everyone can enjoy!
Make Ahead Options
Embracing the art of preparation makes these Garlic Pita Bread an absolute game-changer for busy weeknights! You can easily prepare the dough up to 24 hours in advance. Simply follow the recipe up to the resting stage, cover the bowl tightly with plastic wrap, and refrigerate it. When you’re ready to bake, allow the dough to come to room temperature for about 30 minutes before rolling out. The cooked pitas can also be stored in an airtight container for up to 3 days; just reheat them in a dry pan for that fresh-out-of-the-pan taste. By prepping ahead, you’ll have delicious, homemade garlic pita bread ready with minimal effort, perfect for serving with dips or enjoyed on their own!
Expert Tips for Garlic Pita Bread
- Perfect Dough Temperature: Ensure your milk and water are warm, not hot. Too hot can kill the yeast, preventing your garlic pita bread from rising properly.
- Don’t Rush the Rise: Let the dough rest for a complete hour. This gives the yeast time to work its magic, resulting in fluffy pitas.
- Flour Control: When rolling out the dough, use just enough flour to keep it from sticking. Too much flour can lead to dense pitas.
- Hot Pan Trick: Make sure your pan is adequately heated before cooking. A hot pan enables those beautiful bubbles and golden-brown marks.
- Flavor Boost: For extra flavor, consider adding a pinch of garlic powder to the dough when mixing. It’ll enhance the garlic pita bread experience!
Garlic Pita Bread Recipe FAQs
What type of flour should I use for Garlic Pita Bread?
You should use all-purpose flour, as it provides the best structure and texture for your pita bread. However, if you’re looking for a healthier option, whole wheat flour can also work well, but it may yield denser pitas.
How long can I store Garlic Pita Bread?
You can keep your cooked garlic pita bread wrapped in a kitchen towel at room temperature for up to 3 days. If you want to store it for a longer period, an airtight container in the fridge can preserve its freshness for up to 1 week.
Can I freeze Garlic Pita Bread?
Absolutely! To freeze your pita bread, first allow it to cool completely. Then, wrap each piece in plastic wrap and place them in an airtight freezer bag. Enjoy them up to 2 months later by thawing them at room temperature and reheating in a skillet for that freshly baked taste.
What should I do if my dough doesn’t rise?
If your dough doesn’t rise, it could be due to yeast that’s either expired or not activated. Always ensure your warm milk and water are between 100°F and 110°F (37°C and 43°C). If you’re unsure, test the yeast by mixing it with warm water and a pinch of sugar – it should foam within 10 minutes. If it doesn’t, it’s best to start with new yeast.
Can I make this recipe dairy-free?
Yes, you can easily customize this recipe to be dairy-free by using a non-dairy milk substitute like almond, soy, or oat milk. For the butter topping, you can substitute with vegan butter or olive oil mixed with minced garlic and parsley to keep the flavors intact.
Is Garlic Pita Bread safe for dogs?
While the pita bread itself (without added toppings) is generally safe for dogs in moderation, garlic can be harmful to them, even in small amounts. I recommend skipping the garlic butter for any portions you give to your furry friends!
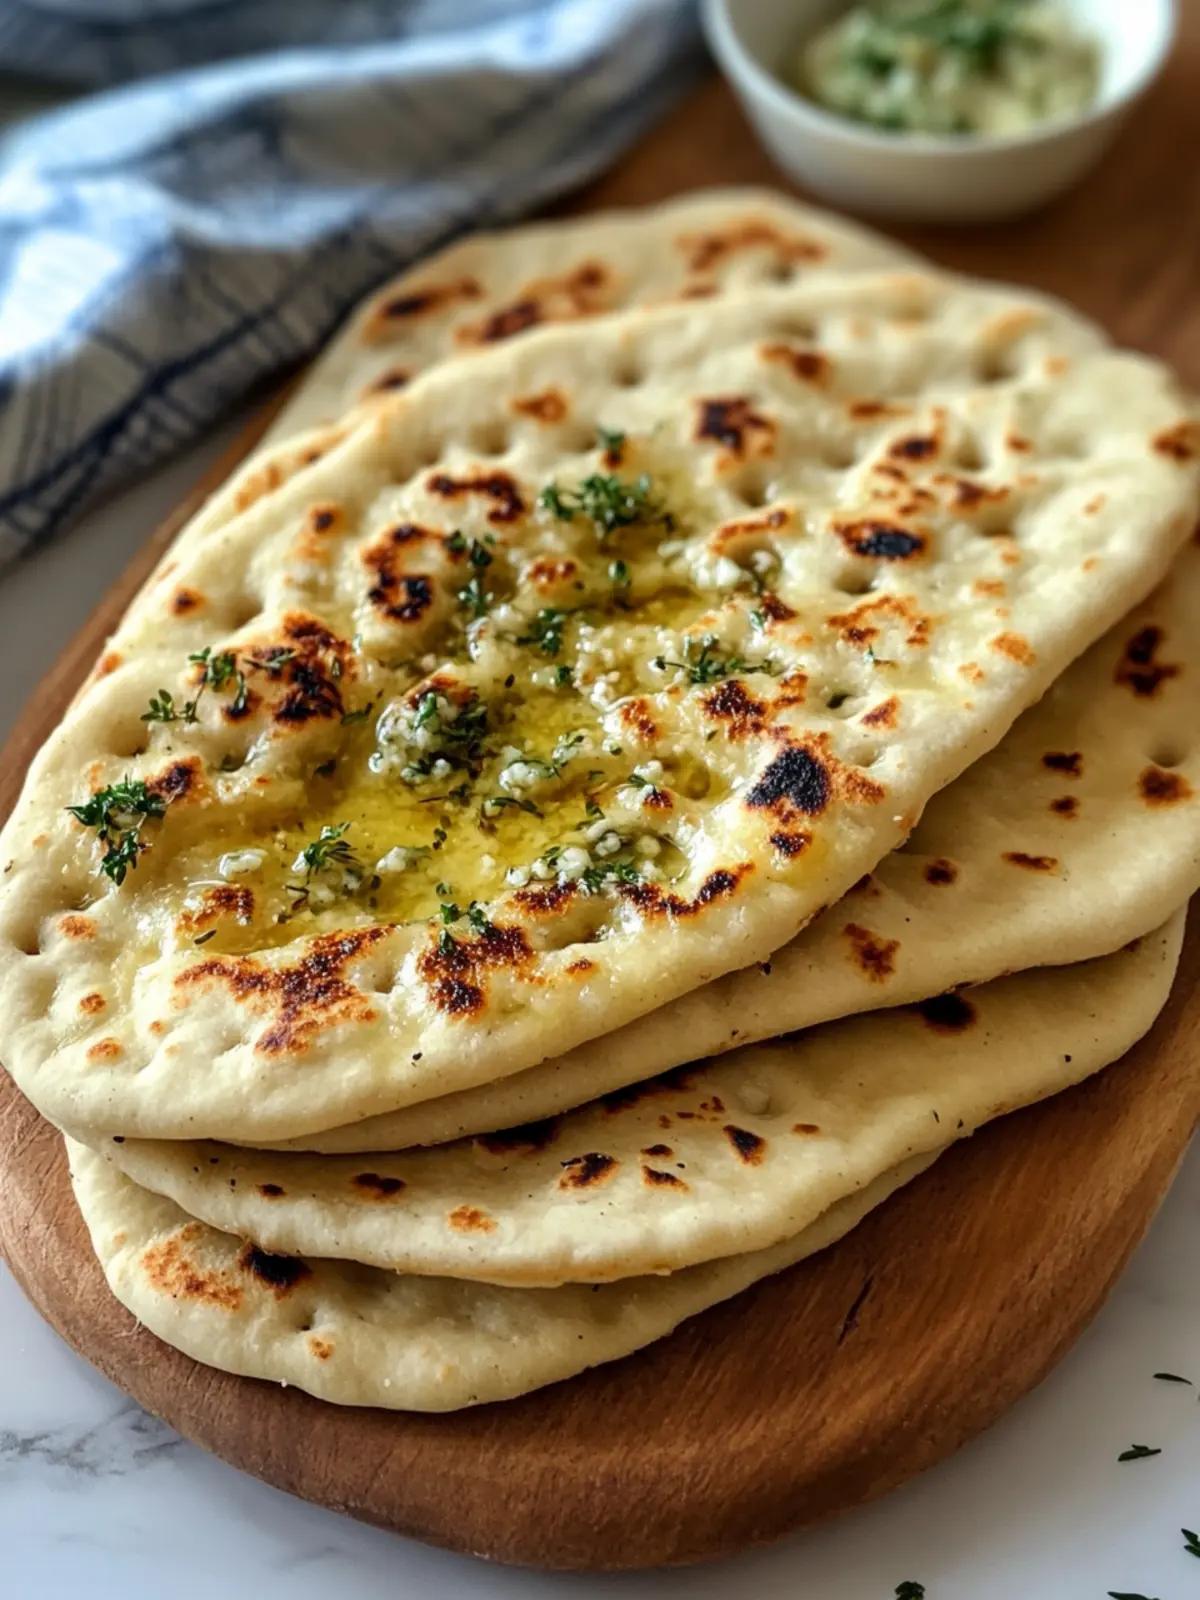
Delicious Garlic Pita Bread for a Homemade Feast
Ingredients
Equipment
Method
- Combine the dry ingredients in a large bowl by whisking together flour, salt, and yeast.
- Add warm milk and warm water to the dry ingredients. Stir until you have a shaggy mass.
- Incorporate olive oil into the shaggy dough and knead it into a smooth dough.
- Cover the bowl with plastic wrap and a kitchen towel. Let the dough rest for 1 hour.
- Dust a clean work surface with flour and place the dough down. Shape it into a flat circle.
- Divide the dough into 6 equal pieces and cover with a towel.
- Roll out one ball into a circle about 1/4 inch thick. Repeat for remaining balls.
- Heat a pan over medium-high heat, drizzle with olive oil, and cook each pita for 1-2 minutes until golden brown.
- Cover cooked pita with a towel to keep warm and repeat cooking process.
- Melt butter, stir in garlic and parsley, and spread over each cooked pita.