
There’s something utterly delightful about discovering a new twist on a classic dessert, and that’s exactly what my Dr. Pepper Cake brings to the table. As I rummaged through my pantry one rainy afternoon, a curiosity struck me—what if I combined my favorite soda with a rich chocolate cake? The idea felt a little wild, yet the thought of that sweet, fizzy flavor intertwining with chocolate and spices made my heart race.
When I pulled it out of the oven, the aroma enveloped my kitchen, mingling the nostalgia of childhood sips with the warmth of home-baked goodness. Each slice is a symphony of flavors, seamlessly merging the sweet notes of cherries and prunes with the luscious chocolate background, topped off with a creamy frosting that packs a punch of Dr. Pepper flavor.
This cake isn’t just easy to make; it’s a showstopper for any gathering. Perfect for those moments when you want to impress without spending all day in the kitchen. So grab that can of Dr. Pepper and let’s create something truly unforgettable!
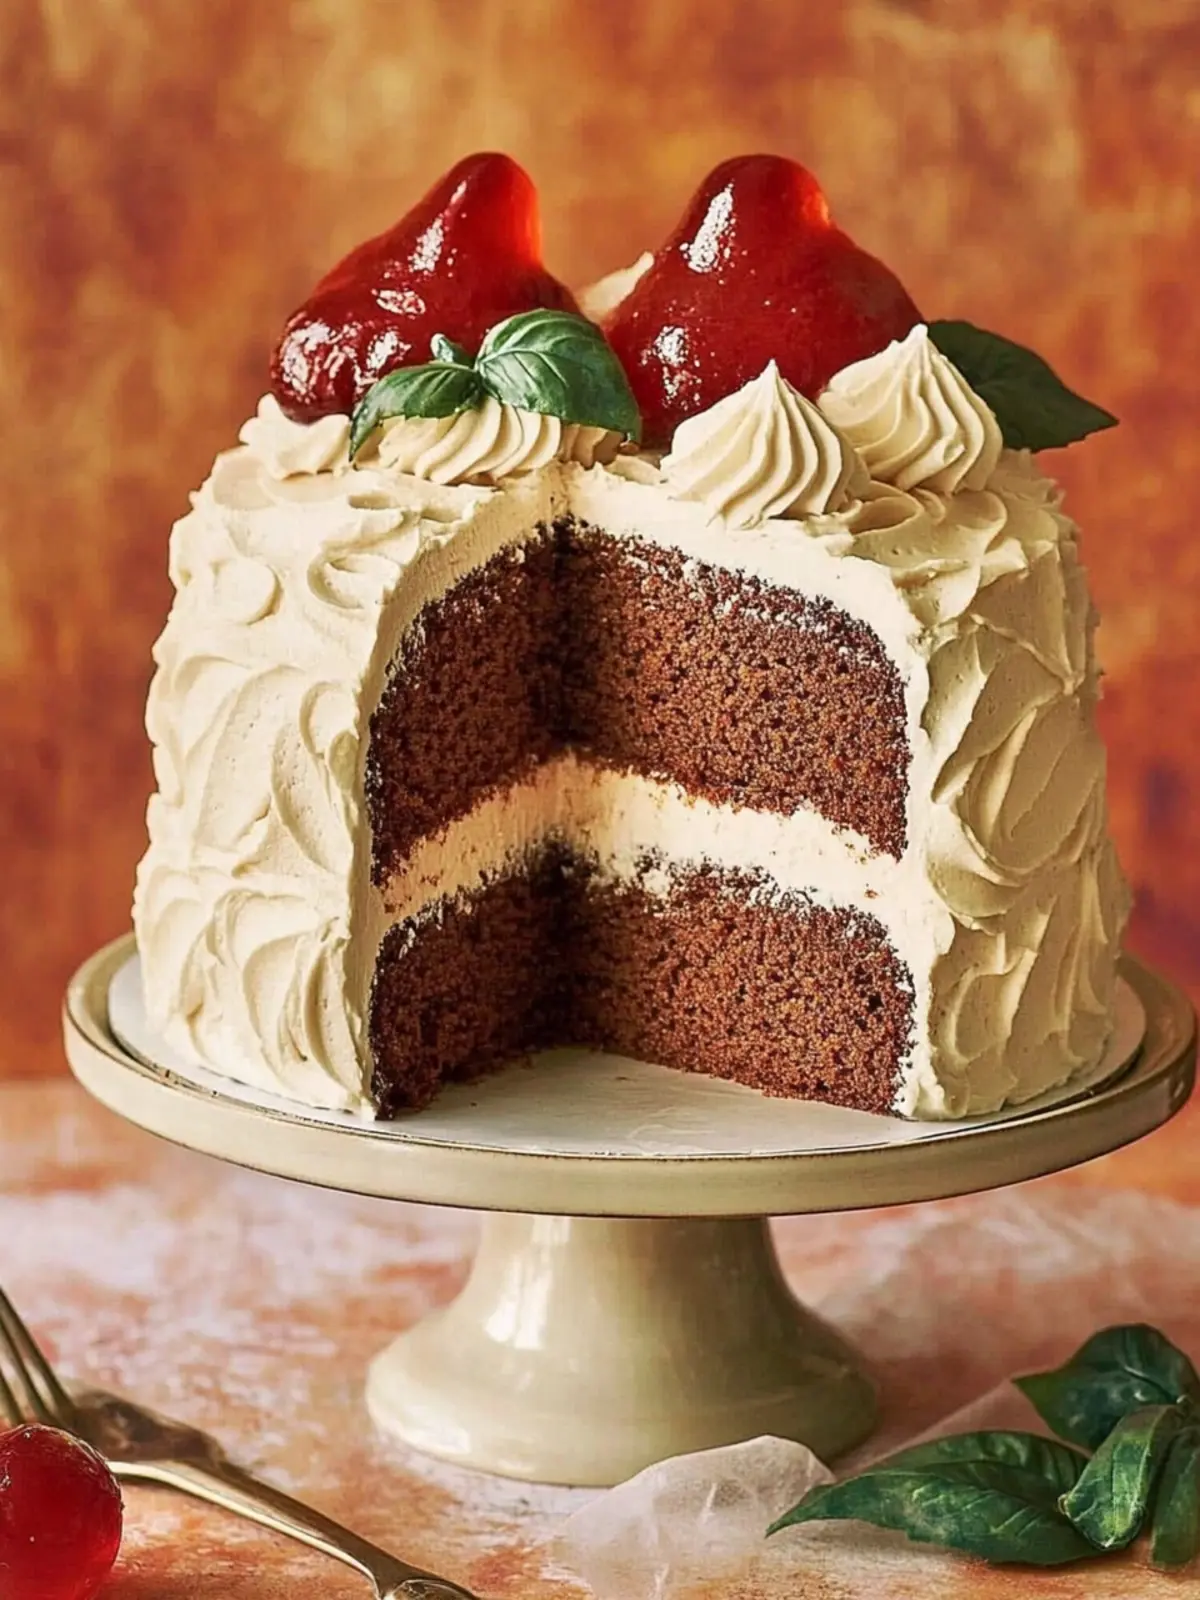
Why is Dr. Pepper Cake a Must-Try?
Unique Flavor Fusion: Imagine your favorite soda transformed into a moist, chocolatey cake! This recipe blends rich chocolate with sweet cherries and prunes for an unforgettable treat.
Easy to Make: With simple pantry ingredients and just 59 minutes from prep to bake, this cake fits perfectly into a busy schedule.
Perfect for Gatherings: Whether it’s a birthday party or a casual get-together, this cake is bound to be a crowd-pleaser that sparks fun conversations.
Irresistibly Tasty Frosting: The frosting, made with a reduced Dr. Pepper, adds a velvety sweetness that will have your friends begging for seconds!
Don’t forget to check out how to make my easy chocolate cake as a delightful alternative on days when you’re looking for something different!
Dr. Pepper Cake Ingredients
For the Cake
- Prunes – adds moisture and a subtle sweetness to balance the chocolate.
- Dried Cherries – provides a fruity pop that complements the flavors perfectly.
- Dr. Pepper soda – the secret ingredient that enhances the cake’s moisture and flavor profile.
- Unsalted Butter – ensures a rich taste and helps create a tender crumb.
- Cocoa Powder – gives the cake its rich chocolate essence.
- Boiling Water – helps to bloom the cocoa powder for a deeper flavor.
- Buttermilk – adds tanginess and keeps the cake delightfully moist.
- Large Eggs – bind the ingredients together, giving the cake structure.
- Baking Soda – helps the cake rise, creating a light and fluffy texture.
- Vanilla Extract – enhances the overall flavor with its warm, sweet notes.
- All-Purpose Flour – the base of the cake, giving it structure and stability.
- Granulated Sugar – sweetens the cake and balances the cocoa’s bitterness.
- Nutmeg – adds a cozy, aromatic hint to the cake’s flavor profile.
- Ginger – introduces warmth and a mild spiciness.
- All Spice – brings a delightful depth with its complex, warm flavors.
For the Frosting
- Dr. Pepper soda – reduced to concentrate its flavor, adding a unique twist to the frosting.
- Butter – provides creaminess and a luxurious texture in the frosting.
- Ground Ginger – complements the frosting with a warm spiciness.
- Confectioners’ Sugar – sweetens the frosting while ensuring a smooth consistency.
- Vanilla – rounds out the flavor profile for a delectable finishing touch.
How to Make Dr. Pepper Cake
-
Preheat your oven to 350°F. Prepare two 8-inch round cake pans with a pan release or simply butter and flour them for easy removal.
-
Combine prunes and dried cherries in a medium saucepan. Pour in 1 cup of Dr. Pepper and bring it to a slow boil over medium heat, letting those sweet fruits infuse their flavor.
-
Cook for about 5 minutes, then remove from heat and set aside to cool for roughly 20 minutes – this will allow the flavors to meld beautifully.
-
Boil ½ cup of water. In a microwave-safe dish, melt the butter. Incorporate the cocoa powder into the melted butter, and then whisk in the boiling water until smooth. Set aside.
-
Mix buttermilk, eggs, baking soda, and vanilla in a small bowl, whisking until combined. This will bring added richness to your batter!
-
Blend flour, sugar, nutmeg, ginger, and allspice in the bowl of a stand mixer fitted with a paddle attachment, creating a warm aromatic base for your cake.
-
Add the cocoa mixture into the flour mixture with the mixer on low, combining them until just blended together.
-
Pour in the buttermilk mixture, ensuring everything comes together nicely.
-
Slowly pour in the Dr. Pepper mixture and mix until everything is fully incorporated into a luscious batter.
-
Divide the batter evenly into the prepared pans, about 2½ cups for each – they’ll rise perfectly to create your delicious cake layers.
-
Bake for 30-34 minutes or until the cakes have pulled away from the edges, and the tops are slightly cracked and firm to touch.
For the Frosting:
-
Reduce 4 cups of Dr. Pepper in a small saucepan over medium heat until it has thickened to about ½ cup (20-25 minutes). Allow it to cool completely before using.
-
Cream the butter in your mixer, then add in ginger, confectioners’ sugar, and vanilla. Blend together until fluffy – approximately 3-5 minutes, scraping the bowl occasionally.
-
Incorporate the cooled Dr. Pepper reduction with the mixer on low until everything is well blended, creating a silky frosting delight!
-
Spread the delicious frosting evenly over the cooled cake layers, letting that unique Dr. Pepper flavor shine.
Optional: Top with a sprinkle of cocoa powder for an extra touch of style!
Exact quantities are listed in the recipe card below.
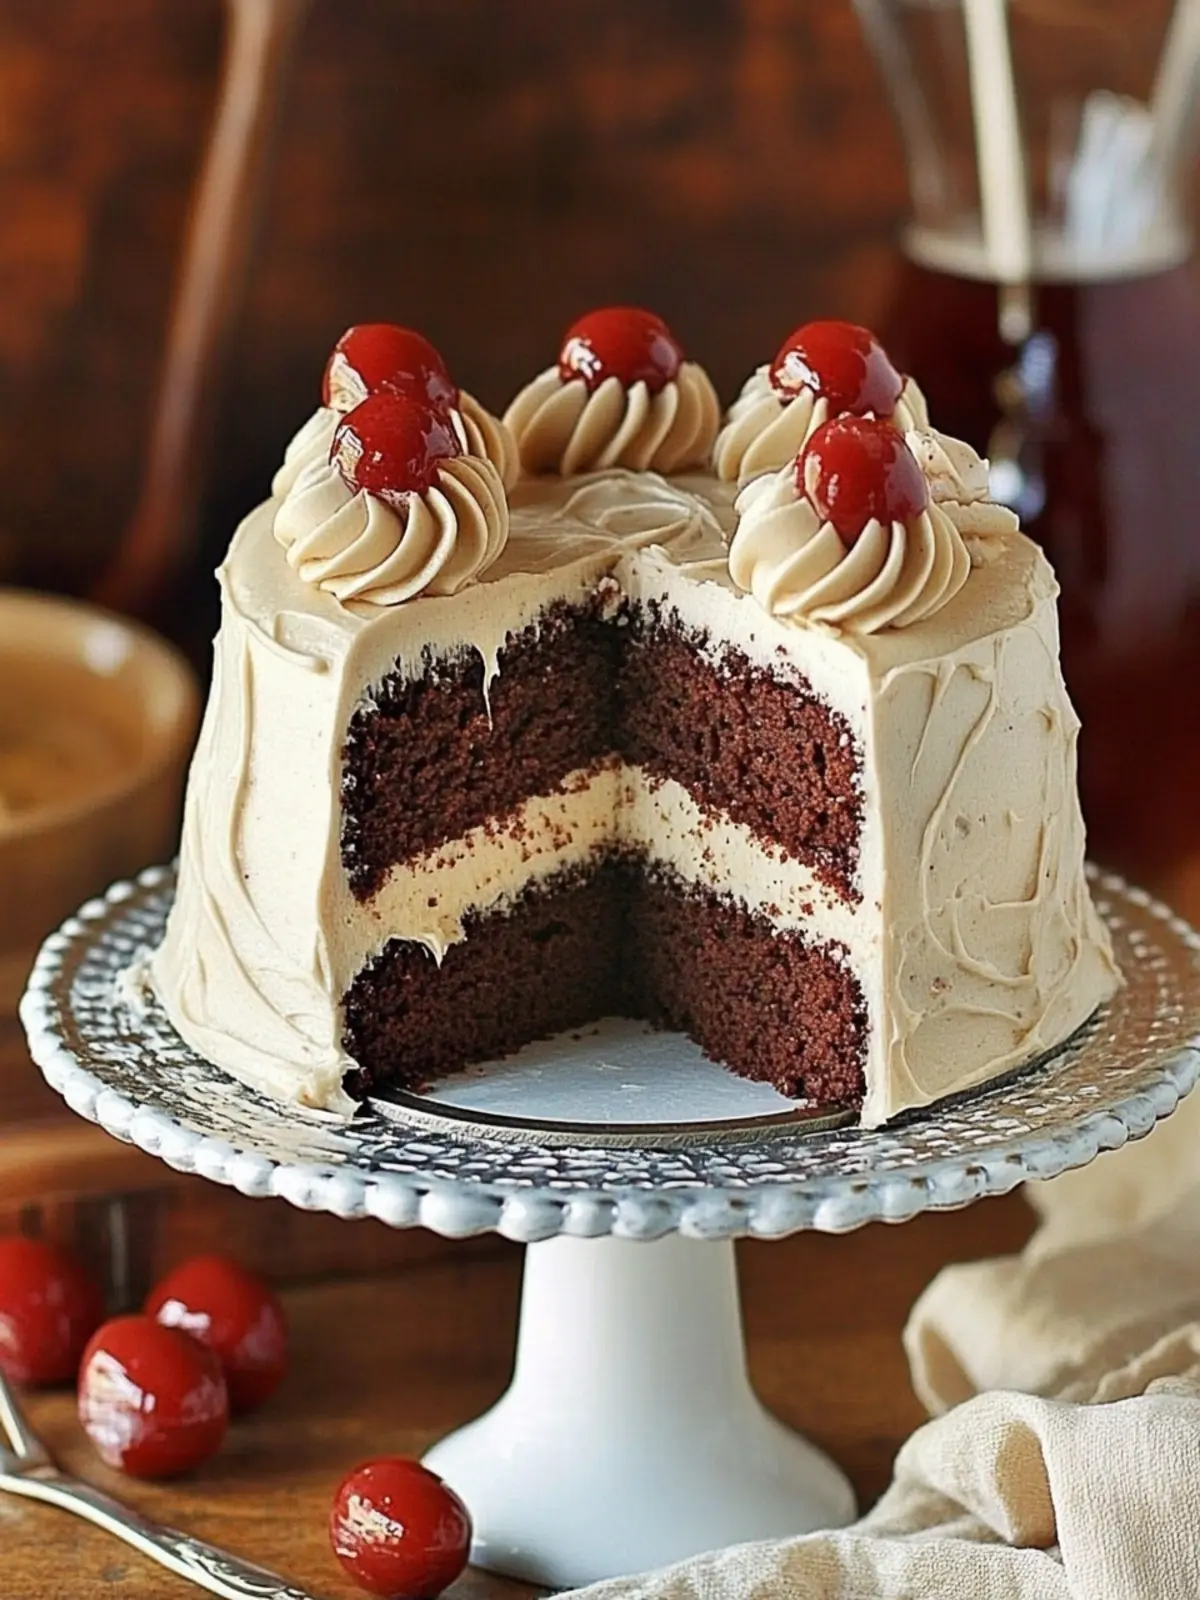
Tips for the Best Dr. Pepper Cake
Quality Ingredients: Use high-quality unsalted butter and fresh eggs for the best flavor and texture. This will elevate your Dr. Pepper Cake to the next level.
Avoid Overmixing: Once you add the flour, mix just until combined. Overmixing can lead to a dense cake, so be gentle to keep it light and airy.
Cooling Time: Make sure to let the cakes cool completely before frosting. This prevents the frosting from melting and ensures a beautiful finish to your Dr. Pepper Cake.
Proper Measuring: Weigh your flour for accuracy, or spoon it into the measuring cup and level it off without packing it down. This helps avoid a dry cake.
Dr. Pepper Reduction: Allow the Dr. Pepper for the frosting to cool completely before combining with the butter and sugar; this ensures a smooth consistency and enhances the flavor.
Storage Tip: Keep any leftover cake in an airtight container at room temperature for up to 3 days, and it will remain moist and delicious!
Make Ahead Options
Dr. Pepper Cake is perfect for meal prep enthusiasts! You can prepare the cake layers up to 24 hours in advance. Simply bake and allow them to cool completely, then wrap them tightly in plastic wrap and refrigerate to maintain that moist texture. The frosting can also be made ahead; just store it in an airtight container in the fridge for up to 3 days. Before serving, rewhip the frosting to restore its creamy consistency. When you’re ready to indulge, frost your chilled cake layers, and you’ll have a delightful dessert ready to impress your family with minimal last-minute effort!
What to Serve with Dr. Pepper Cake?
Crafting a dessert experience goes beyond just the cake—let’s explore delightful pairings that will elevate your sweet treat!
-
Whipped Cream: A dollop of freshly whipped cream adds a light and airy touch that balances the cake’s richness.
-
Vanilla Ice Cream: Served alongside a warm slice, it creates a delightful contrast of temperatures and flavors that complements the cake’s deep chocolate essence.
-
Fresh Berries: Berries like strawberries or raspberries bring a tart freshness that cuts through the sweetness, providing a refreshing bite with every forkful.
-
Coffee or Espresso: A cup of coffee enhances the cake’s flavors, grounding its sweetness with a warm, rich taste that makes every bite memorable.
-
Chocolate Sauce: Drizzling some silky chocolate sauce over the top creates an indulgent experience that chocolate lovers will adore.
-
Nutty Crumble: Adding a sprinkle of roasted nuts provides a crunchy texture, creating a lovely contrast to the soft, moist layers of cake.
-
Chilled Citrus Punch: Pairing with a cool citrus punch refreshes the palate and adds a fruity brightness that enhances the cake’s flavors.
These pairings not only complement your Dr. Pepper Cake beautifully but also offer a varied taste and texture experience. Enjoy the sweet journey!
How to Store and Freeze Dr. Pepper Cake
-
Room Temperature: Keep the cake in an airtight container at room temperature for up to 3 days to maintain its rich moisture and flavor.
-
Fridge: If you prefer to keep it longer, refrigerate the cake in an airtight container for up to a week. Just remember that it may lose a bit of its soft texture.
-
Freezer: For longer storage, wrap the cooled cake layers tightly in plastic wrap and then in aluminum foil. It will stay fresh in the freezer for up to 3 months.
-
Reheating: To enjoy leftover slices, simply thaw in the fridge overnight and reheat lightly in the microwave for 10-15 seconds, or enjoy them chilled for a refreshing treat.
Dr. Pepper Cake Variations
Feel free to let your creativity shine by customizing this delightful cake to suit your tastes and dietary preferences!
-
Vegan: Substitute the butter with coconut oil and replace the eggs with flaxseed meal mixed with water for a plant-based twist.
-
Gluten-Free: Use a gluten-free all-purpose flour blend instead of regular flour to make this cake suitable for gluten-free diets.
-
Spicy Kick: Add a dash of cayenne pepper to the batter for a surprising heat that complements the sweetness beautifully.
-
Fruit Boost: Mix in ½ cup of finely chopped nuts or shredded coconut for added texture and a nutty flavor profile that pairs well with the chocolate.
-
Zesty Twist: Incorporate the zest of an orange or lime into the batter for a bright citrus note that enhances the cake’s flavor.
-
Nutty Flavor: Replace some of the all-purpose flour with almond flour for a nutty taste and slightly denser texture that many will love.
-
Chocolate Lovers: Fold in ½ cup of chocolate chips for those who can’t resist extra chocolate in their desserts; they’ll melt beautifully and create delicious pockets of gooey bliss!
With these variations, your Dr. Pepper Cake will be uniquely yours, ensuring every bite is a delightful surprise!
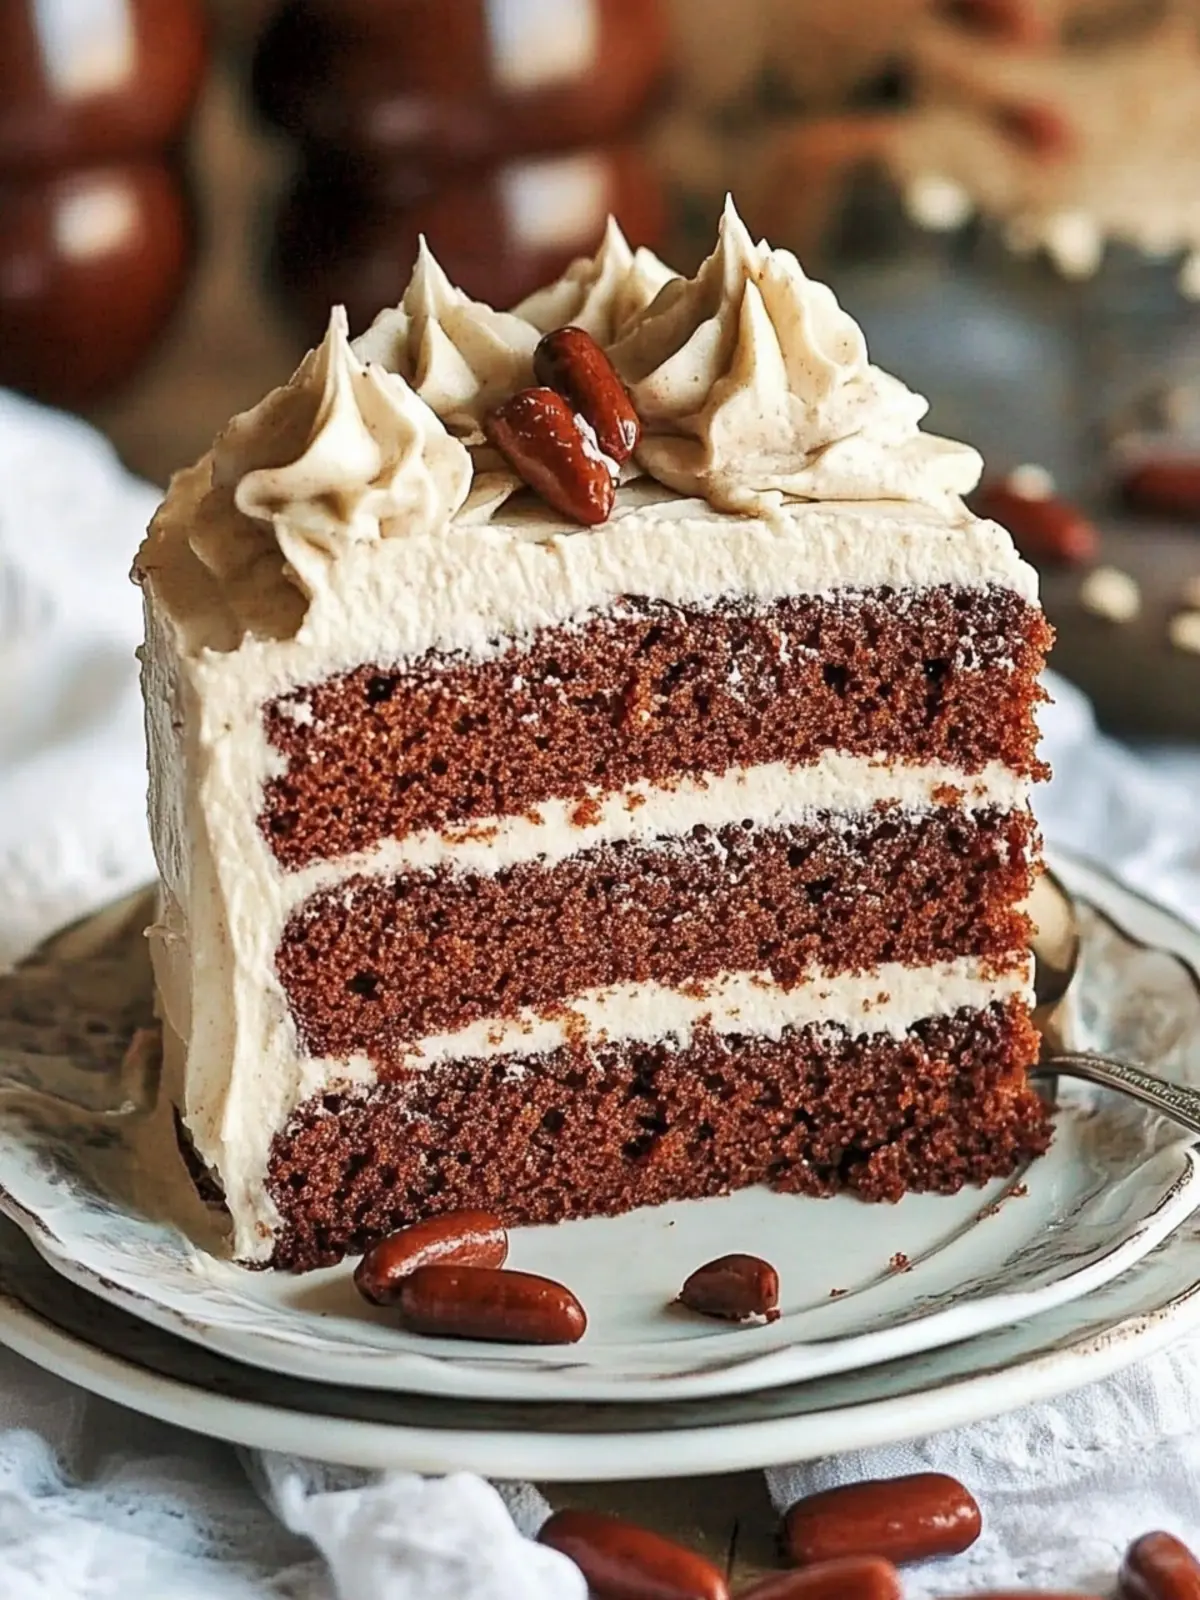
Dr. Pepper Cake Recipe FAQs
What kind of prunes should I use for the cake?
Absolutely! I recommend using soft, moist prunes without dark spots all over, as they add the right amount of sweetness and moisture to your Dr. Pepper Cake. Dried prunes should be easily chopable and luscious, ensuring the best flavor fusion with the cherries.
How can I store leftover Dr. Pepper Cake?
For optimal freshness, store the cake in an airtight container at room temperature for up to 3 days. If you need to keep it longer, you can refrigerate it for up to a week, though it may lose some of its delightful softness. Just ensure it’s wrapped well to prevent it from drying out!
Can I freeze Dr. Pepper Cake?
Absolutely! To freeze, wrap the cooled cake layers tightly in plastic wrap and then in aluminum foil. They can be stored in the freezer for up to 3 months. When ready to enjoy, simply thaw in the fridge overnight and let it come to room temperature before serving. For an extra treat, you can warm slices in the microwave for about 10-15 seconds.
What if my cake sinks in the middle?
If you find that your Dr. Pepper Cake sinks, it could be due to underbaking or not folding in the ingredients carefully enough. Make sure to bake until the edges pull away from the sides—typically around 30-34 minutes. Also, gently fold the mixtures to avoid aerating the batter too much, which helps maintain that delightful height and fluffiness!
Is this cake suitable for people with allergies?
Great question! This Dr. Pepper Cake does contain common allergens like eggs and butter, which might not be suitable for everyone. For a dairy-free version, you can replace the buttermilk with a non-dairy milk mixed with vinegar, and use an egg substitute if you have egg allergies. As always, double-check the specific ingredients you’re using for any possible allergens!
What if I don’t have Dr. Pepper?
No worries! You can substitute Dr. Pepper with other similar flavored sodas like root beer or cherry soda to achieve a similar sweet and fizzy effect. While the flavor will slightly change, you’ll still end up with a delicious cake that’s sure to impress!
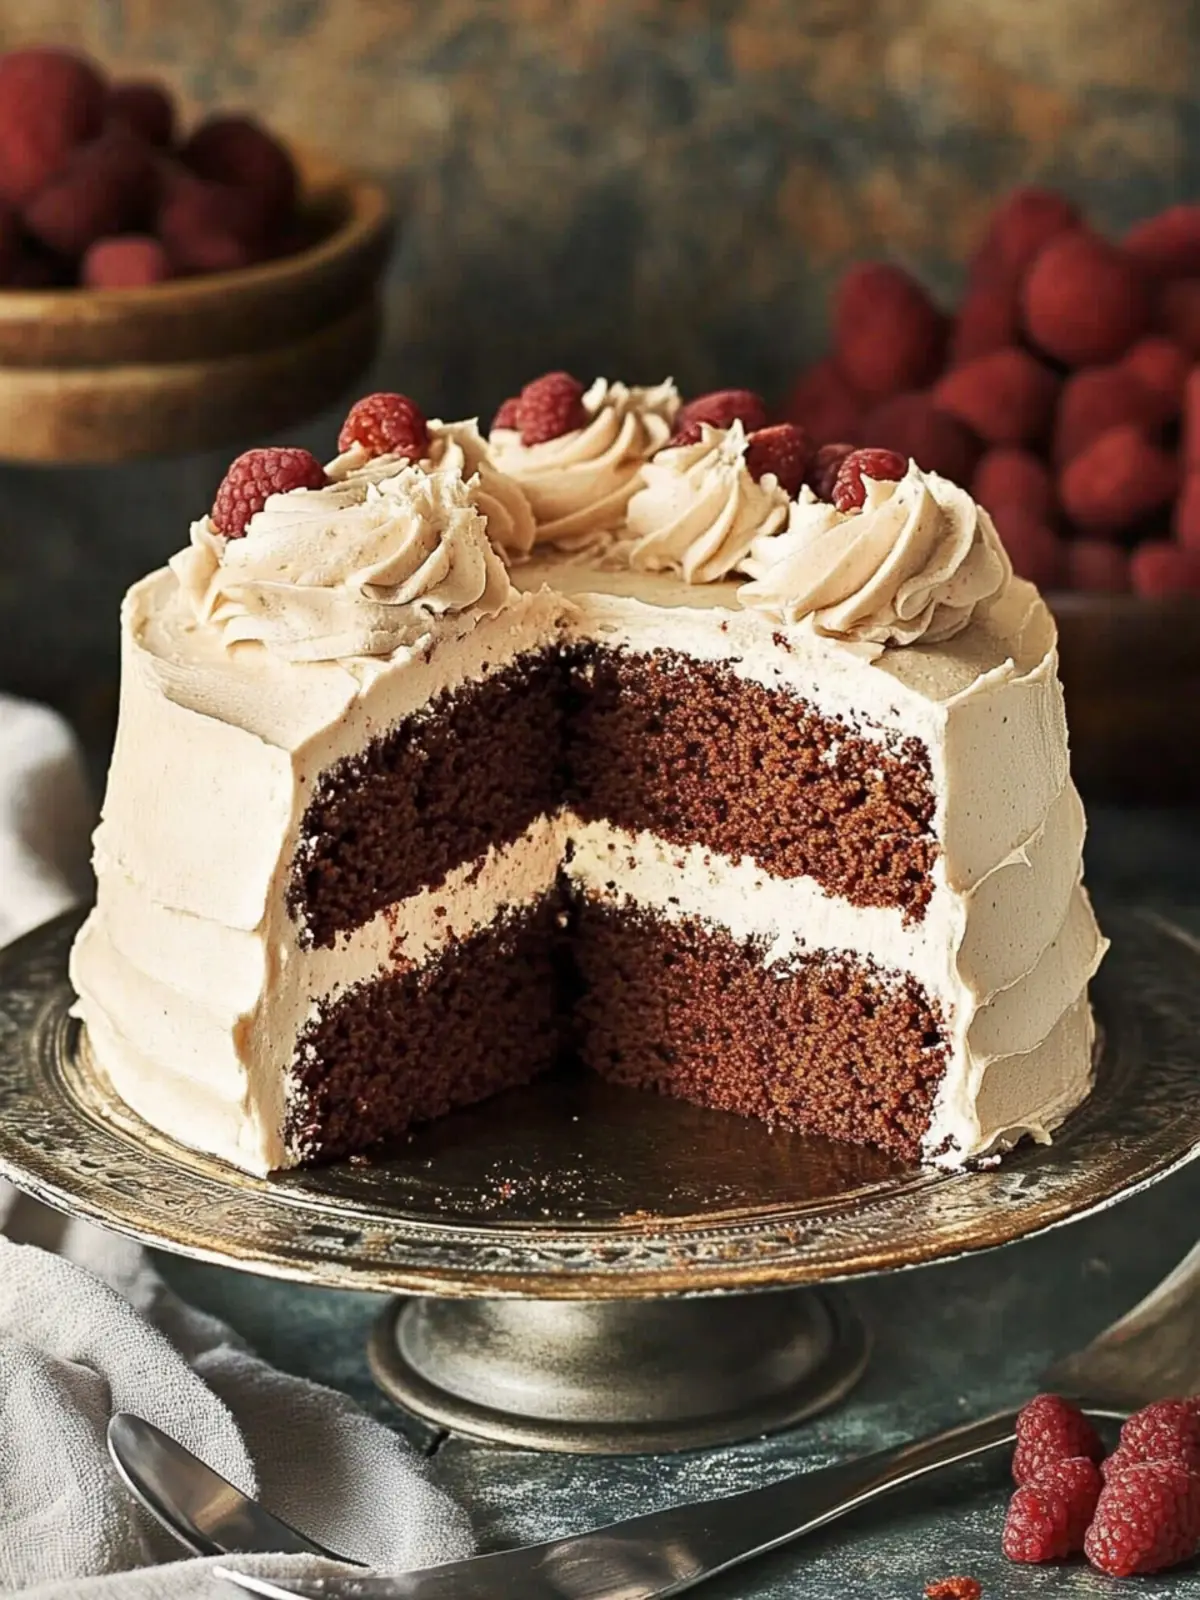
Irresistible Dr. Pepper Cake for a Fun Twist on Dessert
Ingredients
Equipment
Method
- Preheat your oven to 350°F. Prepare two 8-inch round cake pans with a pan release or simply butter and flour them for easy removal.
- Combine prunes and dried cherries in a medium saucepan. Pour in 1 cup of Dr. Pepper and bring to a slow boil over medium heat.
- Cook for about 5 minutes, then remove from heat and set aside to cool for roughly 20 minutes.
- Boil ½ cup of water. Melt the butter in a microwave-safe dish. Incorporate cocoa powder into the melted butter, whisking in the boiling water until smooth.
- Mix buttermilk, eggs, baking soda, and vanilla in a small bowl.
- Blend flour, sugar, nutmeg, ginger, and allspice in a stand mixer bowl.
- Add the cocoa mixture to the flour mixture, combining until just blended.
- Pour in the buttermilk mixture and slowly add in the Dr. Pepper mixture.
- Divide the batter evenly into the pans, about 2½ cups each.
- Bake for 30-34 minutes until the cakes pull away from edges and are firm to touch.
- Reduce 4 cups of Dr. Pepper in a saucepan over medium heat until thickened to about ½ cup.
- Cream the butter in your mixer, then add ginger, confectioners' sugar, and vanilla. Blend together until fluffy.
- Incorporate the cooled Dr. Pepper reduction until well blended.
- Spread the frosting evenly over the cooled cake layers.