
As the holiday season approaches, I find myself yearning for desserts that bring warmth and joy to my kitchen. This Red Velvet Brownie Pie has become a cherished favorite in my home, effortlessly combining the rich flavors of classic red velvet cake with the fudgy delight of brownies. Imagine a pie that oozes comfort, with its vibrant red hue and a texture so indulgent it will have you coming back for seconds—and maybe even thirds!
I stumbled upon this recipe while searching for a show-stopper dish to impress my family during gatherings. With just a few simple ingredients and a fraction of the time you’d expect, it quickly grew from a curious experiment to a go-to dessert. Each bite of this pie leaves a lingering hint of cocoa and a sweet, creamy topping that dances on your palate.
Perfect for anyone tired of the same old desserts, this pie is not only visually stunning but also incredibly easy to make. Trust me, even your most health-conscious friends will want to savor every slice! So, let’s dive into crafting this masterpiece that’s sure to be the highlight of any occasion.
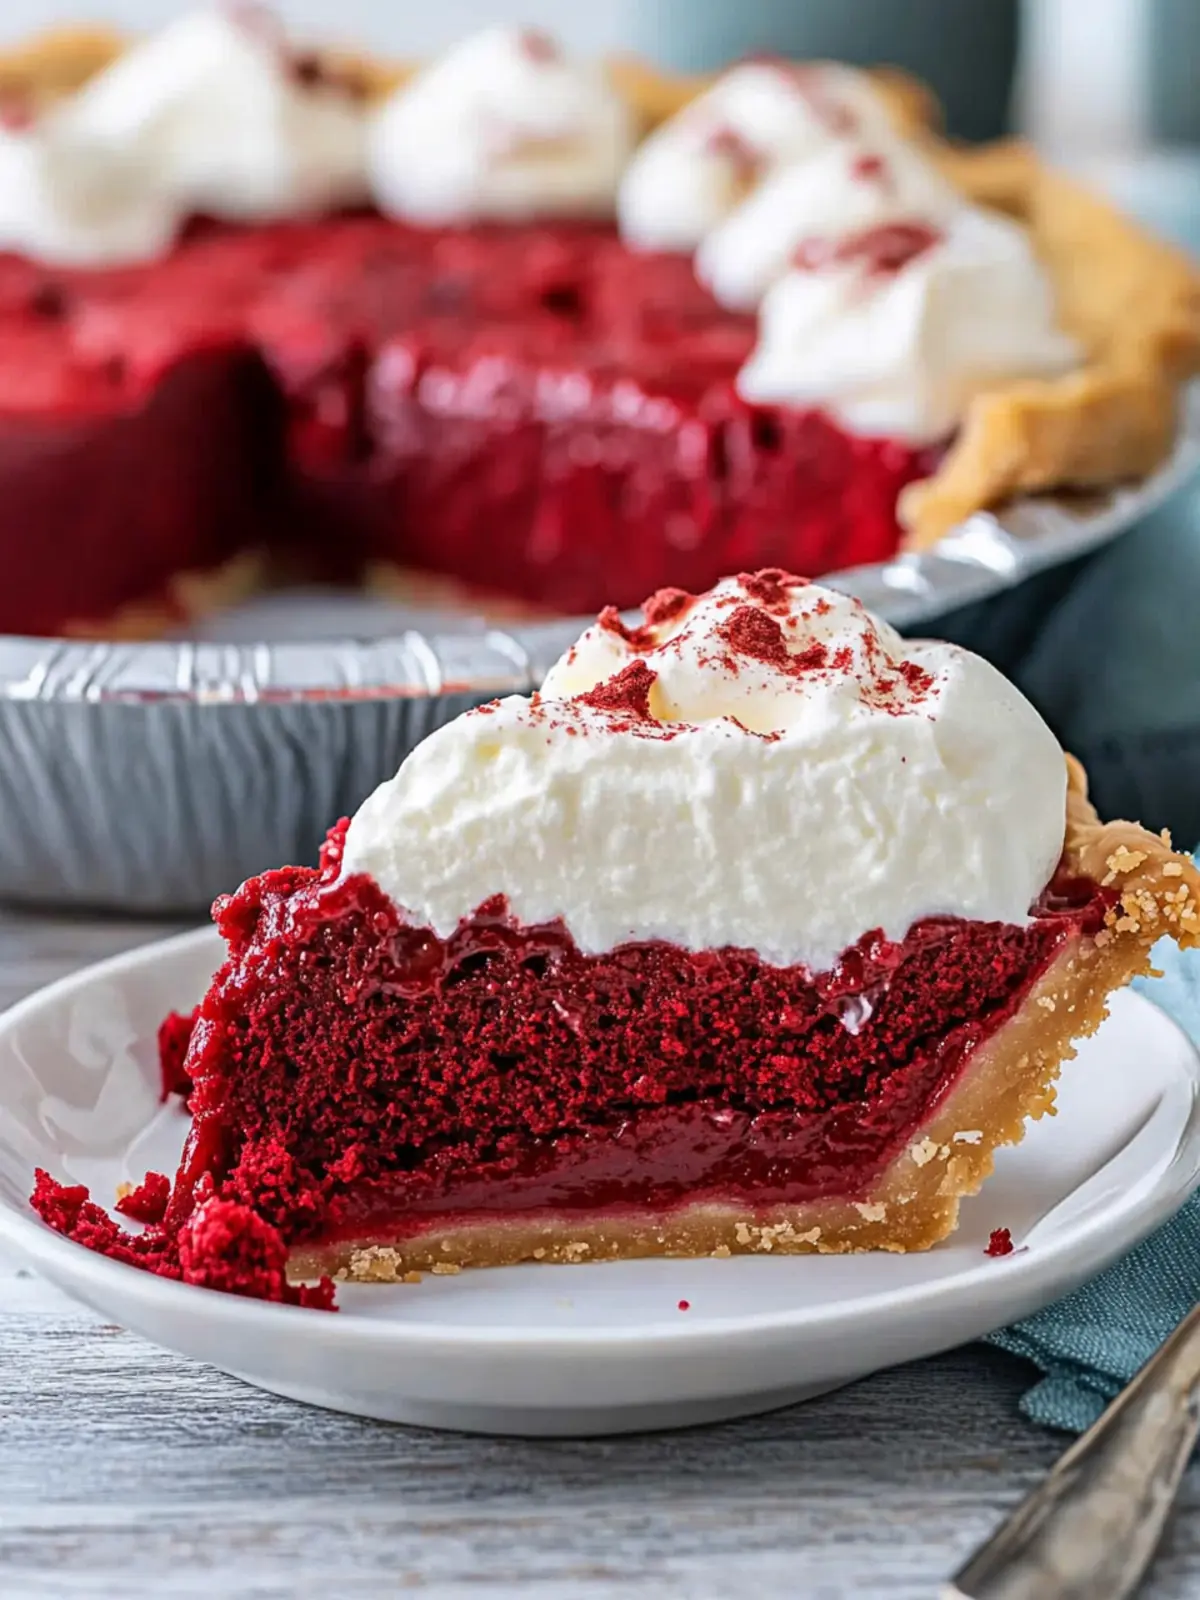
Why is Red Velvet Pie a Must-Try?
Irresistible flavor: The combination of rich brownie texture and classic red velvet cake creates a dessert that’s hard to resist.
Easy to make: With just a handful of ingredients and simple steps, this pie is accessible for bakers of all skill levels.
Versatile serving options: Serve it warm with a dollop of whipped cream, or enjoy it chilled—it’s delightful either way!
Crowd-pleaser: Its eye-catching color and decadent taste make it the perfect centerpiece for any gathering, impressing even the pickiest of eaters.
Family traditions: Try pairing this pie with your favorite holiday memories and watch it become a cherished favorite in your home as well.
Time-saving: With prep time under 20 minutes and only an hour in the oven, you’ll have a show-stopping dessert ready in no time—perfect for unexpected guests or cravings!
For more dessert ideas, check out our delightful [Dessert section](internalLink).
Red Velvet Pie Ingredients
Unleash the magic of this decadent treat!
For the Brownie Filling
• ½ cup (113g) unsalted butter – softened for that perfect creamy texture.
• 2 cups (400g) packed brown sugar – adds a rich, caramel-like flavor to the pie.
• 2 large eggs – bind the ingredients together and contribute to a fudgy consistency.
• 1 teaspoon vanilla extract – enhances the overall flavor profile beautifully.
• 1 teaspoon baking powder – helps the pie rise and keep its airy texture.
• 1 tablespoon (5g) unsweetened cocoa powder – deepens the chocolate flavor in the brownie filling.
• ½ teaspoon salt – balances the sweetness for a well-rounded taste.
• 2 cups (248g) all-purpose flour – forms the base of the brownie layer, creating that perfect chew.
• 1 teaspoon white vinegar – activates the baking powder for a fluffier texture.
• 1 tablespoon red food coloring – gives the pie its signature vibrant hue and enhances the red velvet experience.
For the Pie Crust
• 1 pie crust – whether packaged or homemade, this will cradle the delicious filling perfectly.
For the Cream Topping
• 2 ounces (56g) cream cheese – provides a tangy complement to the sweetness of the pie.
• ½ cup (50g) granulated sugar – sweetens the cream to perfection, making it heavenly.
• ½ teaspoon vanilla – adds depth and a comforting aroma to the whipped cream.
• ½ cup (118ml) cold heavy whipping cream – whip up to fluffy peaks for the ultimate creamy topping.
Get ready to impress with this Red Velvet Pie, a dessert that’s bound to steal the spotlight!
How to Make Red Velvet Pie
-
Preheat your oven to 350°F (175°C). Unroll the pie crust and gently fit it into a 9-inch pie plate, then chill it in the refrigerator while you prepare the filling.
-
Cream together the softened butter and brown sugar in an electric mixer until the mixture is crumbly. Add the eggs one at a time, followed by the vanilla extract, baking powder, and cocoa powder. Mix until everything is smooth and well combined.
-
Incorporate the all-purpose flour into the mixture, then add the white vinegar and red food coloring. Mix until the batter turns into a beautiful, vibrant red, ensuring it’s smooth and well combined.
-
Fill your chilled pie crust with the brownie batter, and place it on a cookie sheet for easier handling. Bake in the preheated oven for 50-60 minutes, or until the edges are puffed and cracked, allowing it to cool completely before adding the topping.
-
Prepare the cream topping by mixing softened cream cheese with sugar and vanilla in an electric mixer. Gradually pour in the cold heavy whipping cream while whipping until stiff peaks form, creating a luscious texture. Serve on the side or frost the top of the pie for added elegance.
-
Store any leftover pie in the refrigerator. An unfrosted pie will stay fresh for up to 4 days, while a frosted one lasts a shorter time. You can also freeze the unfrosted pie for up to 2 months to enjoy later!
Optional: Top with chocolate shavings for an extra touch of indulgence.
Exact quantities are listed in the recipe card below.
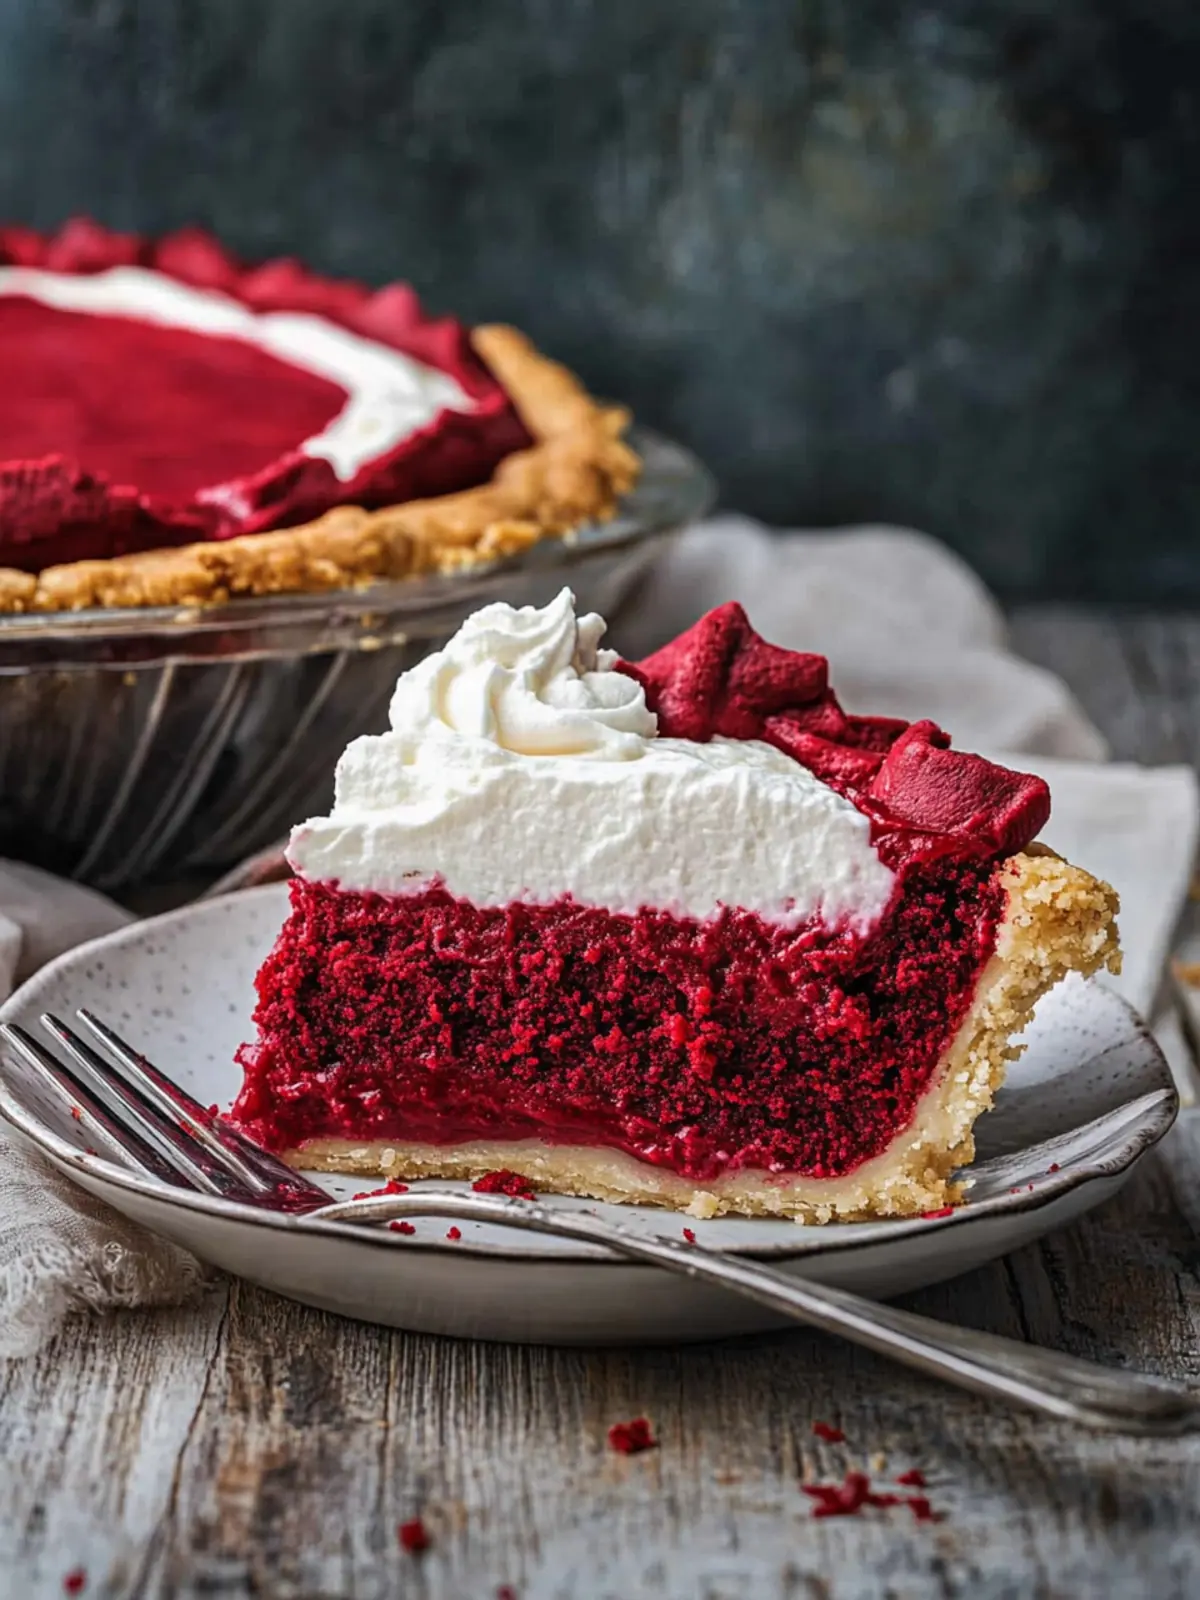
Expert Tips for Red Velvet Pie
-
Butter Matters: Use softened, unsalted butter for a creamy filling. Cold butter can lead to an uneven texture.
-
Chill Your Crust: Always chill the pie crust before filling to prevent it from becoming soggy while baking.
-
Mixing Technique: Be careful not to overmix the batter after adding flour. Gently fold until just combined for the best texture.
-
Color Counts: Use gel food coloring for a vibrant hue that won’t affect the batter’s consistency as much as liquid dyes.
-
Baking Vigilance: Keep an eye on baking time, as ovens vary. When the edges are puffed and cracked, it’s almost ready!
-
Whipped Cream Perfection: For the cream topping, make sure your heavy whipping cream is cold to achieve those beautiful stiff peaks.
Red Velvet Pie Variations
Get ready to put your own spin on this delightful dessert!
-
Gluten-Free: Substitute all-purpose flour with a gluten-free blend to make this pie accessible for those with dietary restrictions. Feel free to experiment with different blends for the best results.
-
Nutty Twist: Add ½ cup of finely chopped walnuts or pecans to the brownie batter for extra texture and flavor. Nuts bring a delightful crunch that complements the moist filling.
-
Minty Freshness: Incorporate 1 teaspoon of peppermint extract into the cream topping for a refreshing flavor twist. This minty kick is perfect for those who enjoy innovative desserts.
-
Chocolate Ganache: Pour a warm chocolate ganache over the top of the cooled pie to elevate its decadence. It adds a rich layer of chocolate that truly takes it to the next level.
-
Berry Bliss: Top the pie with fresh strawberries or raspberries for a fruity complement to the rich flavors. The tartness of the berries counters the sweetness beautifully.
-
Spicy Kick: Add ¼ teaspoon of cayenne pepper to the brownie batter to introduce a subtle warmth that enhances the chocolate flavor. It’s a bold choice that adventurous eaters will love!
-
Vegan Option: Swap eggs for flax eggs and use coconut cream instead of heavy whipping cream for a plant-based alternative. This version remains moist and satisfying without sacrificing flavor.
-
Cream Cheese Frosting: For a richer topping, make a full cream cheese frosting instead of the whipped cream. Blend in some powdered sugar to reach your desired sweetness, creating an indulgent finish.
Make Ahead Options
These Red Velvet Brownie Pies are perfect for busy home cooks looking to simplify their meal prep! You can make the brownie batter up to 24 hours in advance; just refrigerate it in an airtight container to keep the flavors fresh and vibrant. The pie crust can also be prepared ahead—chill it in the pie plate for up to 3 days before filling. When you’re ready to bake, simply pour the chilled batter into the prepared crust and bake as directed. The unrefrigerated unfrosted pie will stay fresh for up to 4 days in the fridge, and if you prefer, you can freeze the unfrosted pie for up to 2 months. Just allow it to thaw in the refrigerator overnight, then top with the cream before serving. Enjoy the convenience and deliciousness of this Red Velvet Pie without the last-minute rush!
How to Store and Freeze Red Velvet Pie
- Fridge: Store leftover pie in the refrigerator, unfrosted for up to 4 days. Cover it loosely with plastic wrap to maintain moisture and freshness.
- Freezer: An unfrosted Red Velvet Pie can be frozen for up to 2 months. Wrap it tightly in plastic wrap, then place it in an airtight container to prevent freezer burn.
- Thawing: To enjoy your frozen pie, transfer it to the fridge overnight for a gentle thaw. Serve it chilled or let it come to room temperature before slicing.
- Reheating: If you prefer your pie warm, gently reheat individual slices in the microwave for about 15-20 seconds, being careful not to overheat, which may change the texture.
What to Serve with Red Velvet Brownie Pie?
Indulge your senses by pairing this delightful dessert with complementary sides that enhance its rich flavor and texture.
-
Velvety Vanilla Ice Cream: A scoop adds creamy coolness, balancing the pie’s fudgy richness and making each bite heavenly.
-
Fresh Berries: Juicy strawberries or raspberries bring a burst of tartness, cutting through the sweetness and adding a refreshing contrast.
-
Chocolate Sauce Drizzle: A warm drizzle of chocolate sauce intensifies the chocolate flavor, creating an indulgent experience every time you serve the pie.
-
Whipped Cream: A fluffy dollop on top or on the side elevates the dessert, adding an airy lightness that beautifully complements the brownie base.
-
Mint Garnish: A few fresh mint leaves not only beautify the plate but add a sprightly hint that brightens the overall flavor profile.
-
Coffee or Espresso: A steaming cup of coffee or a shot of espresso pairs perfectly, enhancing the cocoa notes and providing a satisfying end to your meal.
Tantalize your guests’ taste buds and truly make your gathering memorable with these lovely pairings!
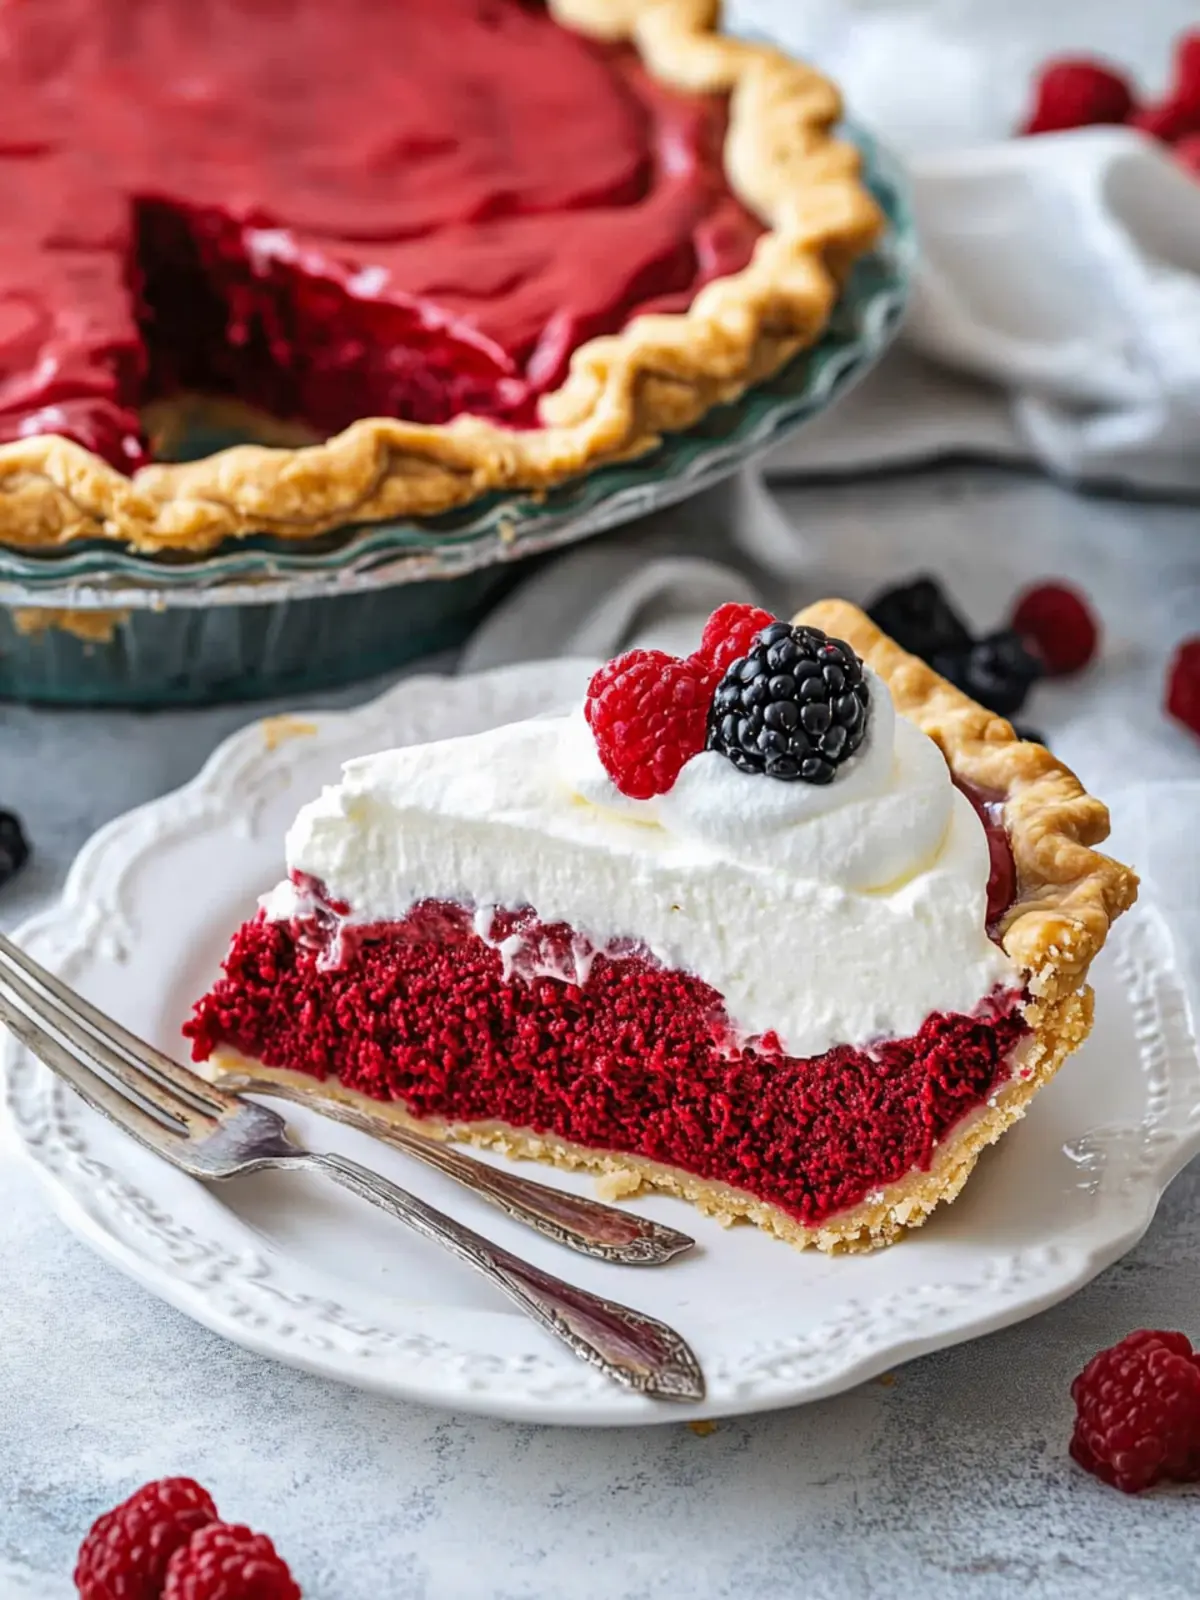
Red Velvet Pie Recipe FAQs
How do I choose the right ingredients for Red Velvet Pie?
Absolutely! When selecting ingredients, look for unsalted butter that is softened for a creamy texture, and packed brown sugar for its rich, caramel-like flavor. Choose high-quality red food coloring or gel for the brightest hue, and ensure your eggs are fresh and at room temperature to mix seamlessly into the batter.
How can I store leftover Red Velvet Pie?
Very good question! Store the leftover pie in an airtight container in the refrigerator. An unfrosted pie will last for up to 4 days, while a frosted one typically stays fresh for about 2-3 days. Remember to cover it loosely with plastic wrap to preserve its moisture and flavor.
Can I freeze Red Velvet Pie?
Absolutely! You can freeze an unfrosted Red Velvet Pie for up to 2 months. First, wrap it tightly in plastic wrap, ensuring no air can infiltrate, and then place it in an airtight container to prevent freezer burn. When you’re ready to enjoy, transfer the pie to the fridge overnight to thaw gently.
What should I do if my brownie batter is too thick?
No problem! If your brownie batter turns out thicker than expected, add a tablespoon of milk or water to loosen it up before pouring it into the pie crust. Mix gently until combined, being careful not to overmix. This will help achieve that delightfully fudgy texture without compromising flavor.
Are there any dietary considerations for Red Velvet Pie?
Definitely! If you’re cooking for someone with allergies, this pie contains gluten and dairy, so be mindful of your guests’ dietary needs. For a gluten-free alternative, consider using a gluten-free flour blend. If you’re looking for a vegan option, substitute eggs with flax eggs (1 tablespoon of flaxseed meal mixed with 2.5 tablespoons of water = 1 egg) and use a dairy-free butter substitute.
How long does it take to prepare the Red Velvet Pie?
Great question! The total time to make this pie is about 1 hour and 20 minutes, which includes a prep time of 20 minutes and a bake time of 50-60 minutes. It’s a wonderful option when you’re short on time but still want a show-stopping dessert!
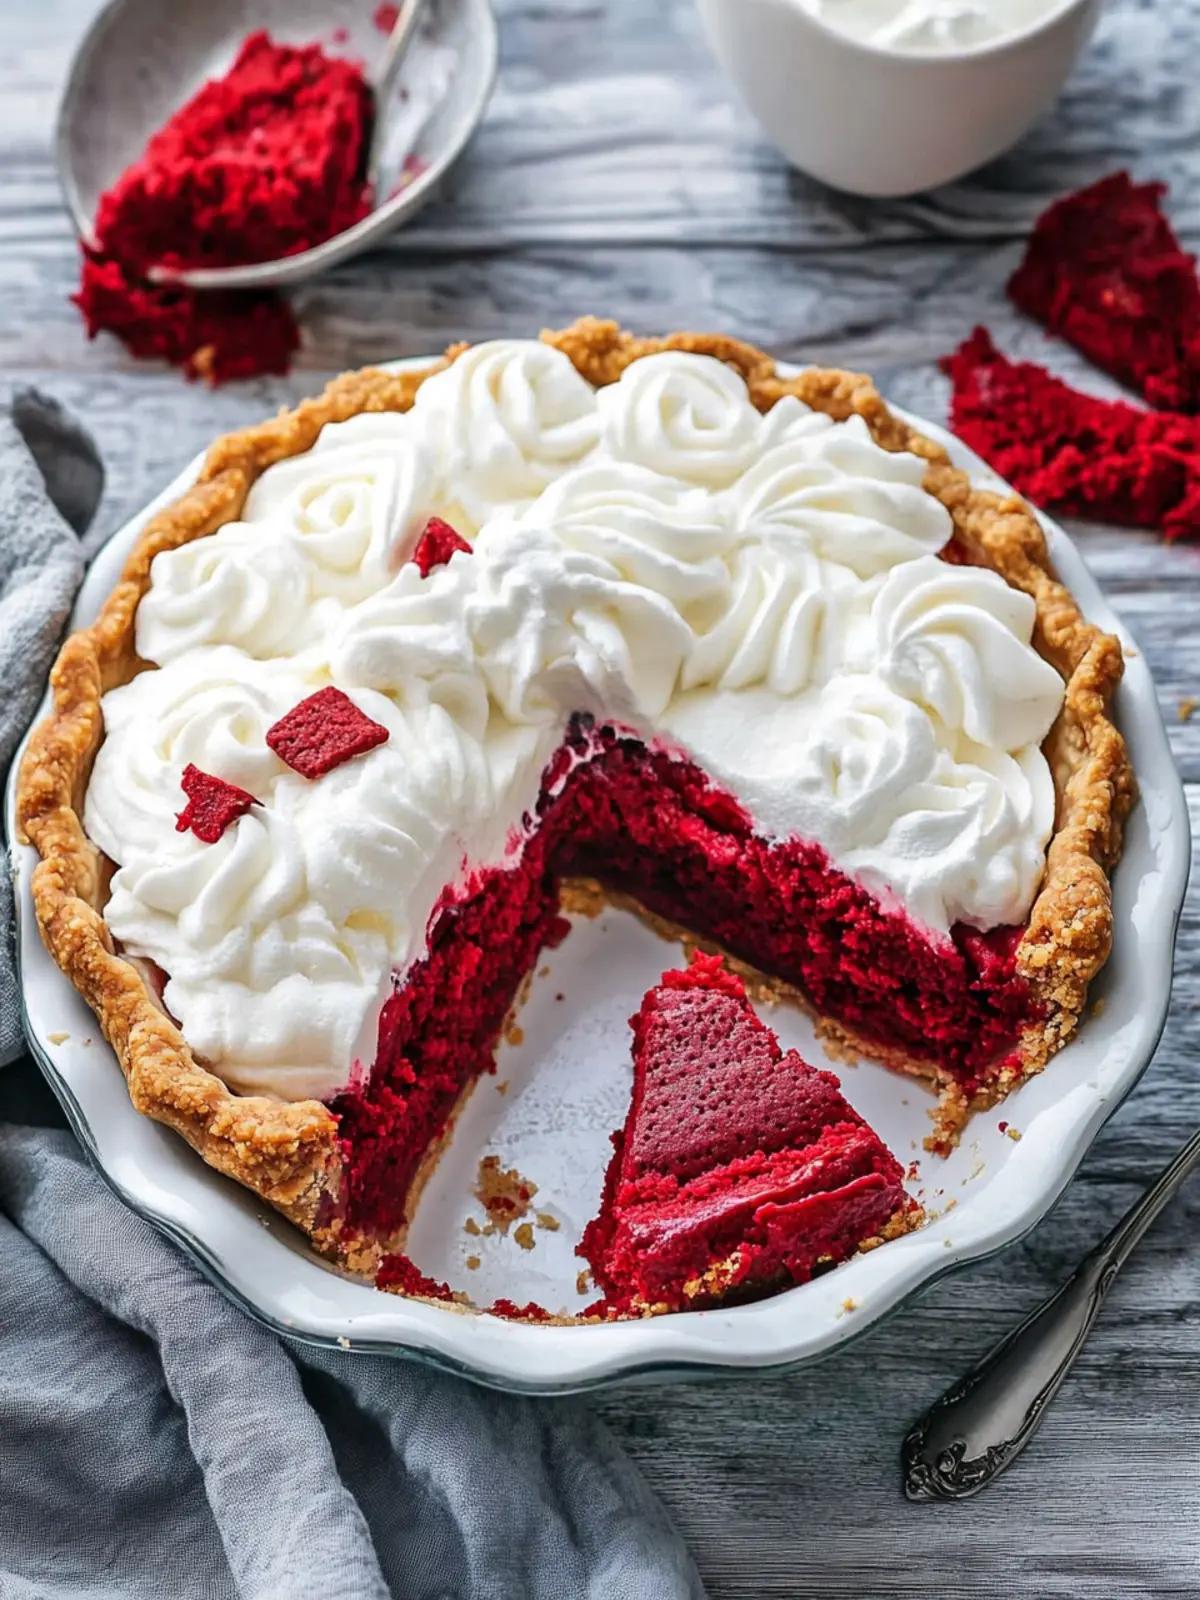
Indulge in Irresistible Red Velvet Pie Bliss Today
Ingredients
Equipment
Method
- Preheat your oven to 350°F (175°C). Unroll the pie crust and gently fit it into a 9-inch pie plate, then chill it in the refrigerator while you prepare the filling.
- Cream together the softened butter and brown sugar in an electric mixer until the mixture is crumbly. Add the eggs one at a time, followed by the vanilla extract, baking powder, and cocoa powder. Mix until everything is smooth and well combined.
- Incorporate the all-purpose flour into the mixture, then add the white vinegar and red food coloring. Mix until the batter turns into a beautiful, vibrant red, ensuring it's smooth and well combined.
- Fill your chilled pie crust with the brownie batter, and place it on a cookie sheet for easier handling. Bake in the preheated oven for 50-60 minutes, or until the edges are puffed and cracked, allowing it to cool completely before adding the topping.
- Prepare the cream topping by mixing softened cream cheese with sugar and vanilla in an electric mixer. Gradually pour in the cold heavy whipping cream while whipping until stiff peaks form, creating a luscious texture. Serve on the side or frost the top of the pie for added elegance.
- Store any leftover pie in the refrigerator. An unfrosted pie will stay fresh for up to 4 days, while a frosted one lasts a shorter time. You can also freeze the unfrosted pie for up to 2 months to enjoy later!