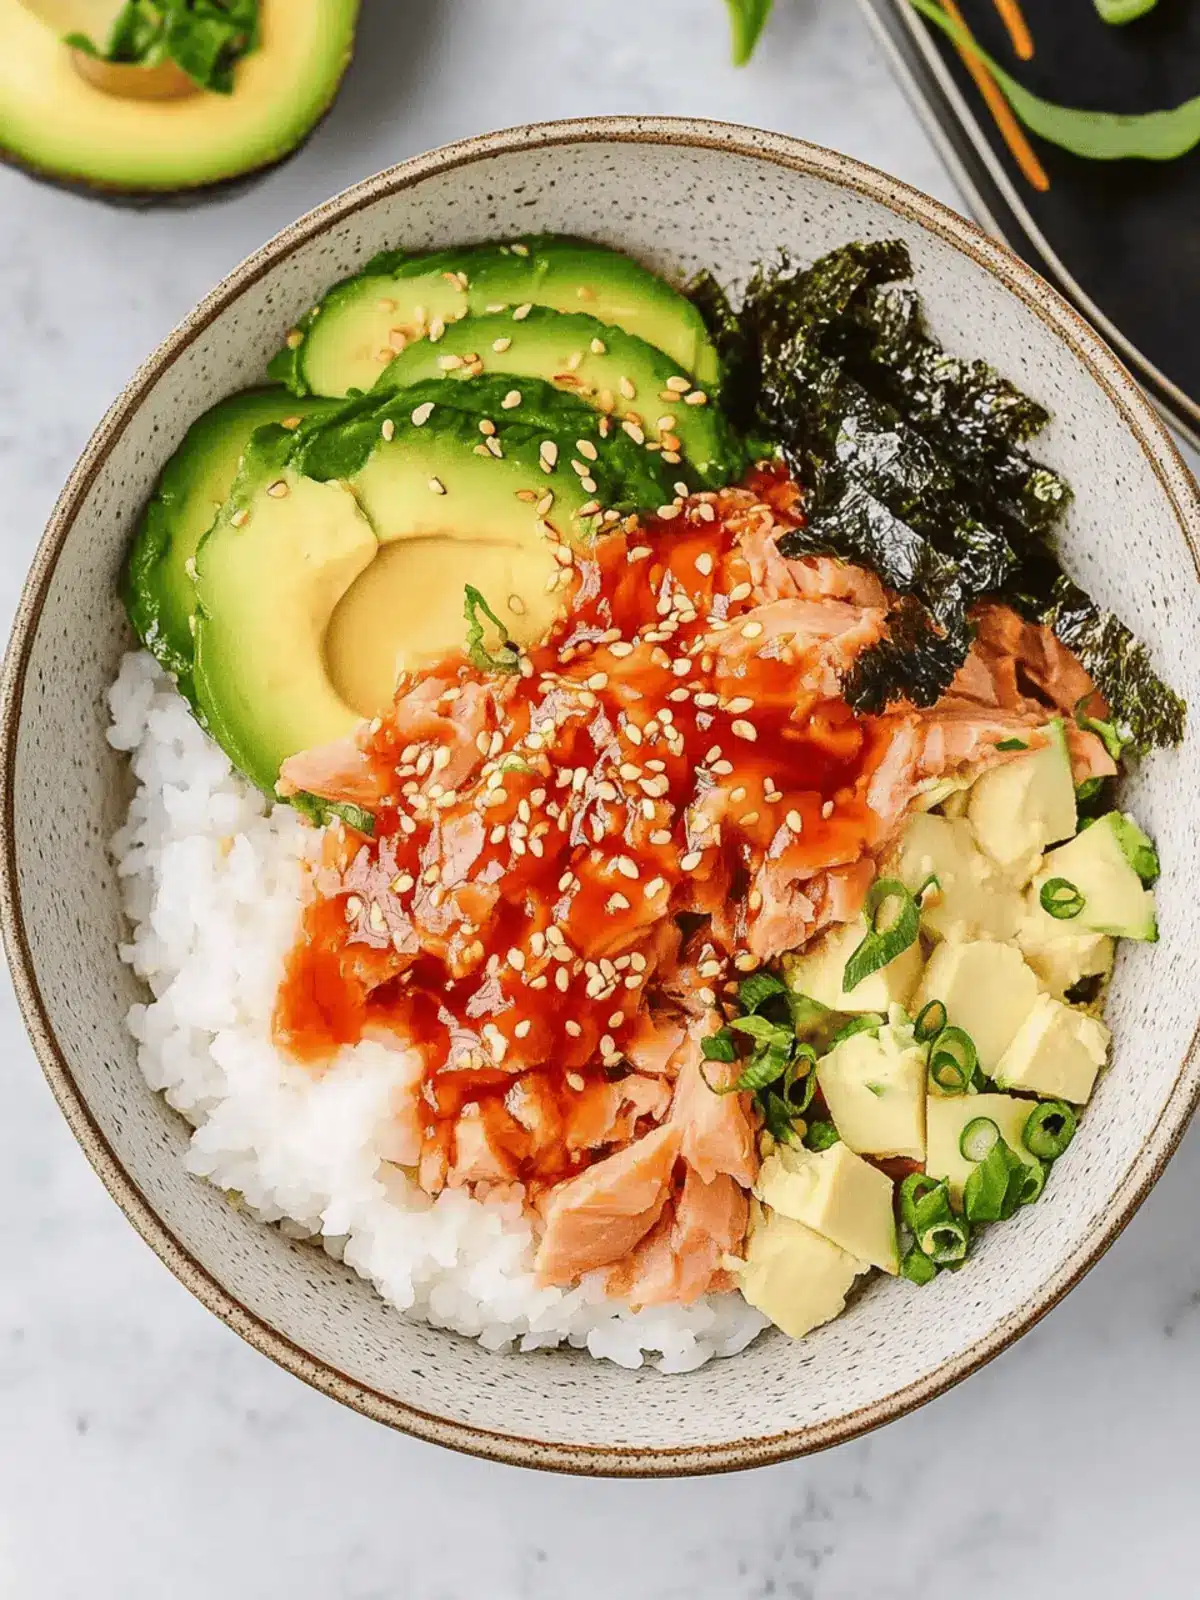
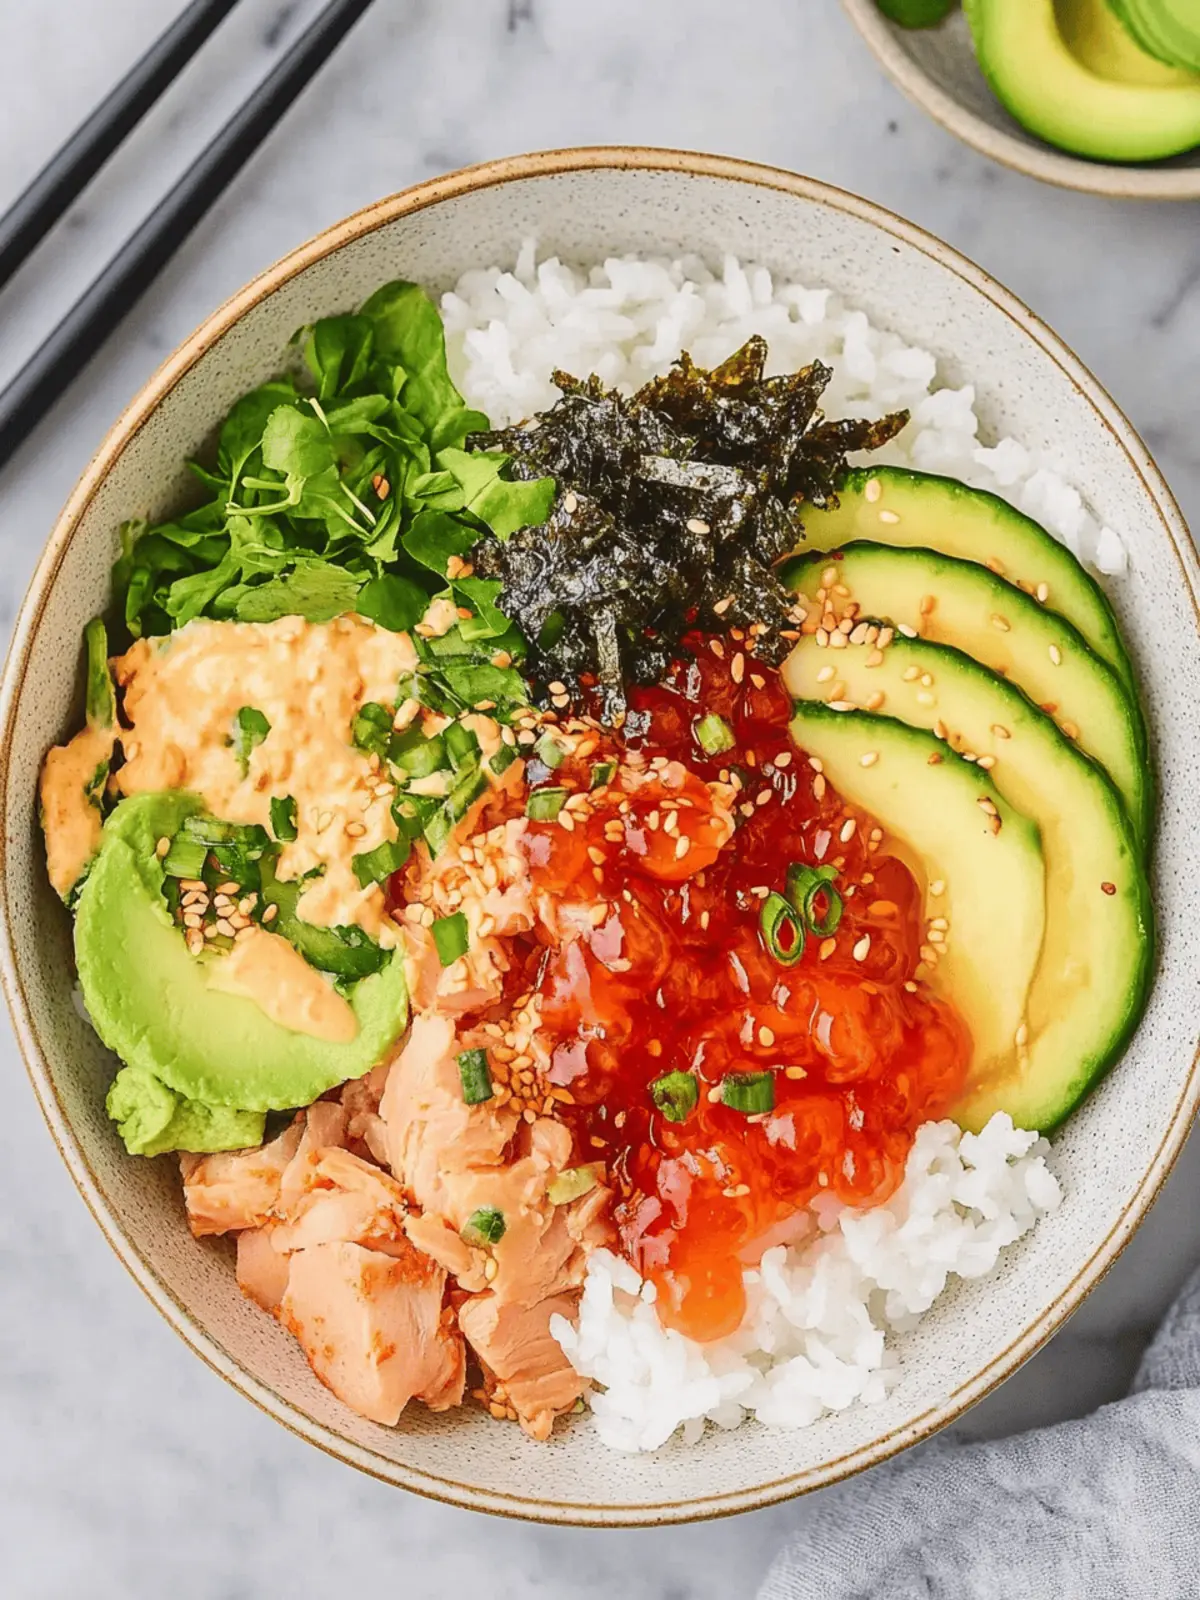
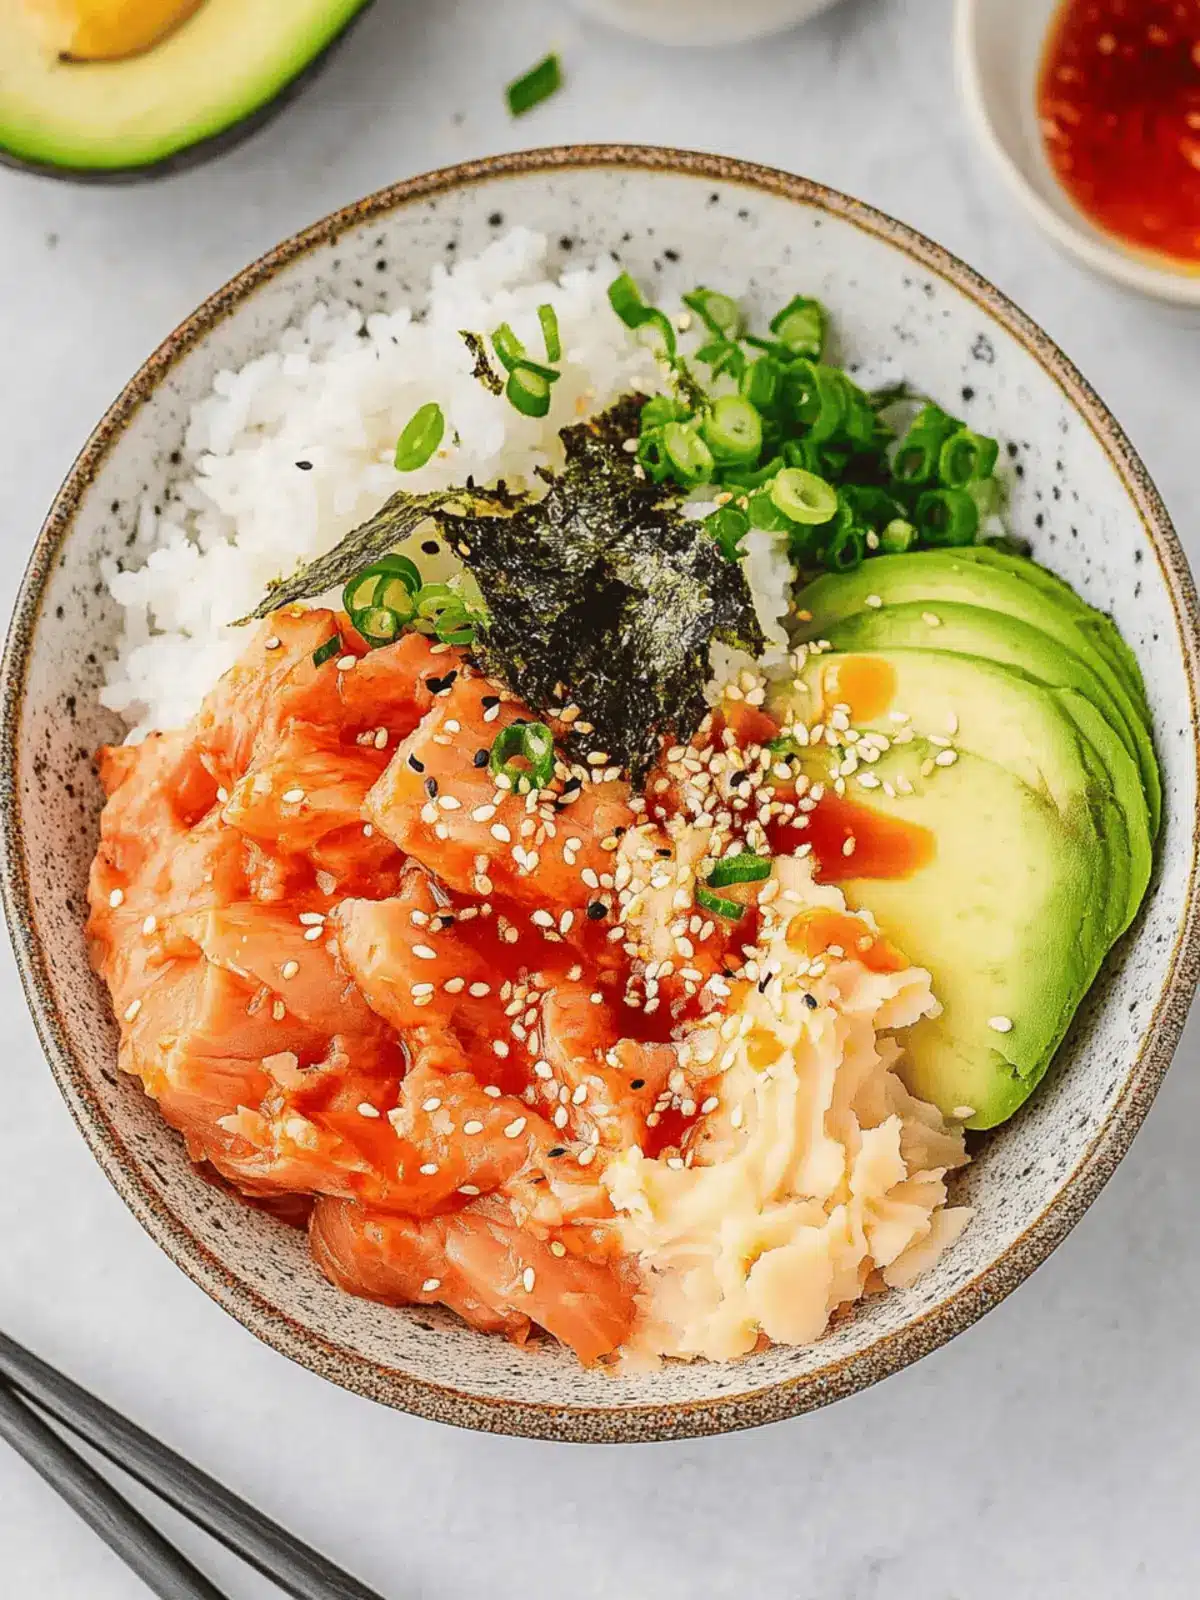
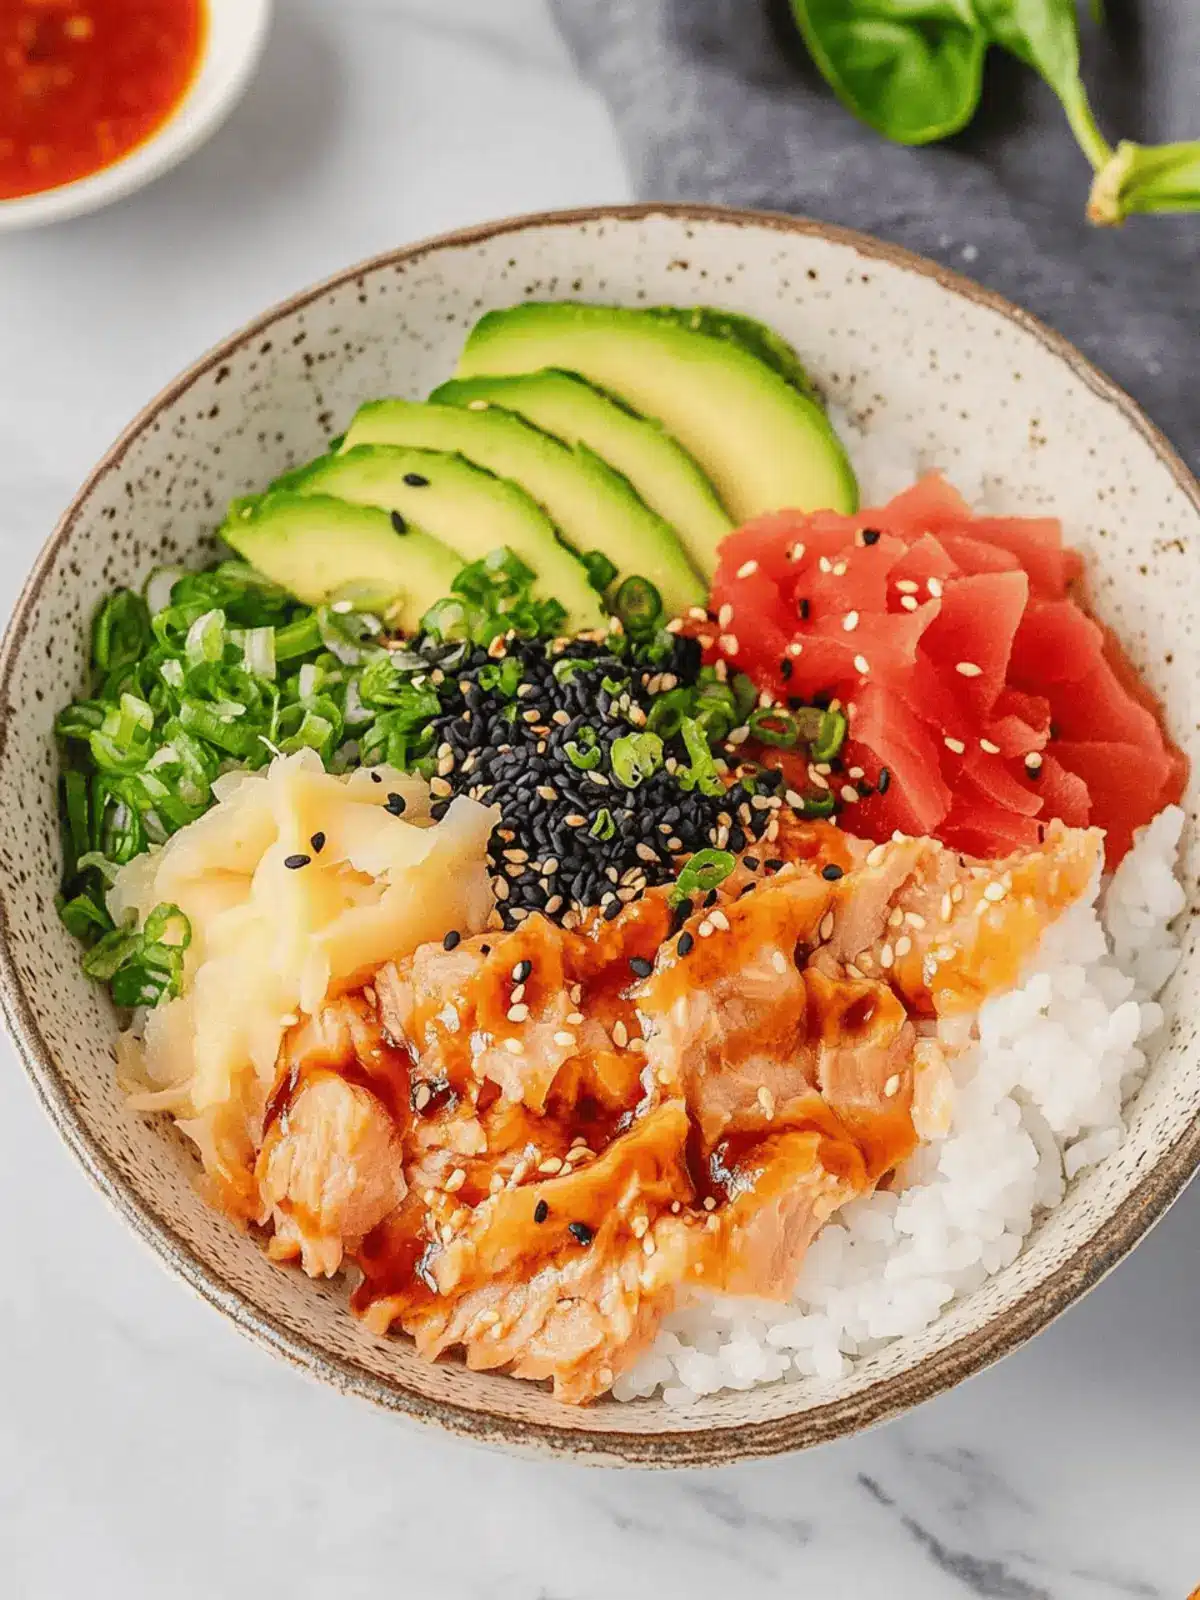
When the clock ticks toward dinner time and my stomach starts growling, I often find myself reaching for a can of tuna. But not just any tuna—this Canned Tuna Sushi Bowl transforms a simple pantry staple into a vibrant, healthy meal that bursts with flavor! Picture this: perfectly seasoned, slightly crispy rice serving as a canvas for creamy avocado and a spicy tuna mix that dances on your taste buds. It’s a delightful blend of convenience and nutrition, perfect for those days when fast food just won’t cut it.
In just 20 minutes, you can whip up this colorful bowl, making it an ideal choice for a quick weeknight dinner or a casual lunch that feels indulgent. Not only is it a budget-friendly option packed with protein, but it’s also customizable—I’ll share some fun variations too! Get ready to impress yourself and your family with a meal that looks as good as it tastes. Let’s dive into this deliciously satisfying recipe!
Why is this Canned Tuna Sushi Bowl a must-try?
Simplicity: This recipe comes together in just 20 minutes, ideal for busy weeknights or quick lunches.
High-Protein: Packed with nutritious canned tuna, it offers a healthy dose of omega-3s, keeping you satisfied longer.
Customization: Tailor your bowl with a variety of toppings like avocado, scallions, and different sauces to suit your taste.
Flavor Explosion: The bang bang sauce adds a creamy, spicy kick that elevates the dish, making it exciting and delicious.
Budget-Friendly: Utilizing pantry staples makes this meal not only nutritious but also light on your wallet.
Crowd-Pleaser: Its colorful presentation and delightful flavors ensure it’s a hit with everyone at the table!
Canned Tuna Sushi Bowl Ingredients
For the Rice
• Cooked Sushi Rice – Base of the bowl, seasoned for a perfect flavor; can substitute with any style of white rice like jasmine or basmati.
• Olive Oil – Used for pan-frying the rice to create a crispy texture.
For the Tuna Mix
• Canned Tuna (drained) – Rich in omega-3s and quick to prepare; can easily be replaced with canned salmon for a twist.
• Bang Bang Sauce – Adds a spicy, creamy kick; a mix of mayonnaise, sriracha, and sweetness; use spicy mayo as an alternative for an exciting flavor.
For Toppings
• Sriracha Sauce – Extra heat for those who love it spicy; substitute with your preferred hot sauce.
• Furikake – Japanese rice seasoning for umami flavor; use nori (seaweed) as a substitute if unavailable.
• Avocado (sliced/diced) – Adds creaminess and healthy fats, making the dish richer.
• Scallions (chopped) – Fresh garnish that brightens the flavor profile, enhancing the overall taste.
For Seasoning
• Salt and Black Pepper – To taste, enhancing the overall flavor of your Canned Tuna Sushi Bowl.
This striking mix of ingredients promises a delightful meal that combines both taste and nutrition, making it a great addition to your culinary repertoire!
How to Make Canned Tuna Sushi Bowl
-
Cook and Season Rice: Start by cooking sushi rice according to package instructions. Once done, while it’s still warm, mix in rice wine vinegar, sesame oil, and sugar to infuse flavor.
-
Prepare Toppings: Drain the canned tuna and combine it with the bang bang sauce in a bowl, mixing well. Slice your avocado and chop the scallions for garnishing.
-
Pan-fry Rice (Optional): Heat olive oil in a skillet over medium-high heat. Once hot, add the seasoned sushi rice and press down gently. Cook for 3-5 minutes until golden brown, flip, and cook for an additional minute before removing from heat.
-
Assemble the Bowl: In a bowl, place your crispy rice at the bottom, then layer with the bang bang tuna, avocado slices, and chopped scallions. Finish by sprinkling furikake and drizzling with sriracha or spicy mayo to taste.
Optional: Garnish with sesame seeds for an extra touch of flavor and crunch.
Exact quantities are listed in the recipe card below.
What to Serve with Canned Tuna Sushi Bowl?
Looking to complete your meal experience? Pair your vibrant sushi bowl with these delightful additions that enhance flavor and texture.
-
Miso Soup: A warm, savory broth that complements the freshness of the sushi bowl, adding a comforting touch to your meal.
-
Sesame Ginger Salad: This crisp salad brings a refreshing crunch with zesty flavors that balance the richness of the tuna and avocado.
-
Steamed Edamame: Lightly salted edamame pods are a protein-packed side that offer a tasty, satisfying munch between bites.
-
Crispy Vegetable Spring Rolls: Serve these bite-sized rolls as a crunchy texture contrast that pairs beautifully with the soft ingredients of your bowl.
-
Green Tea: A soothing, light beverage choice that refreshes the palate while bringing a touch of traditional Japanese dining culture to your meal.
-
Tempura Vegetables: The fried goodness of tempura adds a delightful crunch, enhancing the overall texture experience of your dinner.
For dessert, consider a Mochi Ice Cream. This sweet treat is a whimsical finish that brings a touch of fun and flavor, leaving everyone at the table with a smile!
Make Ahead Options
These Canned Tuna Sushi Bowls are perfect for busy home cooks looking to save time! You can prepare the seasoned sushi rice and store it in the refrigerator for up to 3 days. For the bang bang sauce, mix the canned tuna with the sauce and refrigerate for up to 24 hours to allow the flavors to meld beautifully. Just slice the avocado and chop the scallions right before assembling to maintain freshness and prevent browning. When you’re ready to serve, simply pan-fry the rice for a few minutes to get that crispy texture, then layer in your bang bang tuna, avocado, and scallions. This way, you’ll enjoy a stunning and delicious meal with minimal effort!
Canned Tuna Sushi Bowl Variations
Feel free to get creative and tailor your Canned Tuna Sushi Bowl to fit your cravings and dietary preferences!
-
Protein Boost: Replace canned tuna with cooked salmon or avocado for a vegetarian twist. Both options bring a rich flavor and enhance the creamy texture.
-
Vegetable Crunch: Add shredded carrots or cucumber ribbons for a refreshing crunch. They not only elevate the bowl visually but also provide extra nutrition.
-
Spice Levels: Adjust the sriracha kick by switching to a milder hot sauce or incorporating sweet chili sauce for a delightful contrast of flavors without overwhelming heat.
-
Saucy Options: Try a teriyaki glaze instead of bang bang sauce to introduce a sweet, savory element. This rich flavor profile pairs beautifully with the tuna and rice.
-
Nutty Topping: Sprinkle on some toasted sesame seeds or chopped peanuts for added texture and a nutty flavor that rounds out the dish beautifully.
-
Grain Swap: Swap the sushi rice with quinoa or brown rice for a whole grain version packed with fiber. This alternative also alters the bowl’s flavor while keeping it nutritious.
-
Asian Flair: Add kimchi on the side for a tangy, probiotic-rich element that complements the bowl’s flavors while providing a delightful zing.
-
Herb Infusion: Mix in freshly chopped cilantro or basil to introduce aromatic brightness to your bowl. These herbs will elevate each bite with fragrant notes, enhancing the overall experience.
Each variation invites you to explore exciting flavor combinations—let your taste buds guide you!
Expert Tips for Canned Tuna Sushi Bowl
-
Crispy Rice Secret: Pan-frying the rice creates that desired crunch. Avoid over-stirring to keep the texture intact for your Canned Tuna Sushi Bowl.
-
Use Leftover Rice: For a quicker preparation, use leftover rice. Just give it a quick seasoning to enhance the flavor.
-
Bang Bang Balance: Adjust the bang bang sauce to your spice preference. If you prefer milder flavors, reduce the sriracha and add a tad more mayonnaise.
-
Fresh Ingredients Matter: High-quality canned tuna makes a noticeable difference in taste. Opt for sushi-grade tuna for a richer flavor.
-
Experiment with Toppings: Don’t hesitate to mix up the toppings! Adding crunchy veggies like shredded carrots or crispy seaweed can elevate your sushi bowl experience.
Storage Tips for Canned Tuna Sushi Bowl
Fridge: Store leftovers in an airtight container for up to 2 days. To maintain freshness and flavor, avoid adding toppings until ready to eat.
Freezer: While not recommended for this dish due to the texture of the rice, you can freeze prepared tuna for up to 3 months. Thaw in the fridge before reconstituting.
Reheating: If you prefer warm rice, gently reheat in a skillet over low heat with a splash of water to create steam. Add fresh toppings to enhance flavor before serving.
Light on the Wallet: This Canned Tuna Sushi Bowl is not only nutritious but also budget-friendly, making it easy to enjoy even as leftovers!
Canned Tuna Sushi Bowl Recipe FAQs
How do I choose the right canned tuna?
Absolutely! For the best flavor, opt for high-quality canned tuna—look for brands that specify ‘sushi-grade’ on the label. This type of tuna tends to have a richer taste and better texture, making your Canned Tuna Sushi Bowl truly delightful. Albacore and yellowfin are great choices, but feel free to experiment with whatever you can find on sale!
What’s the best way to store leftovers?
Very! To keep your Canned Tuna Sushi Bowl fresh, store any leftovers in an airtight container in the fridge for up to 2 days. Be sure to keep the toppings separate until you’re ready to eat to maintain their texture and flavor. When you’re ready, simply assemble your bowl again for a quick, delicious meal!
Can I freeze this dish?
Of course! While freezing the entire sushi bowl isn’t ideal because the rice may lose its crispness, you can freeze the prepared tuna mixture. Store it in an airtight container or resealable plastic bag for up to 3 months. Thaw in the fridge overnight, then mix with freshly cooked rice and toppings for an easy meal.
What if my rice doesn’t get crispy?
No worries! If your rice isn’t achieving that delightful crunch, make sure your skillet is hot enough before adding the rice, and press it down gently with a spatula. Cook it undisturbed for at least 3 minutes on medium-high heat before flipping. If you stir too often, it won’t develop that beautiful golden crust. Trust me, you’ll get it right with practice!
Can I make this dish pet-friendly?
Definitely! If you want to share a version of this meal with your furry friend, be mindful of the ingredients. Skip the sauces and seasoning to ensure it’s safe for your pet. Simply mix plain canned tuna with some cooked rice or mashed avocado, but consult your vet to confirm any dietary restrictions.
What can I use instead of sushi rice?
Very easy! If sushi rice isn’t available, you can substitute it with any short-grain white rice, like jasmine or even basmati if that’s what you have on hand. Just remember to season it with rice vinegar, sesame oil, and sugar when it’s warm to capture the essence of the dish. Enjoy your kitchen adventure!

Customizable Canned Tuna Sushi Bowl: Quick & Nutritious Delight
Ingredients
Equipment
Method
- Cook sushi rice according to package instructions. Once done, mix in rice wine vinegar, sesame oil, and sugar while warm.
- Drain the canned tuna and combine it with the bang bang sauce in a bowl, mixing well. Slice avocado and chop scallions.
- Heat olive oil in a skillet over medium-high heat. Add seasoned sushi rice, press down gently and cook for 3-5 minutes until golden brown. Flip and cook for an additional minute.
- Assemble the bowl with crispy rice at the bottom, followed by bang bang tuna, avocado slices, and scallions. Finish with furikake and sriracha or spicy mayo.


