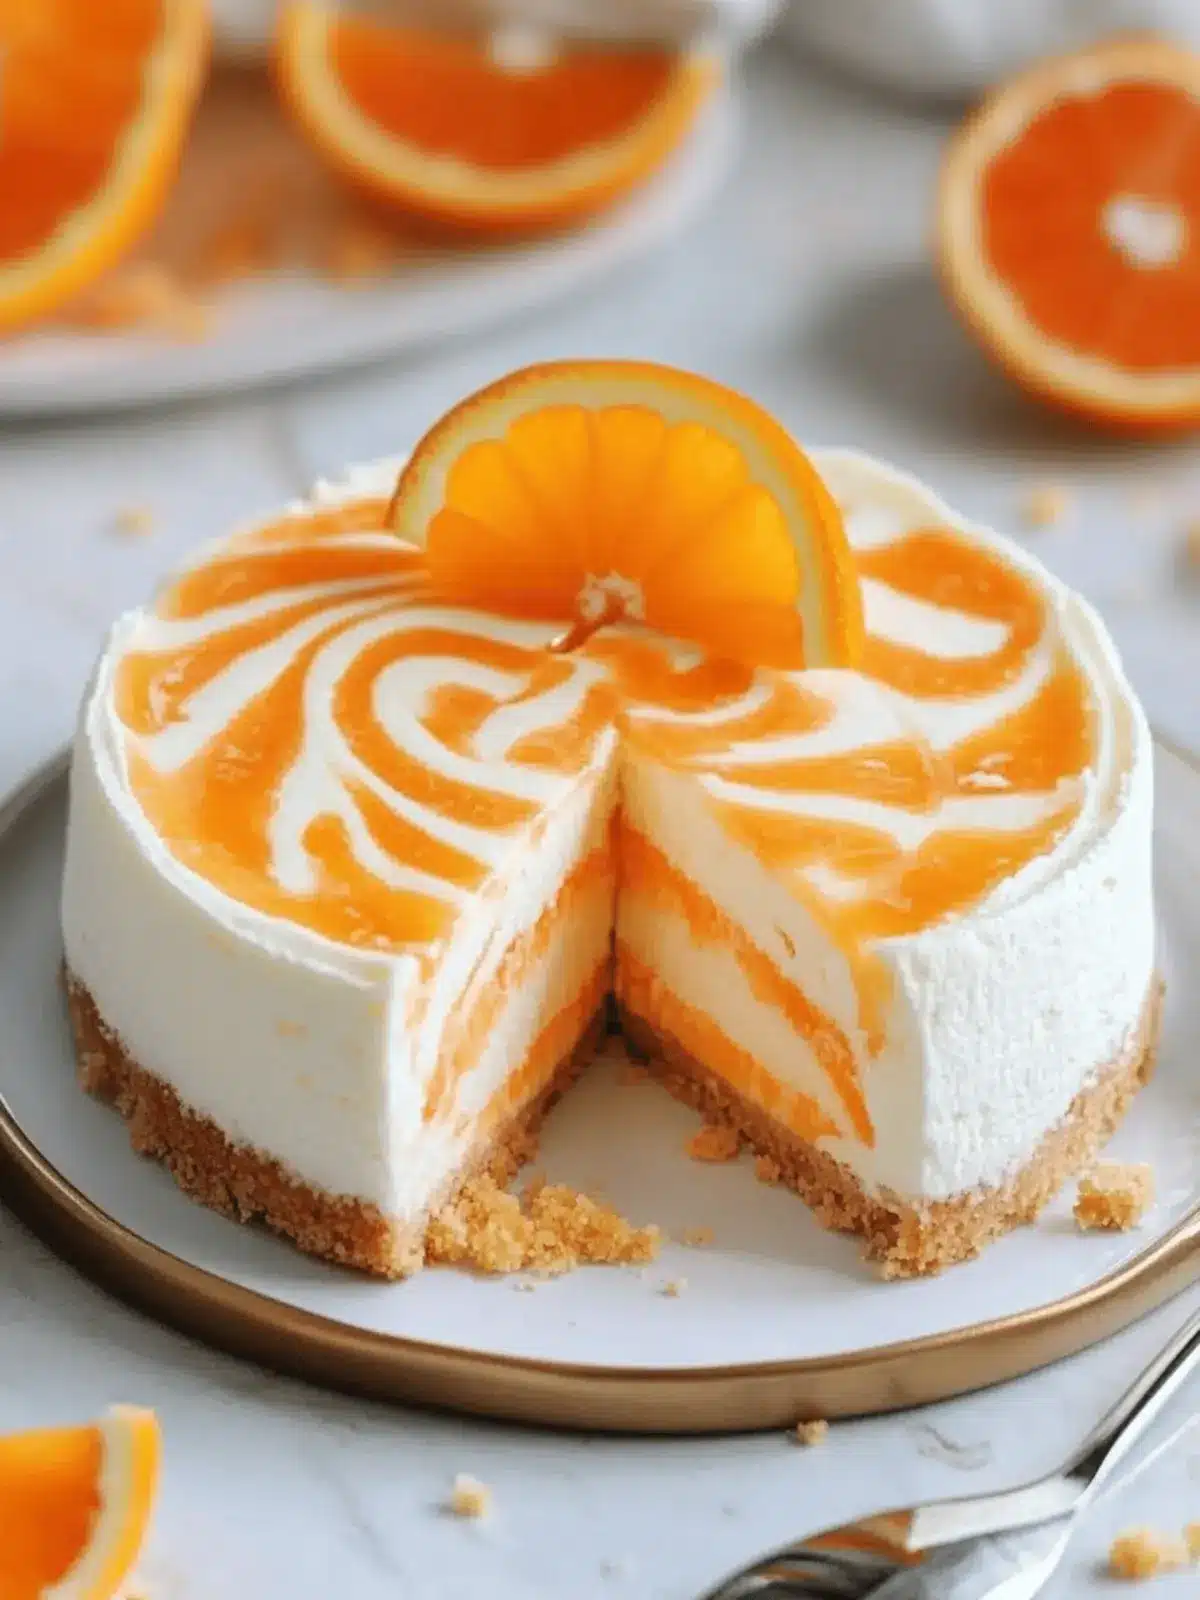
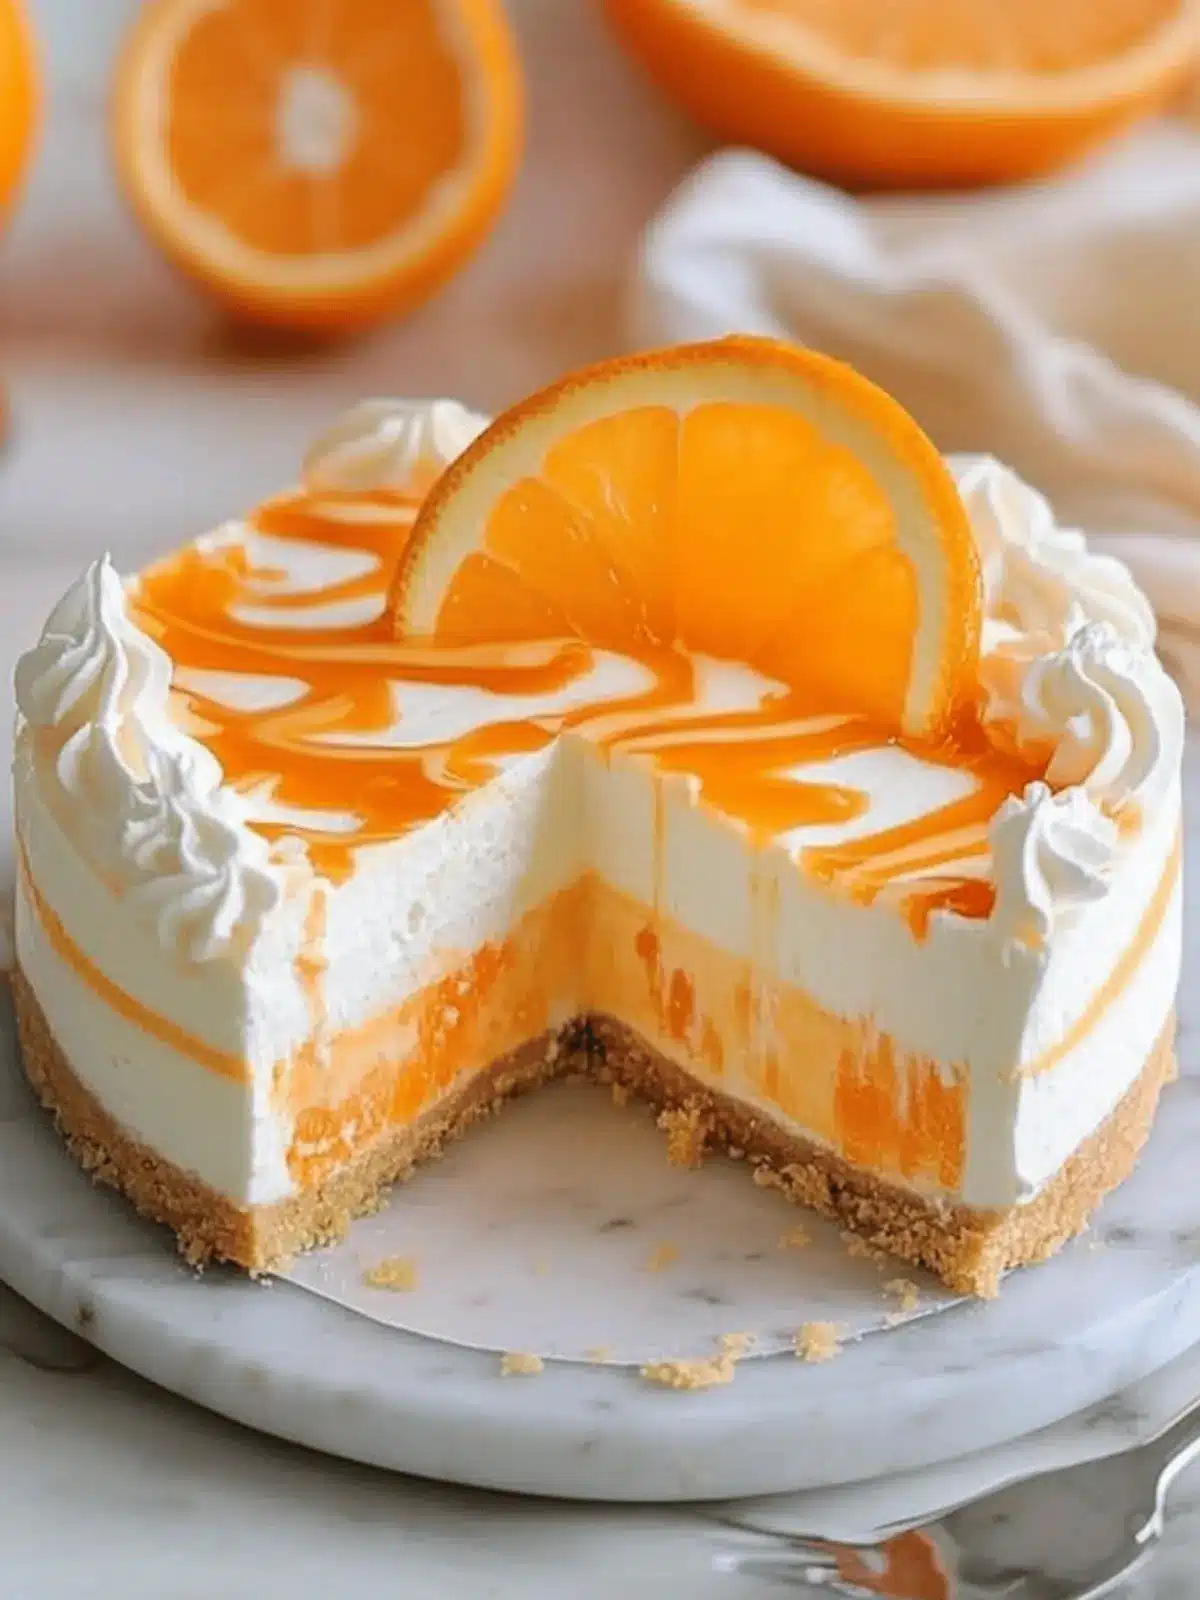
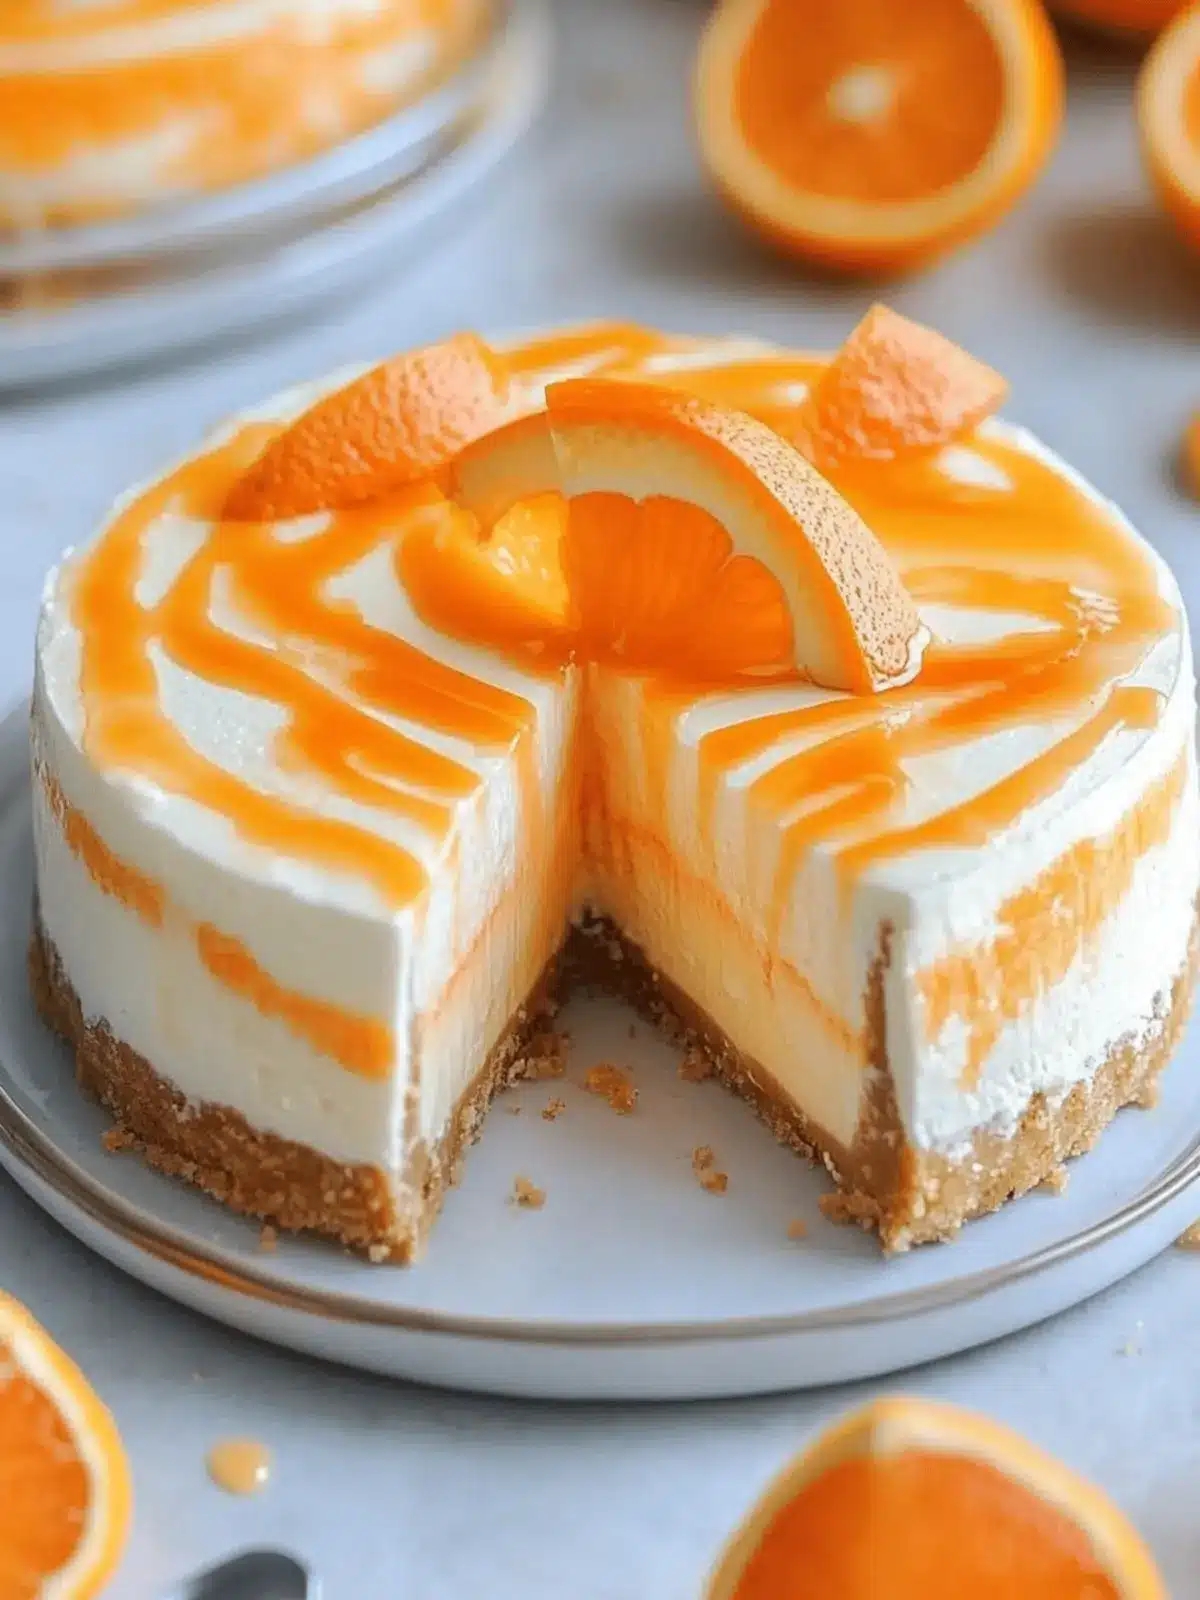
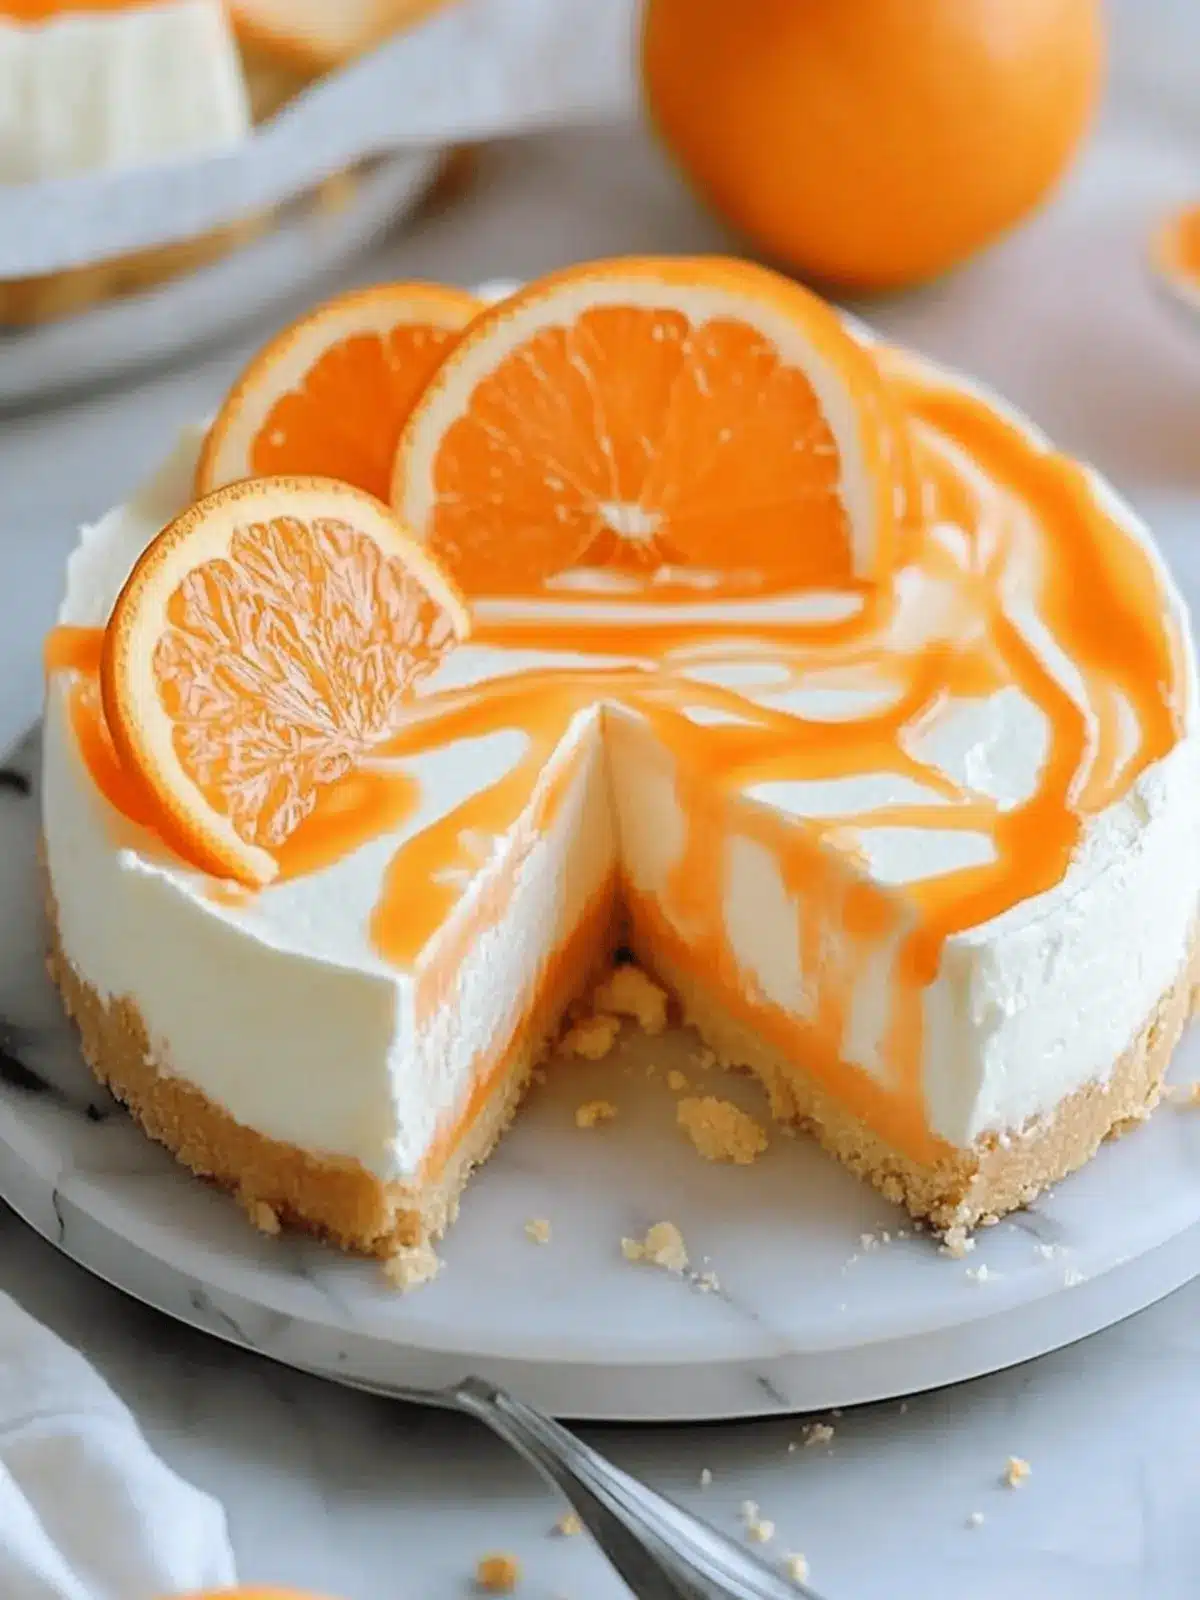
When the sun begins to shine a little brighter and the air turns warm, there’s a call to create something refreshing in the kitchen. That’s exactly how I came to craft this No-Bake Orange Creamsicle Cheesecake—a delightful nod to childhood summers filled with sweet, tangy ice cream treats. The moment you mix the citrusy zing of fresh oranges with rich cream cheese, it’s like capturing a little golden slice of sunshine in dessert form.
Perfect for those sunny afternoons or as a star at dinner parties, this cheesecake flaunts a light, fluffy texture that promises to wow your guests without occupying your entire day. With just a handful of easy steps, you’ll find it surprisingly simple to whip together this creamy, vibrant cheesecake. So, grab your springform pan and let’s dive into a dessert that combines nostalgic flavors with effortless elegance!
Why is this Orange Creamsicle Cheesecake a must-try?
Refreshing, every bite is like a burst of sunshine, combining zesty oranges with creamy cheesecake bliss.
No-Bake Convenience means you can whip this up without turning on the oven—perfect for warm days!
Crowd-Pleaser that’s visually stunning, sure to impress guests at any gathering.
Easy to Make with minimal ingredients, making it accessible for both novice and seasoned bakers alike.
Versatile and adaptable, feel free to experiment with flavors or garnishes for a personalized touch!
Orange Creamsicle Cheesecake Ingredients
For the Crust
- Graham Cracker Crumbs – Provides a crunchy base that pairs perfectly with the creamy filling; opt for gluten-free Graham crackers if needed.
- Unsalted Butter – Binds the crumbs together, adding a rich flavor; can be substituted with melted coconut oil for a dairy-free option.
For the Filling
- Cream Cheese – The star of the cheesecake, offering a smooth and creamy texture; use full-fat for the best results.
- Powdered Sugar – Sweetens the filling and ensures a silky consistency.
- Heavy Whipping Cream – Increases volume and lightness in the filling, whipped to airy perfection.
- Fresh Orange Juice – Infuses the cheesecake with a vibrant citrus flavor and refreshing acidity.
- Zest of 1 Orange – Enhances flavor and adds a lovely aroma; it’s essential for that signature Orange Creamsicle flavor.
- Vanilla Extract – Introduces a warm depth that complements the citrus notes beautifully.
For the Setting
- Unflavored Gelatin – Acts as a crucial setting agent, ensuring your cheesecake holds its shape without baking.
- Cold Water – Used to bloom the gelatin, prepping it for easy incorporation into the creamy filling.
For Garnish
- Additional Orange Slices or Zest – Optional but highly recommended for that finishing touch; they add flair and a burst of added flavor to your tray.
How to Make Orange Creamsicle Cheesecake
-
Prepare the Crust: In a mixing bowl, combine graham cracker crumbs and melted butter until the mixture is well combined. Press this crumb mixture firmly into the bottom of a 9-inch springform pan to create a solid base.
-
Soften Cream Cheese: In a large bowl, beat softened cream cheese with an electric mixer until smooth and creamy, ensuring there are no lumps for a velvety texture in your cheesecake.
-
Add Sweetness: Gradually blend in the powdered sugar, mixing until fully incorporated into the cream cheese. This will help achieve the perfect sweetness and smoothness for the filling.
-
Incorporate Cream and Flavor: Add heavy whipping cream, fresh orange juice, orange zest, and vanilla extract to the bowl. Beat on medium-high speed until light and fluffy, taking about 2-3 minutes.
-
Prepare Gelatin: Sprinkle unflavored gelatin over cold water in a small bowl. Allow it to bloom for 5 minutes, then heat briefly in the microwave until it has fully dissolved, ensuring it won’t clump in your cheesecake.
-
Combine Gelatin with Filling: Pour the dissolved gelatin into the cheesecake mixture and carefully mix it thoroughly. This step is crucial for achieving the right consistency!
-
Fill the Crust: Pour the creamy cheesecake filling over your prepared crust, smoothing the top with a spatula for an even layer that looks inviting.
-
Chill to Set: Cover the cheesecake with plastic wrap and refrigerate for at least 4 hours, or ideally overnight, so it can firm up nicely.
-
Unmold and Garnish: Once set, carefully release the springform pan. Garnish your cheesecake with additional orange slices or zest for a pop of color and flavor just before serving.
Optional: Serve with a dollop of whipped cream for an extra touch of indulgence!
Exact quantities are listed in the recipe card below.
What to Serve with No-Bake Orange Creamsicle Cheesecake?
Imagine a sun-drenched gathering where every bite of dessert is paired perfectly with delightful accompaniments that elevate your creamy creation.
-
Fresh Berries: Bursting with flavor, they add a juicy contrast to the cheesecake, providing a refreshing balance. A colorful medley of strawberries, blueberries, and raspberries creates a picturesque plate.
-
Whipped Cream: Adds a light, airy topping that makes each slice even more indulgent. A dollop elevates the dessert’s creaminess, offering a luscious experience.
-
Mint Sprigs: These vibrant green leaves add a pop of color and a cooling freshness that complements the rich cheesecake. Not only do they enhance the visual appeal, but they also invigorate the palate.
-
Iced Tea or Lemonade: The tangy, citrusy notes in these refreshing beverages pair beautifully with the orange flavor, making for a delightful summer sipper. Homemade lemonade could be a crowd favorite!
-
Chocolate Shavings: A sprinkle of rich chocolate curls offers a delightful contrast to the sweetness, adding an elegant touch that balances the dish. The bitterness of chocolate enhances the overall flavor profile beautifully.
-
Citrus Salad: An assortment of citrus fruits such as oranges, grapefruits, andkiwis provides a zesty, vibrant side that echoes the cheesecake’s flavors. Tossed together, they create a refreshing, healthful addition to your dessert table.
-
Almond Biscotti: Crunchy and lightly sweet, these cookies add a delightful texture contrast to the creamy cheesecake, perfect for dipping. Pair with a warm cup of coffee for an inviting treat.
-
Sparkling Water: Serve with a twist of lime or lemon for a fizzy, refreshing drink option that cleanses the palate, making each bite of cheesecake irresistible.
These delightful accompaniments beautifully enhance your No-Bake Orange Creamsicle Cheesecake, creating a harmonious dining experience that will linger in the hearts—and bellies—of your guests!
Expert Tips for Orange Creamsicle Cheesecake
-
Room Temperature Cream Cheese: Ensure the cream cheese is softened to room temperature. This helps achieve a smooth texture and avoids lumps in your filling.
-
Gelatin Care: Be careful when heating the gelatin; overheating can prevent it from setting properly. Follow the instructions closely for the best results.
-
Chill Overnight: For optimal flavor and texture, refrigerate the Orange Creamsicle Cheesecake overnight. This allows it to set completely and enhances the flavors.
-
Smooth Filling: When mixing the filling, beat on medium-high until it’s light and fluffy. This gives your cheesecake that airy, delightful texture everyone loves.
-
Presentation Matters: For an impressive finish, garnish your cheesecake with extra orange zest or slices just before serving. It adds a beautiful touch and extra flavor!
How to Store and Freeze Orange Creamsicle Cheesecake
Refrigerator: Keep your cheesecake covered with plastic wrap or in an airtight container for up to 3 days. This prevents drying out and maintains its creamy texture.
Freezer: For longer storage, wrap individual slices in plastic wrap and place them in a freezer-safe container. The cheesecake can be frozen for up to 2 months without losing much flavor or texture.
Thawing: When ready to enjoy, transfer the cheesecake to the fridge for several hours or overnight to thaw gently. Avoid microwave thawing, as it can affect the texture negatively.
Serving: After thawing, garnish with fresh orange slices or zest just before serving for a vibrant, appealing presentation that brings back the refreshing flavor of your Orange Creamsicle Cheesecake.
Orange Creamsicle Cheesecake Variations
Feel free to explore these delightful twists and substitutions to personalize your cheesecake experience!
- Citrus Swap: Use lemon or lime juice instead of orange for a zesty, tangy flavor that brightens up the dessert.
- Dairy-Free Delight: Replace heavy cream with coconut cream, offering a tropical vibe while keeping it light and airy.
- Tropical Twist: Fold in crushed pineapple into the filling for a delicious fruit twist that enhances the beachy flavors.
- Nutty Crust: Incorporate ground almonds or pecans into the crust for additional texture and a nutty flavor profile.
You can even make it an adventure! Imagine transforming the classic into a coconut-orange cheesecake with just a few ingredient swaps.
- Spiced Kick: Add a dash of cinnamon or nutmeg to the filling for a warm flavor hug that complements the citrus nicely.
- Chocolate Drizzle: Top your cheesecake with a warm chocolate ganache for a decadent contrast that delights the senses.
Think of this as your chance to get creative. With each variation, you’re crafting a dessert that suits your palate while keeping that beloved orange essence intact!
Make Ahead Options
These No-Bake Orange Creamsicle Cheesecakes are ideal for meal prep, allowing you to enjoy a delightful dessert without the last-minute rush! You can prepare the crust and filling up to 24 hours in advance, storing the crust wrapped tightly in plastic and the filling in an airtight container in the fridge. This will maintain its creamy texture and vibrant flavor. When you’re ready to serve, simply pour the pre-made filling into the crust, smooth it out, and refrigerate for at least 4 hours or overnight to set. This way, you’ll have a stunning, delicious cheesecake ready to impress guests, leaving you stress-free on event day!
Orange Creamsicle Cheesecake Recipe FAQs
What should I look for when selecting oranges?
Absolutely! When selecting oranges, look for ones that are firm, heavy for their size, and have a vibrant, smooth skin. Avoid fruits with dark spots all over or that feel soft, as these indications could mean they’re overripe or spoiled. Fresh oranges yield the best juice and zest flavors for your cheesecake!
How do I store leftover Orange Creamsicle Cheesecake?
For the best results, cover your cheesecake tightly with plastic wrap or store it in an airtight container. It will keep well in the refrigerator for up to 3 days. This helps maintain its creamy texture and prevents it from drying out. I often make it on special occasions and store the leftovers for quick, delightful treats later on!
Can I freeze the Orange Creamsicle Cheesecake?
Yes! For longer storage, wrap individual slices in plastic wrap and place them in a freezer-safe container. The cheesecake can be frozen for up to 2 months. When you’re ready to enjoy, simply transfer it to the refrigerator to thaw for several hours or overnight—this method preserves both flavor and texture beautifully.
What should I do if my cheesecake is too soft?
Very! If your cheesecake is too soft, it might be due to under-mixing the gelatin or not allowing enough time to set in the fridge. Next time, ensure you bloom the gelatin properly and mix thoroughly into the filling. Also, refrigerate the cheesecake overnight for optimal firmness—a little patience goes a long way!
Is this recipe suitable for someone with dairy allergies?
I recommend swapping the cream cheese with a dairy-free cream cheese alternative and using coconut cream instead of heavy whipping cream. Make sure all other ingredients, like the gelatin and powdered sugar, do not contain dairy or cross-contact. This way, everyone can enjoy the refreshing flavors of the Orange Creamsicle Cheesecake!
Zesty Orange Creamsicle Cheesecake for Effortless Delight
Ingredients
Equipment
Method
- Prepare the Crust: In a mixing bowl, combine graham cracker crumbs and melted butter until well combined. Press the mixture into the bottom of a 9-inch springform pan.
- Soften Cream Cheese: Beat softened cream cheese with an electric mixer until smooth and creamy, ensuring no lumps.
- Add Sweetness: Gradually blend in powdered sugar, mixing until fully incorporated.
- Incorporate Cream and Flavor: Add whipped cream, orange juice, zest, and vanilla. Beat until light and fluffy, about 2-3 minutes.
- Prepare Gelatin: Sprinkle gelatin over cold water in a small bowl. Let it bloom for 5 minutes, then heat until dissolved.
- Combine Gelatin with Filling: Pour dissolved gelatin into the cheesecake mixture and mix thoroughly.
- Fill the Crust: Pour filling over the crust, smoothing with a spatula.
- Chill to Set: Cover with plastic wrap and refrigerate for at least 4 hours or overnight.
- Unmold and Garnish: Release the springform pan and garnish with orange slices or zest before serving.

