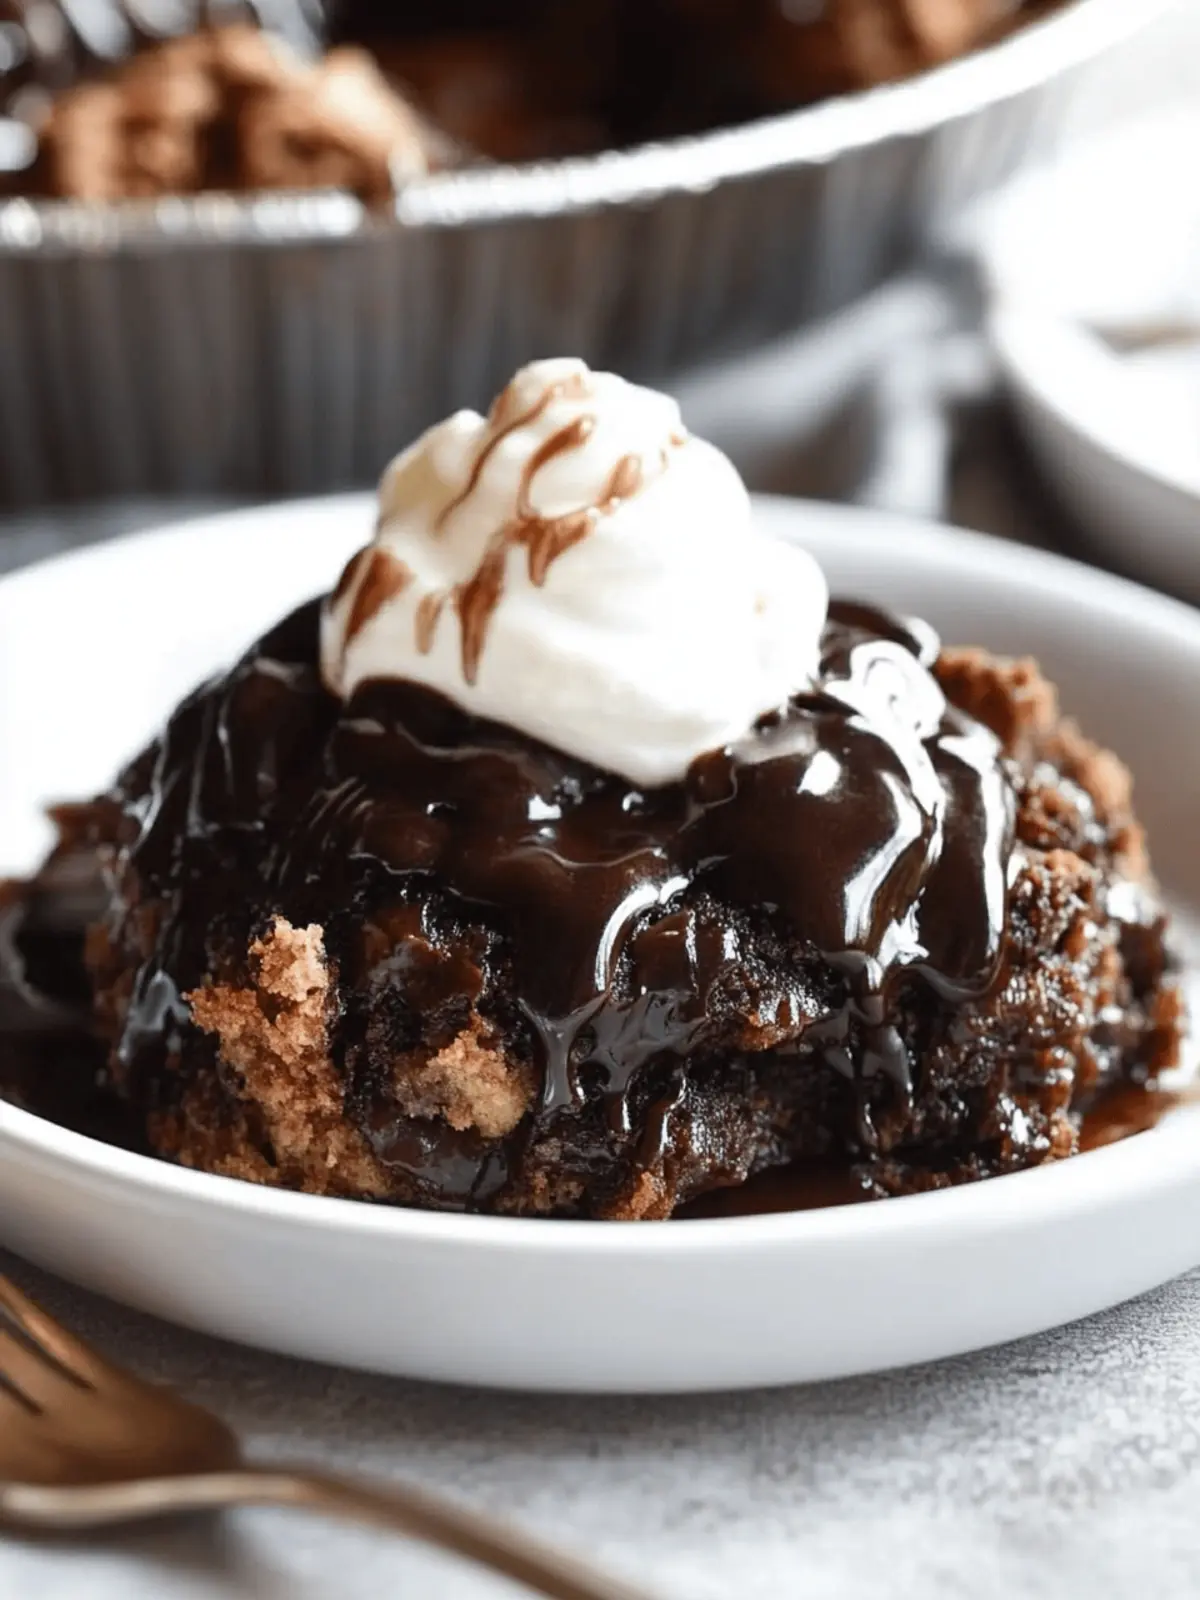
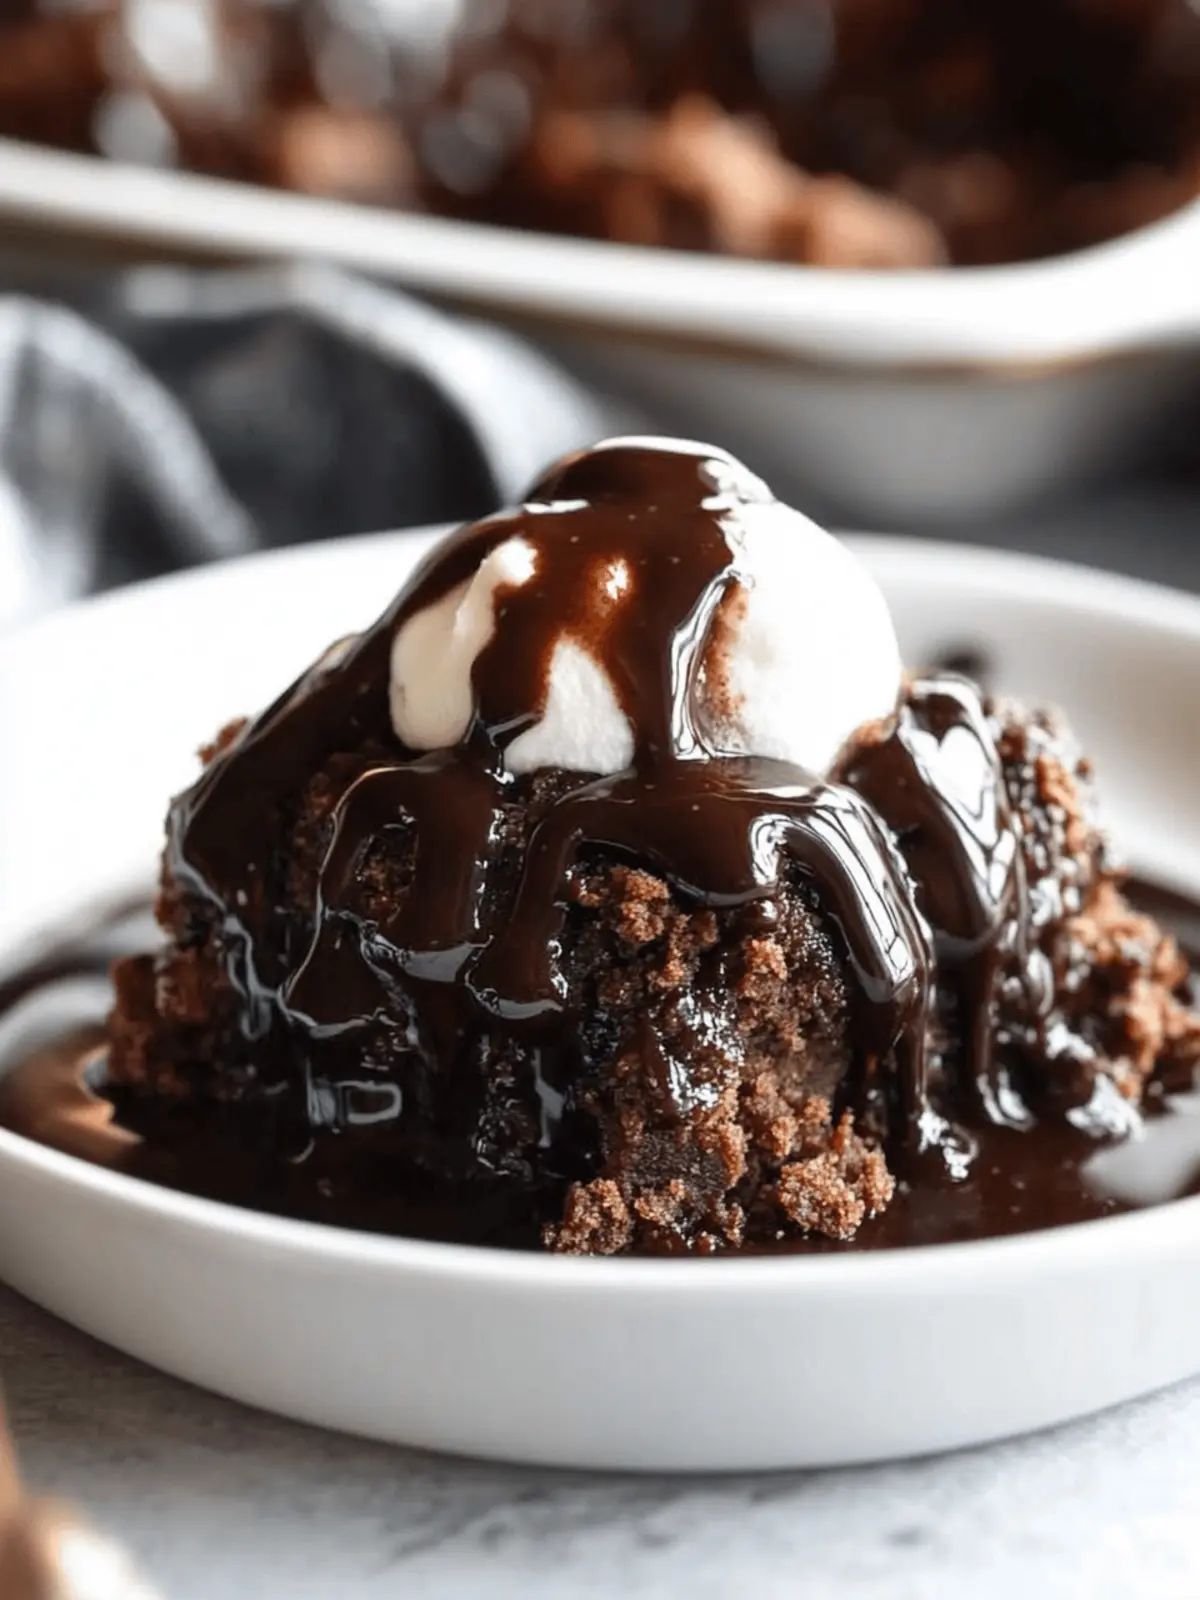
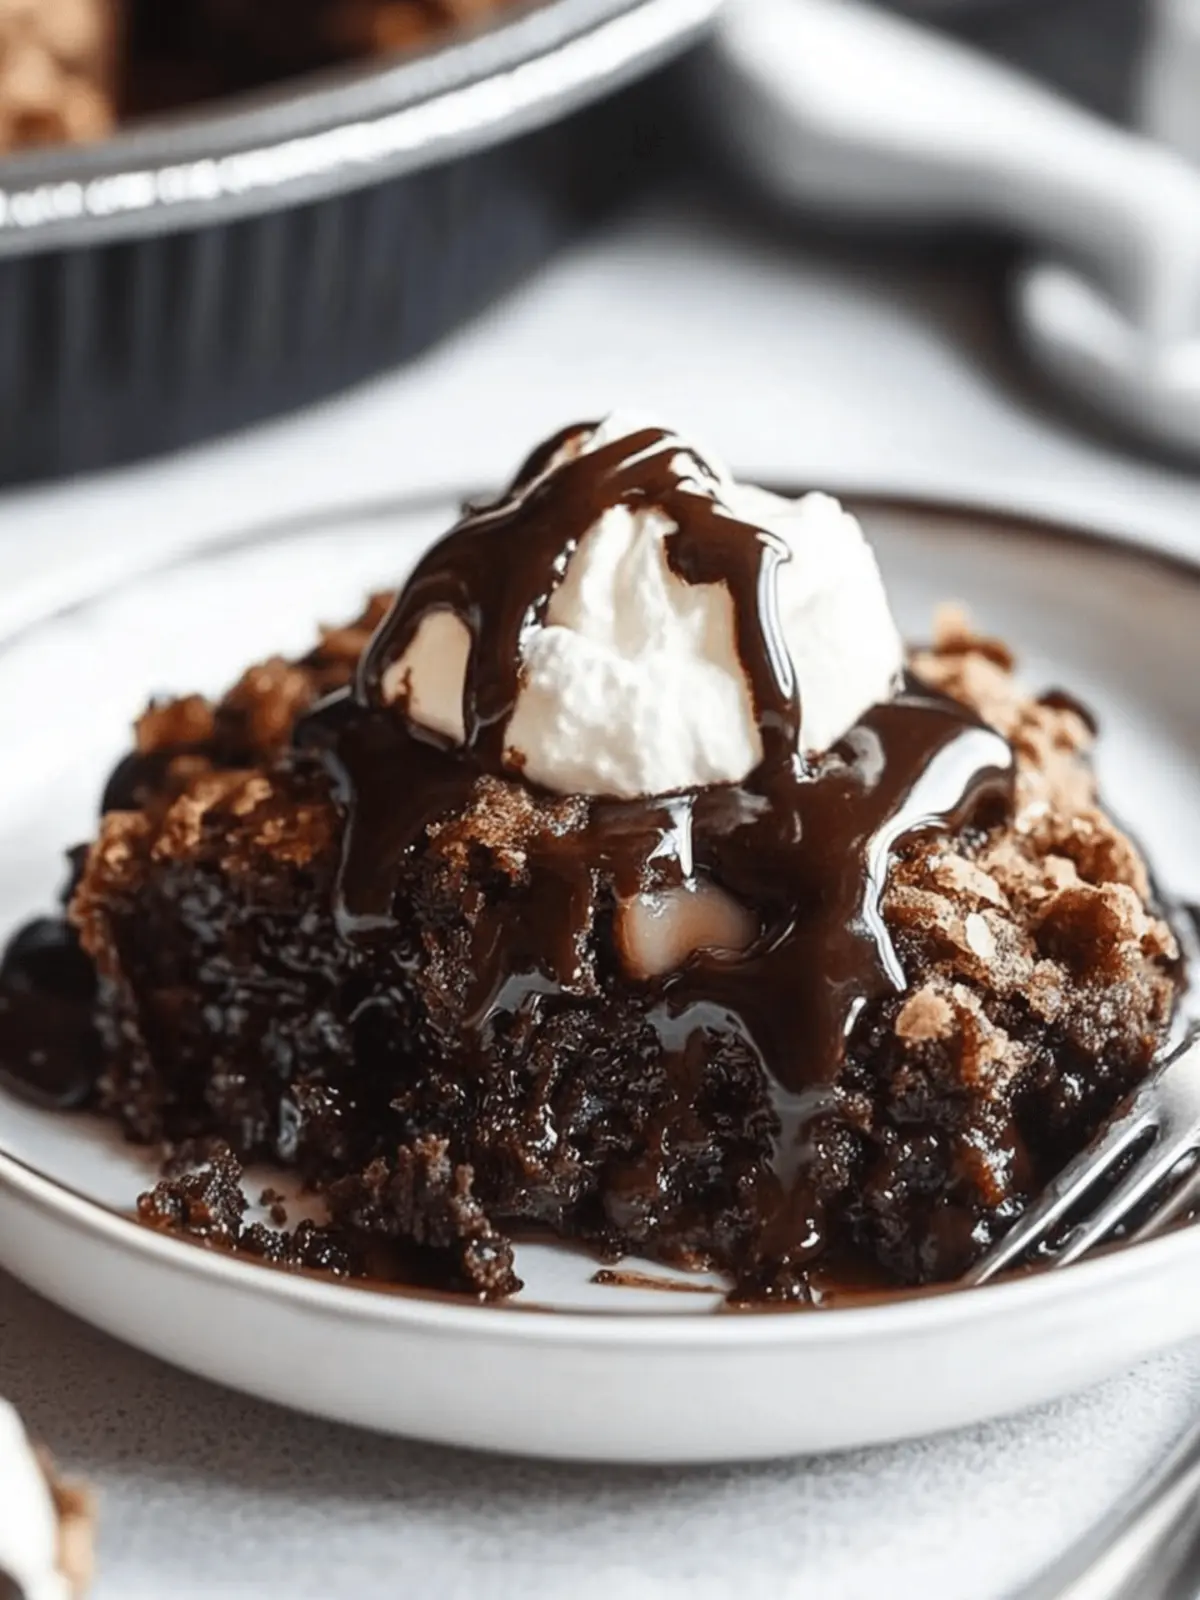
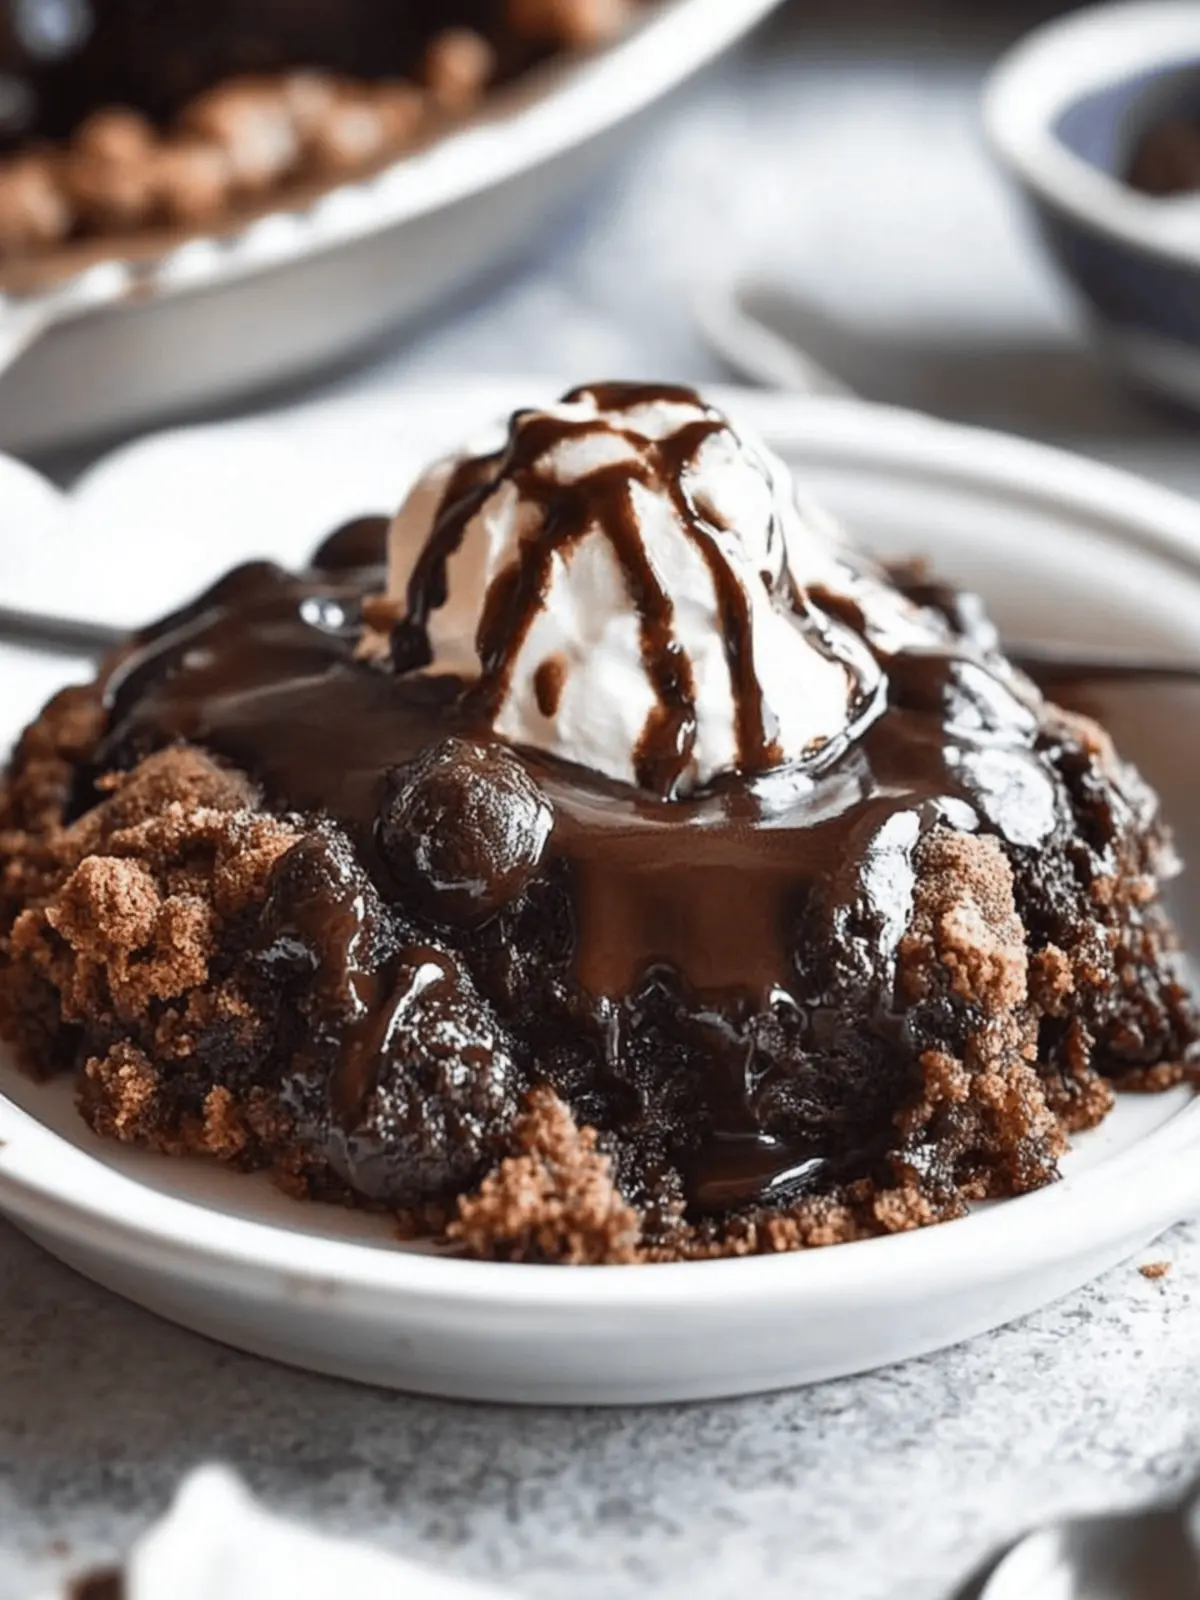
There’s nothing quite like the heartwarming scent of chocolate wafting through the house after a long day. Picture this: a cozy evening, the clouds rolling in, and you find yourself craving something sweet and comforting. Enter the Chocolate Cobbler, an easy dessert that’s a hug for your taste buds. With its fudgy pudding base and moist chocolate cake layer, this dessert has quickly become my go-to for last-minute gatherings or intimate dinners at home.
Perfectly indulgent yet simple, all it takes is a handful of ingredients and a few minutes of prep to create a dish that feels like a gourmet experience. As you bake it, the kitchen fills with a rich aroma that beckons loved ones closer. Serve it warm, topped with a scoop of vanilla ice cream, and watch as they dive in with joy. So let’s roll up our sleeves and treat ourselves to this irresistible delight that promises both ease and satisfaction, all while banishing fast food from your dessert plans!
Why is Chocolate Cobbler the ultimate dessert?
Indulgent, comforting delight: This Chocolate Cobbler brings that rich, chocolatey flavor straight to your table, making it an instant favorite.
Quick preparation: With minimal ingredients and simple steps, you can create this delectable treat in no time!
Warm and gooey: The combination of fudgy pudding and moist cake layered underneath creates a dessert experience that warms the soul.
Crowd-pleaser: Serve it at gatherings, and watch your friends and family rave about it, turning your home into the ultimate dessert destination.
Perfect with ice cream: Pair a warm serving with a scoop of vanilla ice cream for a delectable contrast that enhances every bite. Whether you’re entertaining or simply treating yourself, this dessert is sure to impress!
Chocolate Cobbler Ingredients
Note: Gather these simple ingredients to create your delicious Chocolate Cobbler.
For the Batter
• Flour – Provides structure; all-purpose flour works best, but gluten-free flour can be used if needed.
• Baking Powder – Acts as a leavening agent for a fluffy texture; avoid substituting with baking soda, as they work differently.
• Salt – Enhances flavor; essential for improving the overall taste of your dessert.
• Sugar – Adds sweetness; feel free to reduce the amount for a less sweet treat or use a sugar substitute.
• Cocoa Powder – Imparts a rich chocolate flavor; opt for unsweetened for the best results, or adjust to dark cocoa for extra depth.
• Butter (melted) – Adds moisture and richness; a dairy-free margarine can be used for a vegan version.
• Milk – Contributes liquid for batter consistency; substitutes like almond or oat milk work perfectly.
• Vanilla Extract – Adds depth of flavor; for best results, use pure vanilla extract, though imitation can suffice.
• Chopped Walnuts (optional) – Adds texture and nuttiness; can be omitted or swapped with pecans if desired.
• Brown Sugar – Adds moisture and a hint of molasses flavor; coconut sugar is a healthier alternative.
• Boiling Water – Creates the signature fudgy sauce; be sure not to stir after adding it to achieve the desired consistency.
For Serving
• Vanilla Ice Cream – A perfect topping; serves as a creamy contrast to the warm cobbler and enhances the overall experience.
How to Make Chocolate Cobbler
-
Preheat your oven to 350°F (175°C) to prepare for baking. This is essential for achieving that perfect fudgy texture.
-
Combine the dry ingredients in a mixing bowl: flour, baking powder, salt, sugar, and cocoa. Mix well to evenly distribute the ingredients.
-
Stir in the melted butter, milk, and vanilla extract to create a smooth batter. If you opted for walnuts, now’s the time to fold them in for added texture.
-
Spread the mixture into a greased 1.5 qt casserole dish. Make sure it’s evenly distributed for consistent baking.
-
Mix the topping ingredients: brown sugar, cocoa, and salt in a separate bowl. Sprinkle this mixture over the batter without stirring it in.
-
Carefully pour boiling water over the top without mixing. This step is crucial as it creates that signature fudgy sauce underneath.
-
Bake for 30 minutes, watching as the top sets and the pudding-like layer forms beneath. You want it to look firm but still moist.
-
Serve warm, ideally topped with a generous scoop of vanilla ice cream. It’s the ultimate finishing touch that makes each bite divine.
Optional: Drizzle with chocolate syrup for an extra indulgence.
Exact quantities are listed in the recipe card below.
Make Ahead Options
These Chocolate Cobbler delights are perfect for busy weeknights or last-minute gatherings! You can prep the batter up to 24 hours in advance by mixing all the dry ingredients (flour, sugar, cocoa, baking powder, and salt) and storing them in an airtight container. When you’re ready to bake, just stir in the wet ingredients (melted butter, milk, and vanilla) and pour it into the dish. The topping mixture (brown sugar, cocoa, and salt) can also be prepped ahead and refrigerated. For optimal texture, avoid adding boiling water until you’re ready to bake. Simply pour it over right before baking, and your Chocolate Cobbler will turn out just as delicious as fresh!
Expert Tips for Chocolate Cobbler
- Use Boiling Water: Ensure the water is boiling before pouring it on top, which is key to creating the fudgy sauce layer that’s signature in chocolate cobbler.
- Don’t Over-Bake: Keep a close eye on the oven; under-baking a little results in a gooey pudding layer, while over-baking can dry it out.
- Mix Thoroughly: When combining the dry ingredients, make sure they are well mixed to avoid any clumps that can affect the texture of your chocolate cobbler.
- Serving Warm: For the best experience, serve immediately after baking while it’s still warm, ideally with a scoop of ice cream for that delightful melty goodness.
- Experiment with Flavors: Don’t be afraid to play with flavors; substituting dark cocoa or adding flavored extracts can elevate your chocolate cobbler to new heights.
How to Store and Freeze Chocolate Cobbler
Fridge: Store leftover Chocolate Cobbler in an airtight container for up to 2 days to maintain its fudgy texture and flavor, ensuring it stays fresh for your sweet cravings.
Freezer: For longer storage, place portions of the cooled Chocolate Cobbler in freezer-safe containers, where it can be kept for up to 3 months. Ensure you wrap it well to prevent freezer burn.
Reheating: To enjoy it warm again, thaw in the refrigerator overnight and reheat in the microwave for 30-60 seconds, or until heated through. A scoop of ice cream on top brings back that comforting finish!
What to Serve with Chocolate Cobbler?
There’s nothing quite like pairing this decadent dessert with accompaniments that elevate every rich, fudgy bite.
-
Vanilla Ice Cream: A must-have; the creamy cold contrast to the warm cobbler adds a delightful texture that melts in your mouth.
-
Whipped Cream: Light and airy, it balances out the richness of the cobbler, creating a cloud-like experience that tantalizes your taste buds.
-
Fresh Berries: Toss in some raspberries or strawberries; their tartness cuts through the sweetness and adds a fresh pop of color and flavor.
-
Chocolate Sauce: Drizzle extra chocolate on top to elevate the indulgence; it enhances the chocolatey goodness, making each bite even more luxurious.
-
Coffee: Brew a cup of rich, strong coffee alongside your dessert; the bitterness complements the sweetness, creating a delightful contrast that chocolate lovers adore.
-
Coconut Flakes: Toasted coconut adds a tropical flair and crunch; sprinkle it on top for a delightful twist that makes each serving unique.
-
Peanut Butter Drizzle: For a nutty kick, swirl in some peanut butter; its savory richness perfectly pairs with chocolate, making every mouthful unforgettable.
-
Skip the Sweets: Consider serving it with a charcuterie board of savory cheeses and nuts; it creates a contrast that chessboards the dessert’s sweetness, tantalizing your palate.
Chocolate Cobbler Variations
Feel free to unleash your creativity and customize this delightful dessert with these fun twists!
- Gluten-Free: Substitute all-purpose flour with a 1:1 gluten-free flour blend to accommodate dietary needs without sacrificing taste.
- Nut-Free: Omit walnuts or replace them with sunflower seeds for a crunchy texture that everyone can enjoy, perfect for allergy concerns.
- Vegan Delight: Swap in dairy-free margarine and plant-based milk to transform this into a delicious vegan treat that doesn’t skimp on flavor.
- Flavor Boost: Add a splash of coffee or espresso powder to the batter for a rich depth that enriches the chocolate, elevating the dessert experience.
- Minty Fresh: Use peppermint extract instead of vanilla for a refreshing twist that adds a festive touch, especially delightful during the holidays.
- Fruity Surprise: Fold in fresh raspberries or sliced bananas into the batter before baking for a fruity burst that complements the chocolate beautifully.
- Spicy Kick: Sprinkle a pinch of cayenne pepper or cinnamon into the cocoa mixture for a warm, spicy undertone that surprises and delights the palate.
- Decadent Topping: Drizzle with caramel or chocolate syrup after baking for an extra layer of indulgence that takes this dessert to the next level.
Each of these variations invites you to explore and enjoy chocolate cobbler in new and exciting ways!
Chocolate Cobbler Recipe FAQs
What type of flour should I use for Chocolate Cobbler?
I recommend using all-purpose flour for the best structure. If you’re looking for a gluten-free option, feel free to substitute it with a gluten-free flour blend that works for baking.
How do I store leftover Chocolate Cobbler?
Store leftover Chocolate Cobbler in an airtight container in the refrigerator for up to 2 days. Be sure to let it cool completely before sealing it for the best preservation of its fudgy texture.
Can I freeze Chocolate Cobbler?
Absolutely! To freeze, cut the cooled Chocolate Cobbler into portions and place them in freezer-safe containers. It can be stored for up to 3 months. When you’re ready to enjoy it, simply thaw it overnight in the refrigerator and reheat it in the microwave for 30-60 seconds until warmed through.
What should I do if my cobbler turns out too cakey?
If your Chocolate Cobbler ends up too cakey instead of fudgy, it might have been over-baked. Next time, check the cobbler around the 25-minute mark to ensure it doesn’t dry out. The top should look set but still feel slightly soft to the touch.
Can I make this dessert nut-free?
Very! If you or your guests have nut allergies, simply omit the chopped walnuts from the recipe. The Chocolate Cobbler will still be deliciously rich and satisfying without them.
What’s the best way to serve Chocolate Cobbler?
For an indulgent experience, serve the Chocolate Cobbler warm, topped with a generous scoop of vanilla ice cream. The combination of the warm, fudgy dessert with the cold, creamy ice cream is truly heavenly! Additionally, a drizzle of chocolate syrup can elevate it to even greater heights.
Irresistible Chocolate Cobbler: Your New Favorite Comfort Dessert
Ingredients
Equipment
Method
- Preheat your oven to 350°F (175°C) to prepare for baking.
- Combine the dry ingredients in a mixing bowl: flour, baking powder, salt, sugar, and cocoa.
- Stir in melted butter, milk, and vanilla extract to create a smooth batter.
- Spread the mixture into a greased 1.5 qt casserole dish.
- Mix the topping ingredients: brown sugar, cocoa, and salt in a separate bowl.
- Sprinkle this mixture over the batter without stirring.
- Carefully pour boiling water over the top without mixing.
- Bake for 30 minutes.
- Serve warm, topped with vanilla ice cream.

