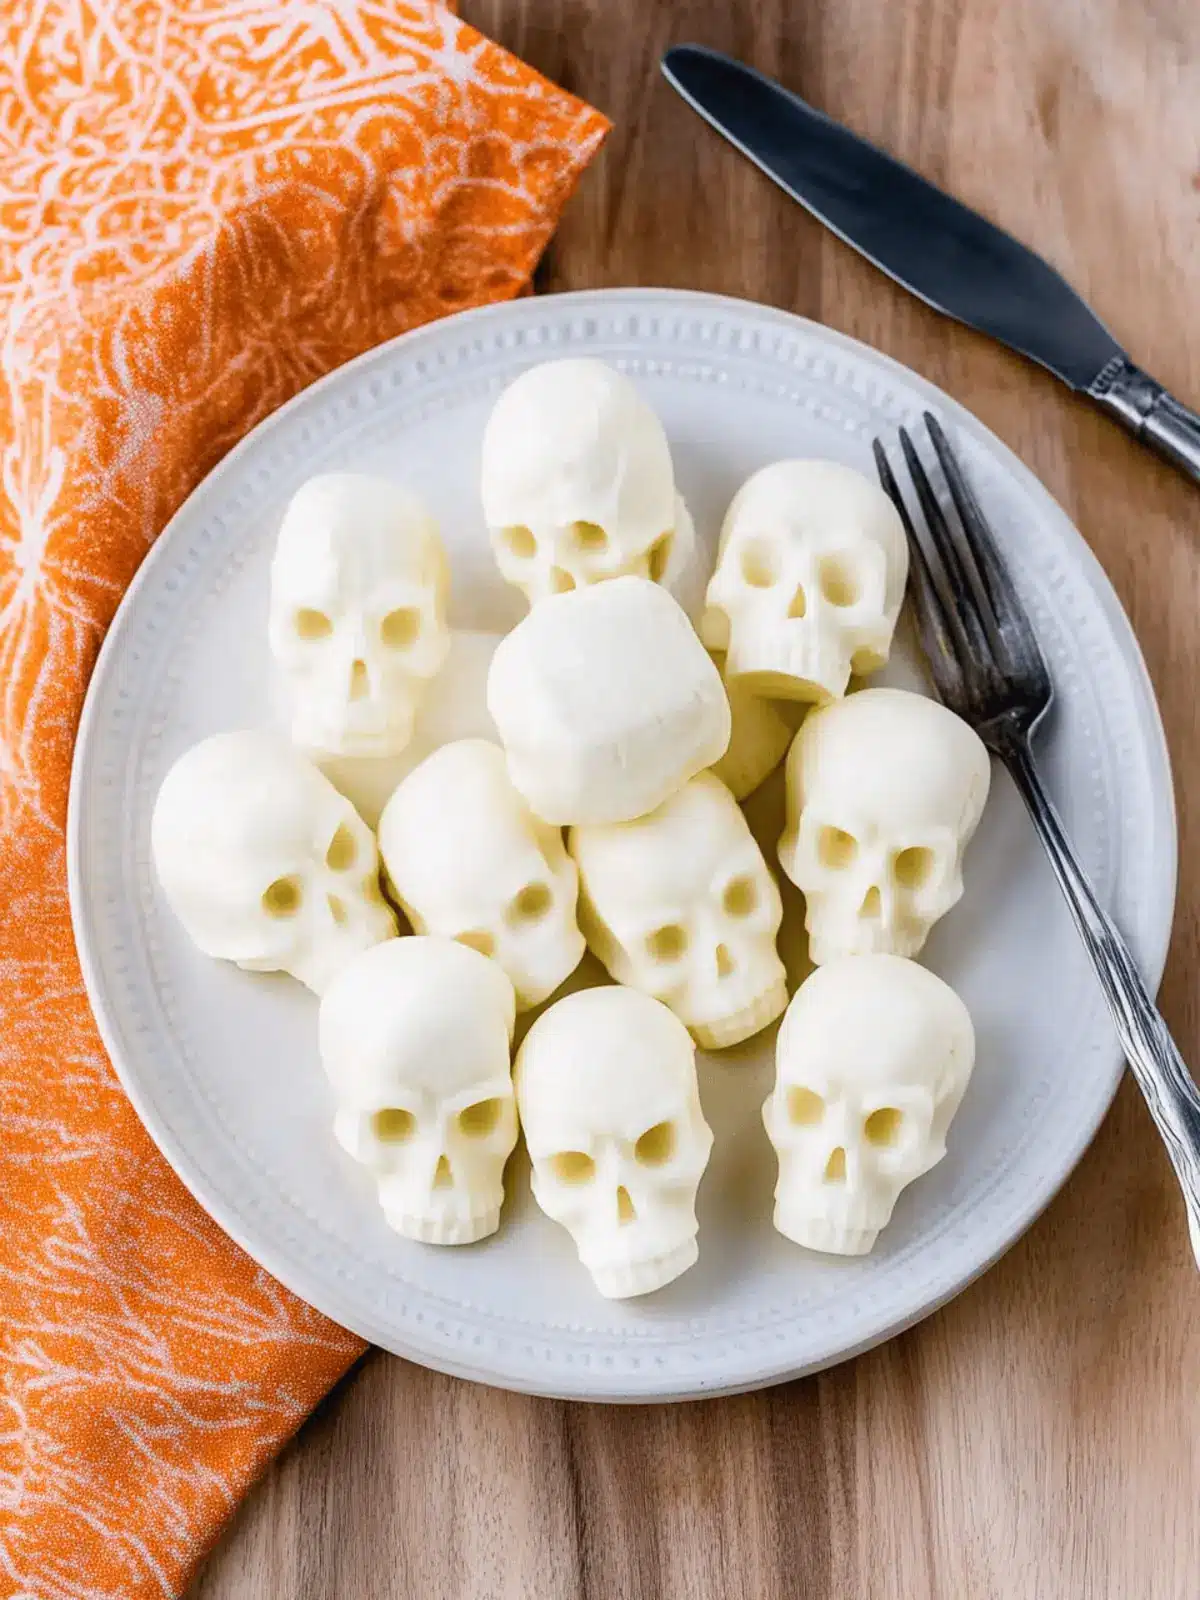
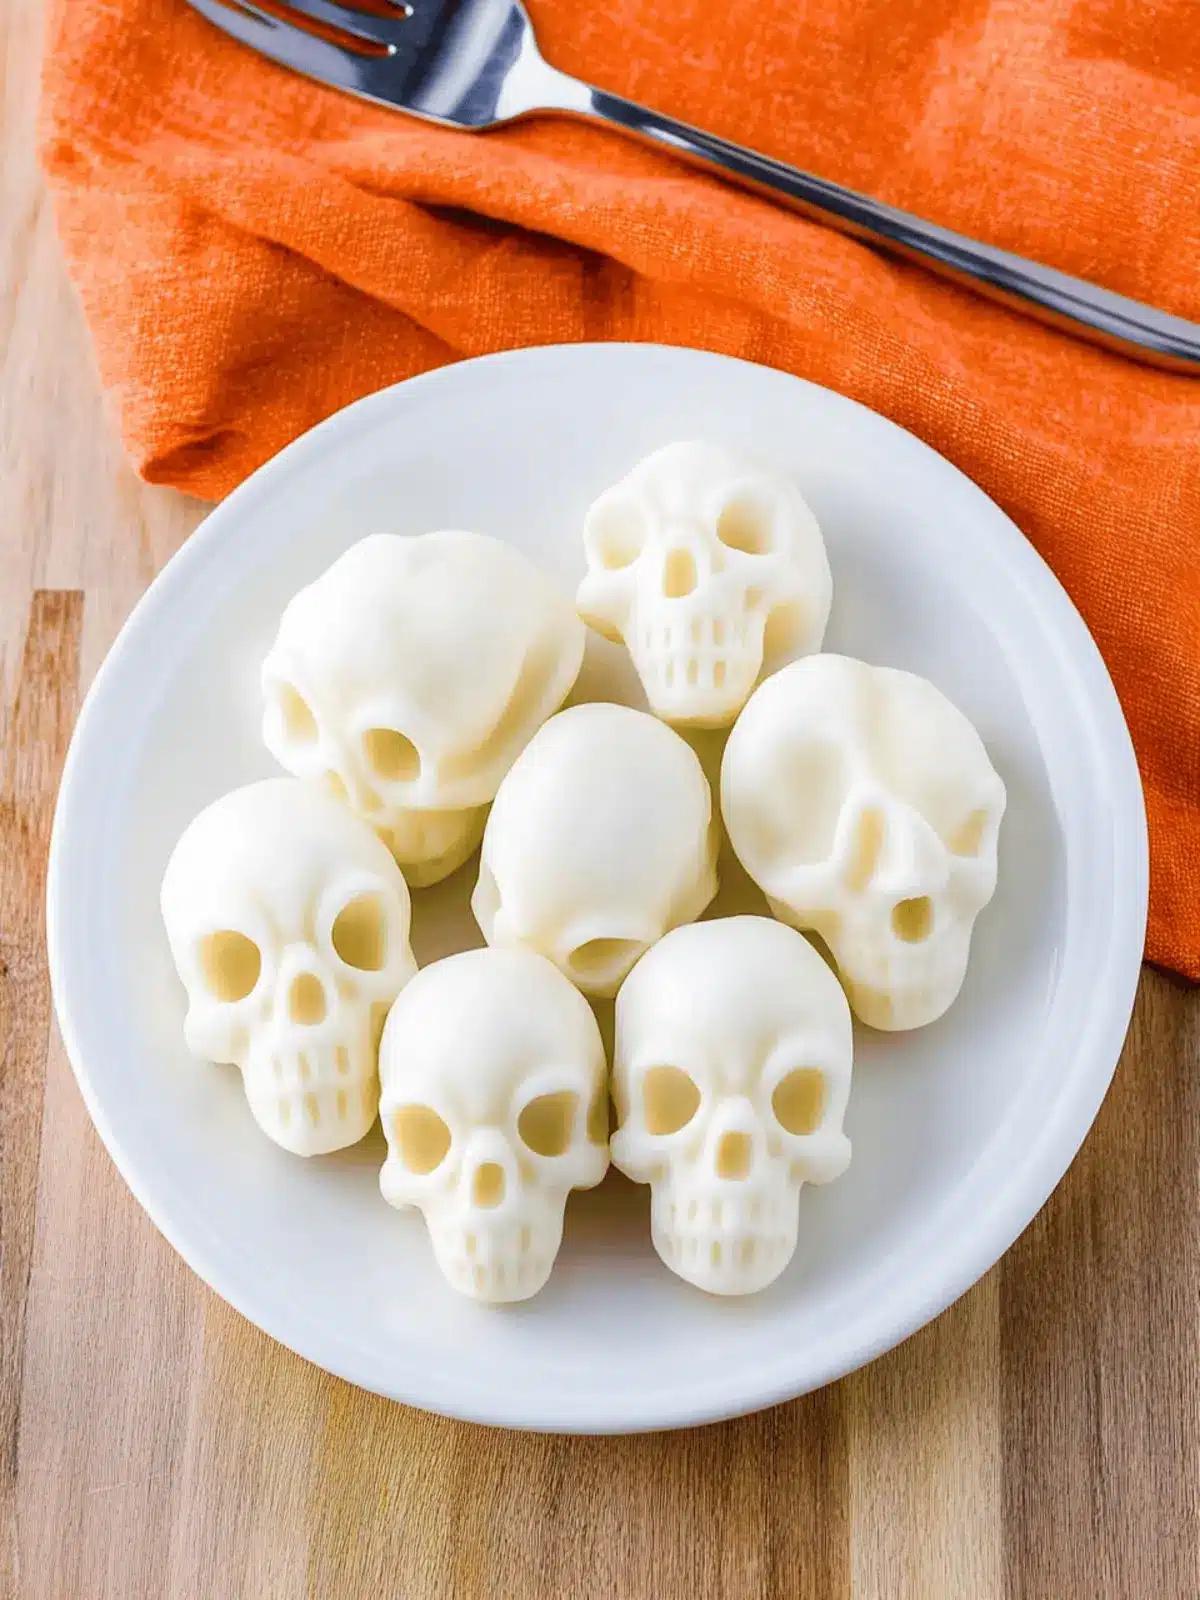
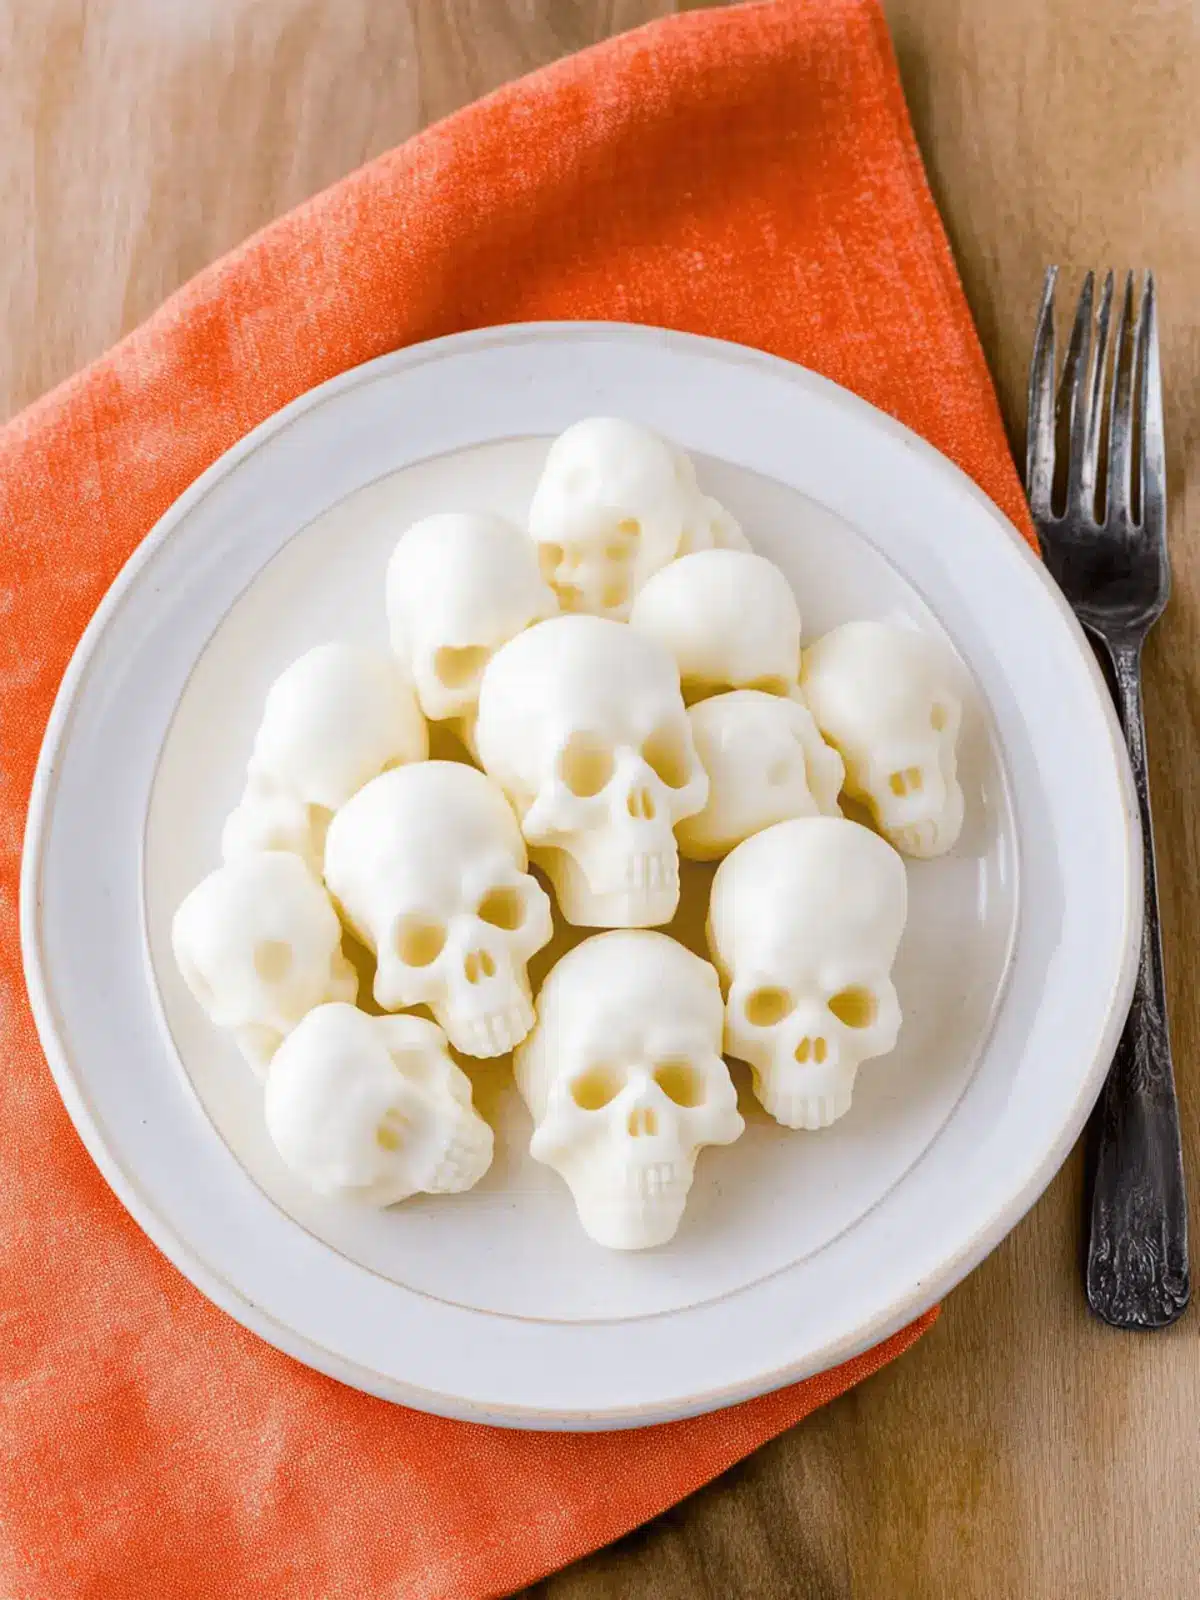
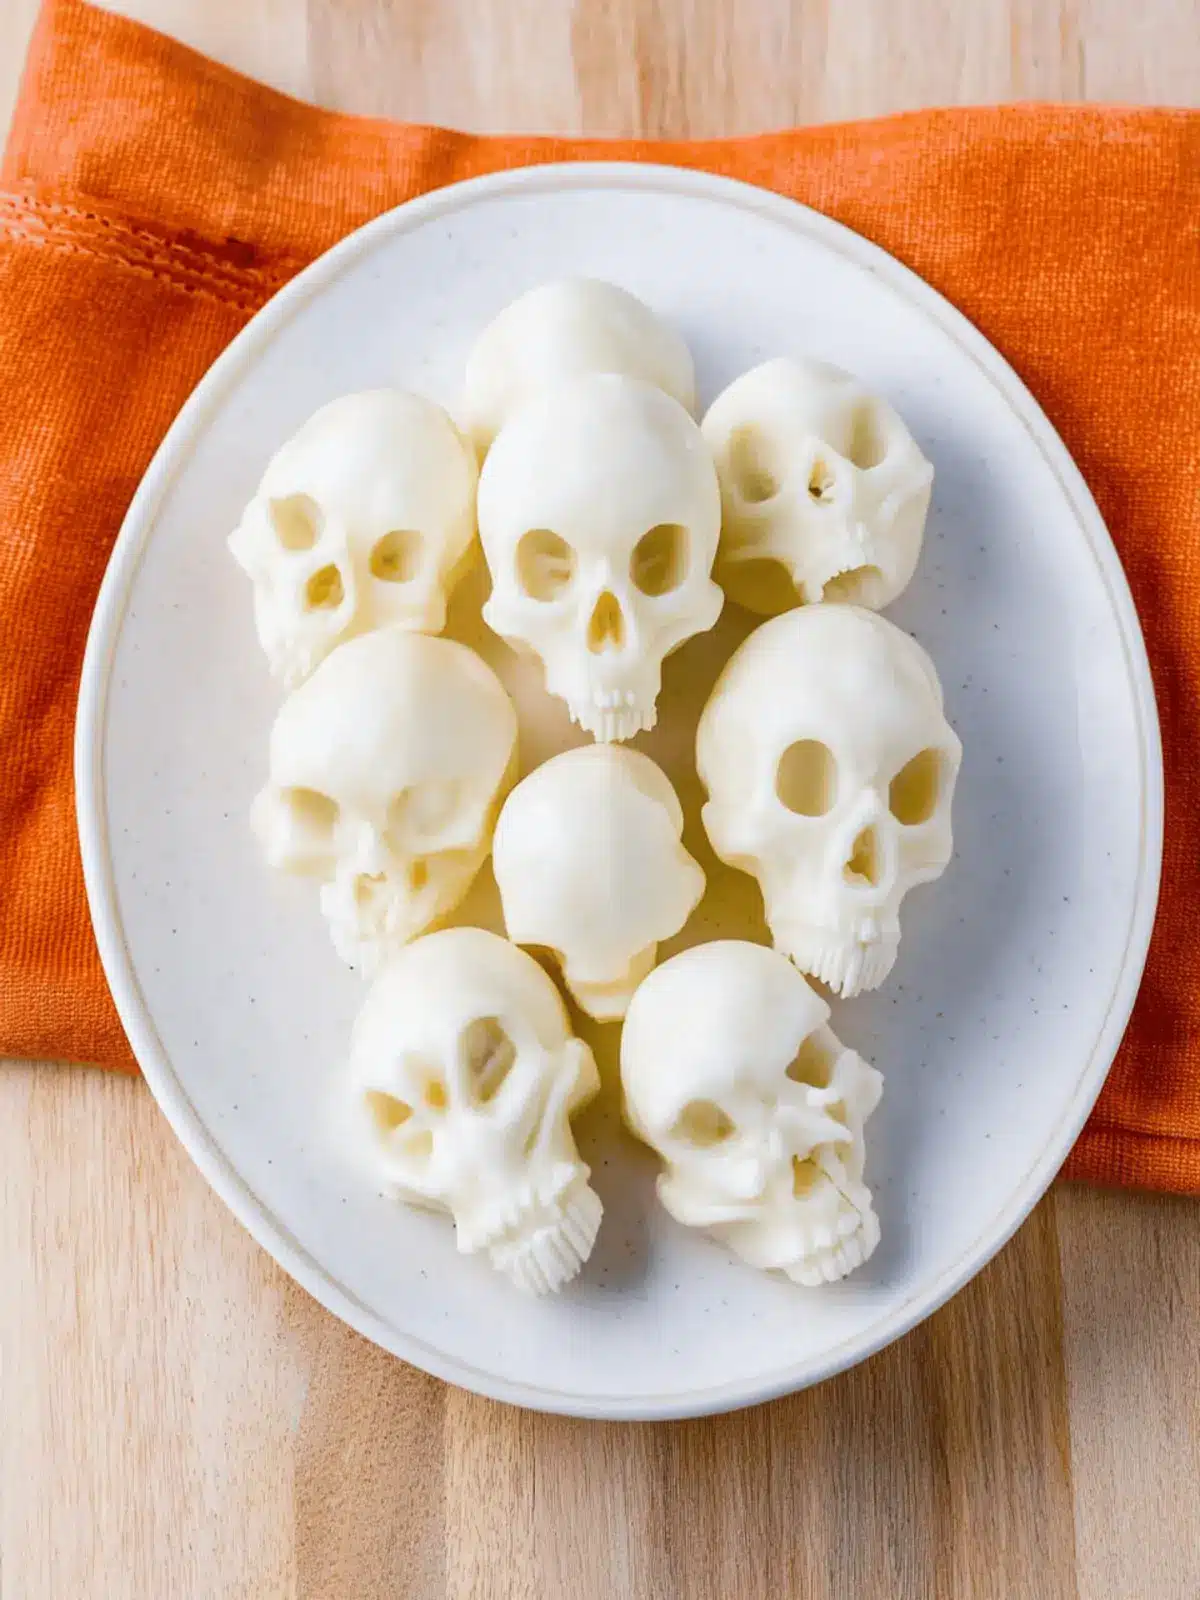
Every October, as the air turns crisp and the nights grow longer, I find myself tapping into my playful side, especially when it comes to entertaining friends. There’s something oh-so-satisfying about creating a dish that catches eyes and sparks delight, and these spooky mozzarella cheese skulls are my secret weapon!
Imagine walking into a gathering and being greeted with a charcuterie board featuring these whimsical skull-shaped treasures. Their soft and creamy texture is a perfect contrast to the eerie presentation, making them a hit with both kids and adults alike. Plus, whipping them up couldn’t be easier — they’re simple enough that anyone can join in the fun.
So, whether you’re hosting a Halloween party or simply looking to add some festive flair to your dinner table, these mozzarella cheese skulls are bound to impress and encourage a little culinary creativity. Let’s dive in and make this Halloween one to remember!
Why You’ll Love These Mozzarella Cheese Skulls
Creativity at Its Peak: Elevate your Halloween gatherings with these whimsical mozzarella cheese skulls that double as a conversation starter.
Easy to Make: With minimal ingredients and a straightforward process, everyone can participate in shaping the fun!
Impressive Presentation: Their spooky yet delightful form makes them the standout feature on any charcuterie board or salad.
Versatile Serving Options: Drizzle them with balsamic glaze or toss them in a festive mixed greens salad for an upscale twist.
Kid-Friendly Fun: Engage the little ones during Halloween; these tasty creations are bound to turn them into cooking helpers.
Tasteful Texture: Enjoy the perfect balance of soft, creamy mozzarella in a playful format, ensuring that each bite is a delight.
Mozzarella Cheese Skulls Ingredients
For the Skulls
- Mini Mozzarella Balls – These are the base for our spooky skulls and can typically be found in the deli section.
- Silicone Skull Mold – Essential for creating those playful skull shapes; make sure it’s heat-safe to withstand baking.
- Paper Towels – Use these to dry off the mozzarella balls to ensure they shape correctly; any absorbent material will do.
How to Make Mozzarella Cheese Skulls
-
Preheat the Oven: Set your oven to 350°F (175°C). This temperature is perfect for achieving a soft melt without making the mozzarella too gooey.
-
Blot the Mozzarella: Gently pat each mini mozzarella ball with a paper towel. This step is crucial; it removes excess moisture and helps the cheese hold its skeleton shape.
-
Fill the Mold: Place one mozzarella ball into each cavity of the silicone skull mold, ensuring they’re snug but not overly packed. This will help them maintain their fun form.
-
Bake the Cheese: Pop the mold into the oven for 8-10 minutes, or until the mozzarella is just soft enough to spread. Look for a slight melt rather than a full meltdown.
-
Shape the Skulls: Using the back of a spoon, gently press down on the softened mozzarella to mold it into the skull shape. Be careful; you want to keep these little treasures intact!
-
Cool and Unmold: Let the mozzarella skulls cool in the refrigerator for about 10 minutes. This helps them firm up, making it easier to pop them out of the mold.
Optional: Drizzle with balsamic glaze before serving for an extra touch of flavor.
Exact quantities are listed in the recipe card below.
What to Serve with Mozzarella Cheese Skulls?
Add a touch of whimsy to your Halloween spread with delightful pairings that accentuate the creamy goodness of these mozzarella treats.
-
Crispy Crostini: These toasted bread slices offer a crunchy contrast that beautifully complements the soft texture of the mozzarella skulls. Spread with some herbed cream cheese for extra flavor!
-
Zesty Marinara Sauce: A warm, tangy marinara for dipping enhances the experience, bringing a delightful twist to each bite. The rich, savory flavor pairs wonderfully with the creamy cheese.
-
Spooky Salad: Toss together mixed greens, orange bell peppers, and black olives to create a festive salad. This not only adds color but provides a fresh crunch to balance the dish.
-
Savory Veggie Platter: Include an assortment of colorful vegetables, like carrots and celery, for a crisp bite alongside the soft mozzarella. Pair with a garlic dip for an extra zing!
-
Festive Beverage: Serve with a fruity punch or mocktail—think cranberry juice with ginger ale. The bright flavors complement the cheese while enhancing the Halloween atmosphere.
-
Chocolate-Covered Strawberries: For dessert, these treats provide a sweet contrast to the savory flavors of the skulls. The luscious chocolate pairs perfectly with the creaminess of mozzarella.
-
Dark Chocolate Mousse: Indulge your sweet tooth with a rich mousse. Its creamy texture and decadent taste create a delightful ending to your spooky theme.
-
Cheesy Garlic Bread: A classic side, this bread mates well with the mozzarella skulls while adding layers of flavor to your meal. The gooey cheese and garlic aroma create irresistible warmth.
Mozzarella Cheese Skulls Variations & Substitutions
Feel free to get creative and customize these spine-chilling mozzarella cheese skulls to suit your spooky celebration!
-
Herbed Skulls:
Mix dried herbs like oregano or basil into the mozzarella before shaping for an aromatic twist. Fresh herbs jazz up the flavor! -
Spicy Surprise:
Incorporate a pinch of red pepper flakes or diced jalapeños into the mozzarella for a fiery kick. This unexpected heat will thrill adventurous guests! -
Veggie Infusion:
Add diced sun-dried tomatoes or finely chopped spinach into the mozzarella for an extra layer of flavor and color. It’s a sneaky way to boost nutrition, too! -
Cheesy Blend:
Try mixing mozzarella with other melt-friendly cheeses like cheddar or gouda for a fusion of flavors. This cheesy combo takes these skulls to new heights! -
Sweet Drizzle:
Instead of balsamic glaze, give them a sweet touch with a drizzle of honey or a fig reduction before serving. The contrast of flavors will enchant your guests! -
Dairy-Free Option:
Substitute the mozzarella with a dairy-free cheese alternative that melts well, like cashew-based cheese. Enjoy all the fun without the dairy! -
Colorful Additions:
Experiment with food coloring to dye the mozzarella prior to baking for a more vibrant and festive appearance. Halloween is all about bold, playful presentations! -
Crunchy Coating:
For an unexpected texture, coat the mozzarella skulls in breadcrumbs before baking for a crispy exterior. It’s a delightful twist that adds crunch!
Expert Tips for Mozzarella Cheese Skulls
-
Choose the Right Mold: Ensure your silicone skull mold is labeled as oven-safe; this prevents potential melting or deformation during baking.
-
Moisture Matters: Blotting the mozzarella is key! Excess moisture can prevent the cheese from maintaining its shape in the mold, leading to messy results.
-
Bake Carefully: Keep an eye on the oven—bake until slightly melted to retain texture. Overbaking will cause the mozzarella to become too runny, losing its skull shape.
-
Gentle Handling: When pressing down the cheese in the mold, use a light touch to avoid breaking the delicate shapes.
-
Cool Before Unmolding: Allow the skulls to cool thoroughly in the refrigerator. This step ensures they hold their shape when you remove them from the mold.
-
Storage Tips: Store any leftover mozzarella balls in the refrigerator until you’re ready to use them. Keeping them chilled prevents drying out and enhances the final result.
Storage Tips for Mozzarella Cheese Skulls
-
Room Temperature: Store mozzarella skulls at room temperature for up to 2 hours if they are still in the mold; afterward, transfer them to the fridge for freshness.
-
Fridge: Keep mozzarella cheese skulls in an airtight container in the refrigerator for up to 3 days. This will help them maintain their soft texture and adorable shape.
-
Freezer: If you want to prepare these spooky mozzarella cheese skulls ahead of time, freeze them for up to 1 month. Wrap each skull tightly in plastic wrap and then place them in a freezer-safe bag.
-
Reheating: To enjoy them warm again, preheat your oven to 350°F (175°C) and reheat the frozen mozzarella skulls for about 5-7 minutes until they soften. Do not microwave, as it can alter their shape!
Make Ahead Options
These Mozzarella Cheese Skulls are fantastic for meal prep, allowing you to enjoy more time with your guests come Halloween! You can prepare the mozzarella balls in the molds and refrigerate them up to 24 hours in advance. Simply follow the first four steps of the recipe, then cover the filled mold with plastic wrap and store it in the refrigerator. This keeps them fresh and helps maintain their shape until you’re ready to bake. When it’s time to serve, simply pop them in the oven and bake as directed, achieving delicious, creamy results without any last-minute stress. Enjoy these spooky treats that are just as delightful when prepped ahead!
Mozzarella Cheese Skulls Recipe FAQs
How do I choose ripe mini mozzarella balls?
Absolutely! When selecting mini mozzarella balls, look for those that are plump with a smooth surface. They should be free from dark spots or excessive moisture. If you can, opt for fresh mozzarella, as it has a creamier texture and taste compared to pre-packaged varieties.
What is the best way to store mozzarella cheese skulls?
Very! Store your mozzarella cheese skulls in an airtight container in the refrigerator for up to 3 days. This will keep them fresh and maintain their delightful texture. For optimal results, avoid storing them uncovered, as they may dry out and lose their charming shape.
Can I freeze mozzarella cheese skulls?
Absolutely! If you want to prepare these spooky treats ahead of time, you can freeze them for up to 1 month. First, wrap each skull tightly in plastic wrap, then place them in a freezer-safe bag. To enjoy them again, simply preheat your oven to 350°F (175°C) and reheat the frozen skulls for about 5-7 minutes, steering clear of the microwave to preserve their shape.
What should I do if my mozzarella skulls don’t hold their shape?
Oh no! If your mozzarella skulls don’t hold their shape, it might be due to excess moisture. Make sure to blot each mozzarella ball well with a paper towel before molding. Also, avoid overbaking; just aim for that perfect soft melt. If you’re using a mold that isn’t silicone, it may not allow for easy release, so double-check that your mold is the right type.
Can I use these mozzarella skulls for dietary restrictions?
Very! Mozzarella is gluten-free and can be a safe snack option for most diets. However, if you’re entertaining guests with lactose intolerance or dairy allergies, consider using vegan cheese alternatives that are designed for melting and can fit into various dietary needs. Just ensure they are moldable for the best results!
What if I want to add more flavor to my mozzarella skulls?
Give it a whirl! Before cooking, you can sprinkle herbs like oregano or basil over the mozzarella or mix in some finely chopped sun-dried tomatoes or black olives to give them a savory twist. For a more festive touch, consider drizzling with balsamic glaze or pesto just before serving!

Create Fun Mozzarella Cheese Skulls for a Spooky Halloween
Ingredients
Equipment
Method
- Preheat the Oven to 350°F (175°C).
- Blot the Mozzarella, gently pat each mini mozzarella ball with a paper towel.
- Fill the Mold, place one mozzarella ball into each cavity of the silicone skull mold.
- Bake the Cheese, pop the mold into the oven for 8-10 minutes.
- Shape the Skulls using the back of a spoon to mold the cheese into skull shape.
- Cool and Unmold, let the mozzarella skulls cool in the refrigerator for about 10 minutes.


