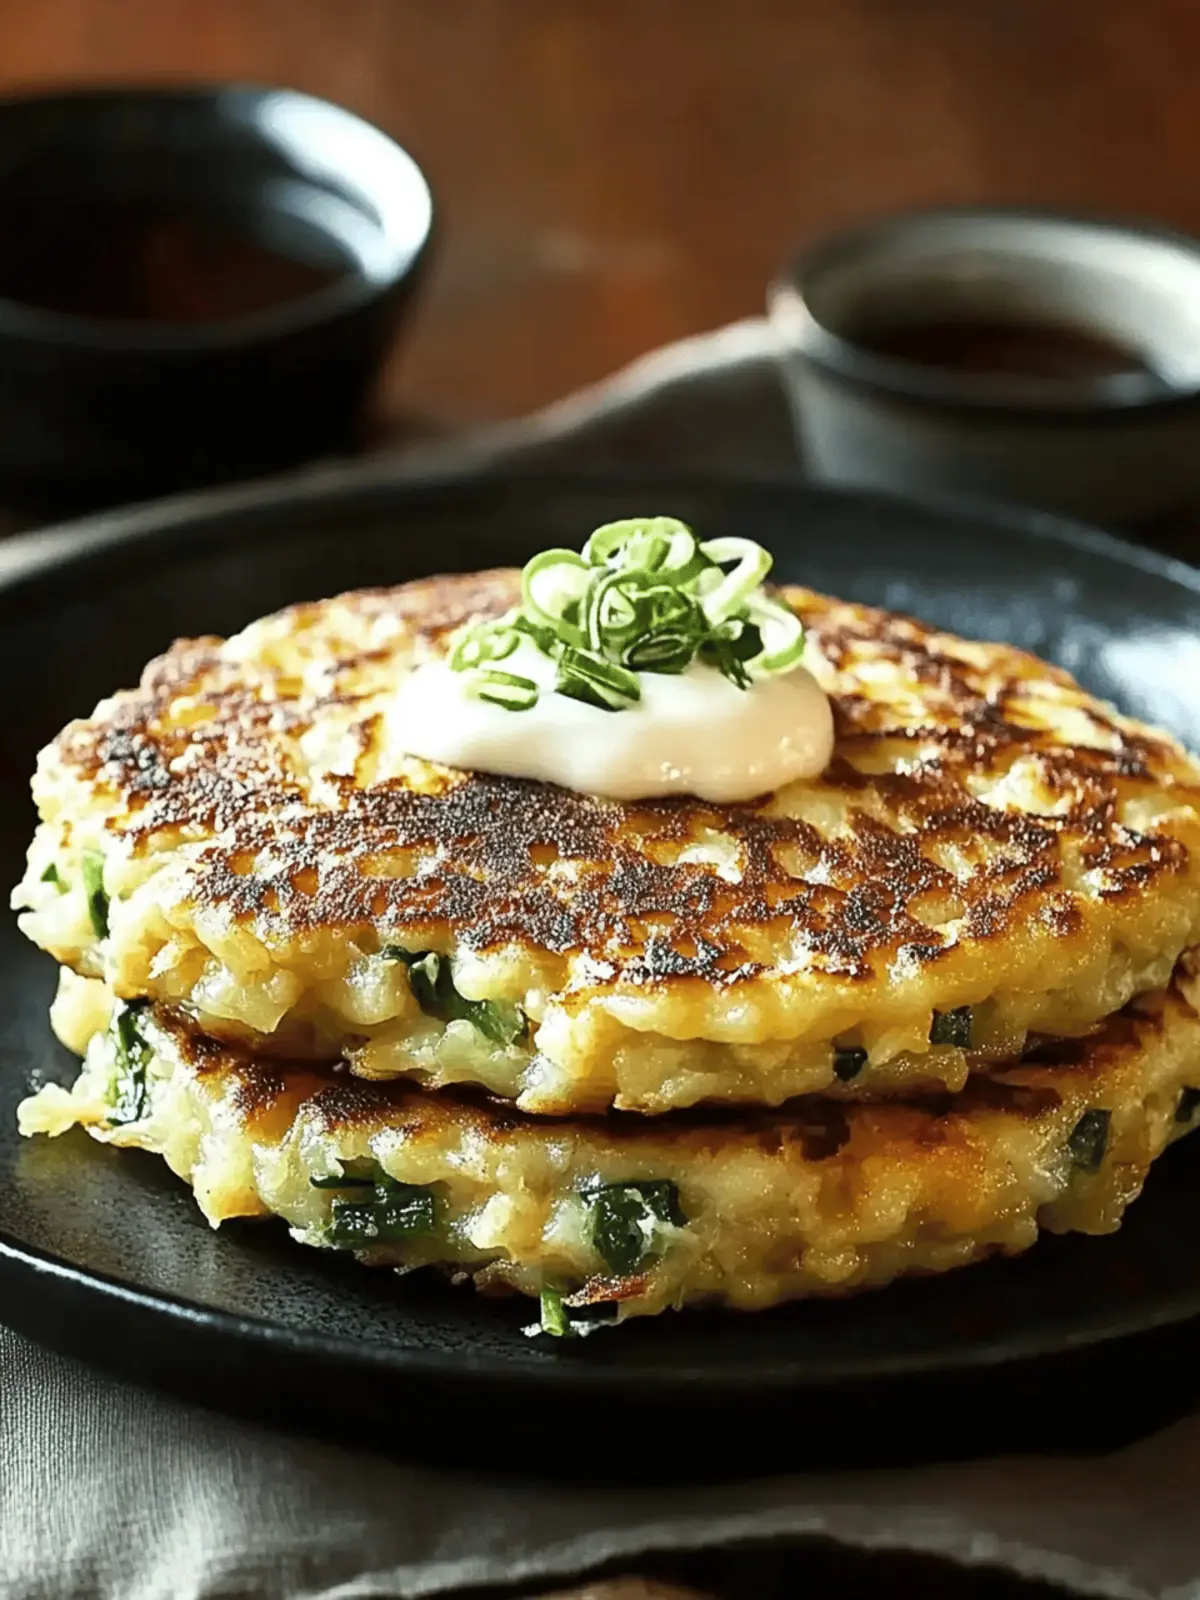
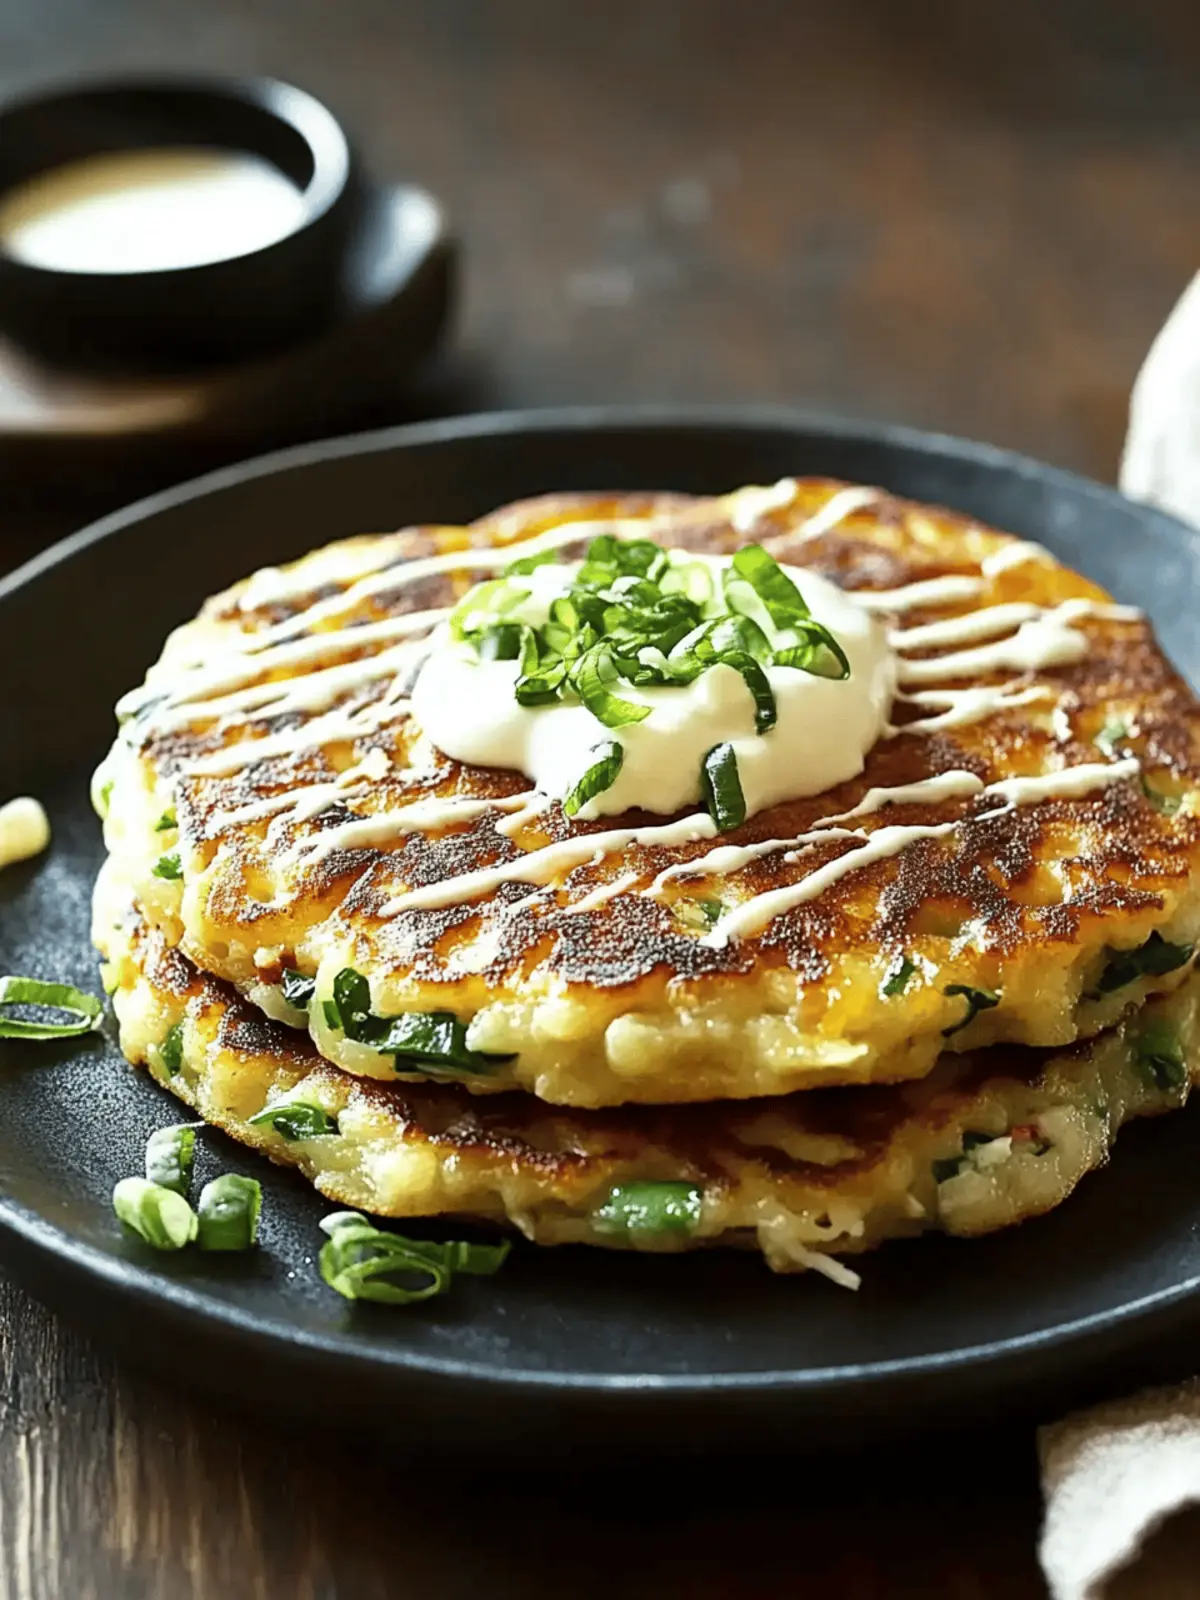
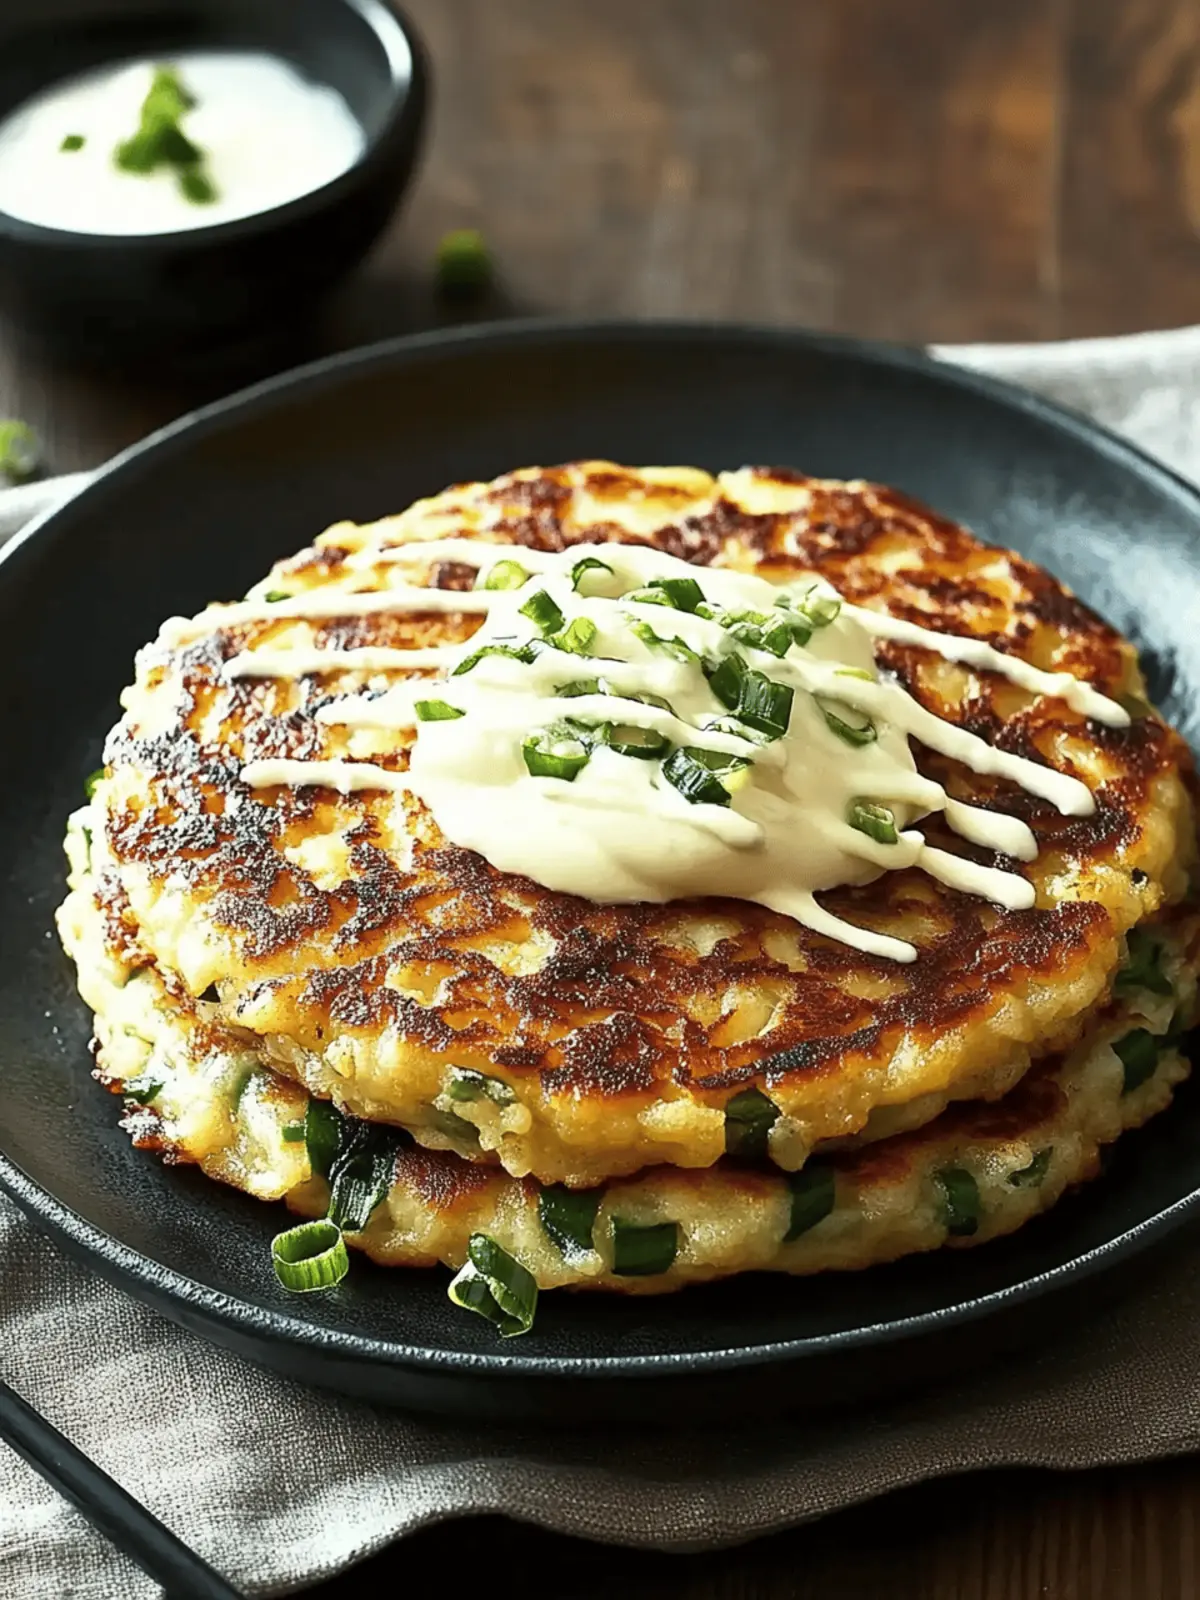
Imagine this: you walk into your kitchen, and the irresistible aroma of sizzling cabbage and savory pork fills the air. That’s the magic of Okonomiyaki—Japan’s delightful take on savory pancakes often dubbed “Japanese pizza.” I discovered this gem when I was craving something comforting yet fun to make.
These versatile pancakes are incredibly easy to whip up, making them perfect for a cozy dinner with family or a lively gathering of friends. The crispy exterior gives way to a tender, flavorful inside, all while being budget-friendly and packed with nutritious ingredients. You can customize them to suit your taste—whether you prefer classic Osaka-style or the layered goodness of Hiroshima-style, Okonomiyaki allows for endless creativity in the kitchen.
Join me as we dive into this delicious recipe that promises to transform your weeknight meals and bring joy back to homemade food!
Why will you love Okonomiyaki?
Simplicity at Its Best: Whipping up Okonomiyaki is a breeze, making it perfect for both novice cooks and seasoned chefs.
Endless Customization: Tailor these savory pancakes to your liking! Add your favorite proteins, veggies, or even cheese for a unique twist.
Crowd Pleaser: With its delicious blend of flavors and textures, it’s a dish that’s sure to impress family and friends!
Budget-Friendly: This recipe uses affordable ingredients, making it a fantastic choice for satisfying meals without breaking the bank.
Nutritious Comfort: Packed with vegetables and protein, Okonomiyaki isn’t just tasty—it’s a wholesome option for any dinner table.
Okonomiyaki Ingredients
For the Batter
- All-purpose flour – A sturdy base for the pancake structure; whole wheat flour is a great substitute for added nutrition.
- Water or dashi stock – Moistens the batter and enhances flavor; dashi adds a rich umami kick.
- Eggs – Essential for binding ingredients together, providing richness and structure.
For the Filling
- Finely shredded cabbage – Adds crunch and fiber; an authentic component for that classic texture.
- Chopped green onions – For flavor enhancement and a pop of color; chives work as a substitute if needed.
- Tempura scraps (tenkasu, optional) – Brings a delightful crunch; feel free to skip if you don’t have any on hand.
- Thinly sliced pork belly or bacon – Adds a rich, savory flavor; swap for seafood or tofu for a vegetarian alternative.
For Toppings
- Okonomiyaki sauce – The key condiment for flavor; choose store-bought or make your own for a personal touch.
- Japanese mayonnaise (preferably Kewpie) – Adds a creamy, tangy element that tastes divine on top.
- Aonori (seaweed flakes) – Provides a burst of flavor and makes for a beautiful garnish.
- Katsuobushi (bonito flakes) – Infuses umami and texture; can be omitted for vegetarian versions.
- Chopped green onions (for garnish) – Use fresh to elevate flavor and presentation.
- Pickled ginger (beni shoga) – Optional, but adds a refreshing zing that complements the savory pancakes beautifully.
With these Okonomiyaki ingredients on hand, you’re well on your way to making a delicious meal that everyone will love!
How to Make Okonomiyaki
-
Prepare the batter: In a spacious bowl, whisk together all-purpose flour, water or dashi stock, and eggs until the mixture is smooth and well combined. This should create a thick, flowing batter.
-
Add vegetables: Gently fold in the finely shredded cabbage, chopped green onions, and optional tempura scraps. Ensure everything is mixed thoroughly to distribute the flavors evenly throughout the batter.
-
Preheat the pan: Heat a non-stick skillet over medium heat and lightly coat the surface with oil. This step is crucial to achieving that perfect golden-brown crust.
-
Assemble and cook: Pour a portion of the batter onto the skillet to form a pancake about 1/2-inch thick. Lay thin slices of pork belly or bacon on top. Cook for 4-5 minutes until the bottom is golden brown and crispy, then carefully flip and cook for another 4-5 minutes.
-
Add toppings: Once cooked, transfer the pancake to a plate and drizzle generously with okonomiyaki sauce and creamy mayonnaise. Finish with a sprinkle of aonori, katsuobushi, green onions, and optional pickled ginger for added flavor.
-
Serve immediately: Slice into wedges for easy sharing and best enjoyment. Gather your family or friends around the table to experience the joy of homemade Okonomiyaki together!
Optional: Serve with a light salad or a refreshing drink for a complete meal.
Exact quantities are listed in the recipe card below.
How to Store and Freeze Okonomiyaki
Fridge: Store leftover Okonomiyaki in an airtight container for up to 2 days. To maintain its delicious texture, place a sheet of parchment paper between layers if stacking.
Freezer: For long-term storage, wrap the pancakes individually in plastic wrap and place them in a freezer-safe bag. They can be kept for up to 2 months and reheated directly from frozen.
Reheating: Reheat Okonomiyaki in a skillet over medium heat for 3-5 minutes on each side until warmed through and crispy again. Enjoy the sumptuous flavors of this Japanese pancake just as if it were freshly made!
Make Ahead Options
These Easy Okonomiyaki pancakes are perfect for meal prep enthusiasts looking to save time during busy weekends! You can prepare the batter and store it in the refrigerator for up to 24 hours—just make sure to cover it tightly to prevent drying. Additionally, chop your vegetables and proteins (like pork or tofu) a day in advance and keep them in separate containers, ready to mix in when you’re ready to cook. When it’s time to enjoy, simply heat your pan, add the batter along with your fillings, and cook as directed for delicious, crispy results that taste just as good as freshly made!
Expert Tips for Okonomiyaki
-
Skillet Temperature: Ensure your skillet is hot enough before adding the batter; this helps achieve that coveted crispy exterior that makes Okonomiyaki irresistible.
-
Avoid Overcrowding: Cook in small batches to prevent overcrowding the pan, allowing each pancake to cook evenly without steaming.
-
Perfect Thickness: Keep your pancakes about 1/2-inch thick for the best texture—too thin will affect the cooking time and overall quality.
-
Flipping Made Easy: Use a fish spatula or a similar flat tool to flip your Okonomiyaki. This minimizes the risk of breakage and ensures a beautiful presentation.
-
Customize Smartly: Feel free to mix in your favorite vegetables or proteins, but remember to keep the total volume balanced with the flour for an ideal batter consistency.
-
Fresh is Best: Enjoy your Okonomiyaki right off the stovetop! If you have leftovers, store them in the fridge—but nothing beats the taste of a freshly cooked pancake.
Okonomiyaki Variations
Feel free to let your culinary creativity shine by customizing this delightful dish to suit your tastes!
- Seafood Swap: Replace pork belly with shrimp or squid for a delicious seafood twist. The ocean’s flavors complement the savory pancake beautifully.
- Vegetarian Delight: Omit meat and replace with tofu or tempeh, loading it with extra veggies like bell peppers and mushrooms for hearty satisfaction.
- Whole Wheat Upgrade: Use whole wheat flour instead of all-purpose for a nuttier, healthier base that adds depth to the flavor profile.
- Spicy Kick: Incorporate a splash of sriracha or spicy mayo into the batter for a pleasantly fiery kick that warms your palate.
- Cheesy Goodness: Add shredded cheese to the batter for a gooey, indulgent treat that melts perfectly as it cooks.
- Asian Fusion: Mix in some kimchi for a tangy, fermented depth that pairs excellently with the savory elements of the pancake.
- Herb Infusion: Spice it up with fresh herbs like cilantro or parsley mixed into the batter for a bright, aromatic finish.
- Sweet Surprise: Try adding a touch of grated carrots or sweet corn for a subtle sweetness that contrasts wonderfully with the savory components.
With these variations, you can make each Okonomiyaki a unique creation, tailored perfectly to your family’s favorite flavors!
What to Serve with Okonomiyaki?
Create a delightful dining experience that will leave everyone craving for more, with vibrant flavors and comforting textures!
-
Crispy Asian Slaw: This fresh salad adds a crunchy contrast, balancing the savory pancakes with a zesty pickled flavor that brightens every bite.
-
Miso Soup: Warm and comforting, this traditional broth brings umami richness to your meal, complementing the Okonomiyaki beautifully.
-
Edamame: Lightly salted and full of protein, these tender soybeans are a satisfying snack that pairs perfectly with the savory bites.
-
Chilled Sake: Enjoying Okonomiyaki with a glass of chilled sake enhances the flavors, offering a refreshing contrast to the warm pancakes.
-
Teriyaki Chicken Skewers: Grilled to perfection, the sweet and savory profile of these skewers makes them an irresistible addition to your meal spread.
-
Green Tea Ice Cream: For dessert, this creamy treat is a delightful way to finish the meal, providing a light sweetness to cleanse the palate.
Serving these delights alongside your homemade Okonomiyaki promises a festive and memorable dining experience that everyone will savor!
Easy Okonomiyaki Recipe FAQs
What type of cabbage should I use for Okonomiyaki?
Absolutely, the best choice is finely shredded green cabbage, as it adds the authentic texture and crunch that makes Okonomiyaki special. Look for firm heads without dark spots or wilting, and ensure your cabbage is fresh for the best results!
How can I store leftover Okonomiyaki?
Store any leftover Okonomiyaki in an airtight container in the fridge for up to 2 days. To keep the pancakes from sticking together, place parchment paper between layers if stacking them. This method preserves their texture and flavor!
Can I freeze Okonomiyaki?
Yes, you can! To freeze Okonomiyaki, wrap each pancake individually in plastic wrap and then place them in a freezer-safe bag. They can be kept for up to 2 months. When you’re ready to enjoy, simply reheat them directly from frozen in a skillet over medium heat for about 4-5 minutes on each side until they’re heated through and crispy.
What if my Okonomiyaki batter is too thick?
If your batter turns out too thick, you can adjust it easily! Just add a little more water or dashi stock—start with a tablespoon at a time until it reaches a smooth, thick-flowing consistency that will hold together but still spread easily in the pan.
Are there any dietary considerations to keep in mind?
Definitely! If you’re cooking for someone with dietary restrictions, you can create a vegetarian version of Okonomiyaki by omitting meat and using tofu or more vegetables like mushrooms. Also, keep an eye out for any allergies related to seafood, as the katsuobushi (bonito flakes) may not be suitable for everyone.
How do I know when my Okonomiyaki is done cooking?
Great question! Your Okonomiyaki is ready when it’s golden brown and crispy on the outside, taking about 4-5 minutes per side on medium heat. A simple visual cue is to look for slight browning at the edges. You can also give it a gentle press; it should feel firm yet still springy to the touch!

Savor Homemade Okonomiyaki: Your New Favorite Dinner Delight
Ingredients
Equipment
Method
- Prepare the batter: In a spacious bowl, whisk together all-purpose flour, water or dashi stock, and eggs until smooth.
- Add vegetables: Gently fold in shredded cabbage, green onions, and optional tempura scraps.
- Preheat the pan: Heat a non-stick skillet over medium heat and lightly coat it with oil.
- Assemble and cook: Pour batter onto the skillet to form a pancake about 1/2-inch thick. Lay pork belly or bacon on top. Cook for 4-5 minutes, flip and cook for another 4-5 minutes.
- Add toppings: Drizzle Okonomiyaki sauce and mayonnaise on top, sprinkle with aonori, katsuobushi, green onions, and optional ginger.
- Serve immediately: Slice into wedges for sharing and enjoy homemade Okonomiyaki with family or friends!

