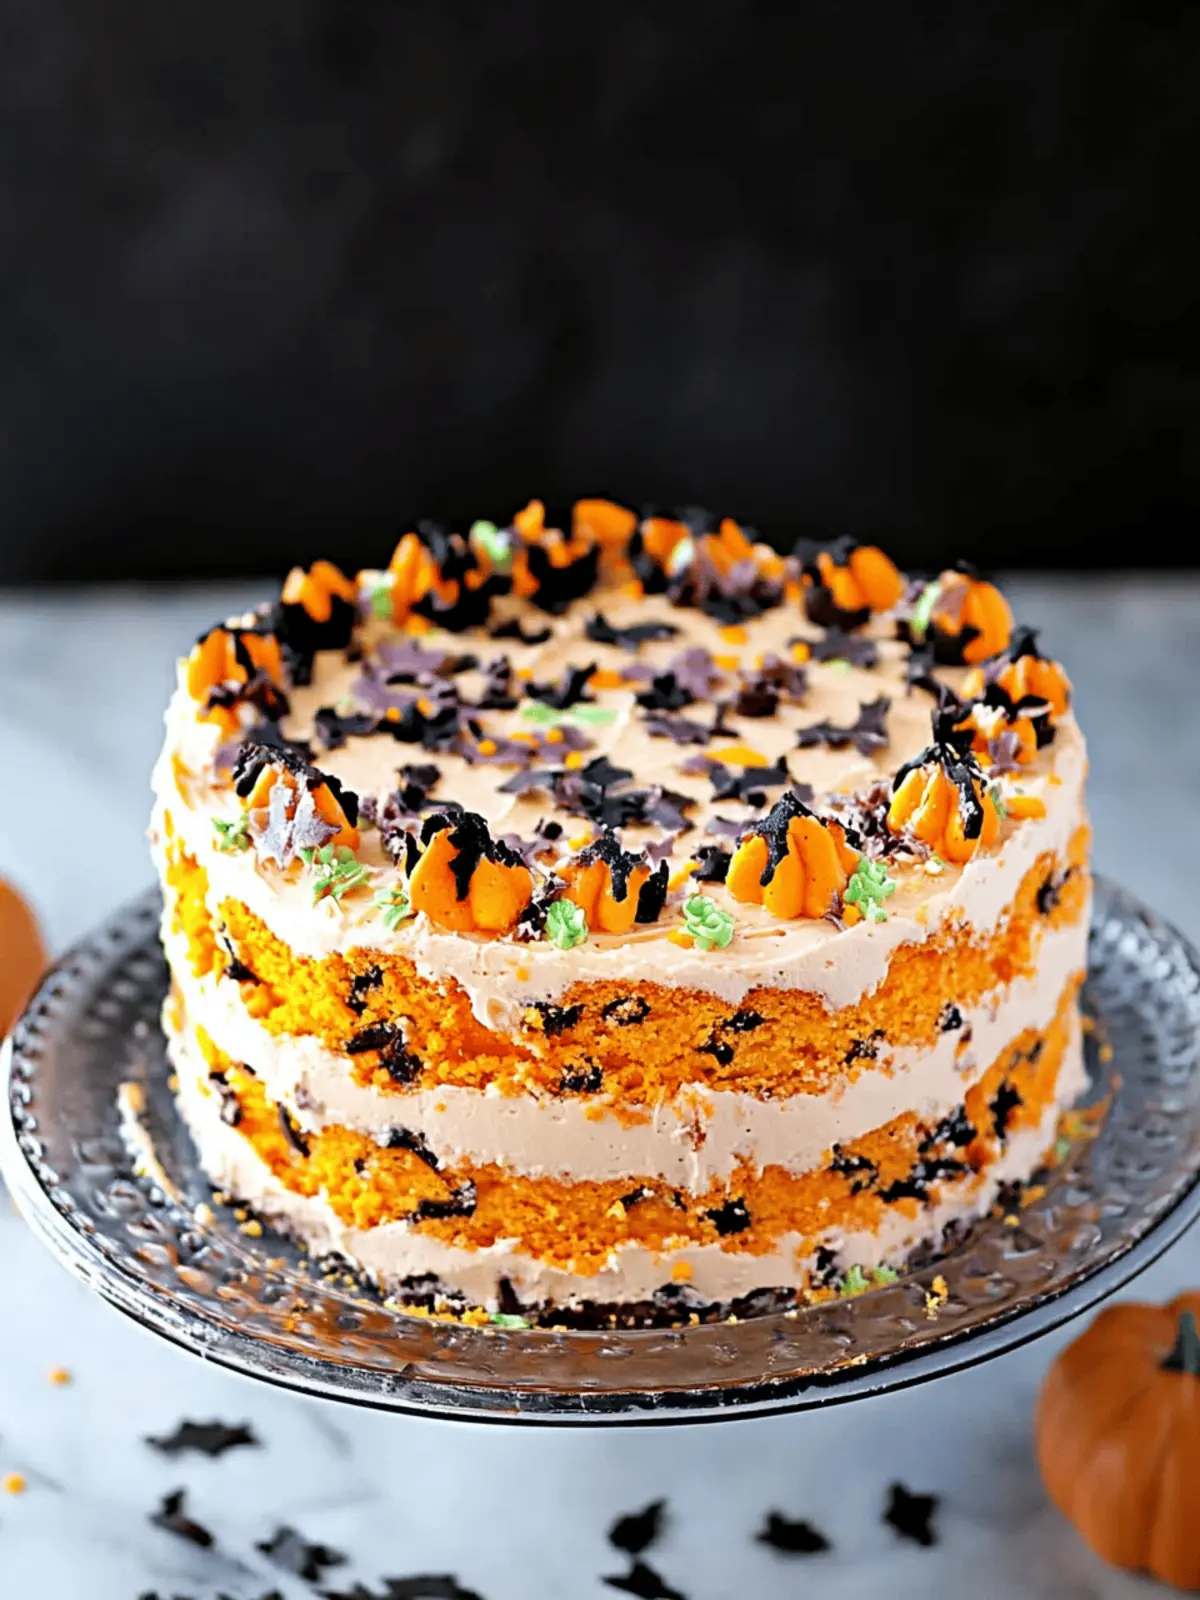
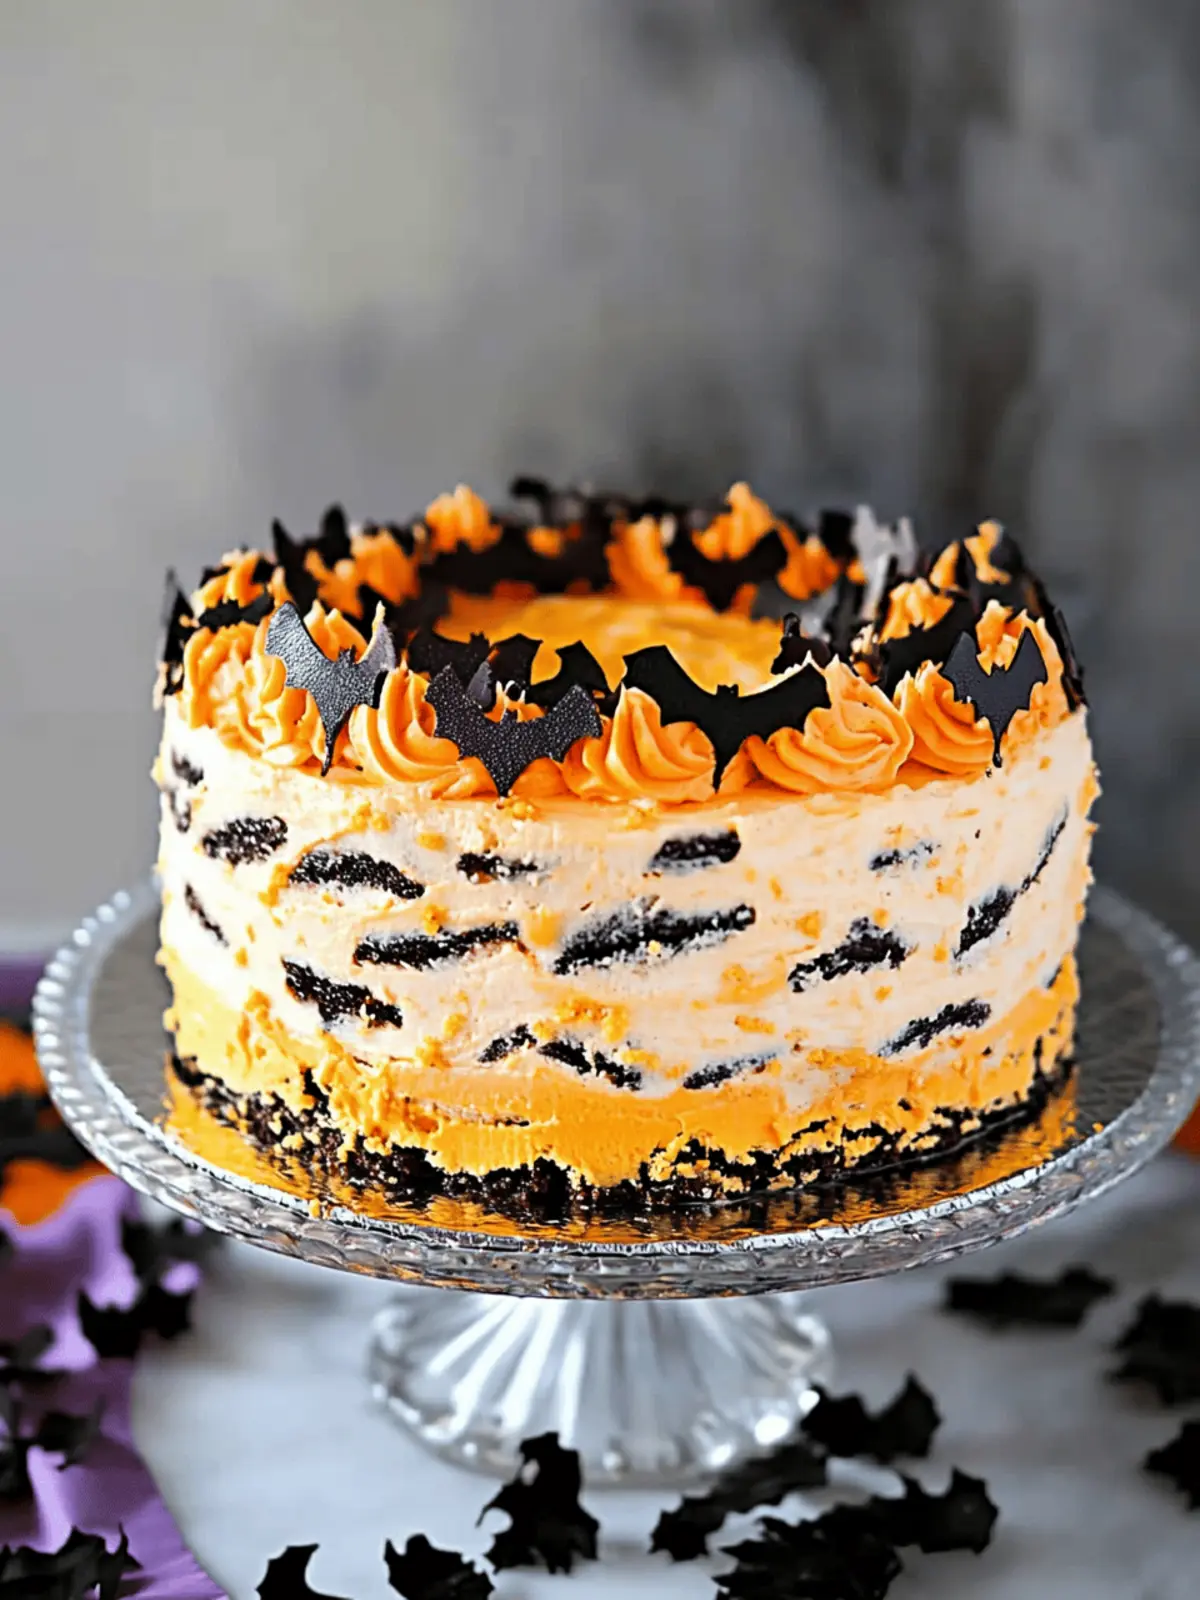
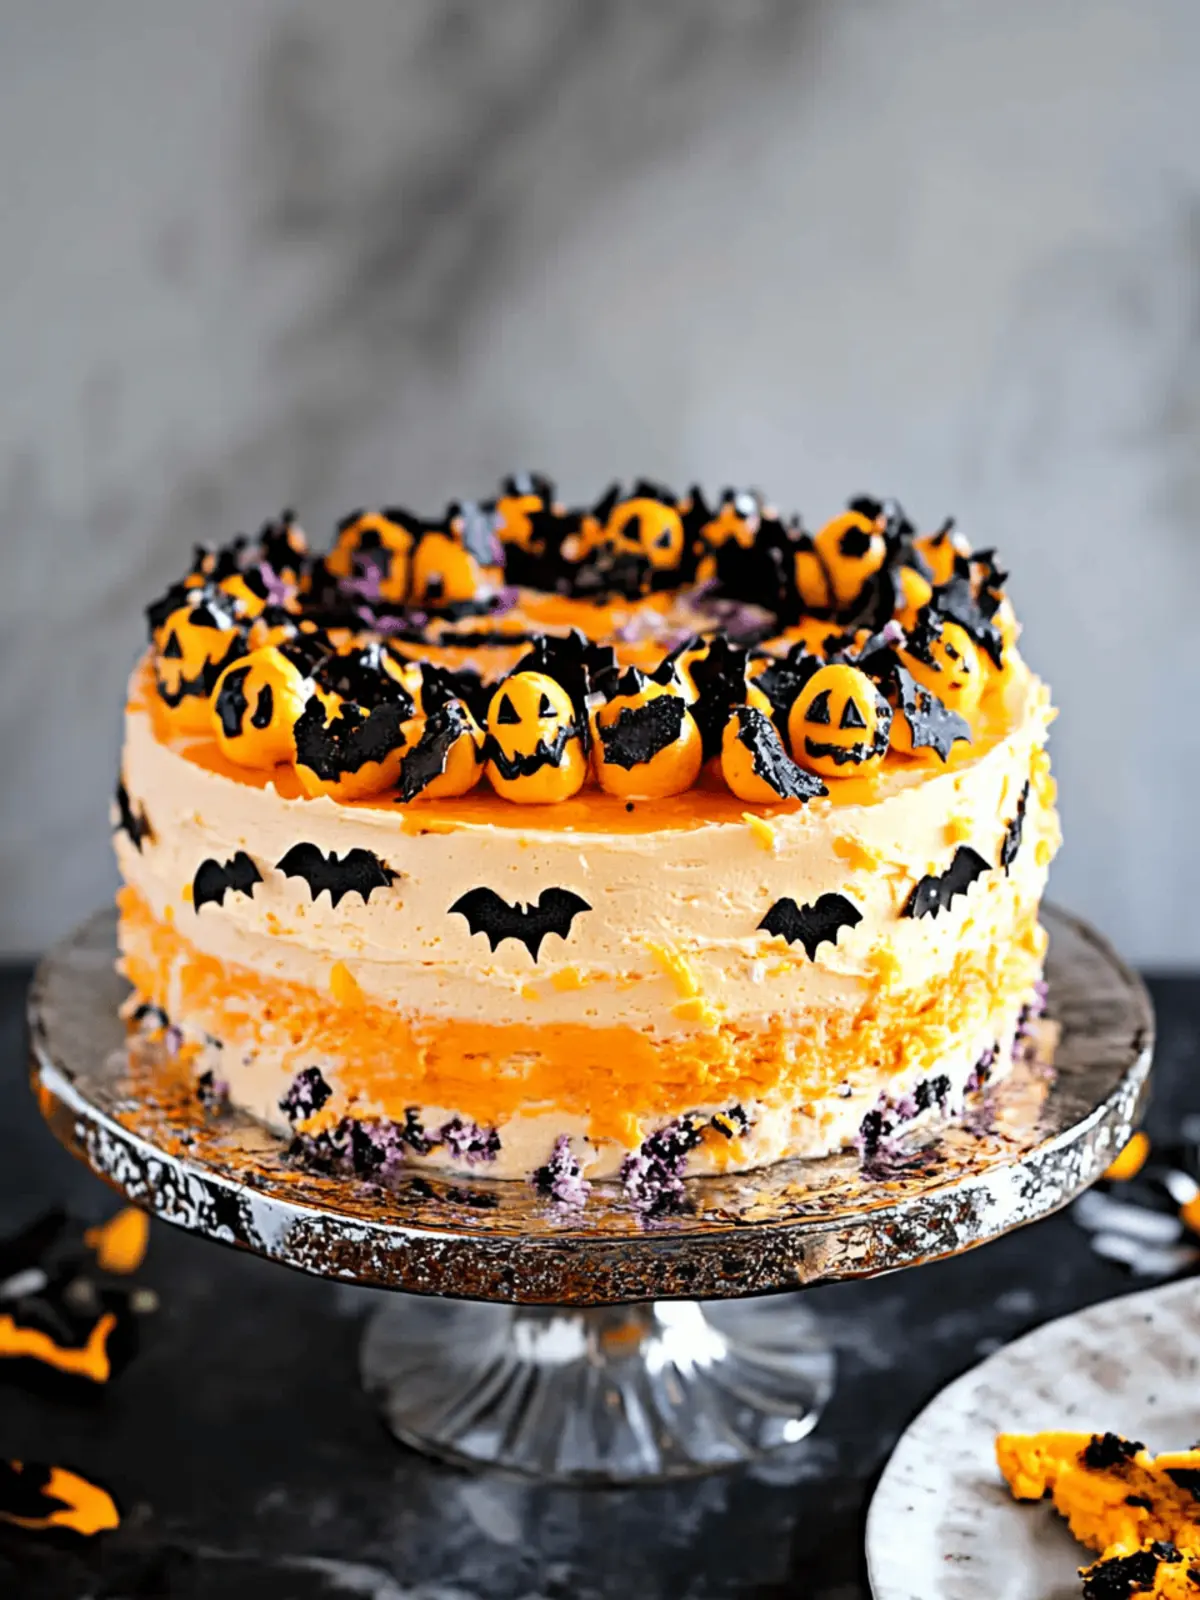
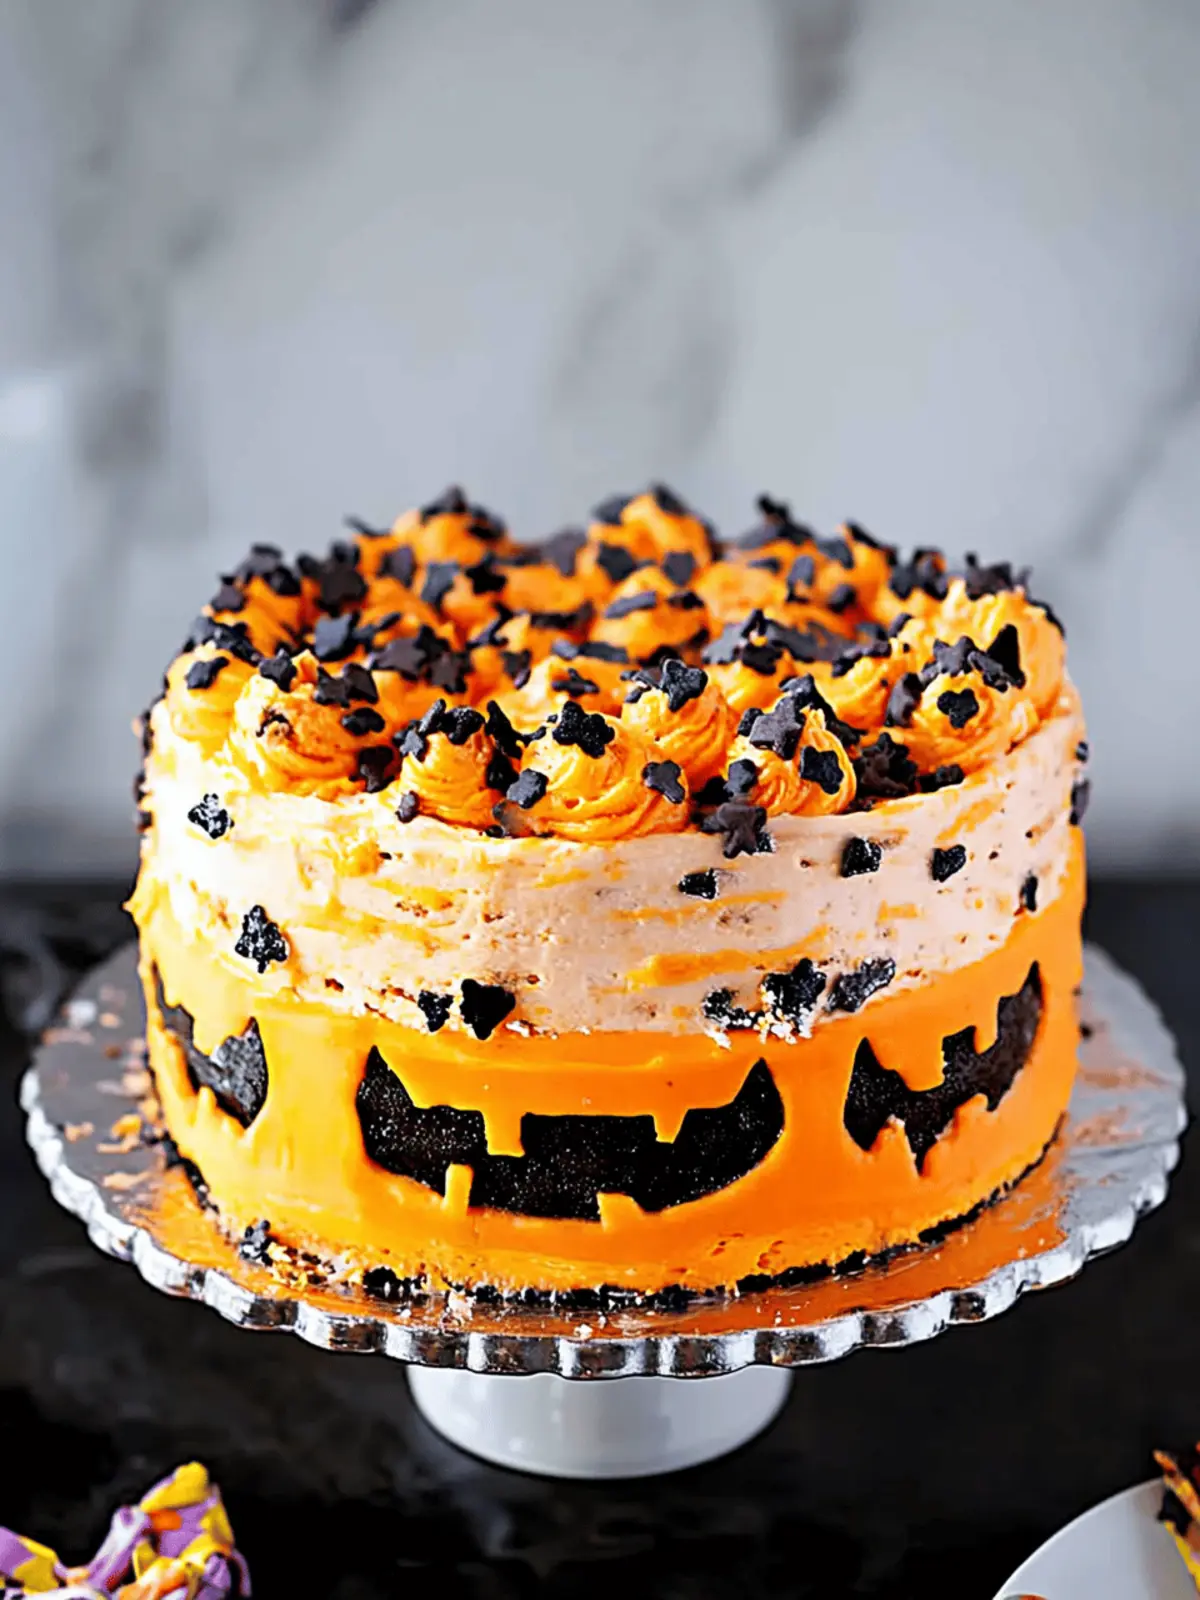
As the crisp autumn air begins to weave its way into our homes, my kitchen transforms into a delightful hub of Halloween festivities. This is the time when I crave something sweet, yet effortlessly charming to celebrate the season—with friends, family, or even just for a quiet night in. That’s when I discovered the brilliance of the Halloween Icebox Cake.
Picture this: velvety layers of homemade whipped cream, each infused with a playful hint of orange, seamlessly intertwined with crunchy chocolate Oreo cookies. Not only is this no-bake dessert a feast for the eyes—with its vibrant decorations and festive sprinkles—but it also comes together in a flash, leaving more time for the fun parts of Halloween. What’s more, its captivating layers promise to wow anyone at your gathering, making it a sure crowd-pleaser. Get ready to dazzle your taste buds and create magical memories with this irresistible Halloween Icebox Cake!
Why is this Halloween Icebox Cake a must-try?
Delightfully Simple: You won’t need advanced baking skills here—this is a straightforward no-bake dessert that anyone can whip up quickly.
Colorful and Festive: With the addition of orange food coloring and whimsical sprinkles, each layer becomes an eye-catching celebration of Halloween.
Crowd-Pleasing Treat: This cake is perfect for gatherings, where every slice captures the hearts (and taste buds) of your guests.
Customizable Layers: Feel free to experiment with different cookie flavors or add in your favorite Halloween candies for a personal touch.
Make-Ahead Convenience: It’s ideal for busy schedules, as you can prepare it the night before and let it chill, ensuring you’re ready to enjoy the festivities.
This treat truly has something for everyone, ensuring joyful moments around the dessert table. For more tasty ideas, check out our tips on making the ultimate Halloween-themed desserts!
Halloween Icebox Cake Ingredients
Get ready to create a spooky delight!
For the Whipped Cream
- Heavy Whipping Cream – This primary source of creaminess and volume should be super cold for the fluffiest results.
- Vanilla Extract – Adds a sweet depth; feel free to substitute with almond extract for a nutty twist.
- Powdered Sugar – Sweetens the cream; use granulated sugar if you’re in a pinch—just blend well!
- Orange Food Coloring – Gives your whipped cream a festive hue; opt for gel to achieve a vibrant color.
For the Cake Layers
- Oreo Cookies – These crunchy delights form the cake’s structure; swap with vanilla or pumpkin spice cookies for a fun change.
For Decoration
- Orange Icing and Sprinkles – Enhance the cake’s visual appeal with these playful touches; choose festive options to elevate your Halloween theme.
Unleash your creativity with this fantastic Halloween Icebox Cake!
How to Make Halloween Icebox Cake
-
Prepare the Pan: Line a 9-inch springform pan with plastic wrap or parchment paper, allowing it to drape over the edges for easy removal later. This ensures a clean release of your cake.
-
Whip Cream: In an electric mixer, combine heavy cream, vanilla extract, and powdered sugar. Whisk on medium speed until stiff peaks form, which should take about 5 minutes. You’ll want a fluffy consistency!
-
Color the Cream: Divide the whipped cream into three separate bowls. Mix in varying shades of orange gel food coloring to create bright, festive layers that will catch the eye.
-
Layer Cookies: Begin by arranging a layer of Oreo cookies at the bottom of your prepared pan. Don’t hesitate to break some cookies into smaller pieces to fill in the gaps—this adds to the texture!
-
Add Whipped Cream: Spread one-third of the darkest orange whipped cream mixture evenly over the cookies, creating a luscious layer that complements the crunch below.
-
Repeat Layering: Continuing the layering process, add another layer of Oreo cookies followed by another third of whipped cream. Repeat until you’ve used all the cookies and whipped cream, finishing with a whipped cream layer on top.
-
Chill: Cover the pan tightly with plastic wrap and refrigerate for at least 6 hours, but overnight is best. This chilling time allows the flavors to meld and the cake to set beautifully.
-
Decorate: Once chilled, carefully remove the cake from the pan and adorn it with orange icing and colorful sprinkles. Let your creativity shine by arranging the decorations playfully!
Optional: Add a sprinkle of crushed Halloween candies for an extra festive touch!
Exact quantities are listed in the recipe card below.
How to Store and Freeze Halloween Icebox Cake
Fridge: Store the Halloween Icebox Cake in the refrigerator, tightly covered with plastic wrap. It’s best consumed within 2 days for optimal freshness, so enjoy it quickly!
Freezer: If you need to keep it longer, the cake can be frozen for up to 2 months. Wrap it well in plastic wrap, then in aluminum foil, to prevent freezer burn.
Thawing: To enjoy, thaw the frozen cake in the refrigerator overnight before serving, ensuring it retains that delightful creamy texture.
Room Temperature: Avoid leaving the Halloween Icebox Cake at room temperature for more than 2 hours to maintain food safety. Enjoy this crowd-pleaser chilled!
What to Serve with Halloween Icebox Cake?
As you prepare to indulge in this festive no-bake delight, consider rounding out your meal with complementary flavors and textures that heighten the spirit of Halloween.
-
Pumpkin Spice Latte: This warm beverage combines the cozy flavors of fall with a touch of caffeine, making it a perfect companion for dessert.
-
Chocolate-Covered Strawberries: The sweetness and juiciness of the strawberries contrast beautifully with the rich layers of the icebox cake, creating a delightful balance on the palate.
-
Candied Apples: These treats add a crunchy sweetness that harmonizes with the creamy textures of the cake, bringing an authentic Halloween feel to your dessert table.
-
Spooky Cheese Platter: Artfully arranged cheeses, crackers, and some seasonal fruits make for a savory counterbalance and a fun addition for guests to nibble on.
-
Halloween Fruit Salad: Incorporate a mix of autumn fruits like pears, oranges, and pomegranates. The refreshing taste complements the richness of the icebox cake while adding a festive flair.
-
Ginger Snap Cookies: Their spiced crunch makes for a delightful nibble alongside the cake and brings a seasonal flavor that’s perfect for Halloween gatherings.
-
Chilled Apple Cider: This refreshing drink is a must for celebrating the fall season, offering a sweet and tart contrast to the creamy flavors of your dessert.
Halloween Icebox Cake Variations
Feel free to unleash your creativity and customize this dessert to make it even more delightful!
- Flavor Swap: Replace chocolate Oreos with vanilla or pumpkin spice cookies for a seasonal change.
- Candy Crush: Add crushed Halloween candies like Snickers or Reese’s between layers for extra sweetness and texture.
- Fruit Layer: Incorporate layers of fresh pumpkin puree or mashed bananas for a fruity twist that complements the creaminess.
- Nutty Surprise: Sprinkle in chopped nuts like walnuts or pecans for a crunchy element that contrasts beautifully with the creamy layers.
- Minty Fresh: Drizzle peppermint extract into the whipped cream for a refreshing flavor that brings a new dimension to your cake.
- Spice It Up: Mix in a pinch of cinnamon or pumpkin pie spice into the whipped cream for a cozy autumn flavor profile.
- Dairy-Free Delight: Use coconut cream and dairy-free cookies for a vegan-friendly version that doesn’t compromise on taste.
- Extra Heat: Add a dash of cayenne pepper or chili powder to the whipped cream for a surprising hint of heat that dances on your palate.
With these variations, your Halloween Icebox Cake can be uniquely yours, perfect for celebrating all the spooky fun!
Expert Tips for Halloween Icebox Cake
Use Cold Cream: Ensure your heavy whipping cream is extremely cold before whipping to achieve maximum volume and stability for your whipped cream.
Chill Longer: For the best texture and flavor, allow the Halloween Icebox Cake to chill for a full 8 hours before slicing; this helps the layers hold together beautifully.
Layering Precision: When layering, spread the whipped cream gently to avoid disturbing the cookies underneath. This creates distinct layers for a stunning presentation.
Decorate Creatively: Don’t shy away from experimenting with colors and decorations; mixing in Halloween-themed sprinkles or edible decorations can elevate your cake’s festive vibe.
Quality Cookies: Choose high-quality Oreo cookies for the best flavor and texture. Feel free to switch them up with flavors that cater to your preferences!
These tips will help you master the art of crafting the ultimate Halloween Icebox Cake that’s sure to impress!
Make Ahead Options
These Halloween Icebox Cakes are perfect for busy home cooks looking to save time during the festive season! You can prepare the whipped cream and layer the cookies up to 24 hours in advance, ensuring that when it’s time to serve, you’re just a quick decoration away from a spectacular dessert. To maintain freshness, cover the pan tightly with plastic wrap, ensuring no air gets in, and refrigerate. Once you’re ready to serve, simply remove the cake from the fridge, decorate with orange icing and colorful sprinkles, and watch as your guests delight in this delightful no-bake treat! With these make-ahead tips, you can enjoy more time celebrating the season!
Halloween Icebox Cake Recipe FAQs
How do I choose the best Oreo cookies for my Halloween Icebox Cake?
Absolutely! For this cake, I recommend using regular chocolate Oreo cookies for their classic flavor and crunch. However, if you want to switch things up, vanilla or pumpkin spice Oreo cookies can add a unique and festive twist that pairs beautifully with the whipped cream.
How should I store my Halloween Icebox Cake?
You should store the Halloween Icebox Cake in the refrigerator, tightly wrapped in plastic wrap. It’s best enjoyed within 2 days for optimal freshness, but if you’re saving it for later, go ahead and freeze it!
Can I freeze Halloween Icebox Cake?
Yes, you can! To freeze the Halloween Icebox Cake, wrap it tightly in plastic wrap, then cover it with aluminum foil to prevent freezer burn. It can be stored for up to 2 months. When you’re ready to enjoy it, simply let it thaw in the refrigerator overnight for the best texture.
What if my whipped cream doesn’t whip up properly?
Very! If your whipped cream isn’t forming stiff peaks, make sure your heavy cream is super cold before whipping. If you’ve over-whipped it, it can start to turn grainy; if this happens, gently fold in a bit more unwhipped cream to bring back its smooth texture.
Are there any dietary considerations I should keep in mind for my guests?
Definitely! This Halloween Icebox Cake contains dairy and gluten, so be cautious of any allergies. For a gluten-free version, try using gluten-free cookies instead of regular Oreos. Additionally, if you have guests with dietary restrictions, you could explore using dairy-free whipped topping alternatives for the cream layers.
How long should I chill the cake before serving?
For the best results, chill the Halloween Icebox Cake for at least 6 hours before serving, but ideally leave it overnight. This allows the flavors to meld perfectly and the layers to hold shape while slicing, making it absolutely irresistible!
These FAQs should help you navigate the process and ensure your Halloween Icebox Cake turns out beautifully!

Spooktacular Halloween Icebox Cake You Can Whip Up Today
Ingredients
Equipment
Method
- Prepare the Pan: Line a 9-inch springform pan with plastic wrap or parchment paper, allowing it to drape over the edges.
- Whip Cream: In an electric mixer, combine heavy cream, vanilla extract, and powdered sugar. Whisk until stiff peaks form, about 5 minutes.
- Color the Cream: Divide the whipped cream into three bowls. Mix in shades of orange gel food coloring.
- Layer Cookies: Begin by arranging a layer of Oreo cookies at the bottom of the prepared pan.
- Add Whipped Cream: Spread one-third of the darkest orange whipped cream mixture evenly over the cookies.
- Repeat Layering: Add another layer of Oreo cookies followed by another third of whipped cream. Repeat until all are used, finishing with whipped cream.
- Chill: Cover the pan tightly and refrigerate for at least 6 hours, but overnight is best.
- Decorate: Carefully remove the cake and adorn it with orange icing and colorful sprinkles.


