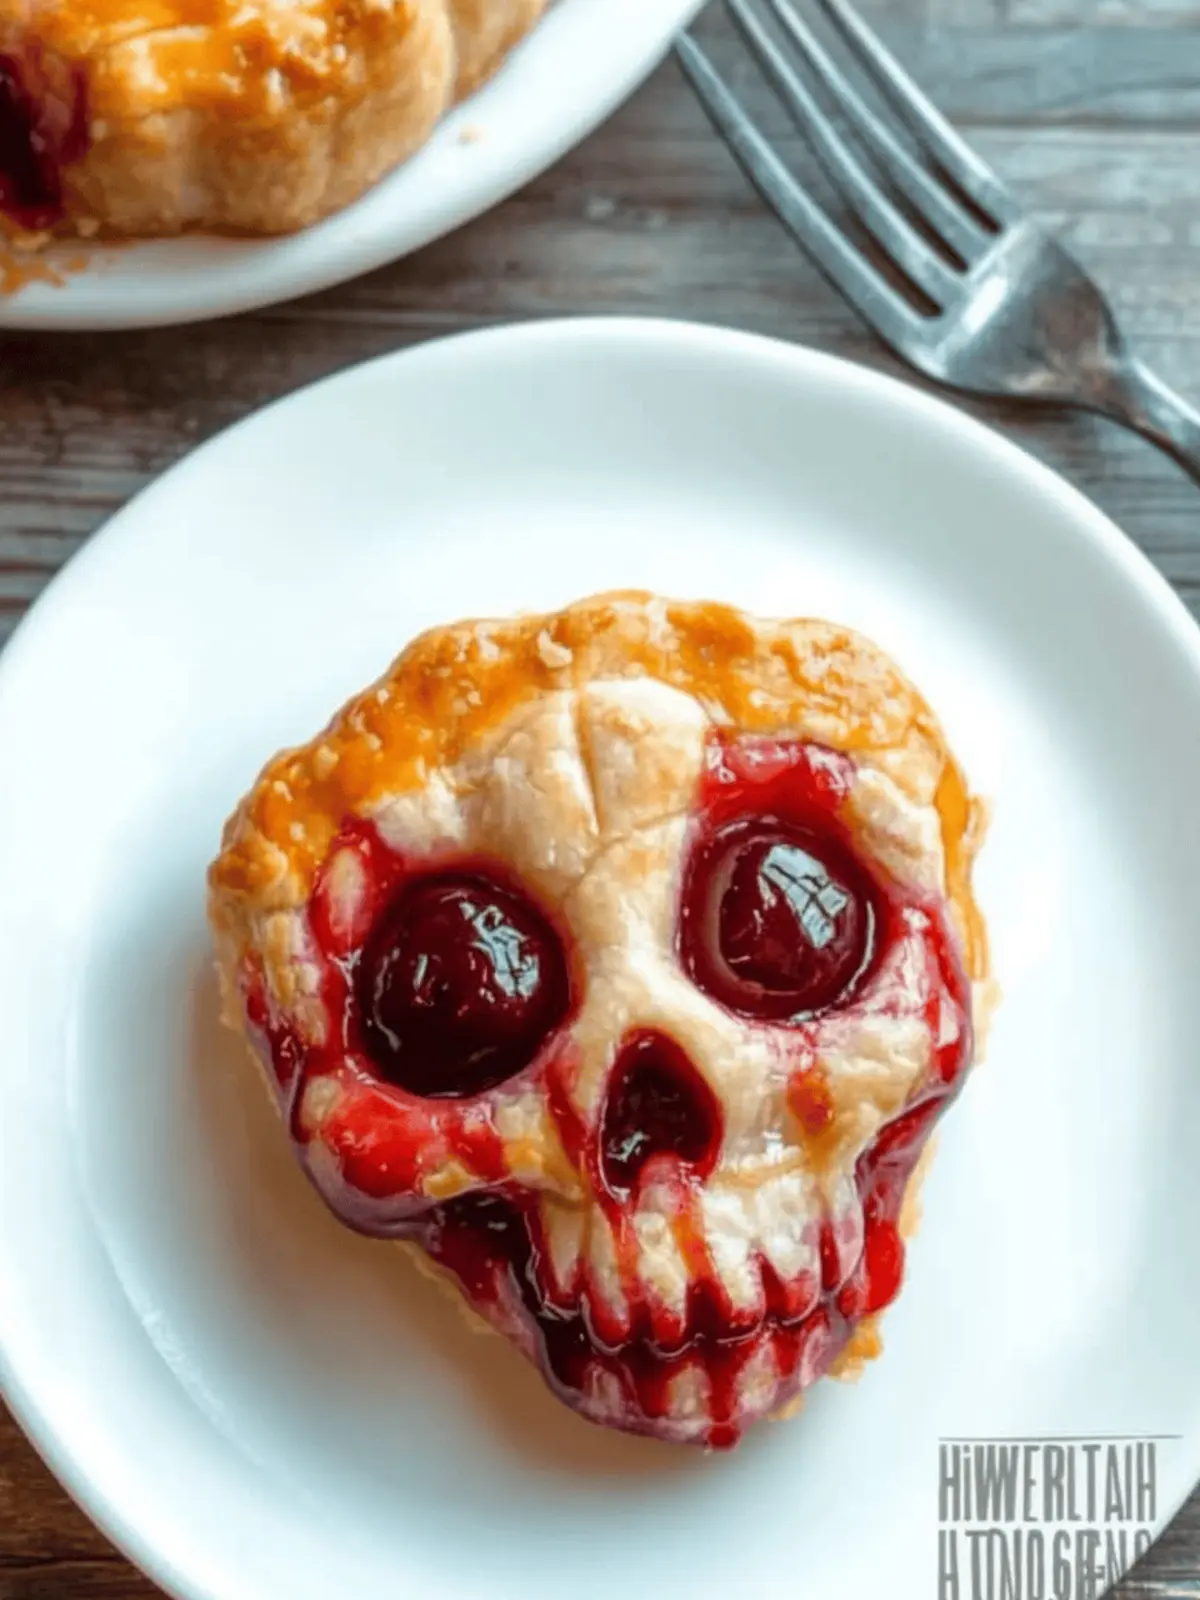
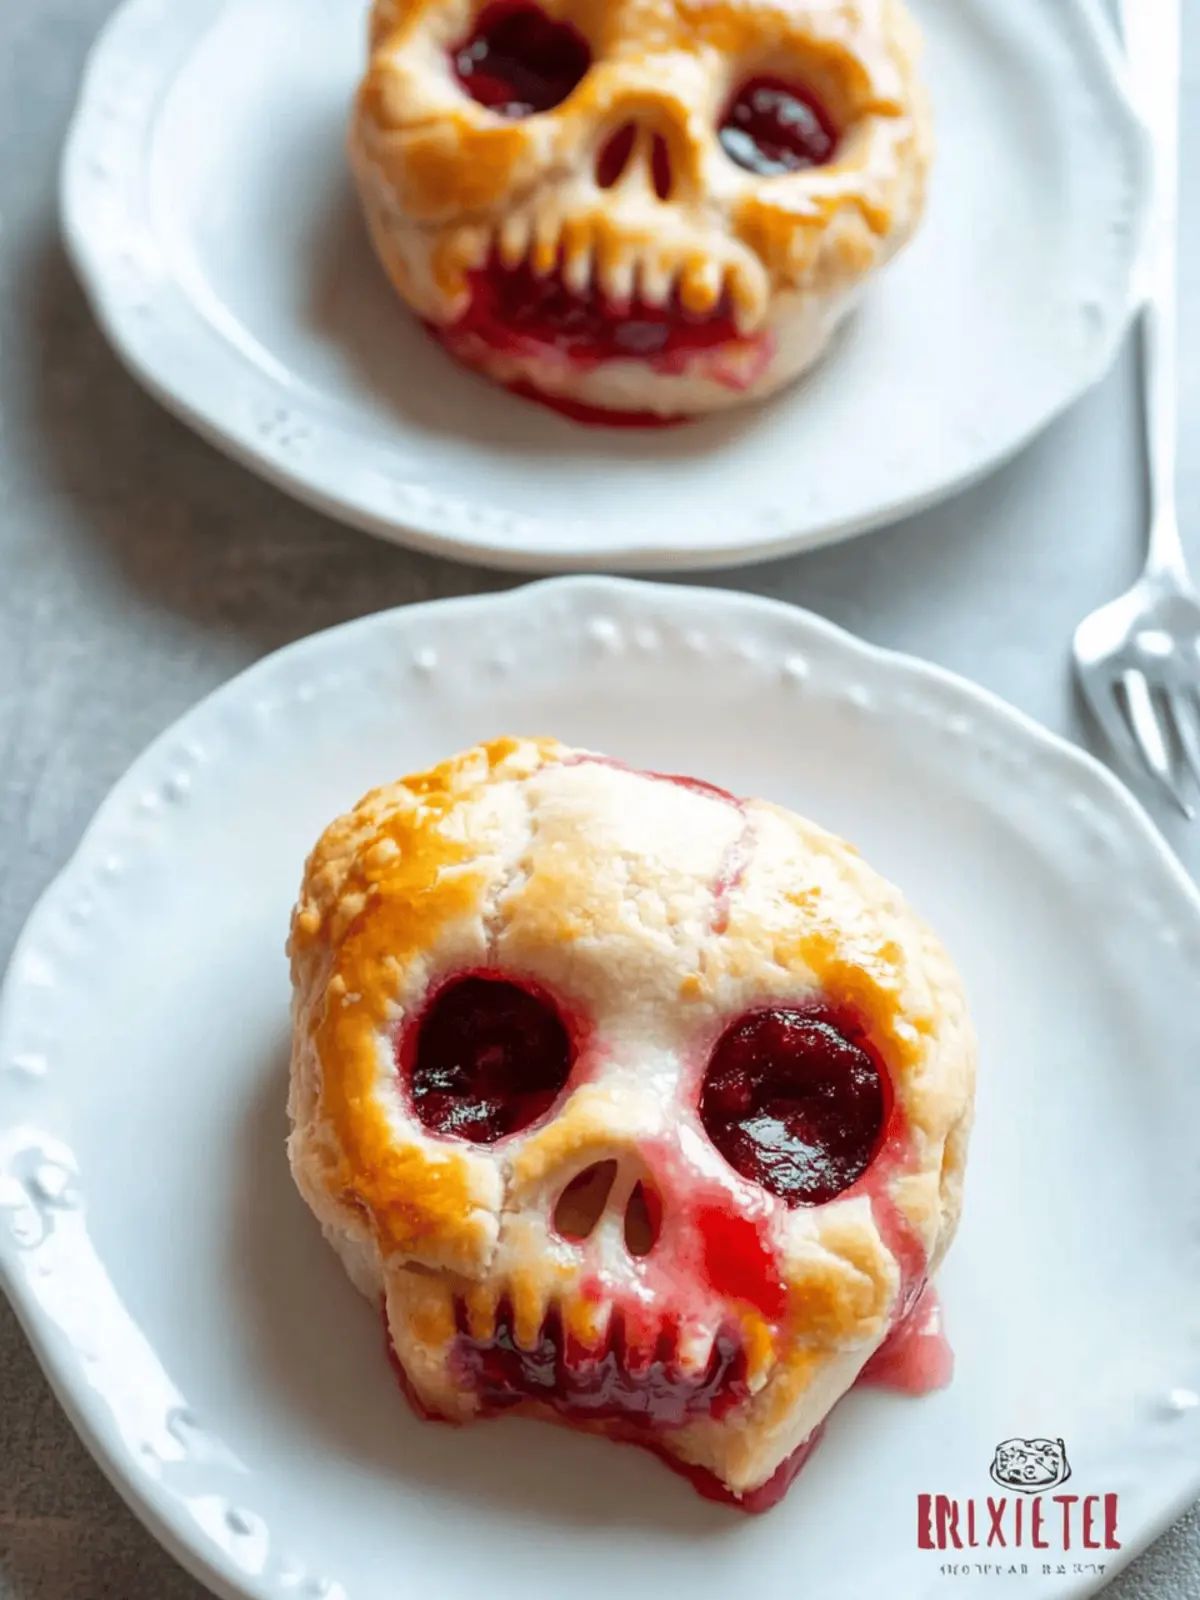
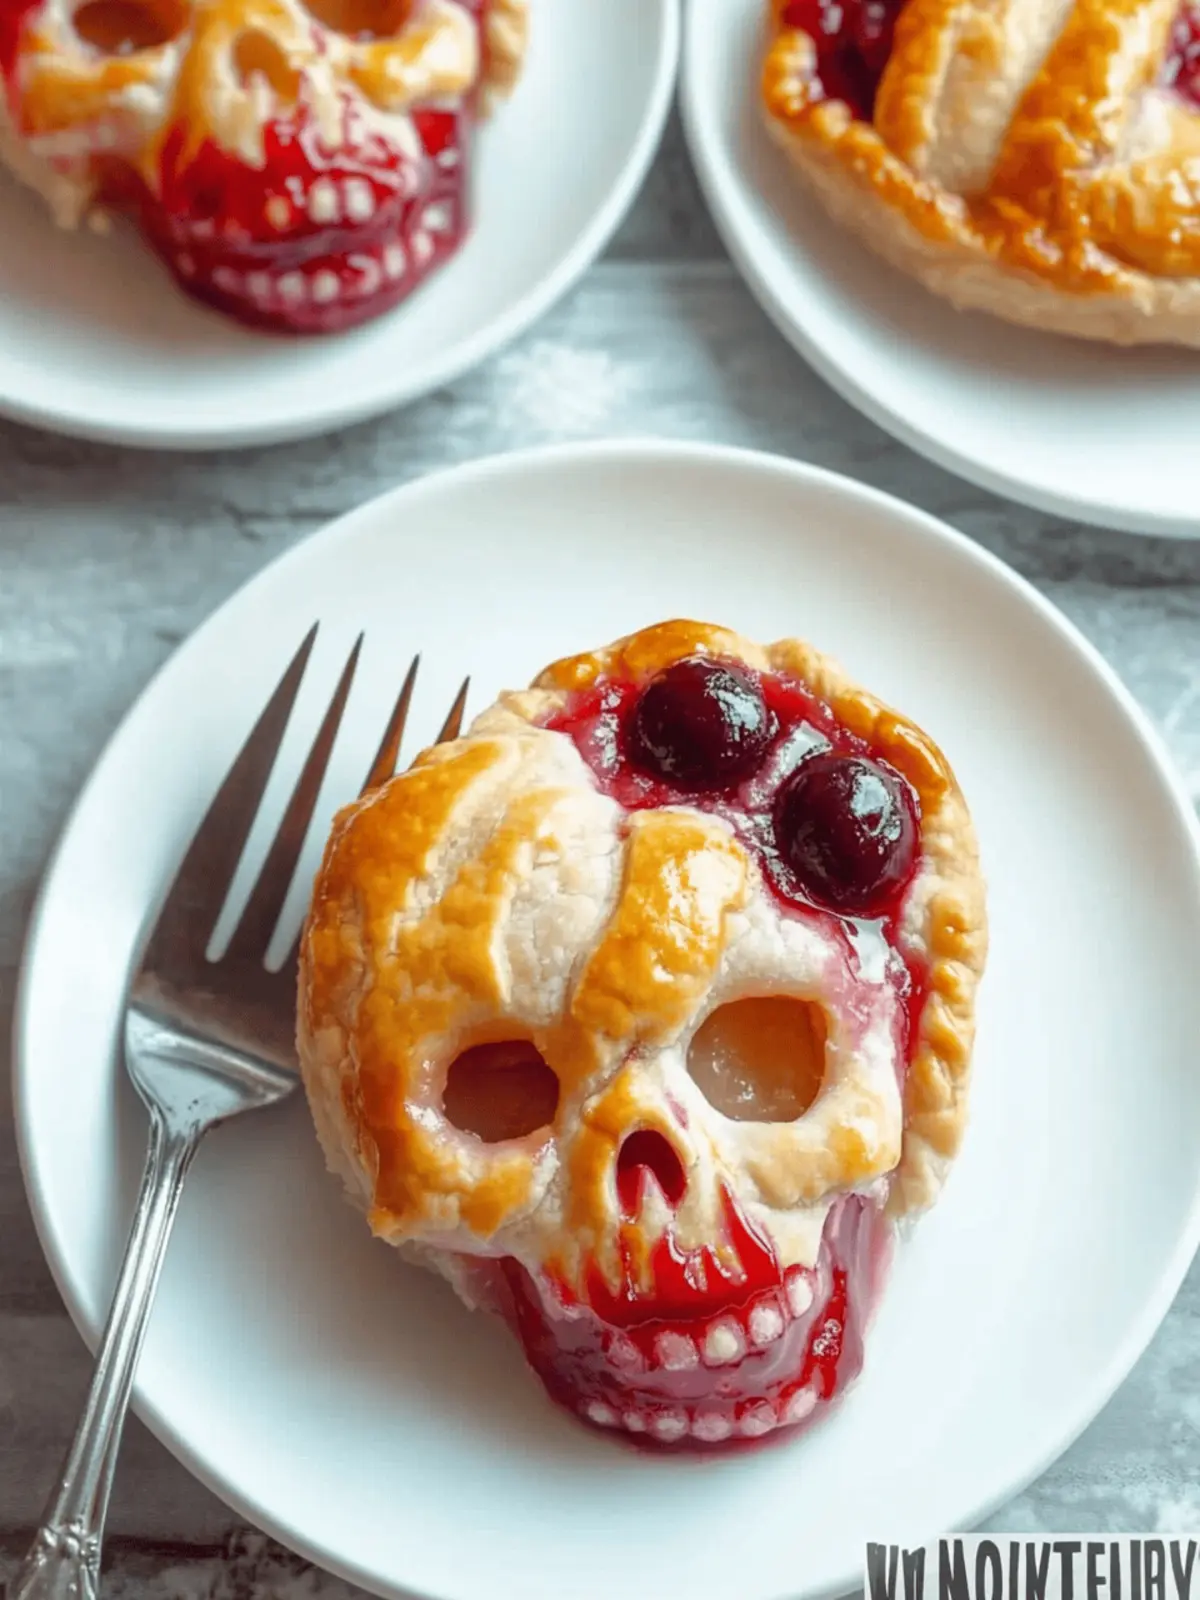
As the leaves turn and spooky decorations begin to fill every corner of my neighborhood, I find myself yearning for festive treats that truly capture the spirit of Halloween. That’s when I discovered the enchanting world of Skull Cherry Pies! With their flaky crust and rich, gooey cherry filling, these delightful desserts serve up the perfect blend of creepy and delicious. Picture this: treating your friends and family to a tray of these eerie, skull-shaped pies, each oozing with a “bloody” cherry surprise.
Not only are these pies incredibly easy to whip up, thanks to a semi-homemade approach, they’ve become my go-to recipe when the Halloween party buzz hits. Whether you’re hosting a gathering or just want to add a dash of fun to your week, these Skull Cherry Pies are sure to charm everyone at the table. So, let’s dive into this spooky baking adventure that will make your Halloween festivities unforgettable!
Why are Skull Cherry Pies a must-try?
Unique Appeal: These skull-shaped desserts are a showstopper at any Halloween gathering, sparking conversation and delight.
Easy Preparation: Thanks to the semi-homemade method, you’ll save time while still impressing guests with deliciousness.
Versatile Filling: Not just cherry—mix it up with other flavors like blueberry for a surprise twist!
Kid-Friendly Fun: A perfect activity for kids who will love helping create these spooky treats.
Perfect for Parties: They’re eye-catching and delicious, making them a great addition to your Halloween spread. Don’t forget to check out more Halloween desserts for even more festive ideas!
Skull Cherry Pies Ingredients
• Prepare to create the spookiest desserts this Halloween!
For the Crust
- Pillsbury™ Refrigerated Pie Crust – A convenient choice that guarantees a flaky texture; feel free to substitute with a homemade pie crust for a personal touch.
For the Filling
- Canned Cherry Pie Filling – Brings an easy, sweet flavor; consider making your own cherry filling with added red food coloring for a more vibrant, gory effect!
For the Mold
- Skull Mold – Crucial for shaping your pies into spooky skulls; find your perfect mold at stores like Amazon or Walmart, and remember to wash it thoroughly before use.
Now that you have your ingredients lined up, get ready to dive into creating these fun Skull Cherry Pies that will wow everyone at your Halloween party!
How to Make Skull Cherry Pies
-
Preheat the oven to 425°F (220°C). This will ensure your pies bake evenly and the crust turns out beautifully golden brown, providing the ideal base for your spooky creations.
-
Wash the skull mold thoroughly and dry it completely. A clean mold helps your pies release easily without losing any of their charming shape, ensuring they look fantastic when served.
-
Roll out the refrigerated pie crust. Divide it into 4 equal parts, allowing you to create four delightful skull pies. The more evenly cut, the more uniform your skeleton treats will be!
-
Press one piece of crust into the skull mold, allowing the edges to hang over the top. This creates a sturdy base for your cherry filling while giving it a spooky skull silhouette.
-
Fill the mold with about 1/2 cup of canned cherry pie filling. Gently spread it, ensuring an even distribution, so each morsel is oozing with delicious cherry flavor!
-
Fold the overlapping pie crust over the filling and firmly press to seal. This not only keeps the filling secure but also adds to the eerie 3D skull shape!
-
Bake in the preheated oven for around 25 minutes. Look for a golden crust that’s cooked through, and remember not to depend solely on the package instructions; trust your eyes!
-
Cool the pies in the mold for about 5 minutes, then gently flip them out. Be careful to maintain their skull shape, and let them cool completely before serving for the best results!
Optional: Dust with powdered sugar for a hauntingly sweet finish!
Exact quantities are listed in the recipe card below.
Storage Tips for Skull Cherry Pies
-
Room Temperature: These Skull Cherry Pies are best enjoyed fresh, so if you’re serving immediately, keep them at room temperature for a few hours without covering.
-
Fridge: Store leftover pies in an airtight container in the fridge for up to 3 days. This will help retain their flaky crust while keeping the cherry filling fresh.
-
Freezer: If you want to make these treats in advance, freeze them, wrapped tightly in plastic wrap and then in foil, for up to 2 months. Thaw in the fridge when ready to enjoy.
-
Reheating: To reheat, place the pies back in a preheated oven at 350°F (175°C) for about 10-15 minutes until warm and crispy again—this restores that delightful crunch in your Skull Cherry Pies!
Expert Tips for Skull Cherry Pies
-
Check Crust Crispiness: Ensure the crust is golden brown for a perfectly baked pie; undercooking can lead to a soggy bottom and disappointing results.
-
Use Chilled Ingredients: Make sure your pie crust is cold when handling it to keep it flaky; warm dough can result in texture issues.
-
Avoid Overfilling: Be cautious not to overfill with cherry pie filling; excess can ooze out during baking and create a messy situation.
-
Customize Your Flavor: Don’t hesitate to try different fruit fillings—blueberry or mixed berry can add a fun twist to your Skull Cherry Pies while keeping the spooky aesthetic.
-
Cooling Time Matters: Let the pies cool in the mold for the right amount of time before flipping; this helps maintain their shape and prevents breakage.
-
Add a Scary Touch: Consider topping with a drizzle of chocolate or red icing for an extra spooky effect, making your Skull Cherry Pies even more irresistible!
Skull Cherry Pies Variations
Feel free to embrace your creativity and personalize these spooky treats to your taste!
-
Berry Medley: Swap the cherry filling with a mixture of blueberries, raspberries, and blackberries. This adds a vibrant twist to your pies! The combination of sweet and tart flavors will create a delightful surprise for your taste buds.
-
Chocolate Drizzle: Once baked, drizzle melted chocolate over your pies for an indulgent touch. This chocolatey addition enhances the appearance and complements the cherry filling beautifully.
-
Gluten-Free: Use a gluten-free pie crust mix for a celiac-friendly option. You’ll still enjoy the festive fun without compromising taste or texture!
-
Apple Filling: Substitute cherry filling with spiced apple filling for a comforting autumn twist. The warmth and aroma of cinnamon will evoke cozy fall memories.
-
Pumpkin Spice: Mix canned pumpkin with spices like cinnamon and nutmeg for an eerie pie that embodies the essence of Halloween. It’s a seasonal spin that everyone will love!
-
Savory Option: Transform these pies into a savory treat by filling with cooked ground beef, cheese, and taco seasonings. Cut a few ventilation holes before sealing to create spooky designs!
-
Mini Skulls: Use a smaller mold for bite-sized treats that are perfect for serving at parties. These little skulls will be a hit among both kids and adults!
-
Sour Cherry Twist: Choose sour cherry filling for a tangy flavor explosion. This contrasting taste paired with the sweetness of the crust will make for a delightful combination!
What to Serve with Skull Cherry Pies?
As you prepare these spooky delights, imagine the perfect accompaniments that will elevate your Halloween feast.
- Vanilla Ice Cream: Creamy and smooth, it balances the tart cherry filling while adding a delightful chill to your festive desserts.
- Pumpkin Spice Whipped Cream: This seasonal treat will offer a warm, spicy contrast that complements the sweetness of the pies beautifully.
- Chocolate-Covered Strawberries: Their rich, decadent coating adds a touch of elegance to your spooky table and enhances the berry theme.
- Apple Cider: Serve warm or chilled; its sweet, tart flavor pairs well with the delicious cherry filling, making it a perfect drink choice.
- Gummy Worms: Scatter these fun-candy additions around your dessert platter for a cheeky Halloween touch that kids love.
- Espresso: A warm cup will stimulate the palate while balancing the sweetness of the pies, leaving your guests feeling cozy and satisfied.
- Caramel Corn: Crunchy, sweet popcorn provides a fun texture contrast to the pies and is a great snack for festive mingling at your party.
- Frankenstein Fruit Salad: Mix green grapes, honeydew, and kiwi for a creepy twist on traditional fruit salad that adds a fresh element to your dessert spread.
- Spooky Punch: Craft a red-hued punch with cranberry juice and soda, serving it in a cauldron for an eye-catching, thematic drink option.
With these pairings, your Skull Cherry Pies will fit perfectly into an unforgettable Halloween spread!
Make Ahead Options
These Skull Cherry Pies are perfect for busy home cooks looking to save time on Halloween festivities! You can prepare the pie crust and fill the molds with cherry pie filling up to 24 hours in advance. Just cover the filled molds tightly with plastic wrap and refrigerate to maintain freshness. When you’re ready to impress your guests, simply bake the pies as directed and enjoy the same delightful flavor and flaky texture as if they were freshly made! For longer prep time, consider making the crust up to 3 days ahead and storing it in an airtight container in the fridge; just remember to let it sit at room temperature for about 10 minutes before rolling out. With these make-ahead tips, you’ll have more time to focus on your hauntingly good Halloween celebrations!
Skull Cherry Pies Recipe FAQs
What type of cherries should I use for the filling?
Absolutely! While canned cherry pie filling is a convenient option, I recommend using fresh ripe cherries if you want to make your own filling. Look for cherries that are plump and deep red, avoiding any with dark spots or blemishes. Simply pit and chop them, then cook them down on the stove with a bit of sugar and cornstarch until thickened for a delightful homemade filling.
How do I store leftover Skull Cherry Pies?
I often store my leftover Skull Cherry Pies in an airtight container in the fridge. They can last for up to 3 days—just be sure they are completely cooled before sealing. Keeping them in the fridge preserves their flaky crust and delicious filling, making them ready for a spooky snack whenever you crave one!
Can I freeze the Skull Cherry Pies?
Yes! To freeze your Skull Cherry Pies, wrap them tightly in plastic wrap and then place them in foil or an airtight freezer bag. They can be stored in the freezer for up to 2 months. When you’re ready to enjoy them, simply thaw them in the fridge overnight and reheat in a preheated oven at 350°F (175°C) for about 10-15 minutes until warmed through and crispy.
What if my crust turns out soggy?
Very! If your crust is soggy, it could be underbaked or overfilled. To avoid this, make sure to check for a golden brown crust and consider reducing the amount of filling slightly. If your crust is already soggy, you can try reheating the pies in the oven to restore some crispness—just keep an eye on them!
Are Skull Cherry Pies safe for pets?
Absolutely! While the filling itself is primarily cherries and sugar, avoid giving your pets any pie due to the sugar and potential other ingredients. If your pet happens to sneak a small piece, it’s unlikely to harm them, but it’s always best to consult your veterinarian if you’re concerned.
Can I make Skull Cherry Pies with dietary restrictions?
Certainly! For a gluten-free option, use a gluten-free pie crust, which you can find at most grocery stores. Additionally, you can substitute the cherry filling with alternatives like apple or pumpkin if you’re looking for different flavors or have any dietary restrictions. Be sure to check that any substitutes are suitable for your needs to enjoy these spooky treats!
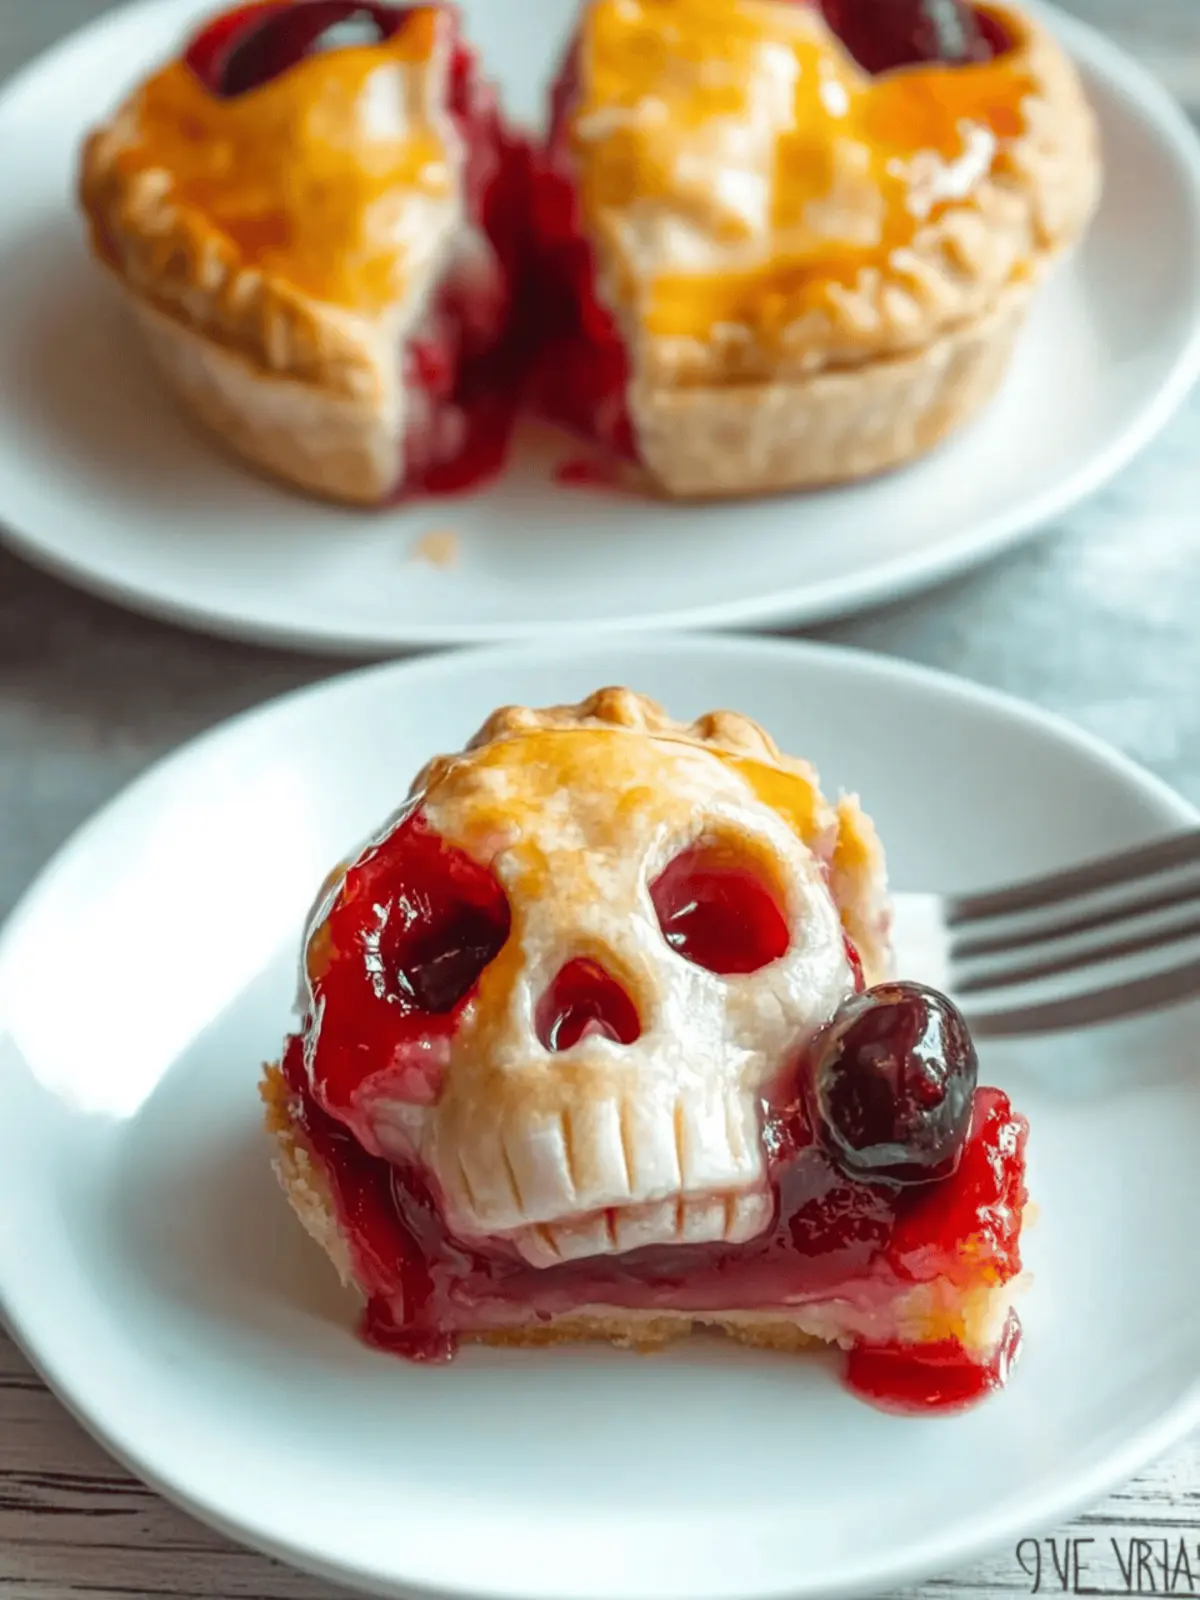
Spook Up Your Halloween with Skull Cherry Pies
Ingredients
Equipment
Method
- Preheat the oven to 425°F (220°C).
- Wash the skull mold thoroughly and dry it completely.
- Roll out the refrigerated pie crust and divide it into 4 equal parts.
- Press one piece of crust into the skull mold, allowing the edges to hang over the top.
- Fill the mold with about 1/2 cup of canned cherry pie filling.
- Fold the overlapping pie crust over the filling and firmly press to seal.
- Bake in the preheated oven for around 25 minutes.
- Cool the pies in the mold for about 5 minutes, then gently flip them out.
- Optional: Dust with powdered sugar for a hauntingly sweet finish.

