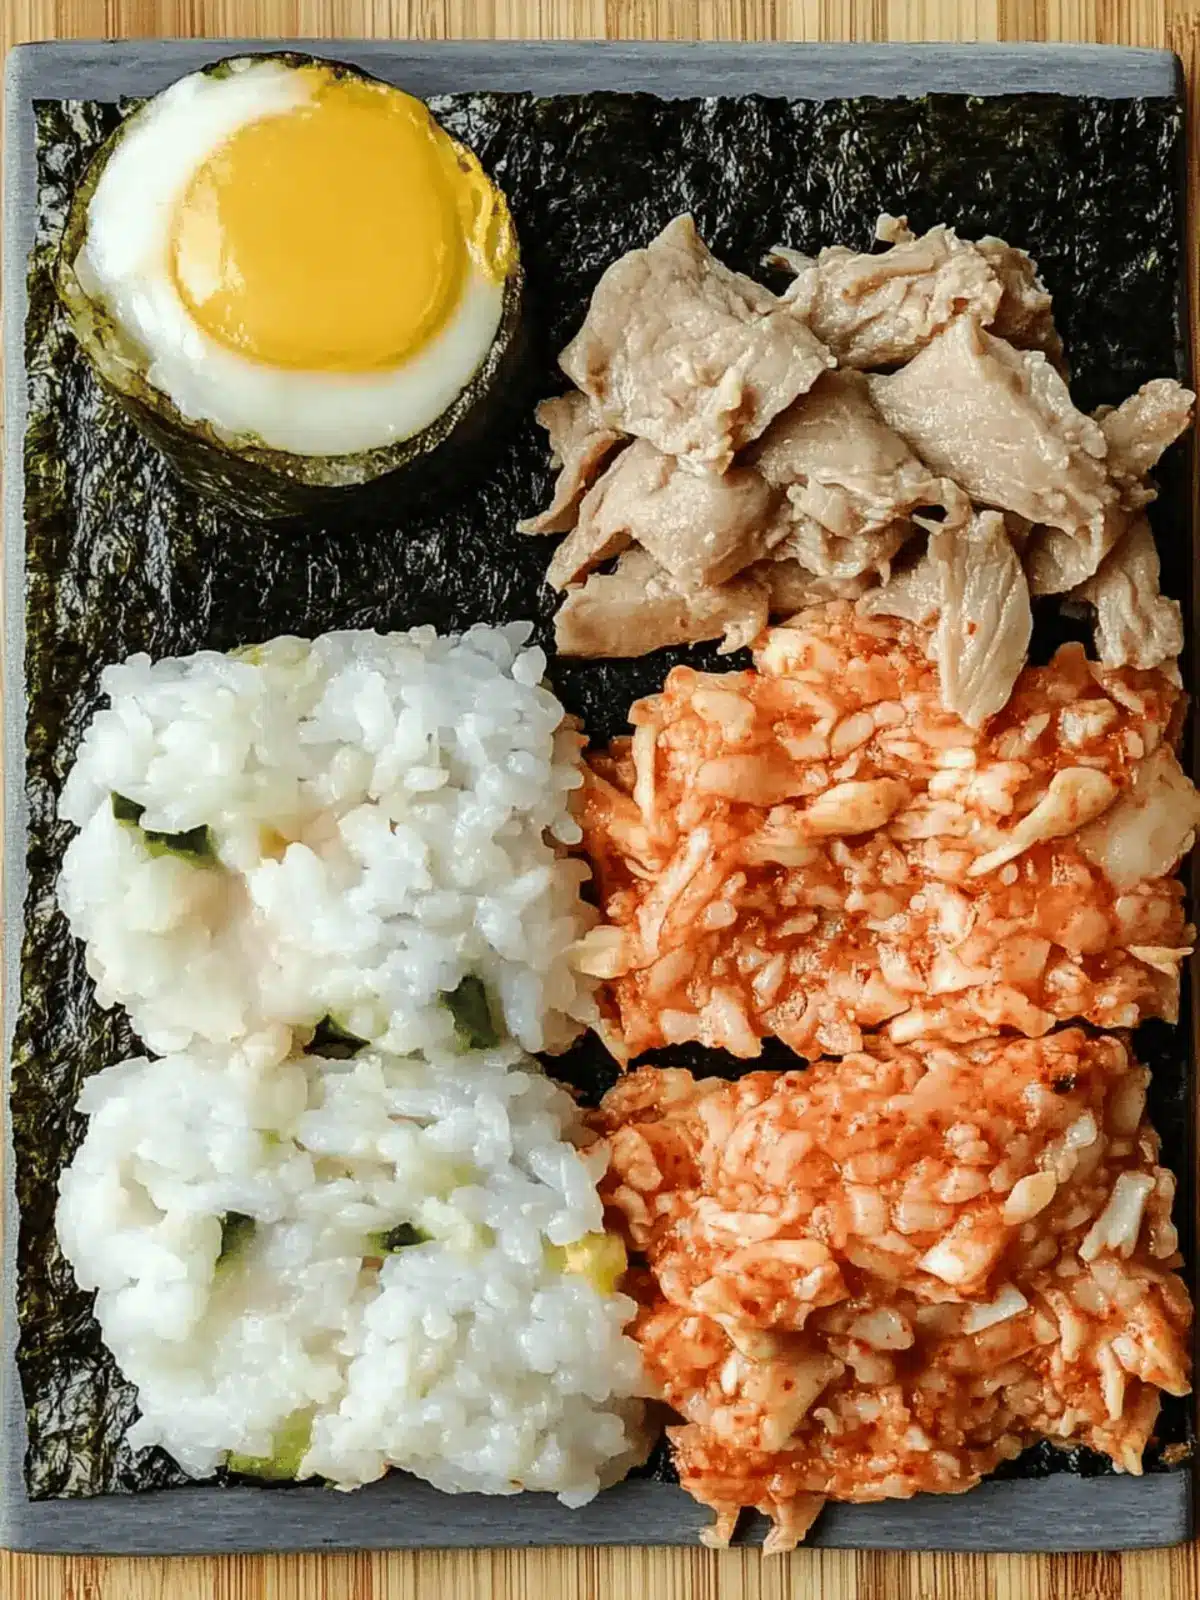
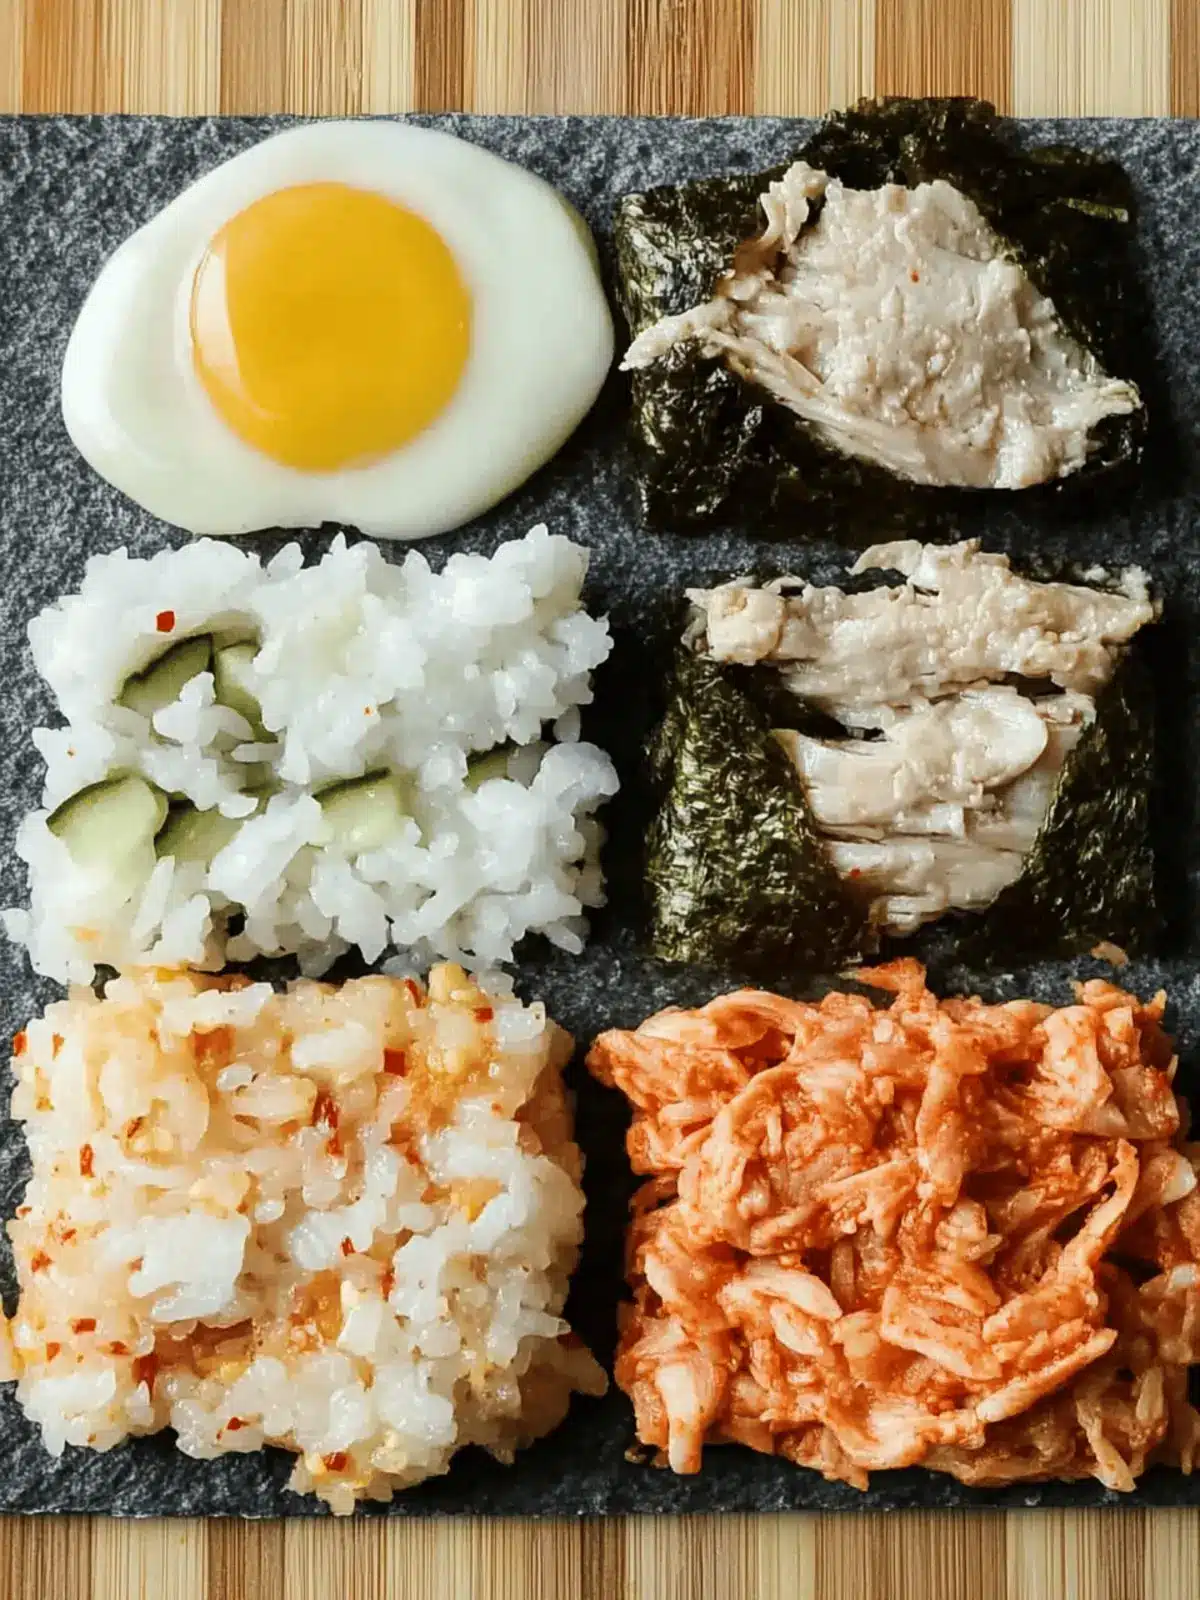
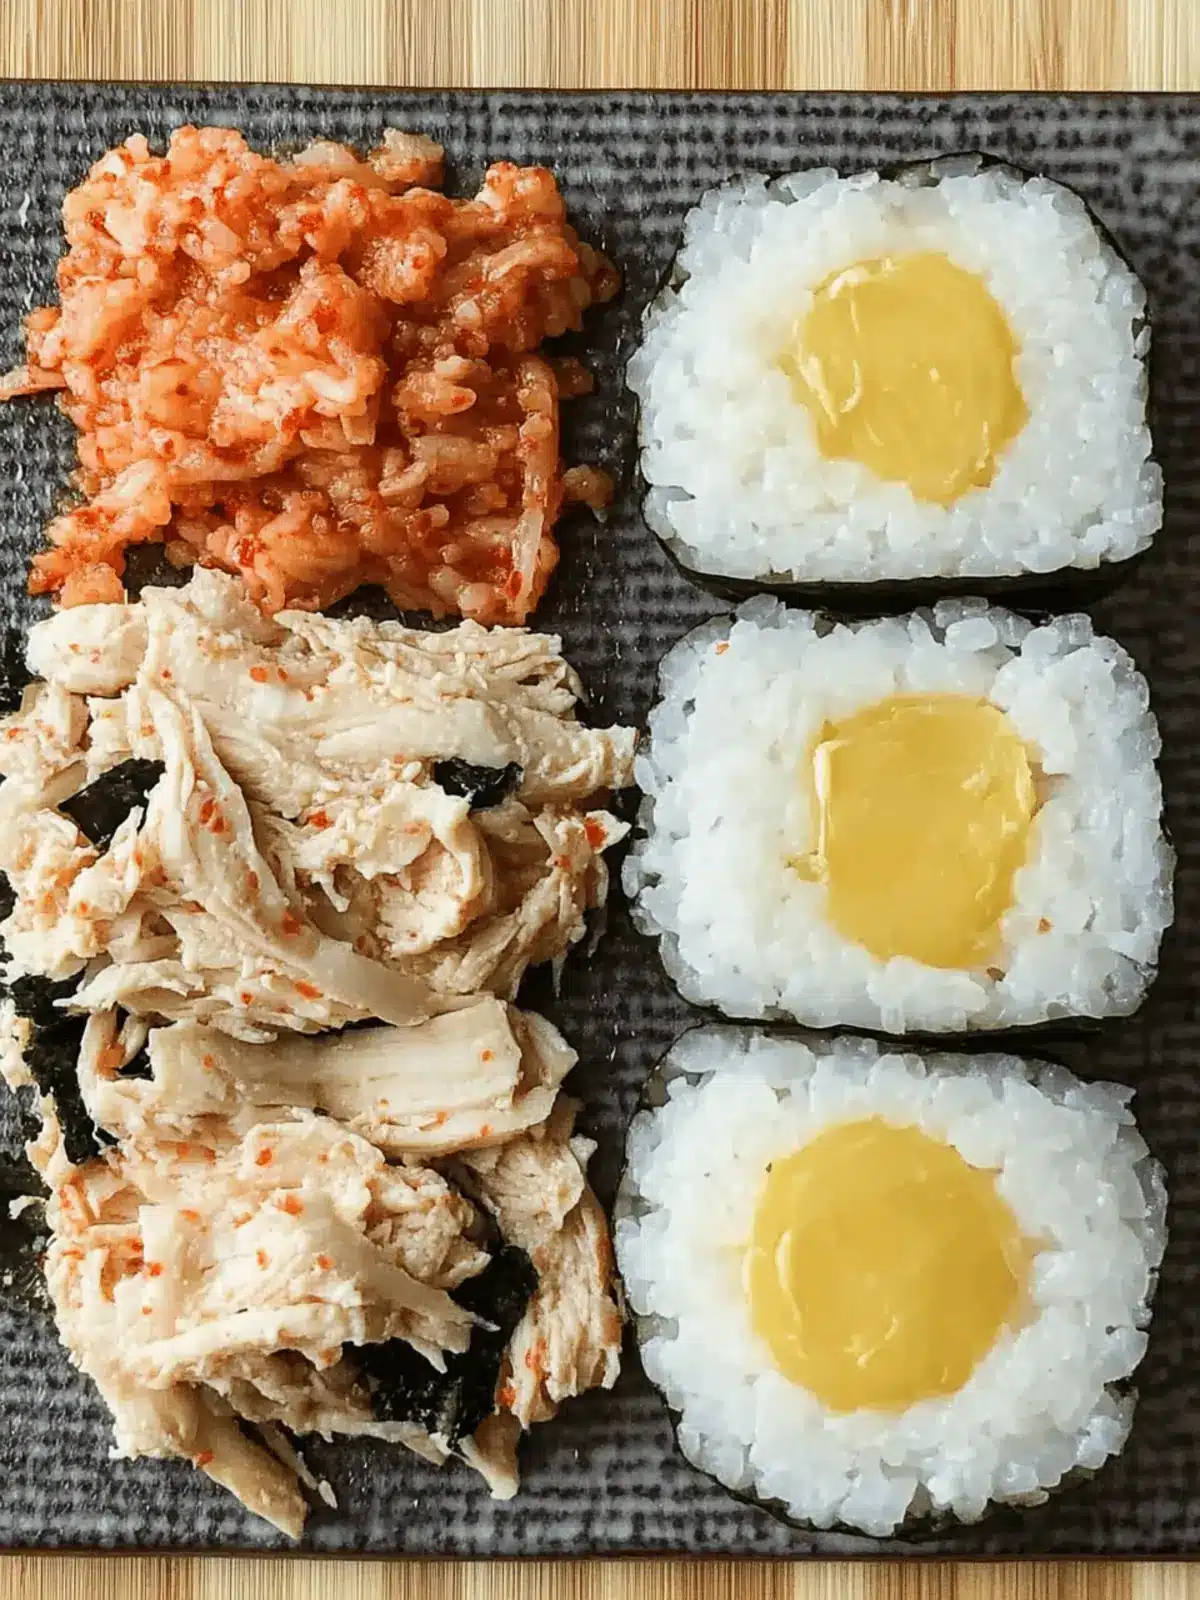
There’s something so satisfying about a quick and delicious meal that you can whip up in under ten minutes. When I first discovered Folded Kimbap, I was amazed at how a few simple ingredients could come together to create something so flavorful and fun to eat. Imagine the crispy seaweed, warm rice, and the umami punch of tuna all wrapped up in a delightful package. It’s like a flavor explosion in every bite!
This recipe came to life on a busy weeknight when I wanted to avoid yet another round of takeout. With a chaotic schedule, I needed something that was not only quick but also packed with nutrients. That’s when I stumbled upon this twist on classic kimbap. Perfect for lunch or a light dinner, the Folded Kimbap checks all the boxes—it’s versatile, easy to customize, and, best of all, it dazzles friends and family with minimal effort. So, let’s dive into this delicious experience and bring a little excitement back to your kitchen!
Why is Folded Kimbap a Must-Try?
Quick and Easy: With just 10 minutes of prep time, you can whip up this delightful dish that’s perfect for any busy schedule.
Flavor Fusion: The harmony of crispy nori, savory tuna, and tangy kimchi creates a taste sensation that’ll make your palate dance.
Versatile Ingredients: Customize your Folded Kimbap with your favorite veggies or proteins, making it easily adaptable to any diet.
Fun Presentation: The unique folding technique not only looks impressive but also makes it easy to eat on the go!
Crowd-Pleaser: Whether for a family meal or a casual gathering with friends, everyone will be raving about this fun, homemade twist on traditional sushi.
Folded Kimbap Ingredients
Get ready to create a delicious Folded Kimbap that will impress everyone at your table!
For the Filling
• Nori or gim – Provides a crispy, salty outer layer that holds everything together.
• Cooked short grain rice – Sticky rice is essential for the perfect kimbap texture; make sure it’s warm when assembled.
• Canned tuna – A convenient and protein-packed option; try using salmon for a different flavor twist.
• Japanese mayo – Adds a creamy richness; you can substitute with regular mayo or a vegan version if desired.
• Kimchi – Offers a zesty kick and depth of flavor; feel free to adjust the amount based on your spice preference.
• Large egg – Adds protein and a savory touch; you can substitute with scrambled tofu for a plant-based version.
• Vegetable oil – Used for frying the egg, giving it a lovely golden hue; olive oil works nicely as a substitute.
Enjoy crafting your Folded Kimbap with these simple yet essential ingredients!
How to Make Folded Kimbap
-
Mix the tuna and mayo together in a bowl until well combined. This creamy filling will add delicious flavor to your kimbap, so set it aside while you prepare the other ingredients.
-
Heat 1 teaspoon of vegetable oil in a small pan over medium heat. Fry your egg sunny-side up for about 3-5 minutes, depending on how runny you prefer the yolk. Shape the egg into a 3 x 3 inch square for a perfect fit! Set aside.
-
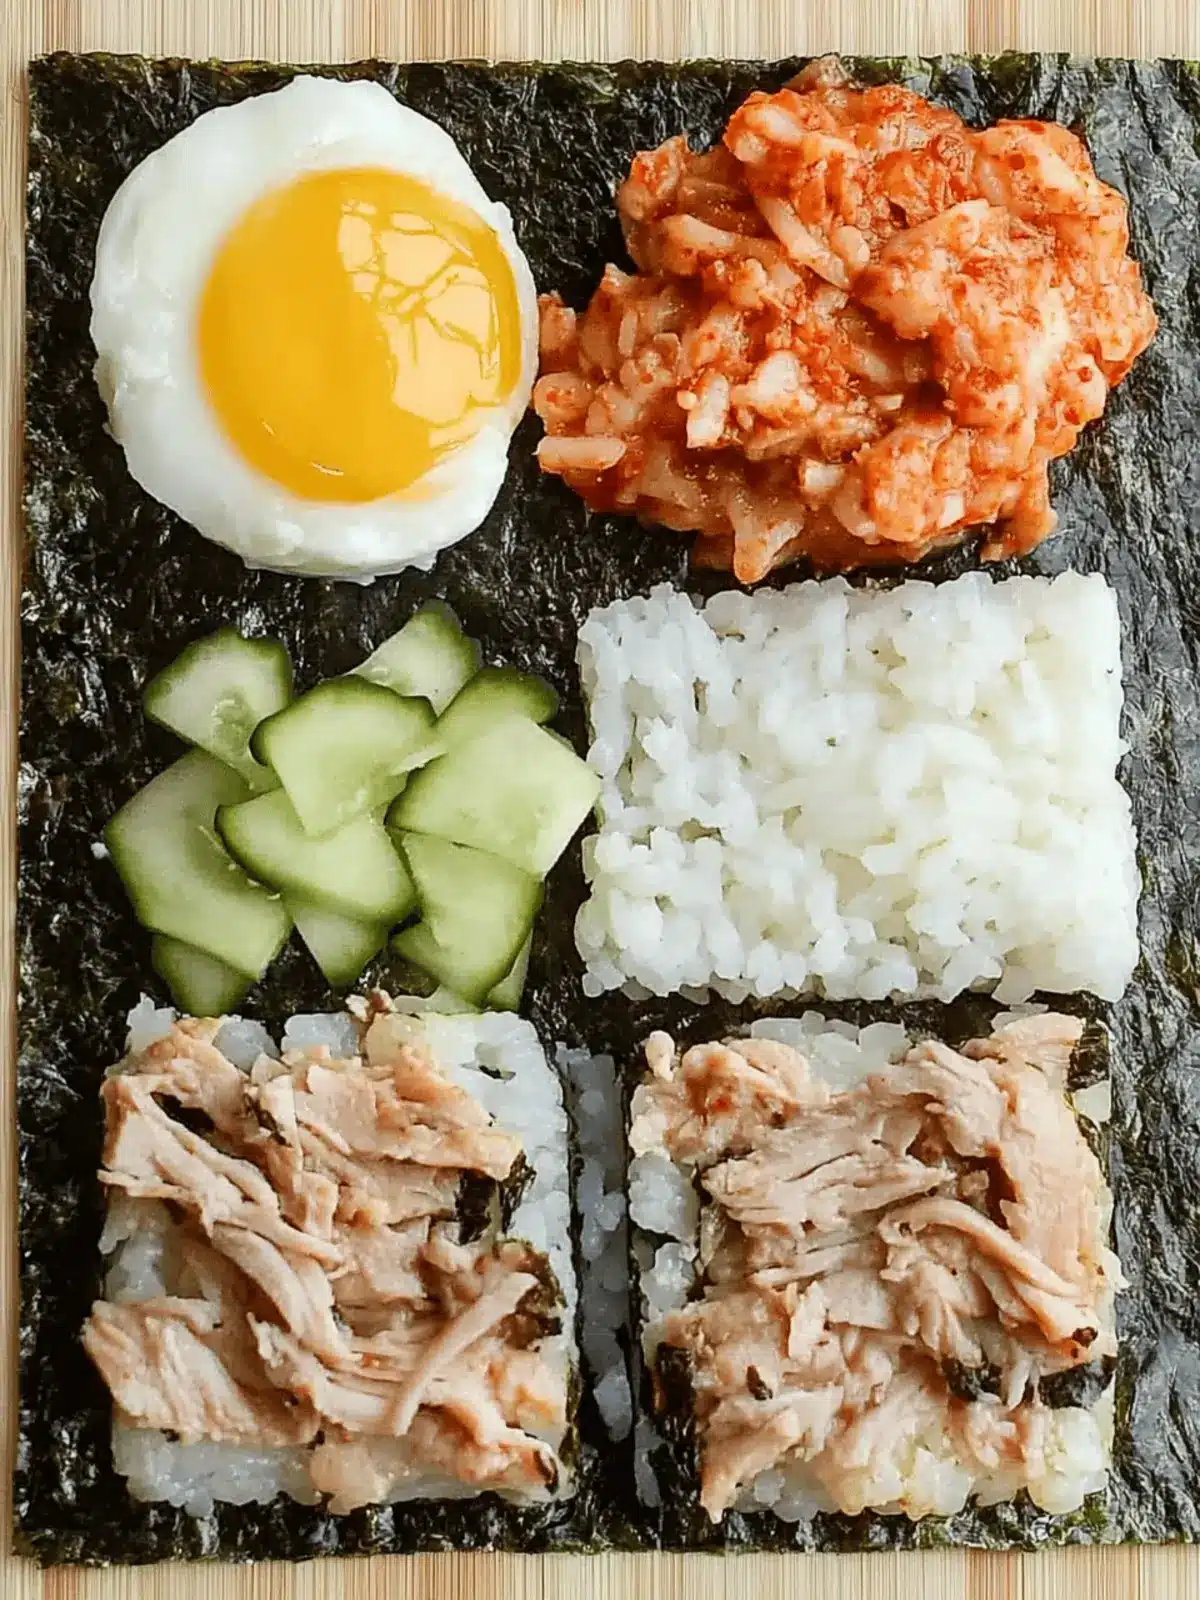
Prepare your nori sheet by placing it rough side up and vertically facing you. Use scissors to cut a vertical slit halfway up the sheet, creating two sections to fill.
-
Spread the tuna mayo mixture evenly in the bottom left quadrant of the nori. This will be the first layer of flavor in your Folded Kimbap.
-
Add the fried egg into the top right quadrant, allowing the beautiful golden yolk to rest right over the tuna.
-
Layer the kimchi in the top left quadrant, its spicy tanginess working wonders to complement the other ingredients.
-
Distribute the hot cooked rice evenly in the bottom right quadrant, ensuring that it fills the space and holds everything together perfectly.
-
Fold the kimbap starting from the bottom left quadrant upwards, pressing gently to form a neat square. Enjoy your delicious Folded Kimbap immediately for the best flavor and texture!
Optional: Garnish with sesame seeds for a delightful crunch.
Exact quantities are listed in the recipe card below.
How to Store and Freeze Folded Kimbap
Fridge: Store leftover Folded Kimbap in an airtight container for up to 2 days to maintain freshness. Keep it chilled to enjoy later!
Freezer: While best enjoyed fresh, you can freeze unassembled ingredients separately. Rice, tuna, and veggies can be stored in freezer bags for up to 1 month.
Reheating: If refrigerated, reheat in the microwave for 30 seconds to 1 minute. Gently reheat the rice in a pan with a splash of water for the best texture.
Room Temperature: For 2 hours maximum, it’s safe to leave Folded Kimbap at room temperature, perfect for picnics or snacks on the go!
Folded Kimbap Variations & Substitutions
Feel free to get creative and personalize your Folded Kimbap for a delicious twist!
- Spicy Kick: Add a slice of fresh jalapeño or drizzle sriracha for a fiery burst of heat.
- Vegetarian Delight: Replace tuna with a sautéed mix of bell peppers, carrots, and avocado for a vibrant veggie option.
- Protein Boost: Use grilled chicken or shrimp instead of tuna to elevate the protein content and flavor.
- Avocado Creamy: Incorporate slices of ripe avocado alongside the tuna mayo for a rich and buttery texture.
- Sweet Surprise: Try adding strips of mango or a sprinkle of sesame seeds for a hint of sweetness and added crunch.
- Herb Infusion: Mix in fresh herbs like cilantro or basil with your filling for an aromatic lift that brightens each bite.
- Noodle Addition: Include cooked soba noodles for an extra layer of texture that will make your kimbap even more filling.
- Cheesy Twist: Sprinkle grated cheese like mozzarella or cheddar into the filling for a melty, comforting surprise.
Explore these options and make your Folded Kimbap uniquely yours!
Helpful Tricks for Folded Kimbap
- Perfect Rice: Ensure your rice is freshly cooked and slightly sticky to help it hold together nicely. Avoid using cold rice as it won’t adhere well.
- Smooth Egg: When frying, gently manipulate the egg with a spatula to achieve a nice square shape. If it’s too runny, adjust the cooking time slightly.
- Nori Placement: Always place the nori rough side up; this aids in gripping the ingredients better and enhances the flavor of the Folded Kimbap.
- Tuna Mix: Integrate the mayo thoroughly into the canned tuna to avoid lumps. A smooth mixture spreads better and ensures flavor in every bite.
- Kimchi Control: Adjust the amount of kimchi depending on your spice tolerance. Starting with a small portion allows you to customize the heat level easily.
What to Serve with Folded Kimbap?
When you’re ready to elevate your dining experience, think about vibrant, complementary dishes that can make your meal truly unforgettable.
- Seaweed Salad: A refreshing side that adds a crisp texture and umami flavor, balancing the richness of the kimbap beautifully.
- Miso Soup: The warm, savory broth is a soothing companion that enhances the overall dining experience with its delicate flavors.
For a delightful surprise, serve some pickled vegetables alongside your kimbap. The tangy crunch will bring a delightful contrast to the soft fillings.
- Edamame: Lightly salted and simply steamed, these protein-packed beans make for a perfect snack that everyone loves.
- Fresh Fruit Salad: Seasonal fruits bring a sweet and juicy component that complements the savory flavors of the kimbap wonderfully.
Finally, consider a light beverage like iced green tea. Its refreshing nature can cleanse the palate and keep the meal feeling light and satisfying.
Make Ahead Options
These Folded Kimbap are perfect for busy home cooks looking to save time during hectic weekdays! You can prepare the filling—mixing the tuna and mayo—up to 24 hours in advance and store it in an airtight container in the refrigerator to keep it fresh and flavorful. Additionally, you can fry the egg and store it separately for up to 3 days; just reheat it gently before assembling. When you’re ready to serve, simply warm up your rice and assemble the kimbap with the prepped fillings. This way, you’ll enjoy a delicious, homemade meal without the last-minute rush!
Folded Kimbap Recipe FAQs
What type of rice should I use for Folded Kimbap?
For the best results, use cooked short grain rice. It’s sticky and holds together well, which is crucial for creating the perfect Folded Kimbap. Make sure the rice is warm when you assemble to enhance stickiness.
How long can I store leftover Folded Kimbap?
Store leftover Folded Kimbap in an airtight container in the fridge for up to 2 days. Keep it chilled to maintain freshness. However, I recommend enjoying it right after making for the best flavor and texture!
Can I freeze the ingredients for Folded Kimbap?
Absolutely! While it’s best enjoyed fresh, you can freeze unassembled ingredients separately. Store rice, tuna, and veggies in airtight freezer bags for up to 1 month. When ready to eat, just thaw and assemble!
What should I do if my egg isn’t shaping well?
If your egg isn’t holding its shape, try cooking it in a square spatula or a makeshift mold. Beat the egg before pouring it into the pan, allowing it to set before shaping. If it’s too runny, increase cooking time slightly to achieve a firmer texture.
Can I use substitutes for any of the ingredients?
Yes, the beauty of Folded Kimbap lies in its versatility! You can replace canned tuna with chicken or tofu for a vegetarian option. Japanese mayo can be swapped for regular mayo or even a vegan alternative. Feel free to adjust the kimchi based on your spice preference, or include other veggies like avocado or cucumber for added flavor.

Delicious Folded Kimbap: A Fun Twist on Homemade Sushi
Ingredients
Equipment
Method
- Mix the tuna and mayo together in a bowl until well combined.
- Heat 1 teaspoon of vegetable oil in a small pan over medium heat. Fry your egg sunny-side up for about 3-5 minutes, shaping it into a square.
- Prepare your nori sheet by cutting a vertical slit halfway up, creating two sections to fill.
- Spread the tuna mayo mixture evenly in the bottom left quadrant of the nori.
- Add the fried egg into the top right quadrant.
- Layer the kimchi in the top left quadrant.
- Distribute the hot cooked rice evenly in the bottom right quadrant.
- Fold the kimbap starting from the bottom left quadrant upwards, pressing gently to form a neat square.


