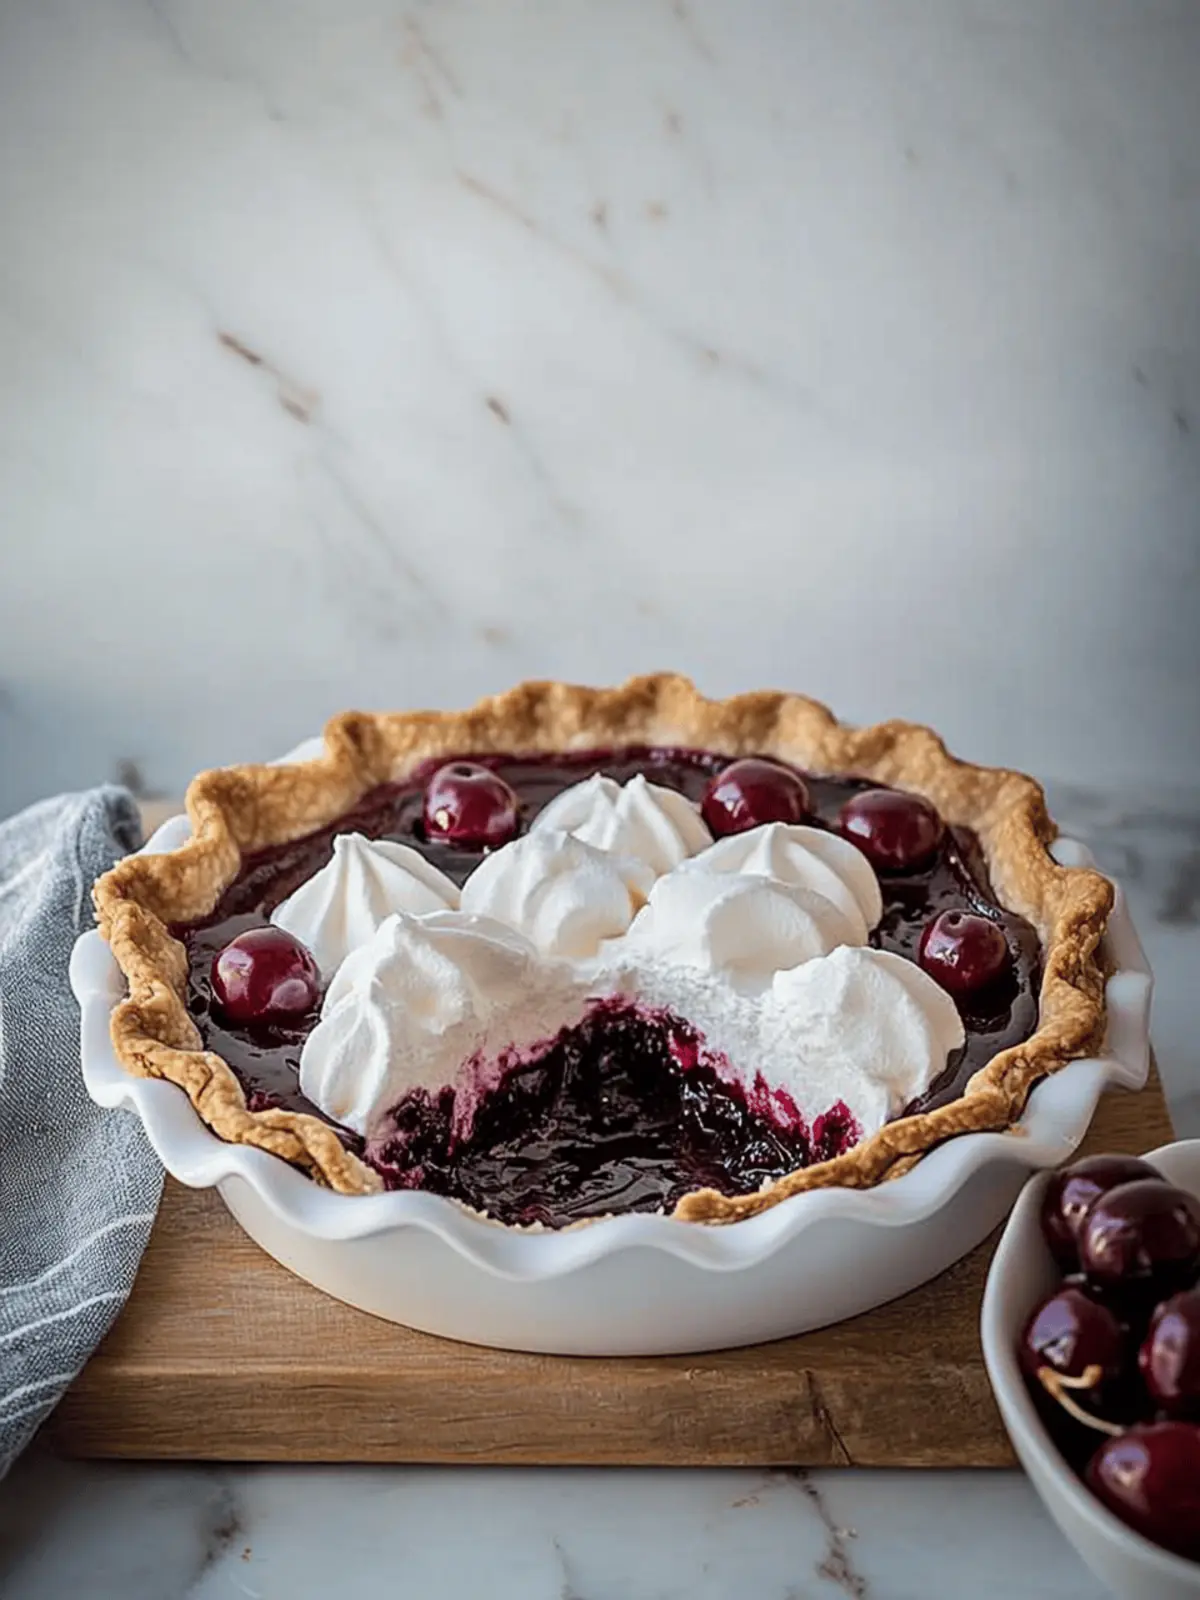
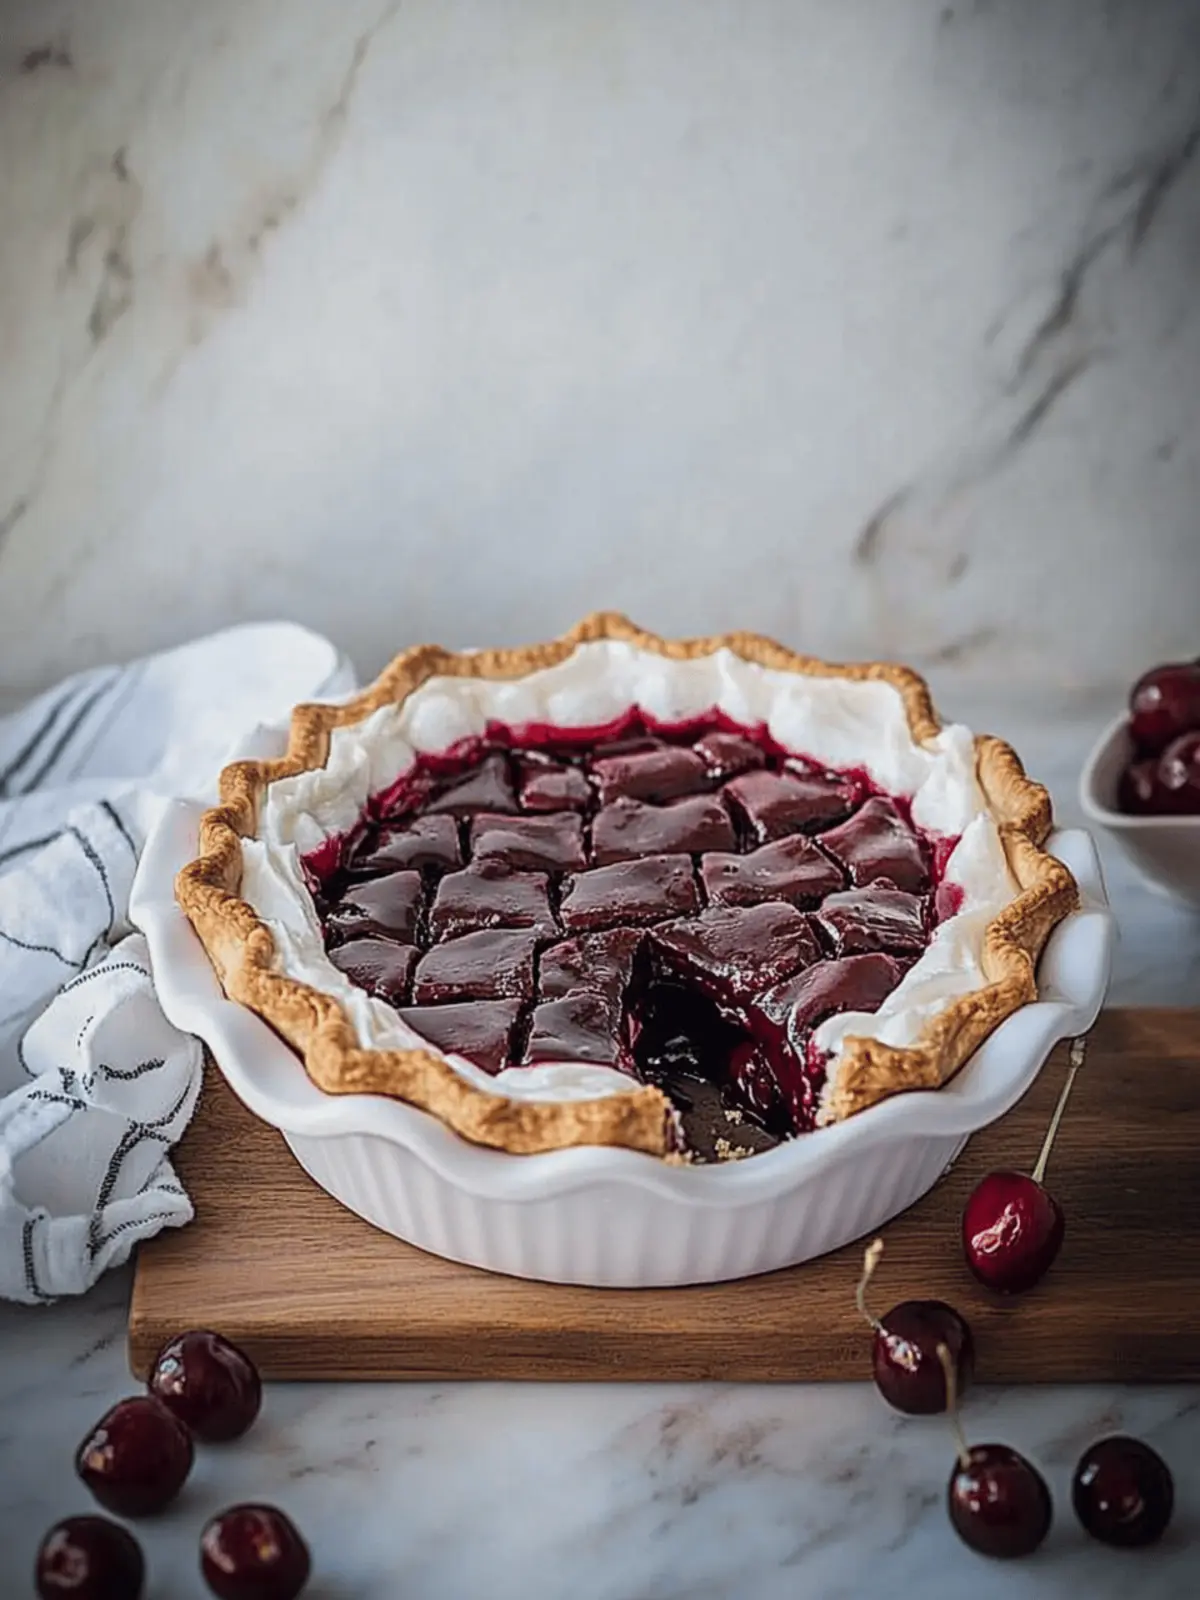
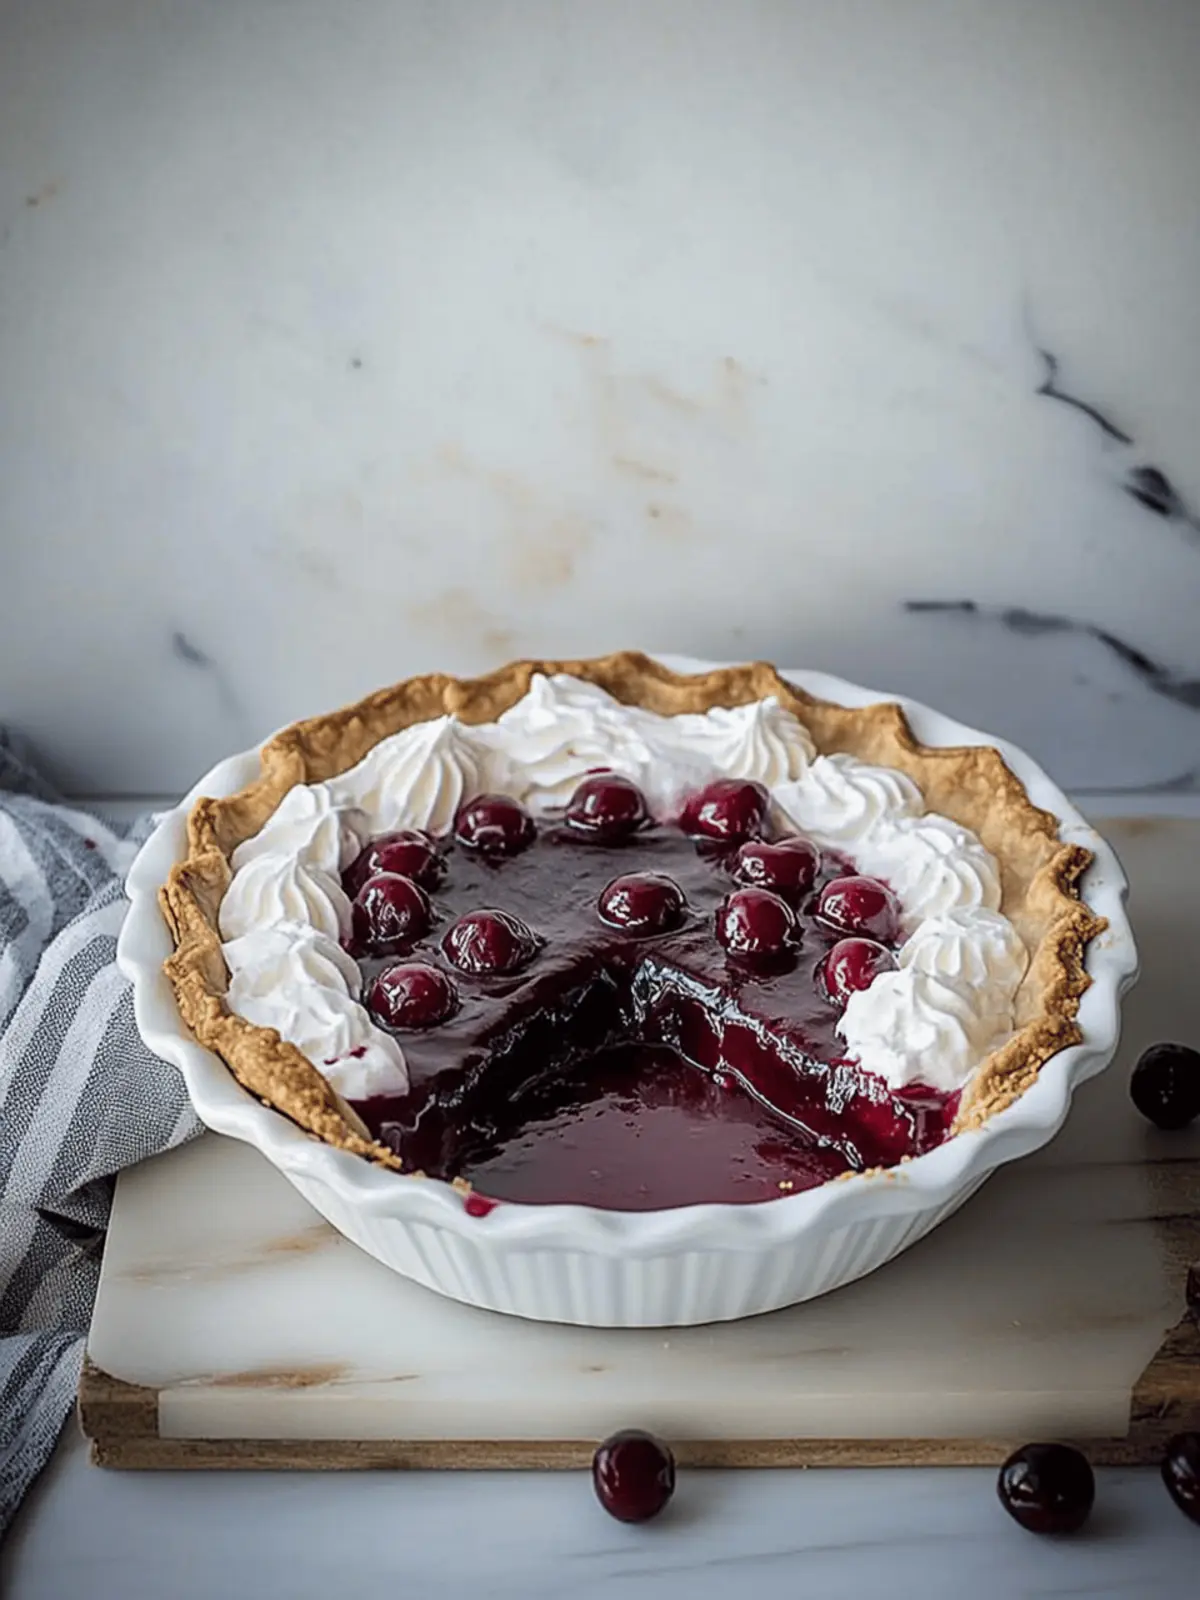
When the cherry blossoms begin to bloom, I find myself daydreaming about a dessert that brings together the richness of chocolate and the tartness of fresh cherries. That’s how I stumbled upon this luscious Black Forest Cherry Pie. With its buttery crust cradling a creamy chocolate filling, this pie isn’t just a treat; it’s a celebration of flavors that dance together in perfect harmony. Each slice reveals velvety chocolate, bursting cherries, and a tantalizing whipped cream topping, making it an impressive centerpiece for gatherings or a special indulgence for an ordinary day.
This isn’t just any pie; it’s an experience that transports you to a cozy German café, where every bite feels like a warm hug. Whether you’re a seasoned chef or just looking to brighten your kitchen, this decadent dessert will become your go-to recipe for impressing friends and family alike. So, preheat your oven and get ready to transform simple ingredients into a showstopper that rivals any bakery treat!
Why will you adore Black Forest Cherry Pie?
Indulgent Experience: This recipe offers a wonderfully rich and creamy chocolate filling, enhanced by the natural sweetness of fresh cherries.
Beautiful Presentation: With its stunning layers and luscious whipped cream topping, it’s sure to impress at any gathering.
Simplicity: Despite its gourmet appearance, creating this pie requires only basic baking skills, making it accessible for home cooks.
Versatile Flavor: You can easily swap in different berries or add a dash of almond extract for an exciting twist!
Time-Saving: Most of the preparation can be done in advance, ideal for busy schedules or spontaneous dessert cravings.
Crowd-Pleasing Delight: Rich in flavor and visually appealing, this pie is perfect for celebrations or Monday indulgences. Dive into this recipe and discover why it’s destined to become a beloved favorite are provided, ensuring you can enjoy it to the fullest!
Black Forest Cherry Pie Ingredients
For the Pie Crust
• Pie Crust – Use a homemade crust for flakiness or a store-bought one for convenience.
For the Chocolate Filling
• Dark Chocolate Bar (4 oz, 60% Dark) – Adds depth to the filling; semi-sweet chocolate can be a substitute.
• Heavy Cream (2 tbsp) – Melts the chocolate smoothly; whole milk may alter richness.
• Cornstarch (1/4 cup) – Thickens the filling; not replaceable with flour for this recipe.
• Granulated Sugar (1/2 cup) – Sweetens the chocolate filling; feel free to reduce it for less sweetness.
• Extra Dark Cocoa Powder (3 tbsp) – Intensifies the chocolate flavor; regular cocoa is an alternative.
• Salt (1/4 tsp) – Enhances the overall flavor of the filling.
• Milk (2 cups) – Creates a creamy texture; whole milk is best, while alternatives may change consistency.
• Eggs (2) – Binds and thickens the filling; egg substitutes may change the flavor and texture.
• Vanilla Paste (1 tsp) – Infuses flavor; can swap with pure vanilla extract.
For the Cherry Topping
• Cherries (8 oz) – The star ingredient that adds sweetness and tartness; fresh or frozen works!
• Granulated Sugar for Cherry Filling (1/4 cup) – Sweetens the cherries; adjust according to taste.
• Water (3 tbsp) – Helps create a delicious syrup with the cherries.
• Lemon Juice (2 tbsp) – Brightens the flavor of the cherry topping.
• Vanilla Paste or Extract (1 tsp) – Adds depth to the cherry flavor; optional but recommended.
For the Whipped Cream
• Whipped Cream (2 cups) – Adds richness and lightness on top of the pie; can use store-bought if needed.
Dive into making this Black Forest Cherry Pie and create a stunning dessert that will leave everyone asking for seconds!
How to Make Black Forest Cherry Pie
-
Prepare the Pie Crust: Begin by blind-baking your pie crust at 375°F for 20 minutes, ensuring it’s covered. After that, remove the weights and continue baking until it turns golden brown, which should take about another 15 minutes.
-
Make Chocolate Filling:
- Heat cream: Warm the heavy cream in a saucepan until it’s steaming, then take it off the heat and stir in the broken dark chocolate until smooth and melted.
- Mix dry ingredients: In a separate pot, whisk together the cornstarch, granulated sugar, cocoa powder, and salt. Gradually add in the milk and eggs while stirring over medium heat until the mixture thickens, around 8-10 minutes.
- Combine: Once thickened, remove from heat, incorporate the melted chocolate mixture, and let it cool for about 1 hour.
-
Prepare Cherry Filling: In a saucepan, combine the cherries, sugar, water, and lemon juice. Let it simmer for around 10 minutes, then thicken it with a cornstarch slurry and allow it to cool.
-
Whip Cream: Meanwhile, whip the heavy cream with powdered sugar until soft peaks form. Reserve half of this whipped cream for topping later.
-
Combine: Gently fold the whipped cream into the cooled chocolate filling until completely incorporated. Pour this divine mixture into your baked pie crust, smoothing the top.
-
Layer Cherry Filling: Once the chocolate layer has set, pour the warm cherry mixture over the top and chill the pie for a minimum of 1-2 hours to let everything meld beautifully.
-
Serve: Just before serving, crown the pie with the reserved whipped cream for a touch of indulgence.
Optional: Top with fresh cherries for an extra burst of color and flavor!
Exact quantities are listed in the recipe card below.
Make Ahead Options
These Black Forest Cherry Pies are a dream for busy home cooks looking to save time! You can prepare the pie crust and the chocolate filling up to 24 hours in advance. To do this, blind-bake the crust and then store it in the fridge, while the chocolate filling can be cooled and refrigerated until it’s time to assemble. The cherry topping can also be prepared and stored in an airtight container for up to 3 days. When you’re ready to serve, simply combine the chocolate filling with the whipped cream, pour it into the crust, and layer the cherry mixture on top. This way, you’ll have a stunning dessert ready with minimal effort on the day of your gathering!
Black Forest Cherry Pie Variations
Feel free to unleash your creativity on this delightful pie—each variation can bring a new twist to your beloved dessert!
-
Berry Surprise: Swap the cherries for raspberries or strawberries for a delightful fruity twist. The result is a fresh explosion of flavors that perfectly complements the chocolate.
-
Nutty Addition: Add a splash of almond extract to the chocolate filling for a hint of nutty flavor. This simple addition can elevate the pie’s complexity while pairing beautifully with the cherries.
-
Graham Cracker Crust: Use a graham cracker crust instead of traditional pie crust for a delightful crunch and a hint of sweetness. This will give your pie a unique texture that’s reminiscent of a cheesecake.
-
Spicy Kick: Introduce a pinch of cayenne pepper or cinnamon into the chocolate filling for a subtle kick. This unexpected warmth will surprise your taste buds and keep everyone guessing!
-
Fruit Infusion: Infuse the chocolate filling with orange zest for a citrusy twist. The bright notes brighten the rich chocolate while complementing the cherries beautifully.
-
Dairy-Free Delight: Use coconut cream in place of heavy cream and a dairy-free chocolate alternative for a deliciously creamy vegan pie. You won’t even miss the dairy!
-
Caramel Drizzle: Top the finished pie with a drizzle of salted caramel for an extra layer of indulgence. This sweet-salty hit adds an impressive flair and richness to every slice.
-
Chocolate Overload: For the ultimate chocoholics, add chocolate shavings or chunks to the cherry topping! This adds texture and heightens the chocolate experience in each delightful bite.
Expert Tips for Black Forest Cherry Pie
- Cold Ingredients: Ensure that all your ingredients for the pie crust, especially butter, are cold to achieve a flakier texture and avoid a tough crust.
- Watch the Chocolate: Stir continuously while thickening the chocolate filling; this prevents lumps and ensures a creamy consistency.
- Thickening Agent: For a firmer filling, add a bit more cornstarch if desired, but be careful not to overdo it as it can affect the chocolate flavor.
- Chill Time: Allow the pie to chill properly after assembling; this helps the layers set beautifully and enhances the taste.
- Fresh Cherries: Using fresh cherries will provide a vibrant flavor; if using frozen, ensure they are thawed and drained to prevent excess liquid.
- Whipped Cream Texture: For perfect sweetened whipped cream, avoid over-whipping; it should be fluffy and light to complement the pie’s richness.
What to Serve with Black Forest Cherry Pie?
Indulging in a slice of this chocolate and cherry masterpiece is only part of the experience—let’s elevate it into a full meal!
- Vanilla Ice Cream: A scoop of creamy vanilla ice cream brings a delightful contrast to the rich chocolate and tart cherries, enhancing every bite.
- Coffee or Espresso: The bold flavors of a strong cup of coffee or espresso perfectly complement the sweetness of the pie, creating a warm and inviting end to your meal.
- Fresh Fruit Salad: A colorful mix of seasonal fruits can refresh the palate, providing a light and bright contrast against the richness of the pie. Pair tart berries with a sprinkle of mint for an extra touch!
- Chocolate Mousse: Embrace the decadent theme! A light chocolate mousse adds a velvety layer of indulgence—perfect for chocolate lovers.
- Sparkling Wine or Champagne: For a celebratory drink, serve a glass of bubbly. The effervescence plays beautifully against the flavors of the pie.
- Decadent Cheesecake: If you’re feeling adventurous, decadent little cheesecake bites harmonize beautifully with the cherry topping, offering textural contrast.
- Lemon Sorbet: The zesty brightness of lemon sorbet cuts through the richness, cleansing the palate and leaving you ready for more. Each sweet-tart spoonful invigorates before diving back into pie.
- Chocolate-Covered Strawberries: For a charming touch, serve chocolate-covered strawberries on the side, enhancing the dessert experience with fruity indulgence.
- Mint Tea: A soothing cup of mint tea serves as a lovely final act, balancing the rich flavors and providing a light, refreshing finish to your dessert.
How to Store and Freeze Black Forest Cherry Pie
Fridge: Store the pie in an airtight container or cover it tightly with plastic wrap. It’s best enjoyed within 3 days to maintain freshness and flavor.
Freezer: If you need to freeze it, portion out slices and wrap each piece individually in plastic wrap, then place in a freezer-safe container. It can last up to 2 months.
Reheating: To enjoy frozen slices, thaw them in the fridge overnight. Reheat in a microwave for about 20-30 seconds for a warm treat.
Serving Tip: Always top with fresh whipped cream just before serving to enhance the flavors of this decadent Black Forest Cherry Pie!
Black Forest Cherry Pie Recipe FAQs
What type of cherries should I use for the Black Forest Cherry Pie?
You can use fresh or frozen cherries for the topping. If you’re opting for fresh cherries, choose ones that are plump and firm with deep color. Avoid any that have dark spots or seem mushy. If using frozen cherries, make sure to thaw and drain them well to prevent excess moisture in the filling.
How should I store the pie and for how long?
Store the Black Forest Cherry Pie in the refrigerator, covered with plastic wrap or in an airtight container. It’s best to consume the pie within 3 days for optimal flavor and texture. If you have leftovers, make sure to keep it chilled to maintain freshness.
Can I freeze Black Forest Cherry Pie?
Absolutely! To freeze, slice the pie into individual portions for easier thawing. Wrap each slice tightly in plastic wrap, then place them in a freezer-safe container. Your pie can be stored in the freezer for up to 2 months. To enjoy, simply thaw in the fridge overnight and reheat in the microwave for about 20-30 seconds if desired.
What troubleshooting tips do you have for making the filling?
If your chocolate filling becomes lumpy, it probably means it was overcooked or the chocolate was added too quickly. To fix it, try whisking it vigorously over low heat to smooth it out. To avoid this issue, make sure to continuously stir while it’s thickening. Additionally, be sure not to cook the filling at too high a temperature; medium heat is best.
Are there any dietary concerns I should be aware of with this recipe?
Yes! This recipe contains ingredients like eggs and dairy, which can be allergens for some. If you’re making this for someone with allergies, consider using egg replacers and dairy alternatives. Be sure to double-check the ingredient labels if you’re using substitutes, as they can vary in their allergenic content.
How can I make the pie even more flavorful?
For an extra flavor kick, consider adding a splash of almond extract to the chocolate filling or cherry topping. It pairs beautifully with chocolate and enhances the overall depth of flavor. You can also top the pie with toasted almonds or additional fresh cherries for an elegant touch.
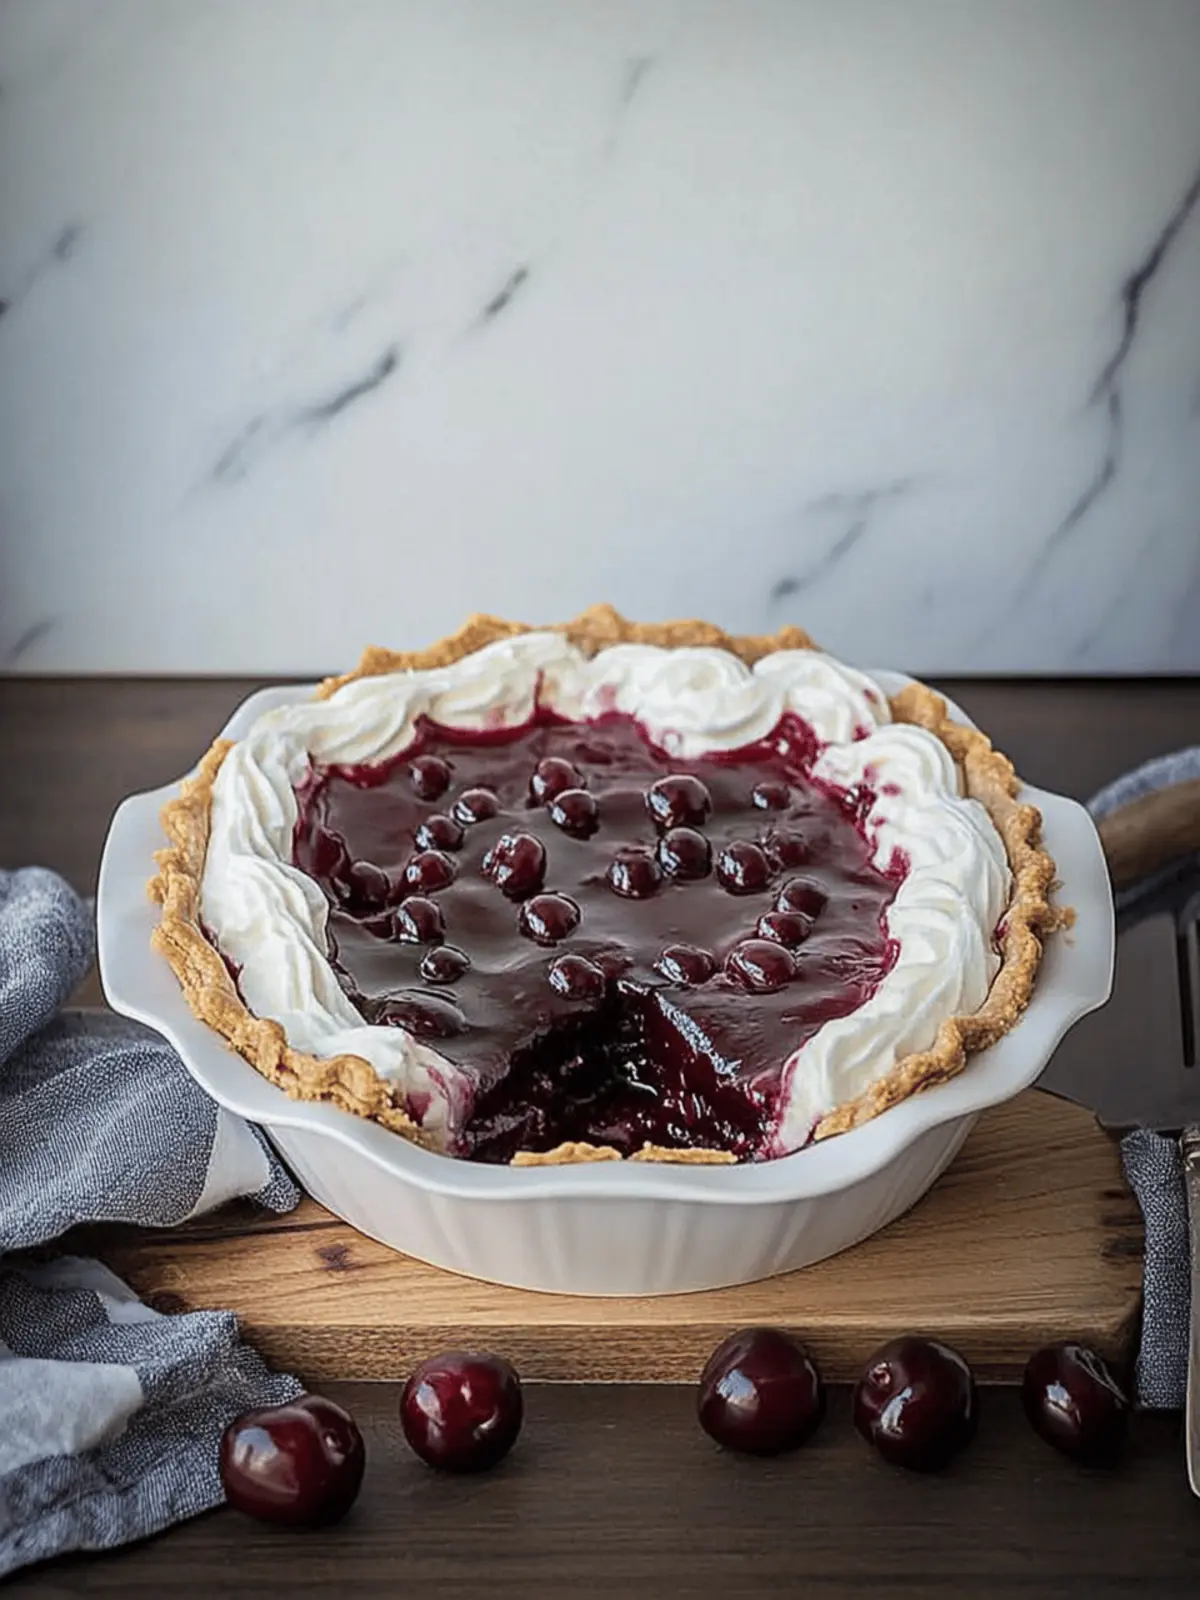
Heavenly Black Forest Cherry Pie with Creamy Chocolate Bliss
Ingredients
Equipment
Method
- Begin by blind-baking your pie crust at 375°F for 20 minutes, ensuring it's covered. After that, remove the weights and continue baking until golden brown, which should take another 15 minutes.
- Warm the heavy cream in a saucepan until steaming, then off the heat stir in broken dark chocolate until smooth.
- In a separate pot, whisk together cornstarch, sugar, cocoa powder, and salt. Gradually add milk and eggs while stirring over medium heat until thickened, around 8-10 minutes.
- Remove from heat, incorporate melted chocolate mixture, and let cool for about 1 hour.
- Combine cherries, sugar, water, and lemon juice in a saucepan. Simmer for around 10 minutes, then thicken with a cornstarch slurry and allow to cool.
- Whip heavy cream with powdered sugar until soft peaks form. Reserve half for topping.
- Gently fold in the whipped cream into cooled chocolate filling until incorporated. Pour mixture into baked pie crust, smoothing the top.
- Once chocolate layer has set, pour warm cherry mixture over the top and chill for 1-2 hours.
- Crown pie with reserved whipped cream before serving for indulgence.

