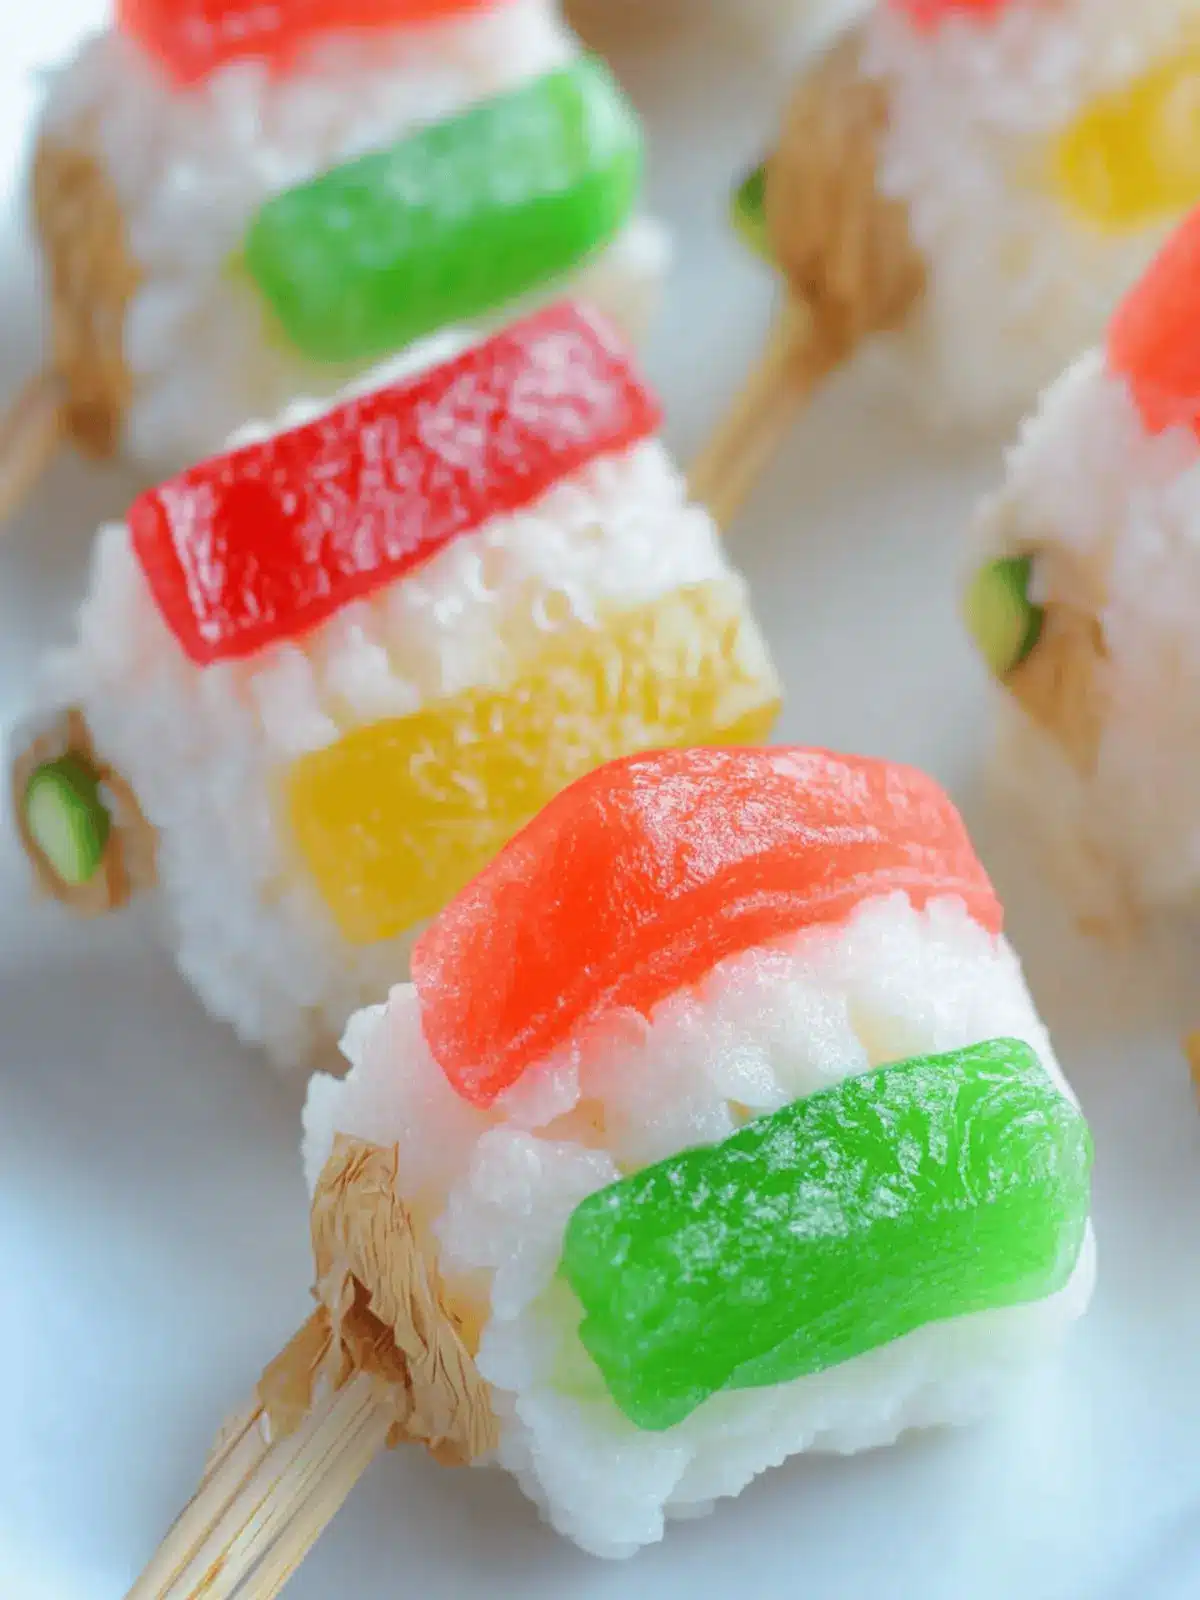
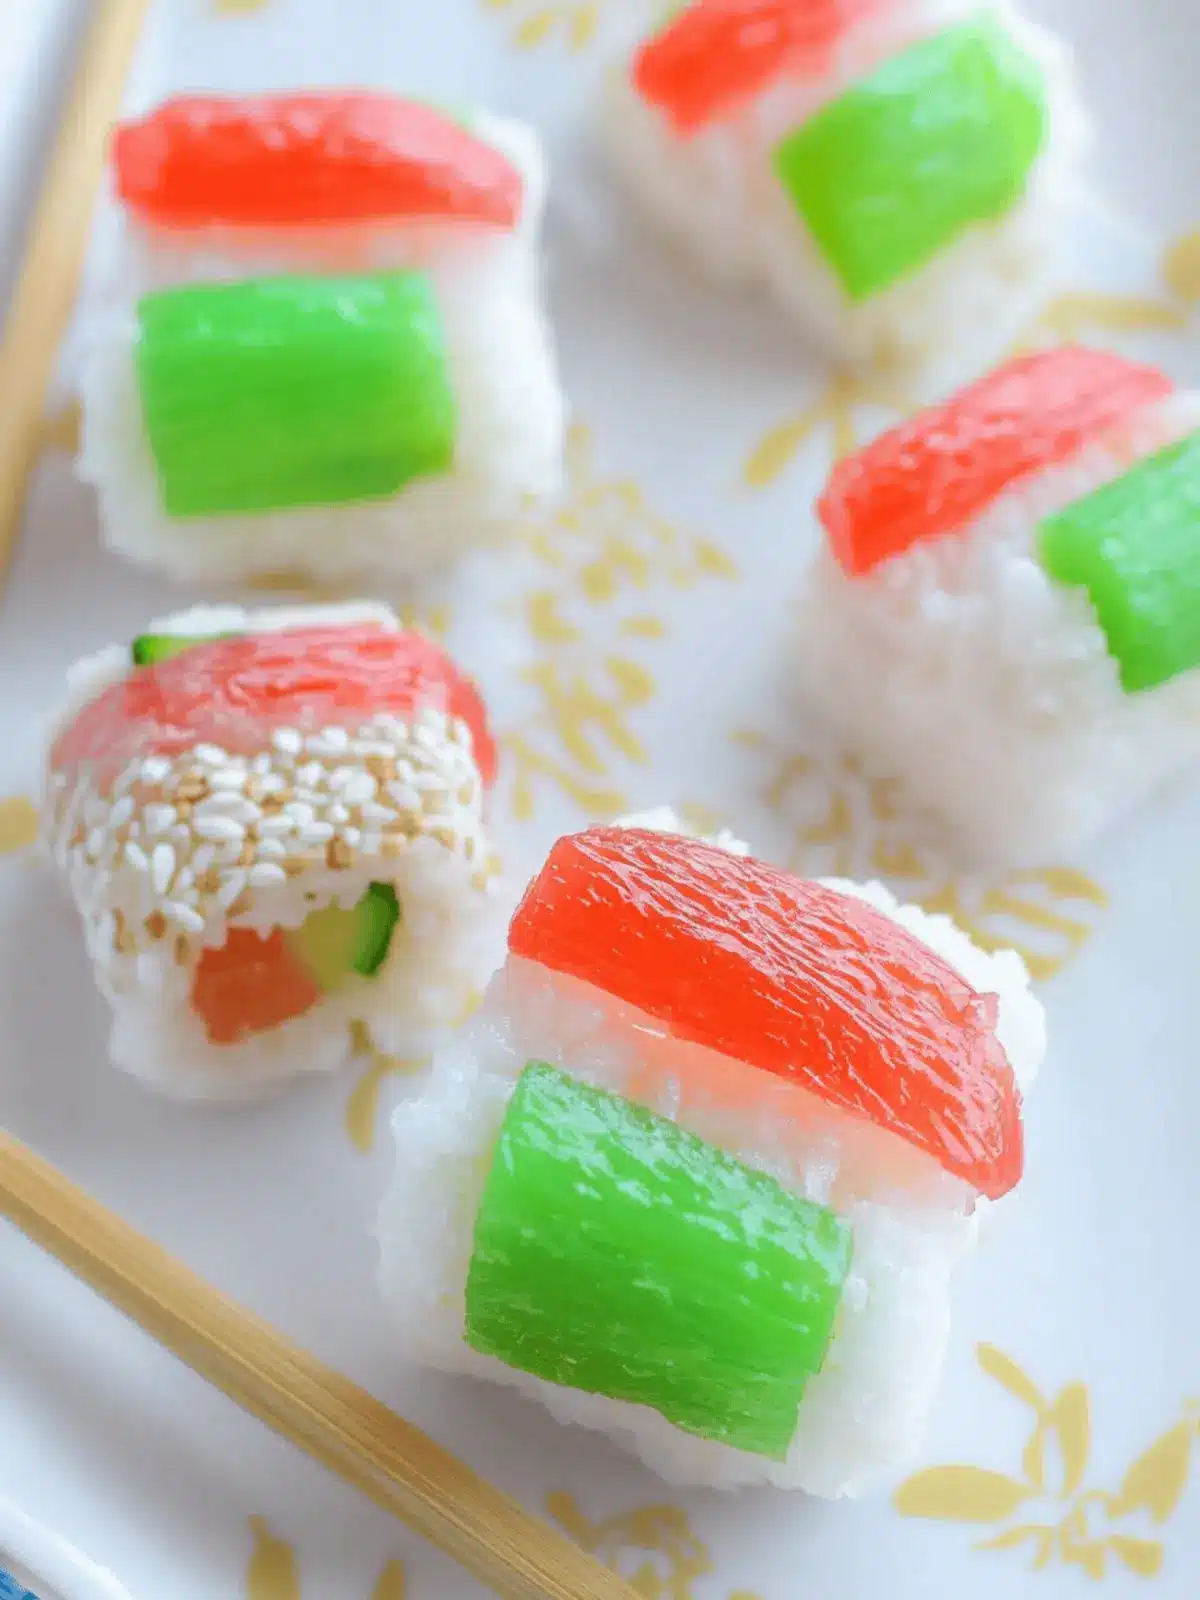
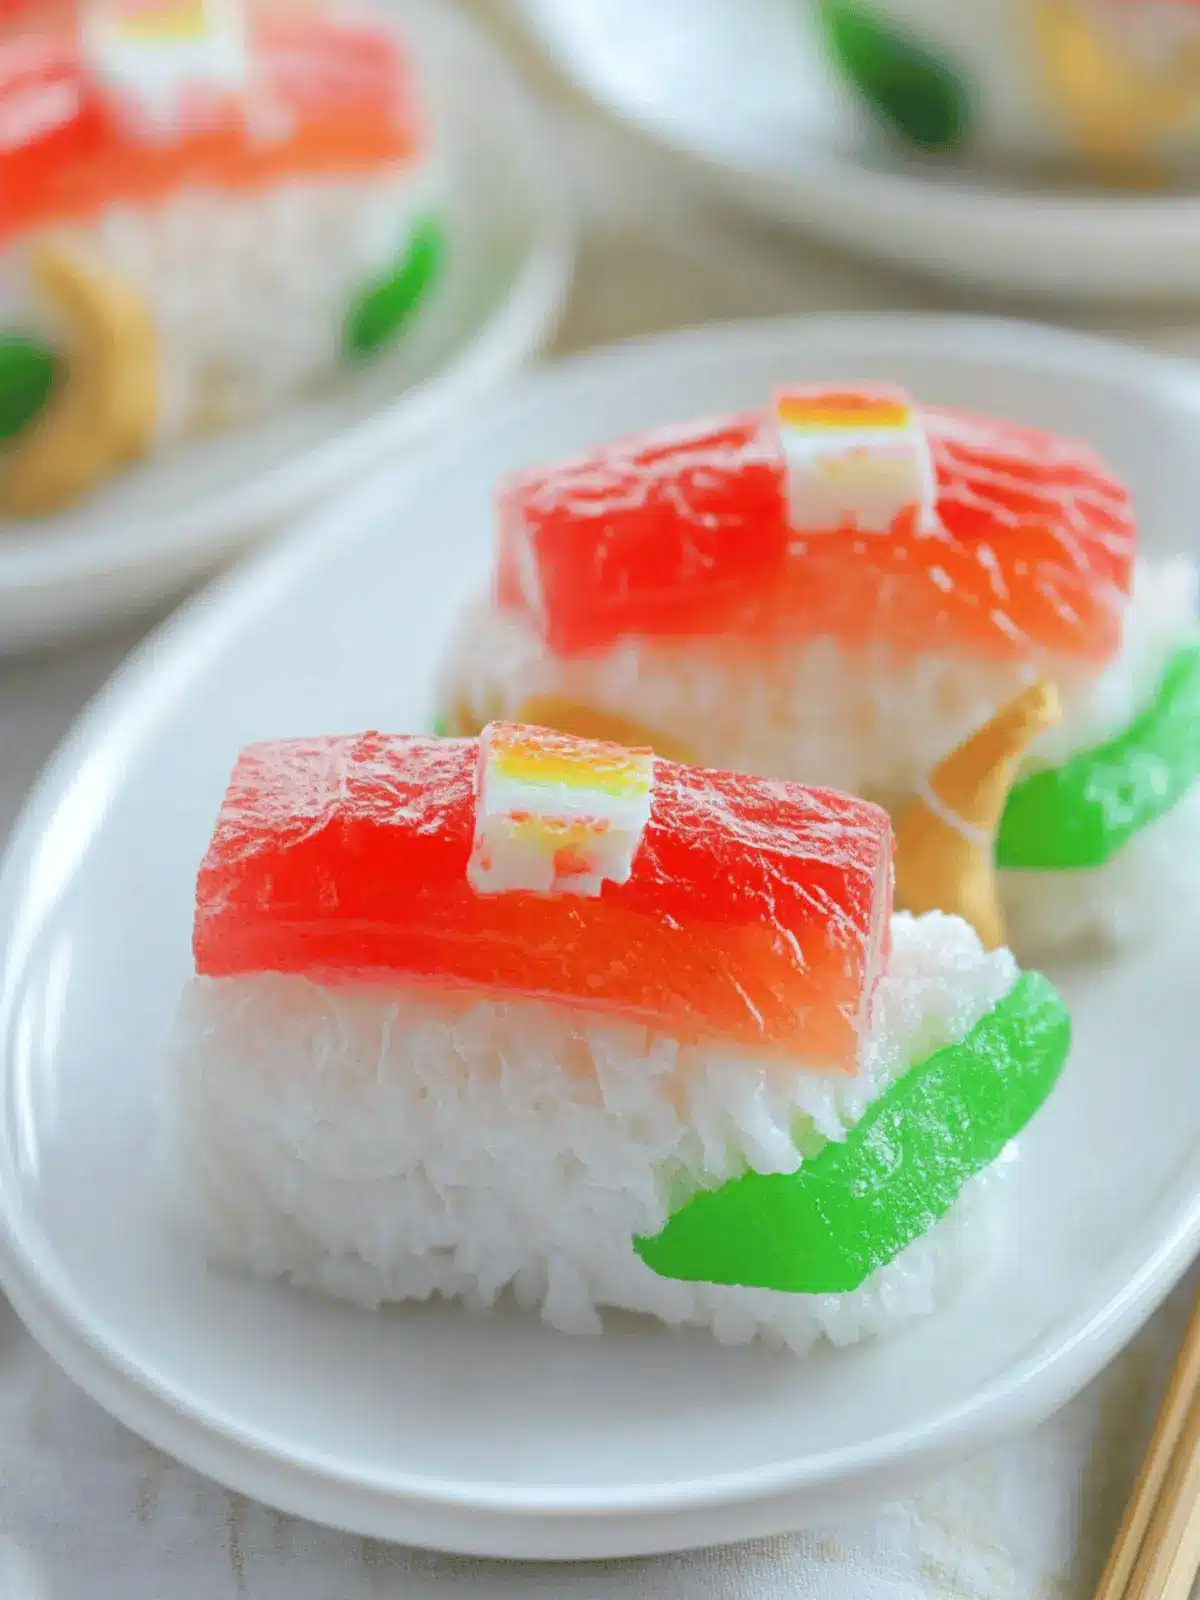
When boredom strikes in the kitchen, there’s nothing quite like discovering a fun new project, and that’s how I found myself wrapping up these delightful Candy Sushi Treats one rainy afternoon. As I rummaged through my pantry, the vibrant colors of fruit roll-ups and the irresistible allure of Swedish Fish caught my eye. Suddenly, inspiration struck—why not combine these sweet treats into a playful dessert that dances between whimsy and indulgence?
This no-bake recipe is the perfect treat for kids and adults alike, transforming crispy rice treats into a creative sushi-style masterpiece. Imagine the delightful moment when you serve these colorful bites—everyone’s faces lighting up in surprise! Easy to make and totally transportable, Candy Sushi is ideal for birthday parties, family gatherings, or simply satisfying that sweet craving. Join me in crafting a delightful dessert that’s sure to become a family favorite, one chewy bite at a time!
Why is Candy Sushi the Ultimate Dessert?
Fun and Creative: Candy Sushi turns ordinary ingredients into a playful masterpiece that kids will love.
No-Bake Delight: With just a few simple steps, this recipe is perfect for busy days when you need a quick treat.
Visually Appealing: The vibrant colors and unique presentation make it a showstopper at any event.
Customizable Options: Feel free to switch up the toppings and wrappers, or even try different candy bases for exciting flavor combinations!
Family Friendly: Easy enough for kids to help out, making it a wonderful way to bond in the kitchen.
Time-Saving Treat: Ready in under an hour, you’ll love how quickly you can indulge in this sweet sensation!
Candy Sushi Ingredients
For the Rice Treats
- Jumbo Marshmallows – Provide sweetness and structure when melted; you can use regular marshmallows if jumbo is unavailable, just adjust the quantity upwards.
- Butter – Adds richness and helps prevent sticking; margarine can be substituted for a dairy-free option.
- Crispy Rice Cereal – The base that gives the sushi its shape and texture; this unique crunch has no alternatives recommended.
For the Toppings
- Swedish Fish Candies – Serve as the topping to mimic the appearance of nigiri sushi; can be swapped for gummy candies with a similar shape and texture.
- Fruit by the Foot – Used for wrapping; any fruit-flavored tape candy can serve as a suitable substitute.
Enjoy the sweet adventure of making Candy Sushi with these delightful ingredients!
How to Make Candy Sushi
-
Prepare your workspace by lining a large rimmed baking sheet with wax paper. Make sure to butter or spray the surface to prevent sticking; this will help ensure your Candy Sushi comes off easily.
-
Microwave a large bowl filled with jumbo marshmallows and butter for 2-2.5 minutes, until they puff up beautifully. Stir well to keep it smooth and avoid any lumps.
-
Mix in the crispy rice cereal until it’s thoroughly combined. You want the cereal well-coated for that perfect crunchy base, so take your time mixing!
-
Flatten the mixture onto your prepared baking sheet. Use your hands or the bottom of a cup to press it evenly, creating a rectangle about 1 inch thick.
-
Chill in the refrigerator for about 30 minutes to set. Once firm, gently remove the rice treat from the wax paper and cut it into 3-4 inch rectangles.
-
Shape each rectangle into a classic nigiri sushi look by gently molding it in your hands. Have fun getting creative with the shapes!
-
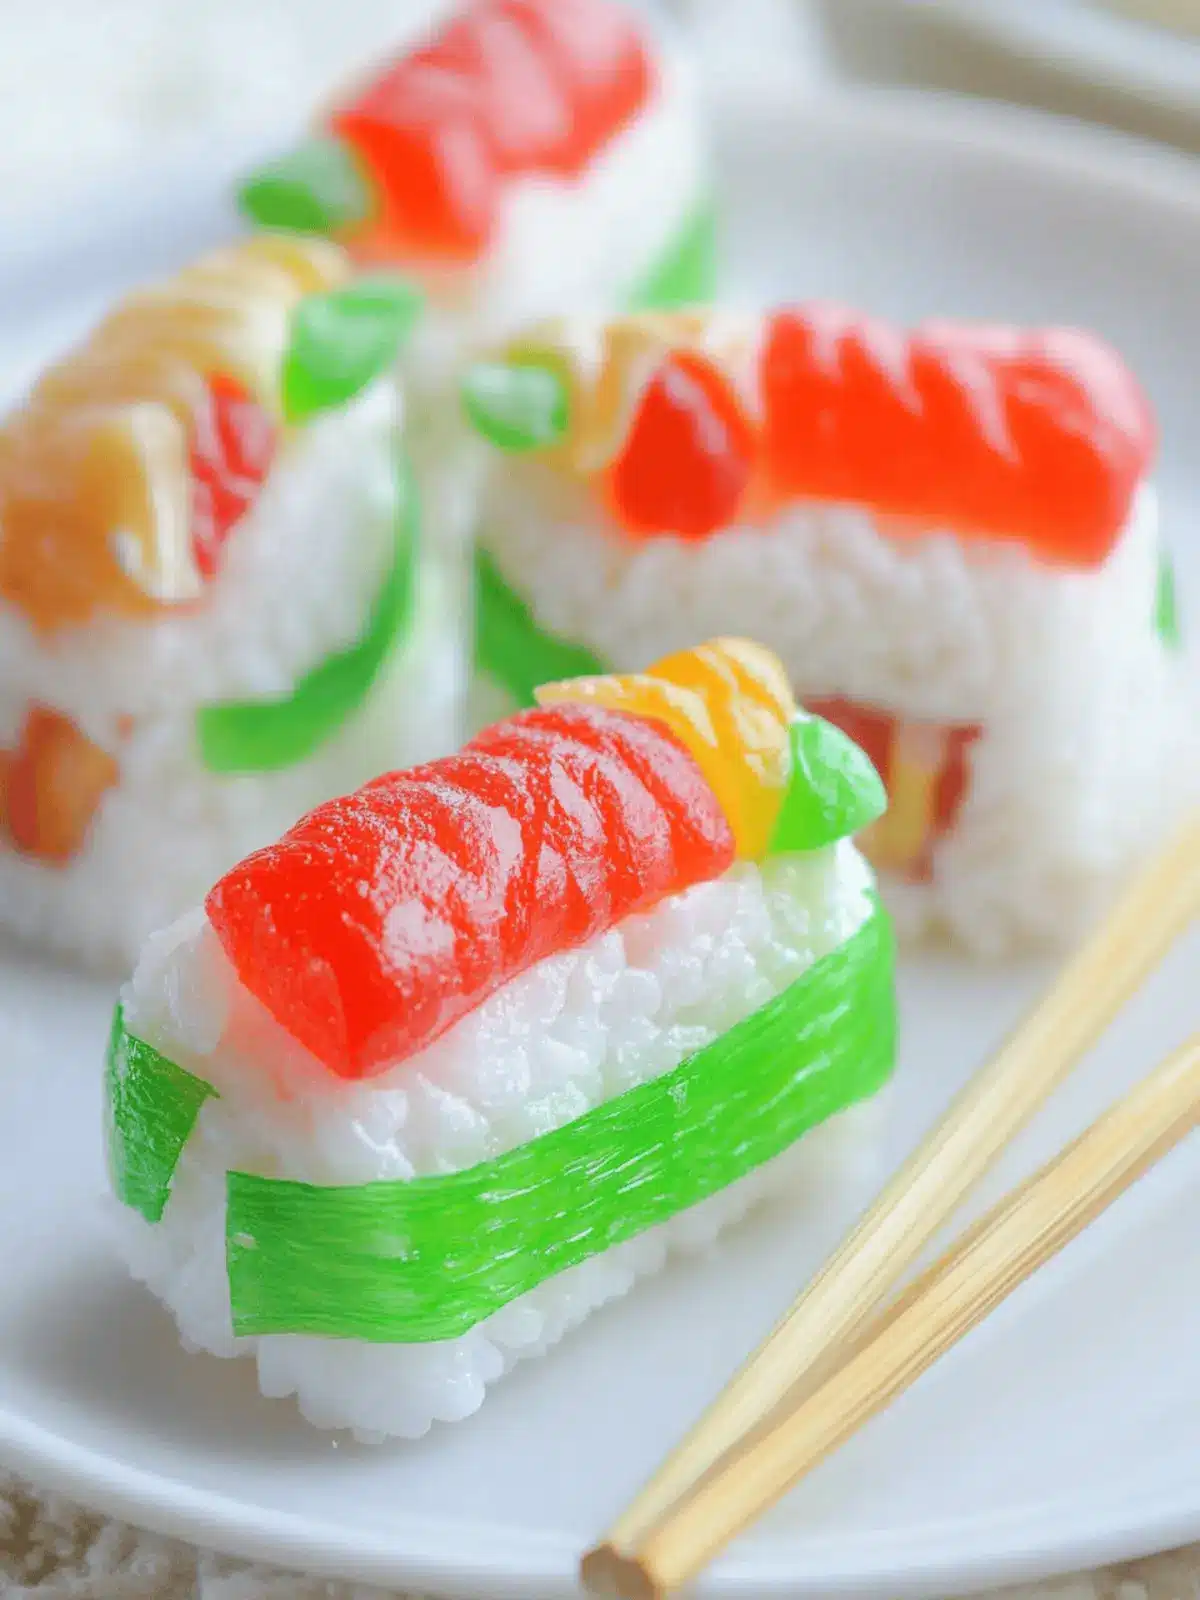
Top each piece with a Swedish Fish candy, placing it right on top. This will give your Candy Sushi that charming, playful look!
-
Wrap it up with a strip of Fruit by the Foot to create the final sushi roll. This adds vibrant color and delicious flavor, making each bite a delight!
Optional: Drizzle with melted chocolate for an extra sweet touch!
Exact quantities are listed in the recipe card below.
Expert Tips for Candy Sushi
-
Even Melting: Ensure that the marshmallows are completely melted to avoid hard spots. Stir well to keep the mixture smooth and avoid lumps.
-
Prevent Sticking: Use buttered or cold hands when shaping the rice treats into sushi to keep them from sticking. This will make the process smoother.
-
Portion Control: Adjust sushi piece sizes according to preference, remembering that smaller pieces are generally easier for kids to handle and enjoy.
-
Fun Variations: Feel free to experiment with different toppings like gummy bears or chocolate candies for more flavor. Just keep the focus on creating delightful Candy Sushi!
-
Chill Time: Allow the mixture to chill for at least 30 minutes; this helps maintain shape and texture. Rushing this step can result in messy sushi shapes.
Candy Sushi Variations
Feel free to get creative and make this delightful treat your own with these fun twists and substitutions!
-
Gummy Swap: Replace Swedish Fish with gummy bears or sour candies for a playful flavor contrast. Kids will love the surprise!
-
Flavor Twist: Try using flavored crispy rice cereal, like cocoa or berry, to add a different taste dimension to your sushi base.
-
Fruit Roll-up Alternatives: Use gummy fruit slices instead of Fruit by the Foot for a fruity kick that’s also chewy and tangy.
-
Nut-Free Version: For a nut-free option, utilize sunflower seed butter instead of traditional butter; it adds a unique flavor while catering to dietary needs.
-
Chocolate Drizzle: Go decadent by drizzling melted chocolate over your finished sushi pieces for an added layer of sweetness and a touch of elegance.
-
Spritzy Finish: For a burst of zing, sprinkle some zest from a lemon or lime over your sushi before wrapping. It brightens the flavor profile beautifully!
-
Crunchy Adding: Incorporate crushed pretzels or nuts into the rice cereal mixture for an unexpected crunch that creates a lovely textural balance.
-
Spicy Kick: For grown-up versions, mix in a smidge of chili powder with the rice cereal for a unique sweet-and-spicy combination that’s sure to surprise your guests!
What to Serve with Candy Sushi?
Create an unforgettable experience by pairing your delightful Candy Sushi with these sweet and complementary treats!
- Fruit Salad: A refreshing mix of seasonal fruits adds brightness and balances the sweetness of candy treats.
- Chocolate Dipping Sauce: Rich and smooth, this sauce offers a decadent element for those who crave a bit of indulgence.
- Vanilla Ice Cream: Creamy and cool, this classic pairing contrasts the chewy texture of the Candy Sushi beautifully.
- Sparkling Water with Lemon: A bubbly and zesty drink that cleanses the palate, making every bite of Candy Sushi feel light and delightful.
- Marshmallow Dip: Enhance the fun! A fluffy dip brings an extra layer of sweetness for those who want to double down on the marshmallow magic.
- Gummy Treats Medley: A playful selection of gummies creates a candy feast, appealing to kids and adding whimsy to your dessert spread.
Imagine a colorful dessert table filled with these treats—the joy and excitement will be palpable as everyone enjoys each sweet harmony!
How to Store and Freeze Candy Sushi
Room Temperature: Keep Candy Sushi in an airtight container at room temperature for up to 3 days to maintain its delicious chewiness.
Fridge: For extended freshness, store in the fridge for up to a week, but note that it may become firmer. Enjoy as a chilled treat!
Freezer: If you need to store your Candy Sushi for longer, freeze individual pieces wrapped in plastic wrap for up to 2 months. Thaw at room temperature when ready to enjoy.
Reheating: For a softer texture, microwave on low for a few seconds just before serving, ensuring to keep an eye to avoid overheating.
Make Ahead Options
These delightful Candy Sushi treats are perfect for meal prep! You can prepare the rice cereal mixture up to 24 hours in advance, simply following the initial steps and allowing it to cool properly. After shaping each sushi piece, wrap them individually in wax paper or place them in an airtight container—this helps maintain their freshness and prevents them from sticking together. When you’re ready to serve, just top each piece with a Swedish Fish and wrap with Fruit by the Foot. This way, you’ll have a fun, visually stunning dessert ready to enjoy with minimal effort, making weeknight treats easier than ever!
Candy Sushi Recipe FAQs
What type of marshmallows should I use for Candy Sushi?
I recommend using jumbo marshmallows for the best sweetness and structure. If you only have regular marshmallows on hand, you can use those instead—just add a few extra pieces to maintain the desired texture.
How should I store my Candy Sushi?
Keep your Candy Sushi in an airtight container at room temperature for up to 3 days to preserve its delightful chewiness. If you’d like to extend its freshness, you can refrigerate it for up to a week, but be mindful that it may become firmer.
Can I freeze Candy Sushi?
Absolutely! To freeze your Candy Sushi, wrap each piece tightly in plastic wrap and store them in a freezer-safe container. They can be frozen for up to 2 months. When you’re ready to enjoy them, let them thaw at room temperature for a few minutes. If you prefer them soft, microwave them on low for just a few seconds.
What’s the best way to ensure my Candy Sushi holds its shape?
To help maintain the shape of your Candy Sushi, make sure to allow the rice treat mixture to chill in the fridge for at least 30 minutes. This chilling time is crucial for setting the mixture properly. Additionally, using cold, buttered hands while shaping will prevent sticking and help create a nice form.
Are there any dietary considerations I should keep in mind?
Yes, if you’re making Candy Sushi for someone with dietary restrictions, be sure to check labels for allergens such as gluten in cereal or gelatin in gummies, as some Swedish Fish may contain gluten. Alternatively, there are gluten-free cereals and candies that you can use to customize your Candy Sushi for special dietary needs.
Can I customize the toppings for my Candy Sushi?
Of course! The more the merrier! You can replace the Swedish Fish with gummy bears, chocolate candies, or even small fruit snacks for different flavor combinations. Additionally, feel free to use gummy fruit slices instead of Fruit by the Foot for a tangy twist!
Creative Candy Sushi: Easy No-Bake Treats for Everyone
Ingredients
Equipment
Method
- Prepare your workspace by lining a large rimmed baking sheet with wax paper. Butter or spray the surface to prevent sticking.
- Microwave a large bowl filled with jumbo marshmallows and butter for 2-2.5 minutes until puffed. Stir well to keep it smooth.
- Mix in the crispy rice cereal until thoroughly combined. Ensure the cereal is well-coated.
- Flatten the mixture onto your prepared baking sheet to create a rectangle about 1 inch thick.
- Chill in the refrigerator for about 30 minutes to set, then cut into 3-4 inch rectangles.
- Shape each rectangle into a nigiri sushi look by gently molding it with your hands.
- Top each piece with a Swedish Fish candy, placing it on top.
- Wrap with a strip of Fruit by the Foot to finish the sushi roll.

