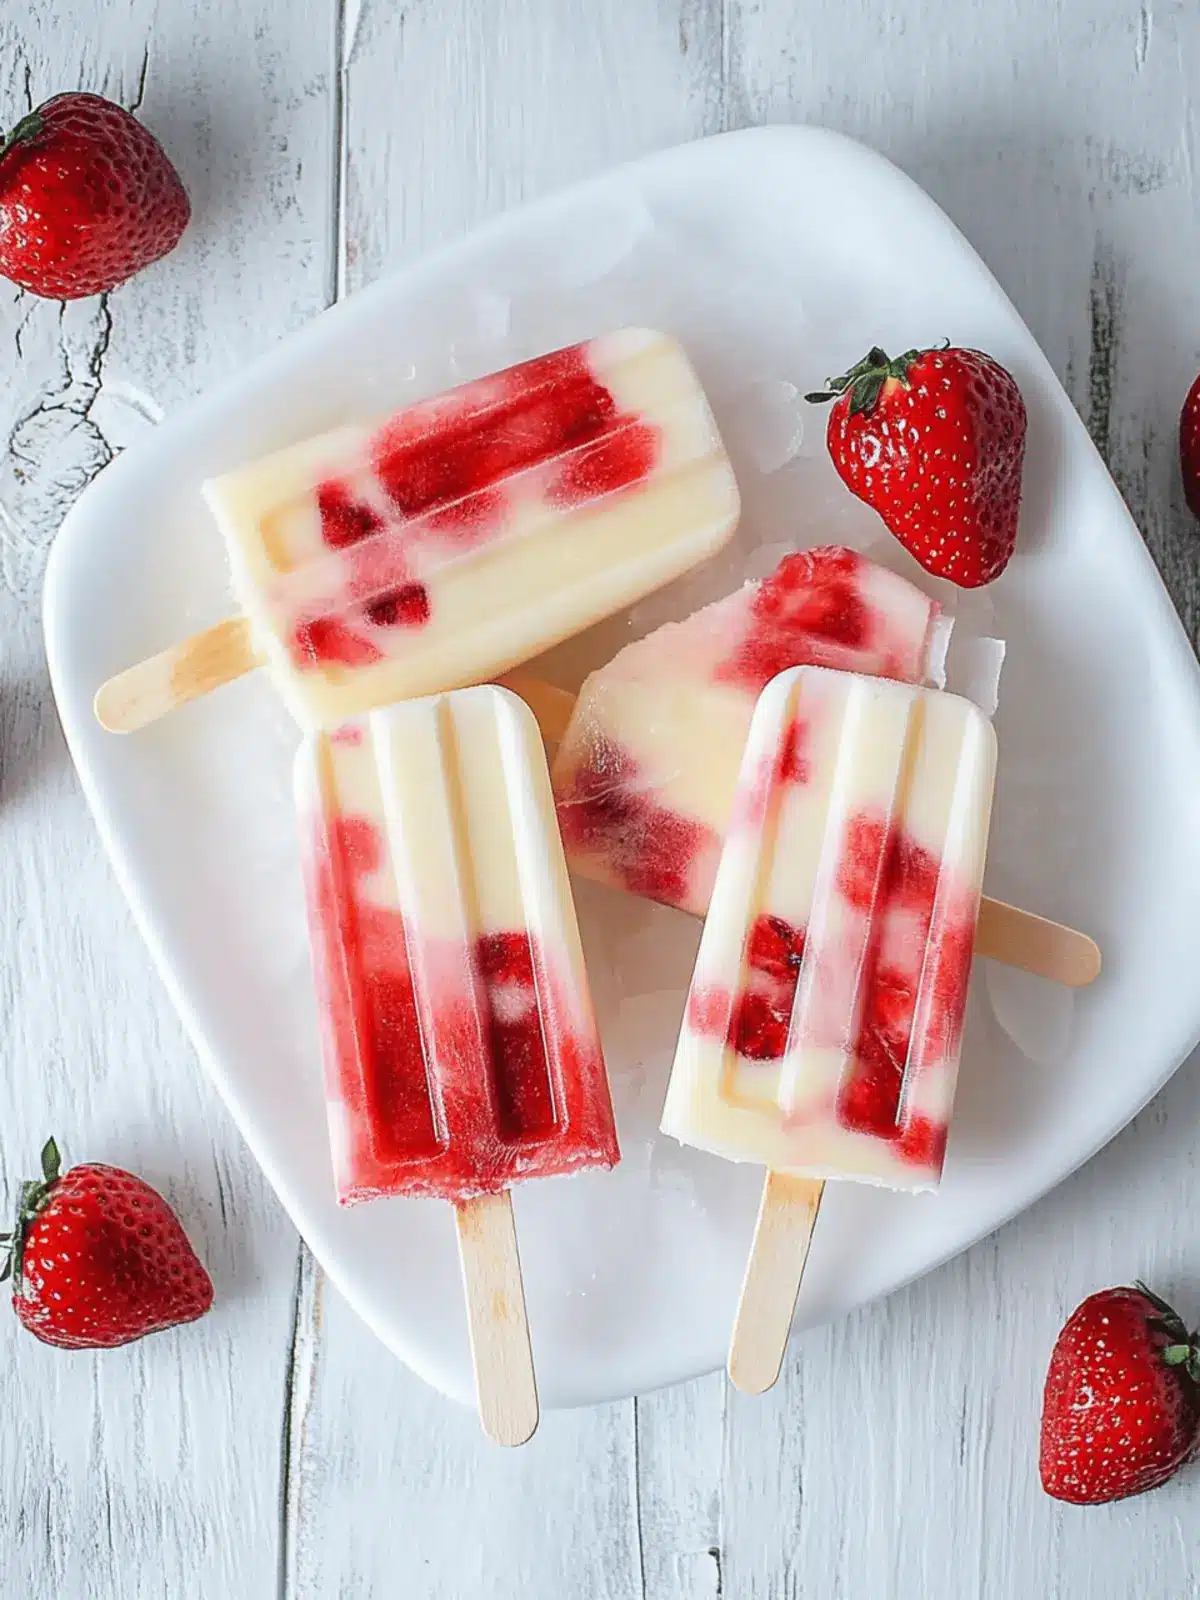
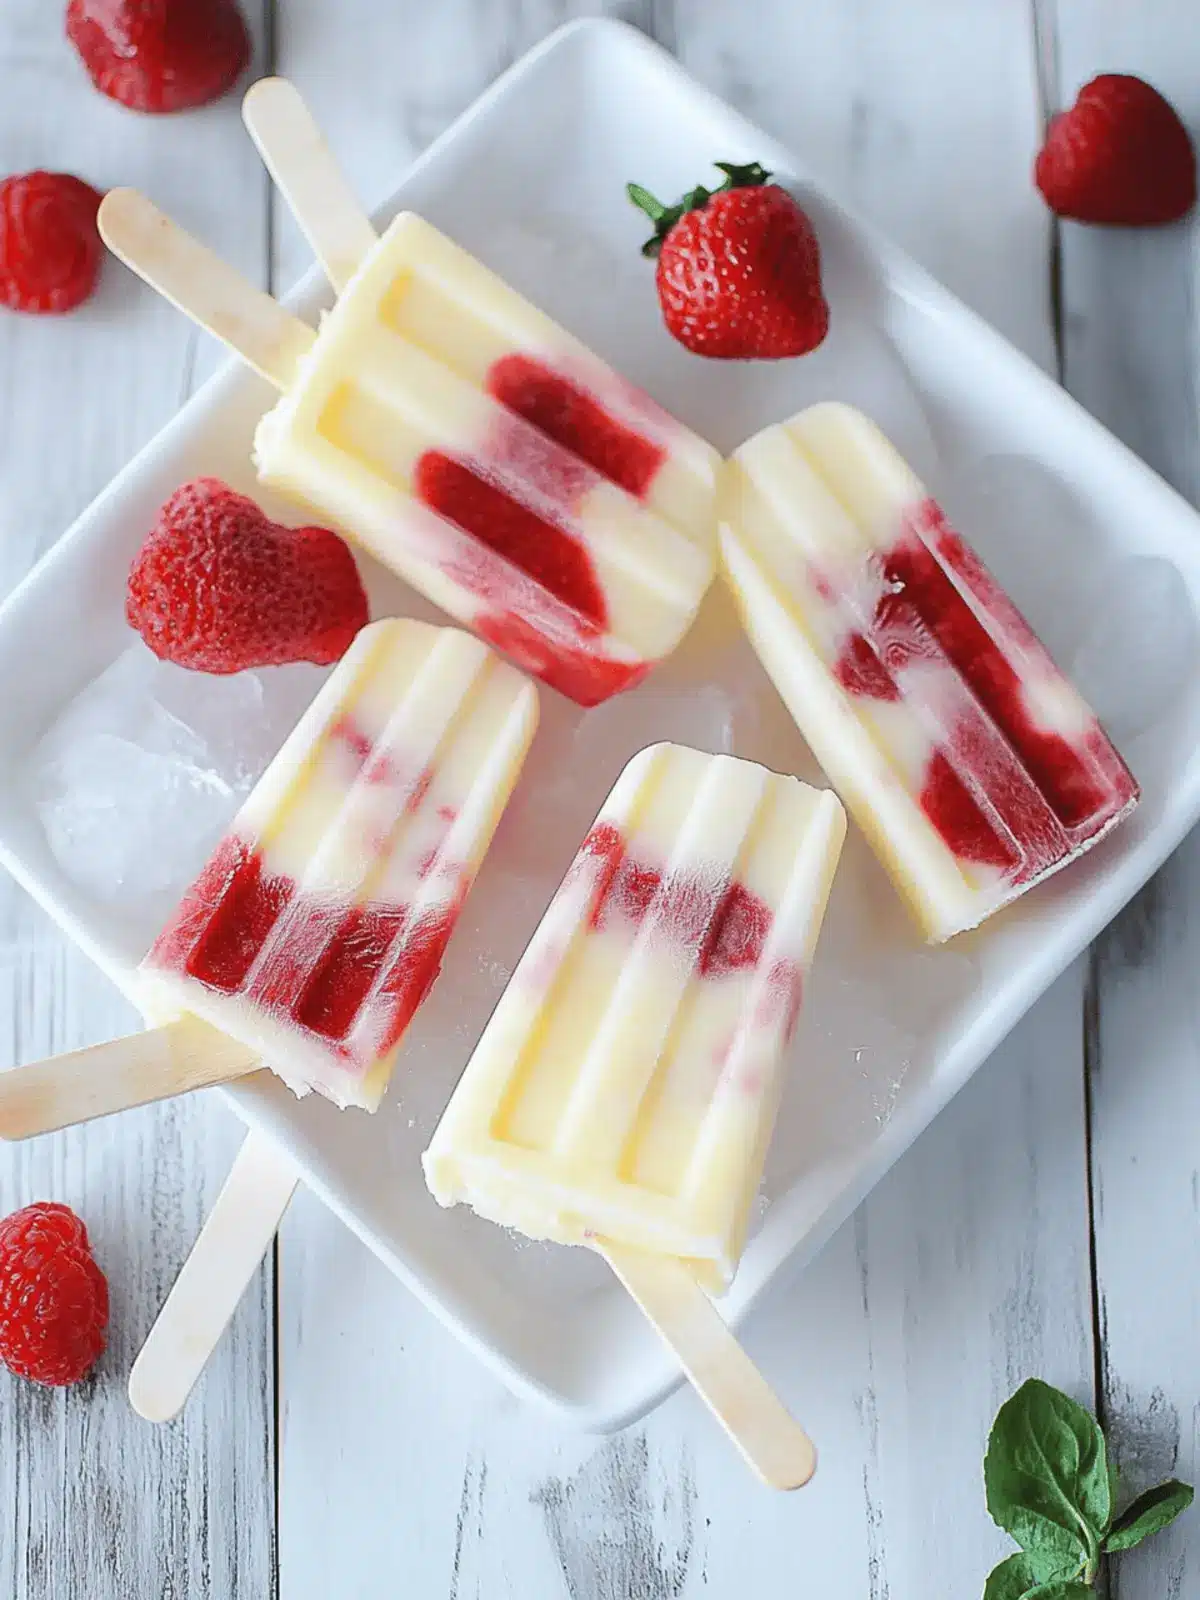
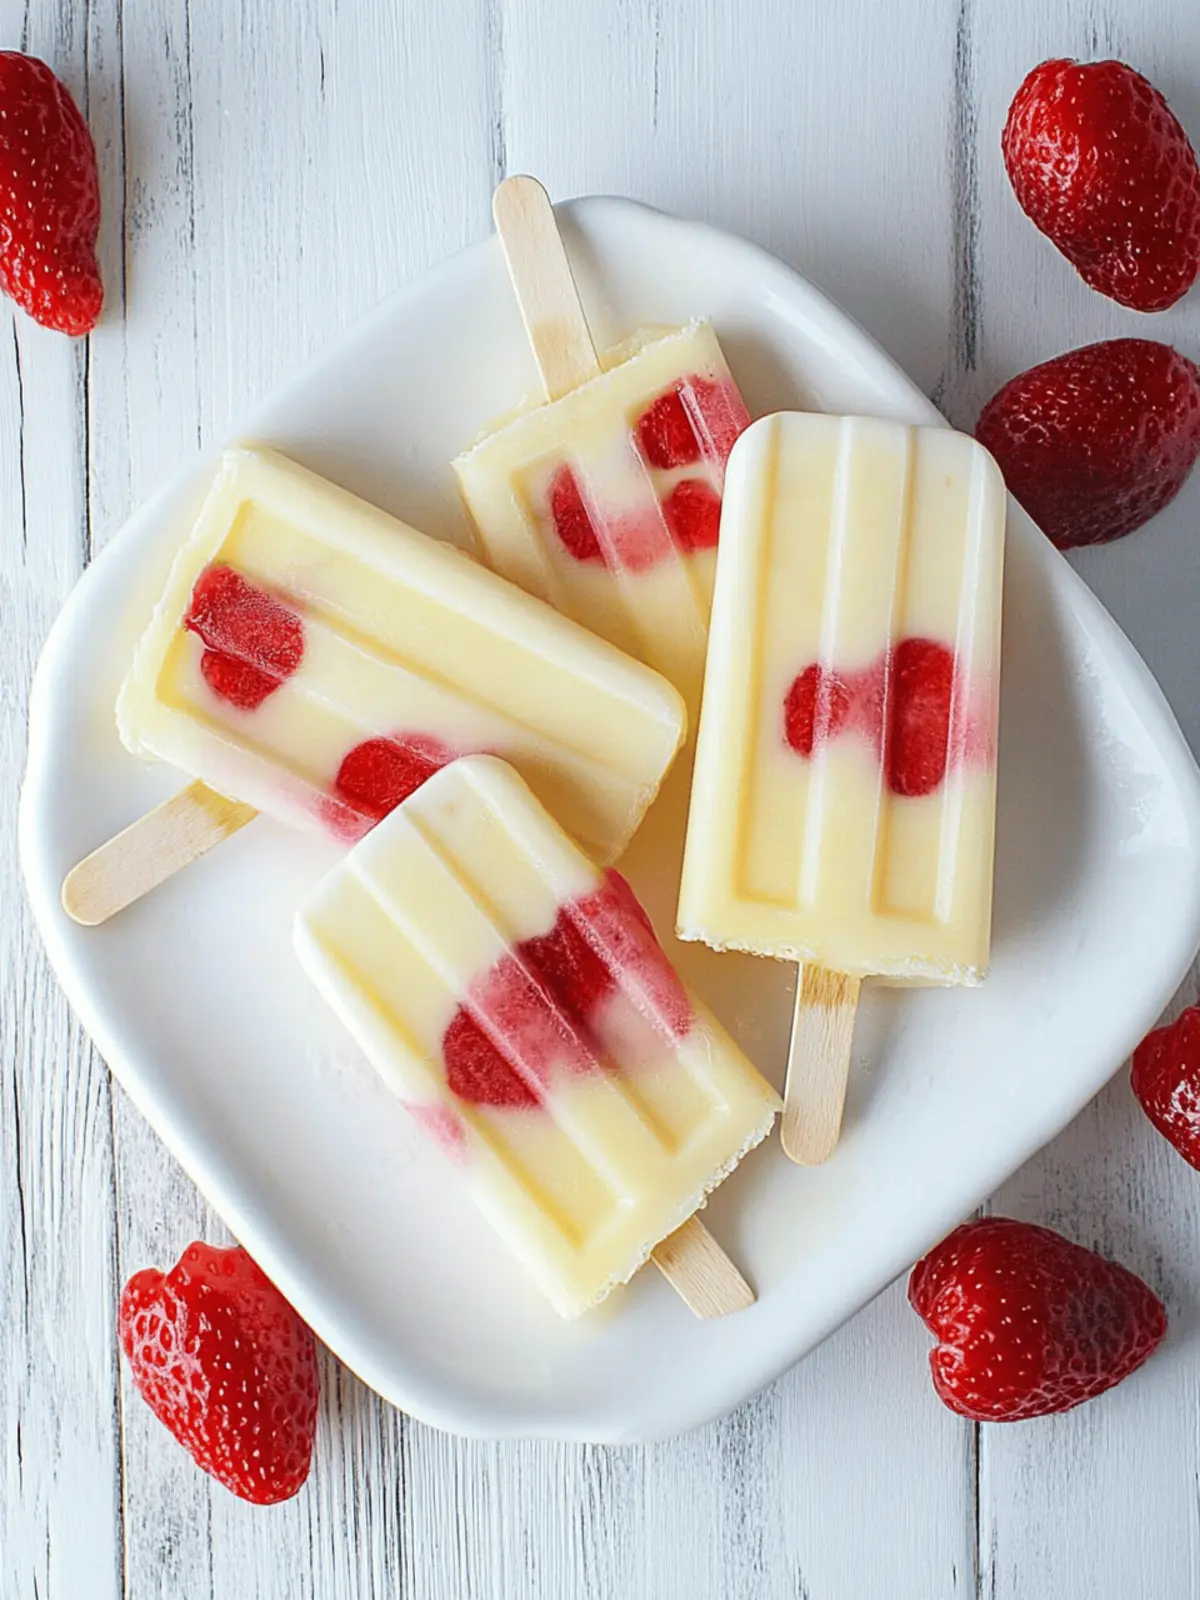
When the summer sun blazes overhead, nothing beats the simple joy of a refreshing iced treat. I discovered the magic of cheesecake popsicles during a sweltering afternoon, when I craved something sweet yet light to cool me down. With a few ingredients and a dash of creativity, I whipped up these Creamy Strawberry Cheesecake Popsicles that quickly became a household favorite. The combination of ripe strawberries, smooth cheesecake pudding, and a delightful crunch from vanilla wafers creates a flavor explosion you’ll want to savor. Even better, they’re incredibly easy to make and completely customizable, so you can twist them to your liking with any fruit or pudding flavor you love. Say goodbye to sugary store-bought goodies and treat yourself to a homemade delight that’s as fun to make as it is to eat!
Why Will You Love Cheesecake Popsicle?
Deliciousness in Every Bite: These Cheesecake Popsicles offer a creamy, dreamy texture that melts smoothly in your mouth, providing relief from the summer heat.
Endless Customization: Choose from a variety of fruits and pudding flavors to personalize your treats—think delicious peach or decadent chocolate!
Quick and Easy: With just a few ingredients, you can whip up a batch in no time, making them a perfect last-minute dessert for gatherings.
Healthier Alternative: Ditch the store-bought ice creams packed with additives; these homemade popsicles are made with fresh ingredients and can easily be made lighter!
Fun for Everyone: Great for kids and adults alike, these popsicles are sure to be a hit at summer barbecues or simply enjoyed on a sunny afternoon.
Cheesecake Popsicle Ingredients
For the Popsicle Base
- Strawberries – Fresh fruit adds natural sweetness and can be swapped with other berries for a twist in your cheesecake popsicles.
- Sugar – Sweetens your strawberry mixture; consider using honey or a sugar alternative for a lighter option.
- Water – Helps dissolve the sugar; fruit juice can also enhance flavors while creating a fruity base.
- Cheesecake Instant Pudding – Provides rich creaminess; feel free to use vanilla pudding for a different yet delicious flavor.
- Milk – Creates a smooth consistency; opt for almond or oat milk if you prefer non-dairy options.
- Nilla Wafers – Adds a delightful crunch while mimicking a cheesecake crust; graham crackers make a fantastic substitute.
For the Toppings (Optional)
- Whipped Cream – A dollop on top adds a touch of indulgence and creamy goodness.
- Fresh Berries – Enhance the fruity flavors and add a pop of color to your presentation.
- Chocolate Drizzle – A drizzle of melted chocolate elevates these cheesecake popsicles to a whole new level of decadence.
Enjoy creating your own creamy cheesecake popsicle masterpiece—because what’s summer without a cool treat?
How to Make Cheesecake Popsicle
-
Prepare the Strawberries: Start by washing your fresh strawberries thoroughly. Remove the tops and quarter them into bite-sized pieces. This step ensures a delightful burst of strawberry flavor in every popsicle.
-
Dissolve Sugar: In a small saucepan over low heat, mix sugar and water until the sugar dissolves completely—about 3-5 minutes. Add the quartered strawberries and set aside to macerate, allowing the flavors to mingle.
-
Whisk the Pudding: In a mixing bowl, whisk together the cheesecake instant pudding mix and cold milk until smooth and creamy. This will form the luscious base of your popsicles.
-
Combine with Wafer Crumbles: Crush the Nilla Wafers into fine crumbs and fold them gently into the pudding mixture. This adds that signature cheesecake crust texture you’ll love!
-
Layer in Molds: Begin layering your popsicle molds by adding a spoonful of the strawberry mixture first, followed by a layer of the pudding mixture. Repeat until the molds are filled, creating a beautiful marbled effect.
-
Insert Sticks and Freeze: Carefully place popsicle sticks into each mold, ensuring they’re centered. Freeze for a minimum of 8 hours or until the popsicles are solid and ready to enjoy.
-
Serve with Love: When you’re ready to serve, briefly run the molds under warm water to loosen the popsicles before gently pulling them out. Enjoy the refreshing taste of your cheesecake popsicles!
Optional: Top with whipped cream and fresh berries for an extra-stunning presentation.
Exact quantities are listed in the recipe card below.
What to Serve with Cheesecake Popsicle?
Set the scene for summer gatherings with the perfect refreshing dessert that will tantalize your taste buds.
-
Fresh Fruit Salad: A colorful mix of seasonal fruits adds brightness and complements the creamy nature of the popsicles, making for a vibrant dish.
-
Minty Yogurt Dip: This cool, refreshing dip offers a creamy contrast to the popsicles, enhancing the berry flavors while adding a touch of zest.
-
Classic Lemonade: A cheerful glass of lemonade with its tangy sweetness cuts through the richness of the popsicles, creating an inviting balance on hot days.
-
Chocolate-Dipped Pretzels: The salty crunch of these pretzels pairs beautifully with the sweetness of the cheesecake popsicles, providing an enticing flavor contrast.
-
Coconut Sorbet: Light and refreshing, coconut sorbet offers a tropical touch that goes hand-in-hand with the cheesecake flavors, perfect for a summer escape.
-
Light Berry Cake: Serve a delicate sponge cake topped with more fresh berries alongside the popsicles for a delightful, layered dessert experience that everyone will love.
-
Iced Tea with Mint: The cooling notes of minty iced tea refresh your palate between bites, making it a wonderful beverage choice to accompany these creamy treats.
Make Ahead Options
These Cheesecake Popsicles are ideal for meal prep, saving you precious time on busy days! You can prepare the strawberry mixture and the pudding base up to 24 hours in advance, ensuring the flavors meld beautifully. Simply macerate the quartered strawberries with sugar and water, then store the mixture in an airtight container in the refrigerator. For the pudding, prepare it as directed and keep it covered in the fridge until you’re ready to assemble your popsicles. When you’re set to serve, layer the mixtures in molds and freeze for at least 8 hours to achieve that delightful creamy texture. With these make-ahead tips, you’ll have refreshing treats on hand whenever the craving strikes!
Cheesecake Popsicle Variations
Embrace your creativity and make these cheesecake popsicles uniquely yours with delightful twists and substitutions!
-
Berry Bliss: Substitute strawberries with a mix of blueberries and raspberries for a colorful and tangy burst of flavor. This combination creates a delightful berry surprise in each creamy bite.
-
Tropical Twist: Use mango or kiwi instead of strawberries for a refreshing tropical flair. With these fruits, your popsicles will transport you to a sun-soaked beach with every lick!
-
Chocolate Indulgence: Swap the cheesecake pudding for chocolate pudding and use crushed chocolate cookies in place of Nilla Wafers. This decadent version will satisfy any chocolate lover’s cravings—it’s a true treat!
-
Coconut Dream: Use coconut milk for the pudding base and add shredded coconut for a tropical coconut cheesecake experience. The creamy texture paired with coconut flakes adds a delightful crunch.
-
Nutty Surprise: Incorporate crushed almonds or walnuts into the pudding mixture for added texture and a nutty flavor. These little nuggets of goodness make for a satisfying crunch—perfect for texture lovers!
-
Fruity Swirl: Drizzle in a vibrant fruit puree, like passion fruit or raspberry, into the pudding mix before freezing. This marbled effect not only looks gorgeous but also adds layers of fruity flavor with each bite.
-
Maple Sweetness: Replace sugar with maple syrup for a naturally sweetened twist that adds a lovely depth of flavor. This unique sweetness makes for a delightful variation that everyone will adore!
-
Spicy Kick: Add a pinch of cayenne pepper or cinnamon to the pudding mixture for a warm and surprising kick. This unexpected twist can elevate the entire flavor profile and intrigue adventurous taste buds!
How to Store and Freeze Cheesecake Popsicles
Fridge: Store any leftover popsicles in an airtight container for up to 3 days, although they are best enjoyed fresh.
Freezer: For longer storage, keep the cheesecake popsicles in their molds or an airtight container for up to 2 weeks. This helps retain their creamy texture.
Thawing: When you’re ready to indulge, let the popsicles sit at room temperature for a few minutes or run warm water over the molds to loosen before enjoying.
Customize & Store: If you’ve made variations of cheesecake popsicles, label your containers for easy identification in the freezer, ensuring each delicious flavor is ready to delight!
Expert Tips for Cheesecake Popsicle
-
Prep Your Strawberries: Ensure your strawberries are well-washed and cut into small pieces to prevent any gritty texture in your cheesecake popsicles.
-
Adjust Sweetness: Taste your strawberry mixture before layering—feel free to add more sugar or substitute with honey for a lighter flavor!
-
Silicone Molds: Using silicone molds not only makes for easier popsicle removal but also ensures even freezing and great shapes that’ll impress your guests!
-
Mix It Up: Don’t hesitate to experiment with different fruits and pudding flavors to discover your favorite combination; the possibilities are endless!
-
Storage Tips: Store your cheesecake popsicles in an airtight container in the freezer for up to two weeks to keep them fresh and delicious!
Cheesecake Popsicle Recipe FAQs
What type of strawberries should I use for the cheesecake popsicles?
Absolutely! I recommend using fresh, ripe strawberries for the best flavor. Look for berries that are bright red and firm, avoiding those with dark spots or mold. If strawberries aren’t available, you can easily substitute them with blueberries or raspberries for a delightful twist.
How do I store leftovers and how long will they last?
To keep your cheesecake popsicles fresh, store any leftovers in an airtight container in the freezer for up to 2 weeks. If you want to keep them for longer, be careful; while they may remain safe beyond this timeframe, the texture and flavor might start to degrade. Enjoy them as soon as possible for the best taste!
Can I freeze these popsicles, and how?
Of course! This recipe is perfect for freezing. After filling the molds with your popsicle mixture, insert sticks and freeze for at least 8 hours, or until they are solid. To ensure they maintain their integrity, I suggest wrapping them in plastic wrap or placing them in a freezer-safe container for longer storage.
What should I do if my popsicles stick to the molds?
If you’re struggling to remove your cheesecake popsicles from the molds, don’t fret! Simply run the molds under warm water for about 15-20 seconds. This will help loosen the popsicles without melting them too much, allowing you to pull them out easily. Alternatively, using silicone molds can prevent sticking and make removing the popsicles a breeze.
Are these cheesecake popsicles suitable for dietary restrictions?
Very! You can easily adapt this recipe to fit various dietary needs. For dairy-free options, select non-dairy milk and pudding, and remember to check if the cookies (Nilla Wafers) are vegan. If you’re watching your sugar intake, consider using sugar substitutes or reducing the amount of sugar in the strawberry mixture. Just be sure to double-check ingredient labels as you customize!
How can I enhance the flavor of my cheesecake popsicles?
Great question! To amplify the flavor, you can add a splash of lemon juice or vanilla extract to the pudding mix; this intensifies the cheesecake profile beautifully. For added texture, do not hesitate to fold in additional fruit purees or even crushed cookies. The more, the merrier—let your creativity shine!
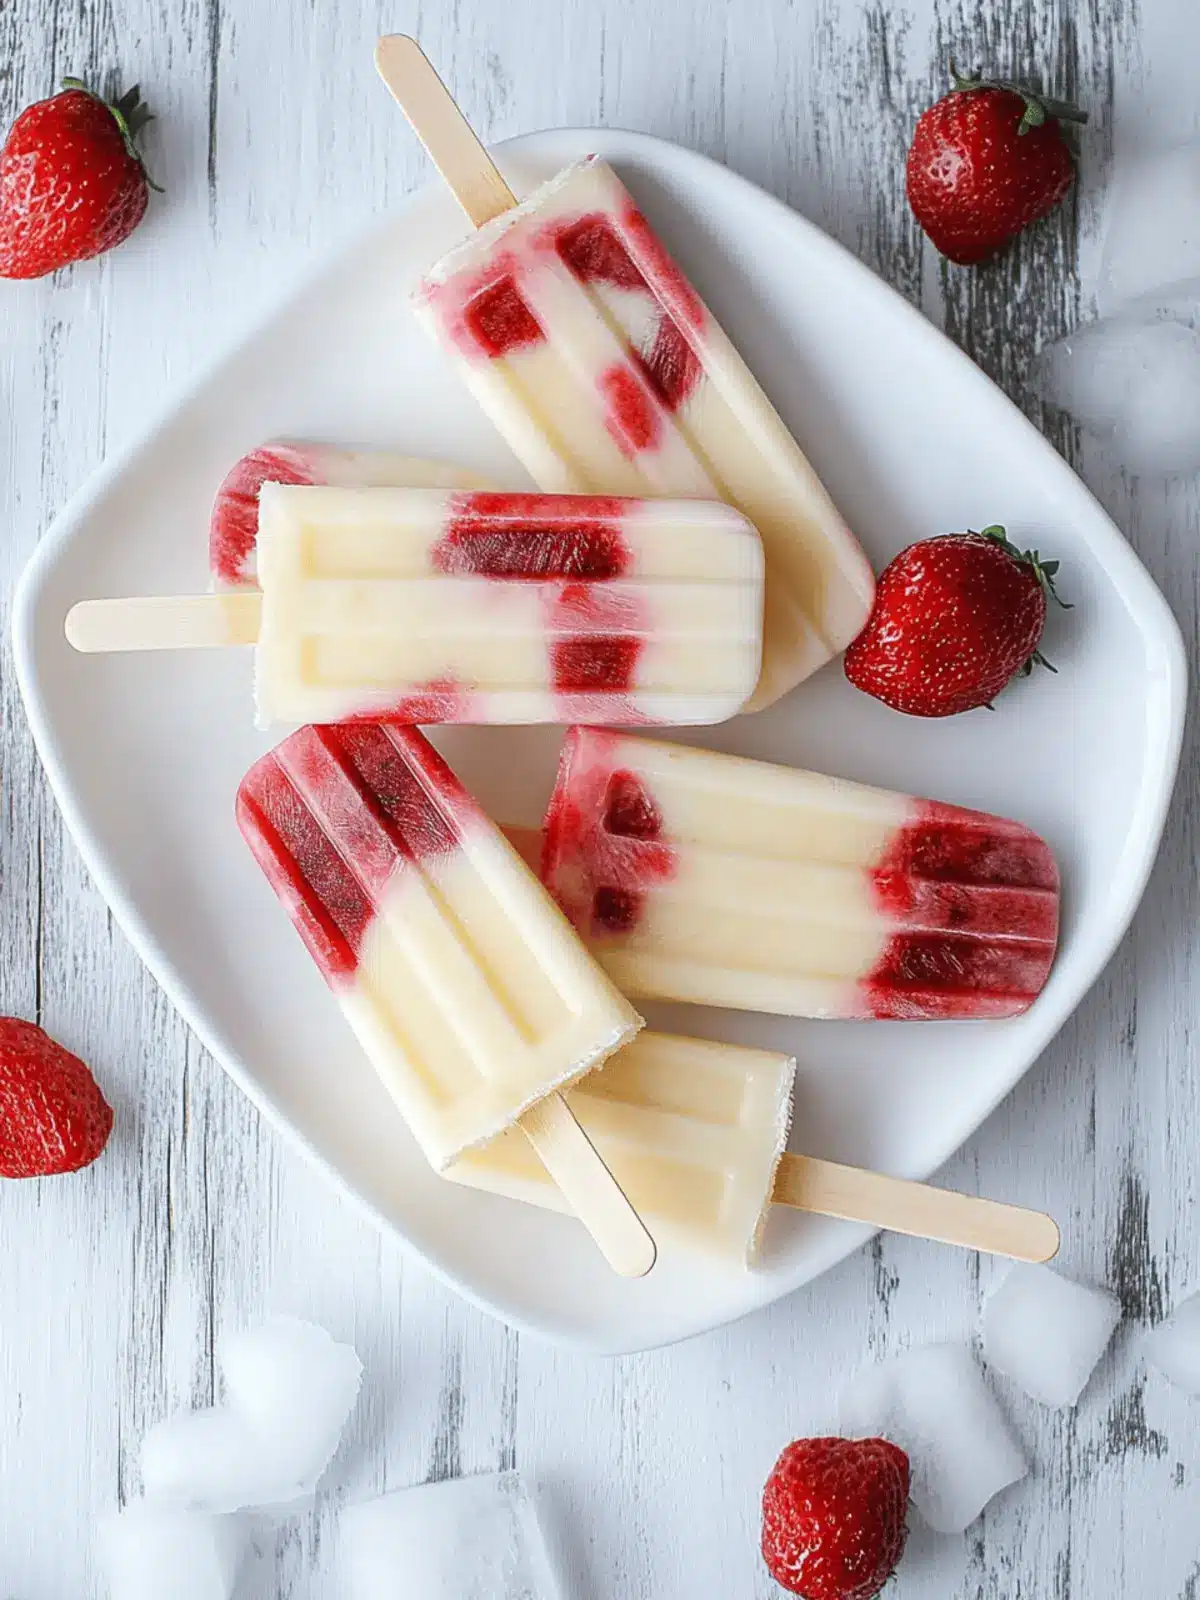
Creamy Cheesecake Popsicles with Fresh Berry Bliss
Ingredients
Equipment
Method
- Wash strawberries thoroughly, remove tops, and quarter them.
- In a small saucepan over low heat, mix sugar and water until dissolved. Add strawberries and set aside.
- In a mixing bowl, whisk together pudding mix and cold milk until smooth.
- Crush Nilla Wafers and gently fold into pudding mixture.
- Layer molds with strawberry mixture followed by pudding mix until filled.
- Insert sticks and freeze for at least 8 hours.
- Briefly run molds under warm water to loosen before serving.
- Top popsicles with whipped cream and fresh berries before serving.

