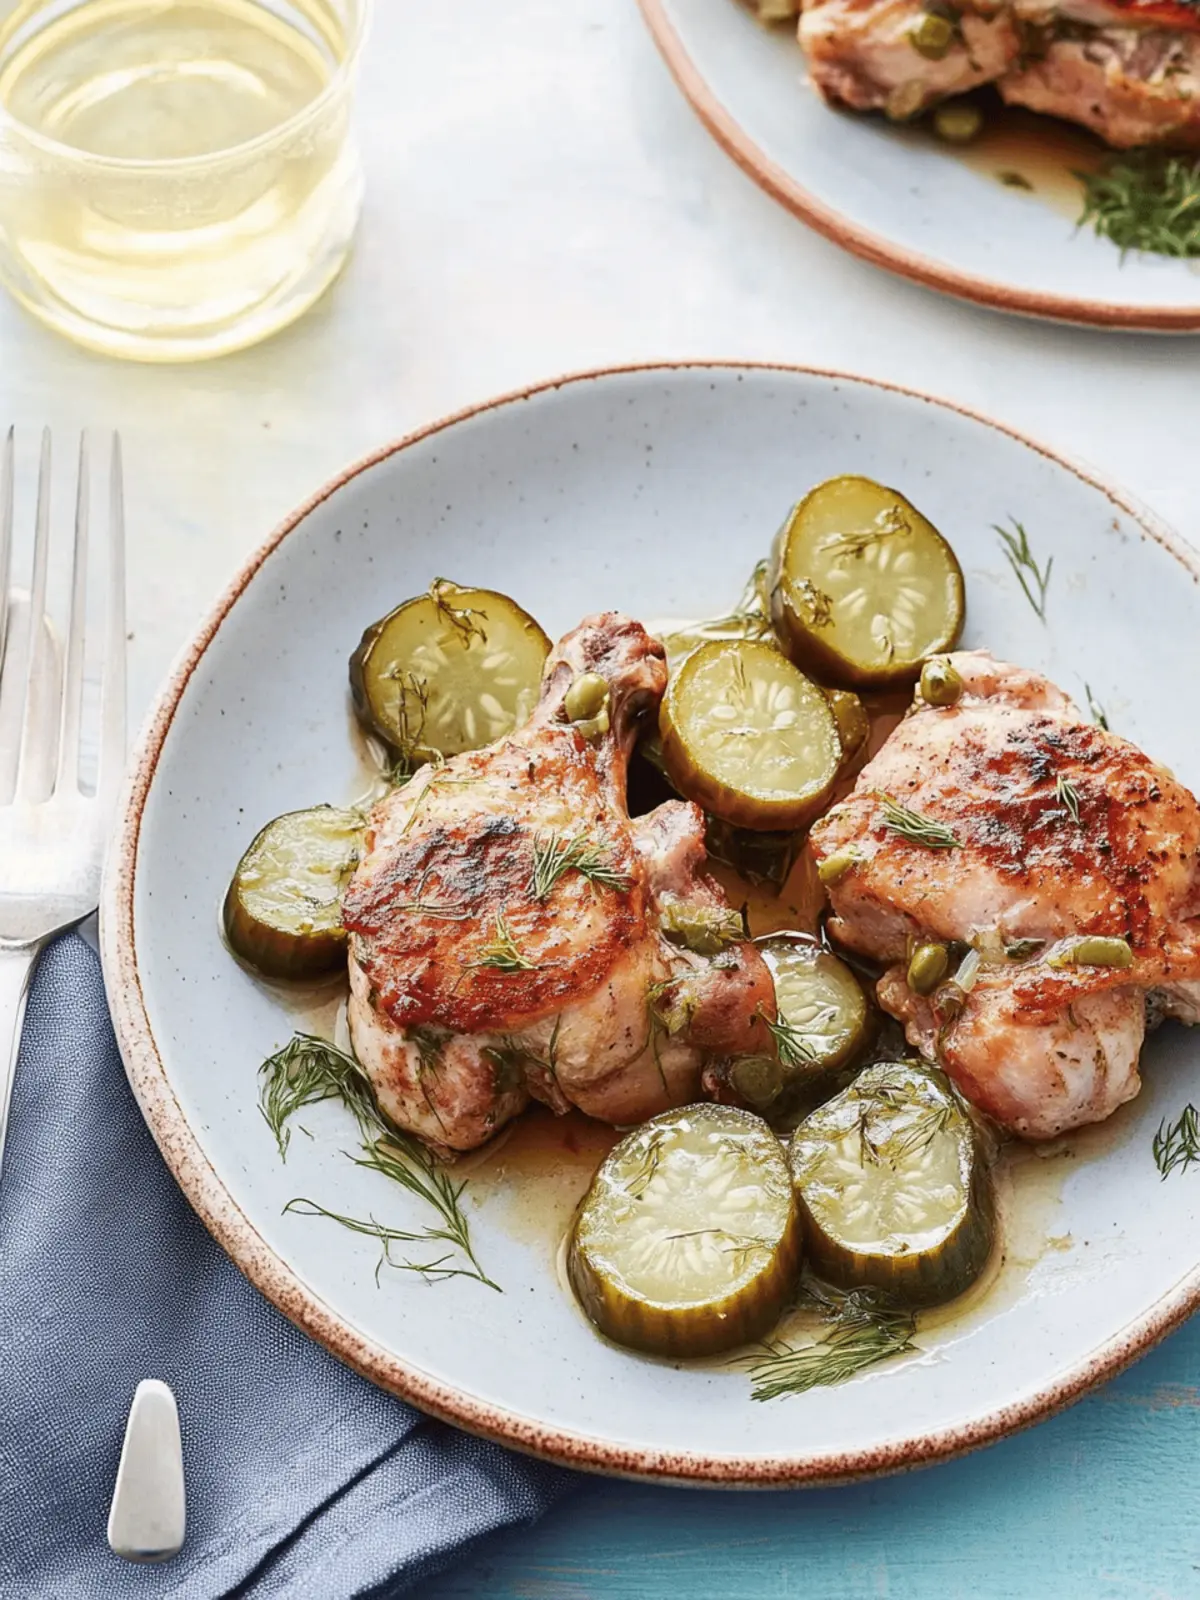
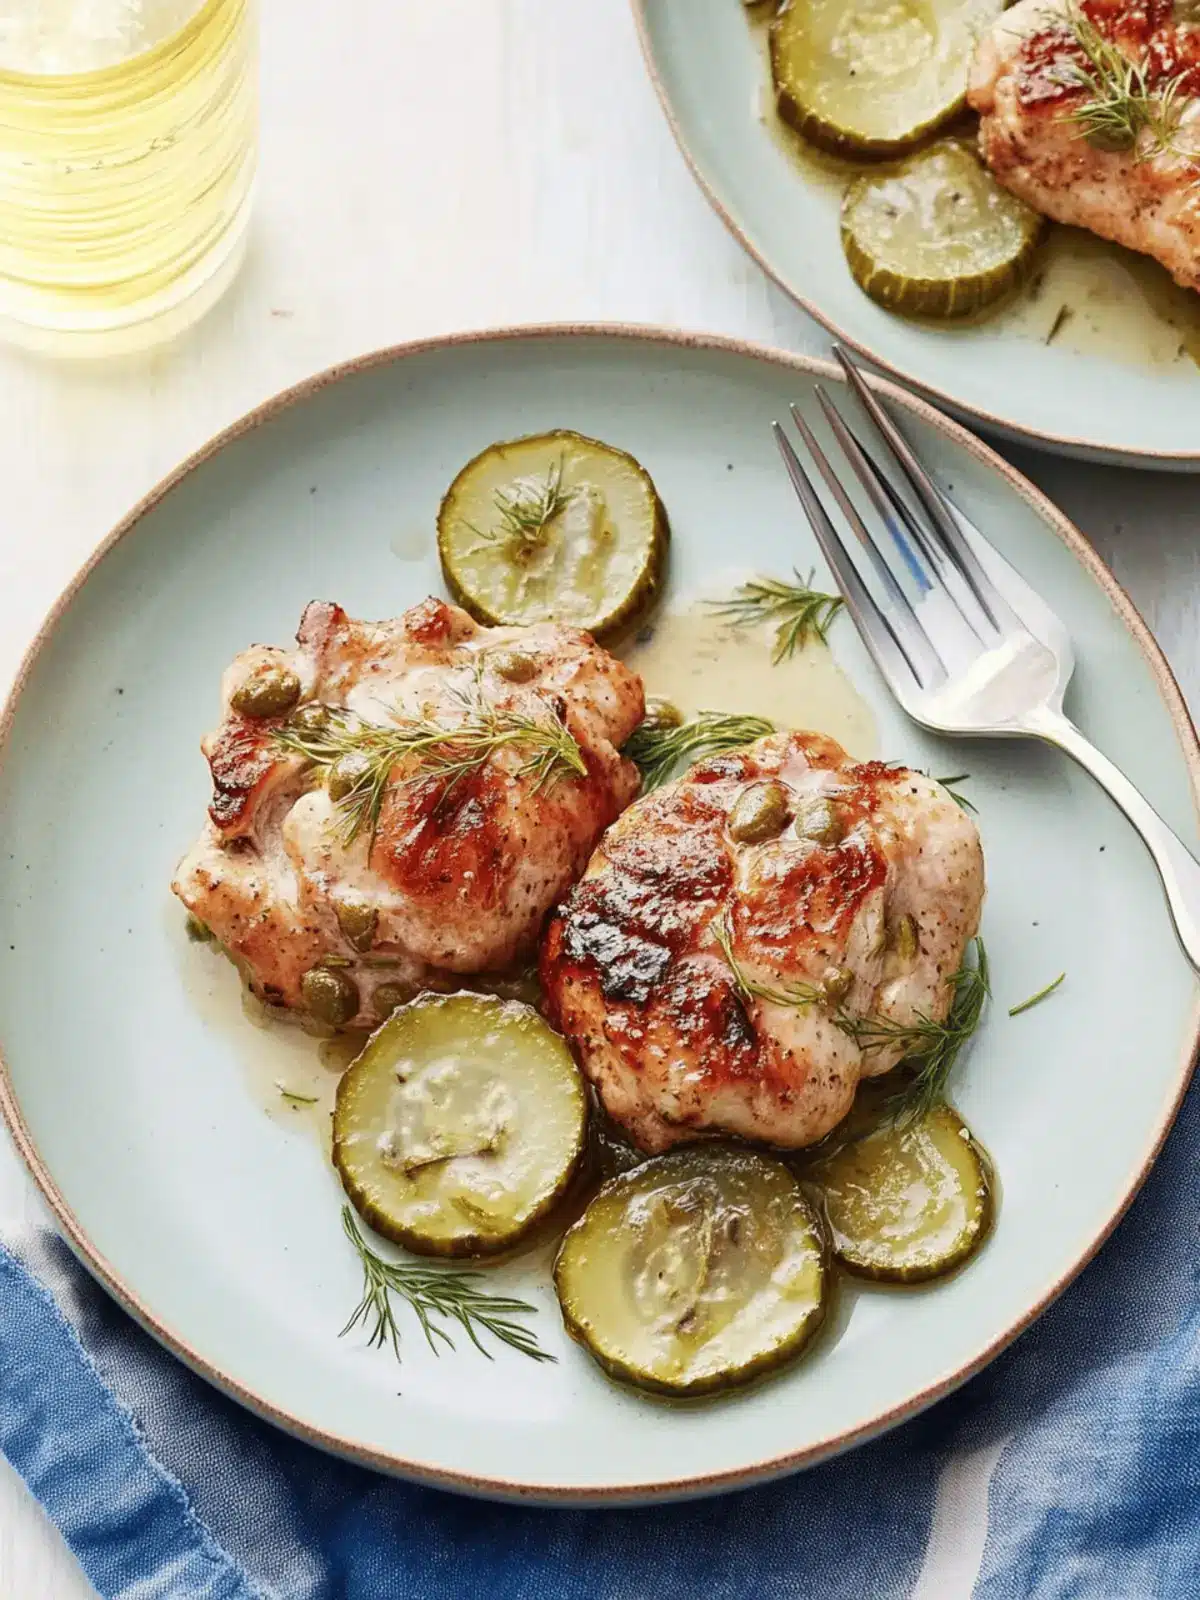
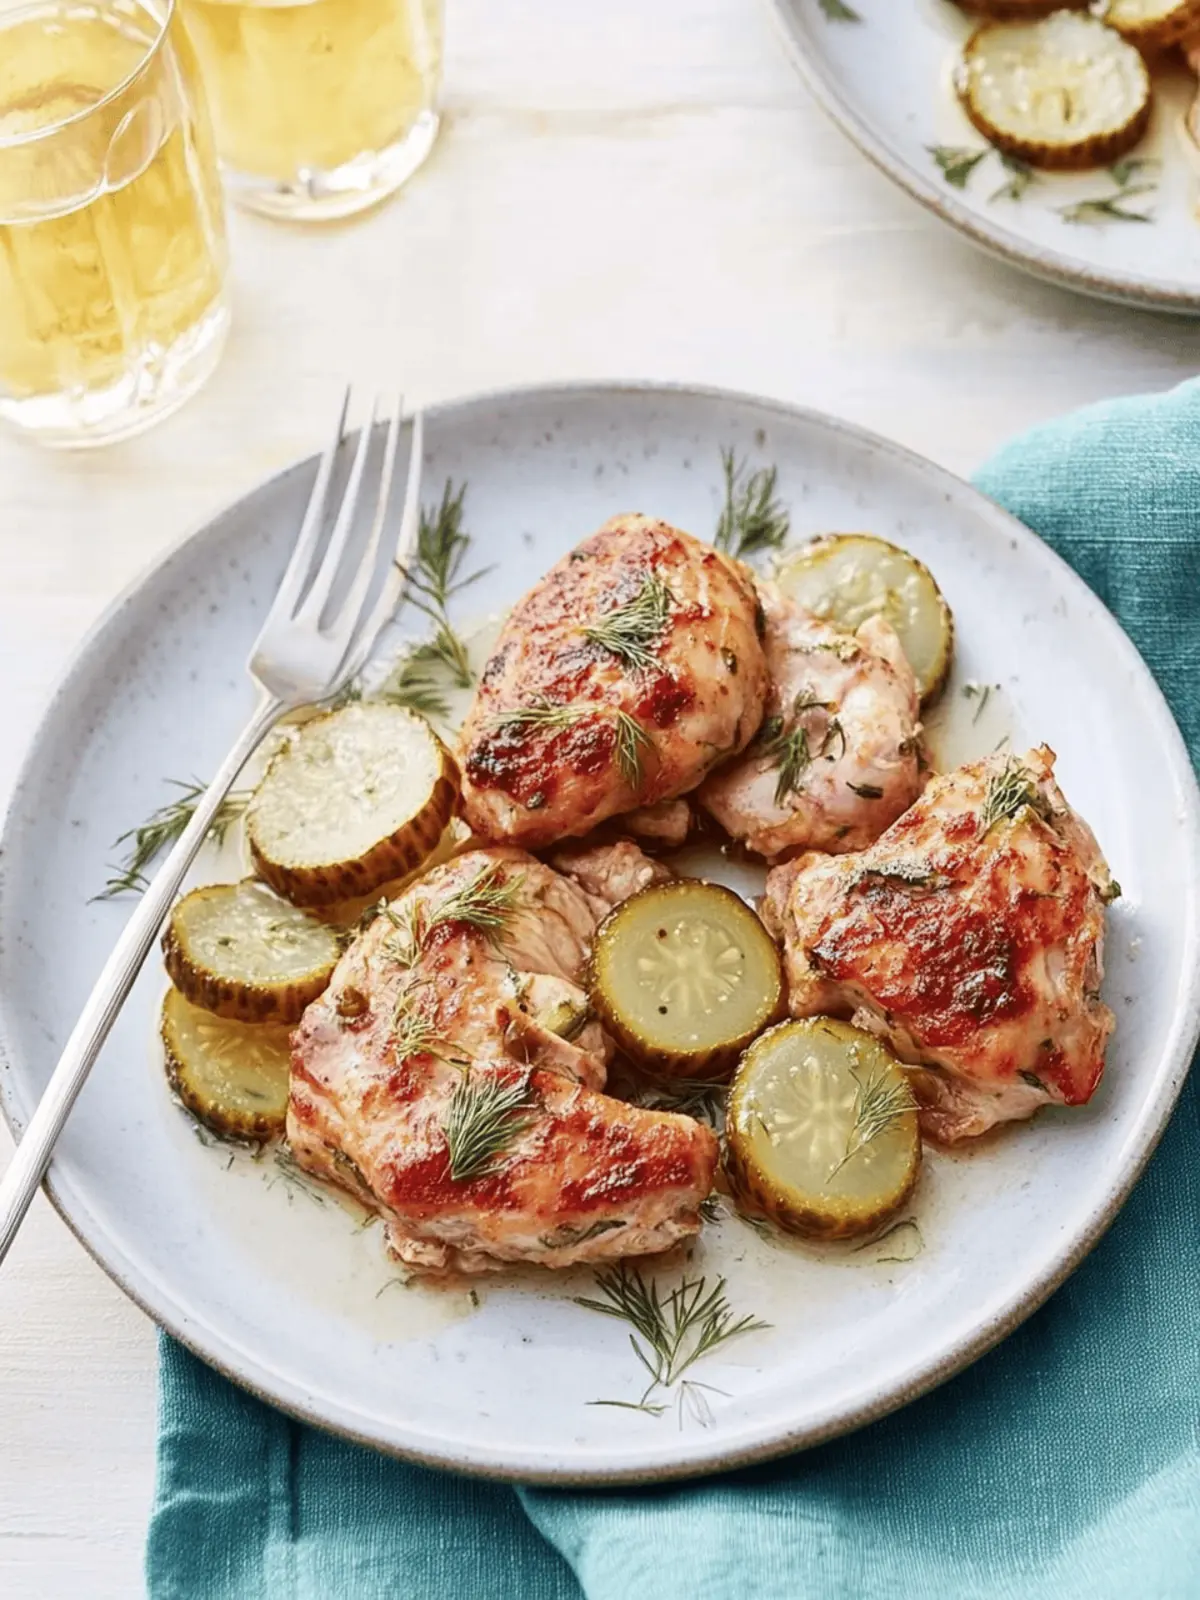
There’s something invigorating about the bold tang of Dill Pickle Chicken that can turn any meal into a delight. Picture this: a hectic weeknight where the same old options leave you uninspired. Instead of reaching for yet another takeout menu, grab that jar of pickle juice lurking in your fridge. This recipe transforms humble chicken thighs into a zingy sensation that’s packed with flavor, perfect for anyone bored with fast food and eager for homemade goodness.
With a quick brining process that takes just a few hours, you can savor a dish that’s not only low-carb and high-protein but also gluten-free, making it a versatile choice for any dinner table. Every bite of this chicken bursts with zesty flavor and juicy tenderness, making it an instant crowd-pleaser. So, let’s dive into this unique one-ingredient brine recipe that will leave both your taste buds and your family impressed!
Why will you love Dill Pickle Chicken?
Bold, Zesty Flavor: The tanginess of pickle brine infuses each bite with a refreshing twist that elevates traditional chicken dishes.
Quick Preparation: Brining takes just a few hours, making it ideal for busy weeknights when you crave something tasty without the effort.
Low-Carb and High Protein: This dish fits seamlessly into your healthy eating plan, offering a wholesome and satisfying meal that won’t derail your diet.
Versatile Dining Options: Serve it in sandwiches, salads, or as a main dish alongside grilled vegetables for a fabulous, well-rounded meal.
Crowd-Pleaser: With its unique flavor profile, Dill Pickle Chicken is bound to be a hit at your table, perfect for family dinners or casual gatherings.
Ready to impress with this delightful recipe? Check out more of my easy chicken ideas for more home-cooked inspiration!
Dill Pickle Chicken Ingredients
• Get ready to bring out the zing in your meals!
For the Chicken
- Boneless, Skinless Chicken Thighs – Choose dark meat for juicier results that absorb the brine beautifully.
For the Brine
- Pickle Brine – Use from a 32-ounce jar or larger; if available, substitute with homemade brine for an extra punch of flavor.
- Kosher Salt – Enhances flavor; make sure to adjust based on the salinity of your brine for best results.
- Freshly Ground Black Pepper – Adds warmth; feel free to substitute with other pepper varieties to tailor the spice level to your taste.
For Garnish (optional)
- Diced Pickles – Adds a delightful crunch; omit if a smoother presentation is desired.
- Chopped Fresh Dill – Fresh herb for that extra pop; if fresh isn’t available, dried dill works as a substitute.
How to Make Dill Pickle Chicken
-
Brine the Chicken: Place boneless, skinless chicken thighs in a shallow dish and cover with pickle brine. Refrigerate for 2 to 8 hours, allowing the flavors to soak in deeply.
-
Preheat the Oven: Set your oven to 425°F (220°C) and arrange a baking rack in the middle. A hot oven is key to getting that lovely golden-brown finish.
-
Prepare the Chicken: After brining, drain the chicken and pat dry with paper towels. Season each thigh generously with kosher salt and freshly ground black pepper on both sides.
-
Roast the Chicken: Arrange the seasoned thighs in a single layer in a baking dish. Roast for about 20 minutes or until the internal temperature reaches 165°F (75°C), ensuring perfectly juicy chicken.
-
Rest the Chicken: Once done, cover the baking dish with foil and allow the chicken to rest for 10 minutes. This helps keep the moisture locked in, ready for serving!
Optional: For an extra touch, garnish with diced pickles and fresh dill before serving.
Exact quantities are listed in the recipe card below.
Expert Tips for Dill Pickle Chicken
-
Submerge Completely: Ensure the chicken is fully immersed in the brine. This guarantees each piece absorbs the tangy flavors evenly for a juicy bite.
-
Use a Meat Thermometer: Avoid overcooking by checking the internal temperature. Chicken should reach 165°F (75°C) for perfect, tender meat without dryness.
-
Adjust Salt Levels: If your brine is particularly salty, consider rinsing the chicken before seasoning. This step helps balance flavors and prevents overpowering saltiness.
-
Experiment with Cooking Times: For chicken breasts, reduce roasting time slightly compared to thighs, as they cook faster. Adjust timing accordingly to maintain tenderness.
-
Customize Flavor: Feel free to add red pepper flakes to the brine for a spicy twist! This personal touch enhances the already bold flavor of Dill Pickle Chicken.
Make Ahead Options
These Dill Pickle Chicken thighs are a fantastic option for meal prep enthusiasts! You can brine the chicken in pickle juice up to 8 hours in advance, allowing the flavors to infuse deeply. For optimal flavor, refrigerate the chicken while it marinates. If you’d like to prep further ahead, seasoned chicken thighs can be stored in the fridge for up to 24 hours before roasting. On the day you’d like to serve, simply preheat your oven to 425°F (220°C), arrange the chicken, and roast for about 20 minutes until they reach an internal temperature of 165°F (75°C). This ensures quick, tasty dinners are just a few simple steps away, offering you the convenience of homemade goodness even on your busiest days!
What to Serve with Dill Pickle Chicken?
The delightfully tangy flavors of this dish open a world of delicious sides that will elevate your meal to new heights.
- Creamy Coleslaw: A crunchy and refreshing side that balances the savory profile of the chicken, enhancing its zingy flavor perfectly.
- Roasted Vegetables: Tossed in olive oil and herbs, they provide a lovely contrast in texture and round out your meal beautifully.
- Garlic Mashed Potatoes: Rich and creamy, these potatoes add a comforting touch while soaking up the delightful juices from the chicken.
- Cucumber Salad: Light and fresh, this salad highlights the pickle theme and adds a crisp texture that’s refreshing to the palate.
- Baked Sweet Potato Fries: The sweetness complements the tanginess of the chicken, creating an enjoyable flavor contrast with every bite.
- Cheesy Garlic Bread: Satisfying and indulgent, this bread is perfect for mopping up any leftover juices from your plate.
- Iced Tea or Lemonade: A cold beverage, like unsweetened iced tea or zesty lemonade, serves as the ideal refreshment to cut through the richness of the chicken.
Each of these choices brings a unique flair to your meal, ensuring that your Dill Pickle Chicken shines brightly on the table!
How to Store and Freeze Dill Pickle Chicken
Fridge: Store leftover Dill Pickle Chicken in an airtight container for up to 4 days. To retain moisture, be sure to cover it well before refrigerating.
Freezer: If you’d like to keep it longer, freeze the cooked chicken in a freezer-safe bag for up to 3 months. Make sure to remove excess air to prevent freezer burn.
Reheating: When ready to enjoy, thaw in the refrigerator overnight, then reheat gently in the oven at 350°F (175°C) until warmed through, ensuring the chicken remains moist and flavorful.
Storing Brine: If you have leftover pickle brine, store it in the fridge for various culinary uses—it’s perfect for other meats or even salad dressings!
Dill Pickle Chicken Variations
Explore these delightful twists on the classic Dill Pickle Chicken and make it your own!
-
Spicy Kick: Add red pepper flakes to the brine for a zesty heat that ignites the taste buds. Perfect for those who crave an extra layer of flavor!
-
Different Pickle Flavors: Swap out regular pickle brine for dill, bread-and-butter, or garlic-flavored brine to reinvent the taste. Each variation adds its unique touch!
-
Chicken Breasts: For a leaner option, substitute thighs with boneless, skinless chicken breasts. Just remember to adjust the cooking time for optimum tenderness.
-
Herb Infusion: Toss in fresh herbs like thyme or rosemary along with the dill for a fragrant herbaceous twist that elevates the overall taste.
-
Citrus Zest: Add a splash of lemon or lime juice to the brine to introduce a bright, citrusy tang that perfectly complements the savory chicken.
-
Sweet Addition: Incorporate a tablespoon of honey or maple syrup into the brine for a slight sweetness that balances the tanginess beautifully.
-
Smoke Flavor: Use smoked salt instead of kosher salt in the seasoning step for a rich, smoky flavor that makes for a truly enticing dish.
-
Vegetable Medley: Roast some sliced bell peppers, onions, or asparagus alongside the chicken for a colorful, wholesome side that adds great texture to your meal.
Feel free to experiment and find your favorite combination that tantalizes your taste buds!
Dill Pickle Chicken Recipe FAQs
How do I choose the best chicken thighs for this recipe?
Absolutely! When selecting chicken thighs, look for those that are plump and free of any dark spots or discoloration. Dark meat tends to remain juicier and more flavorful when brined, so aim for organic or free-range options when available for the best taste.
How should I store leftover Dill Pickle Chicken?
Leftovers can be kept in an airtight container in the refrigerator for up to 4 days. Make sure to cover it well to retain moisture. If you’re storing it for longer, refrigerate any sliced portions separately to prevent them from drying out.
Can I freeze Dill Pickle Chicken?
Yes, you can freeze cooked chicken! To keep it fresh, place the chicken in a freezer-safe bag, ensuring you remove all excess air. It can be stored for up to 3 months. When you’re ready to enjoy, thaw it in the fridge overnight and reheat gently in the oven.
What should I do if the chicken is too salty after brining?
Very! If you find your chicken is too salty after brining, rinse it under cold water and pat it dry before cooking. This quick rinse helps to remove any excess salt while still retaining that delicious pickle flavor. Additionally, check the salt levels in the brine before submerging the chicken, and if it’s on the saltier side, be cautious with added salt when seasoning.
Can my pets eat Dill Pickle Chicken?
That’s a great question! While chicken itself is safe for most pets, the pickle brine contains vinegar and salt, which may not be suitable for them. It’s always best to serve your furry friends plain, cooked chicken without any seasoning or brine.
What are some common troubleshooting tips for this recipe?
If you’re finding the chicken isn’t as flavorful as you’d like, ensure it was fully submerged in the brine. Without complete immersion, some areas might miss out on the zesty flavor. Additionally, using a meat thermometer helps prevent overcooking, which can lead to dryness. Always check that the internal temperature reaches 165°F (75°C) for optimal juiciness!
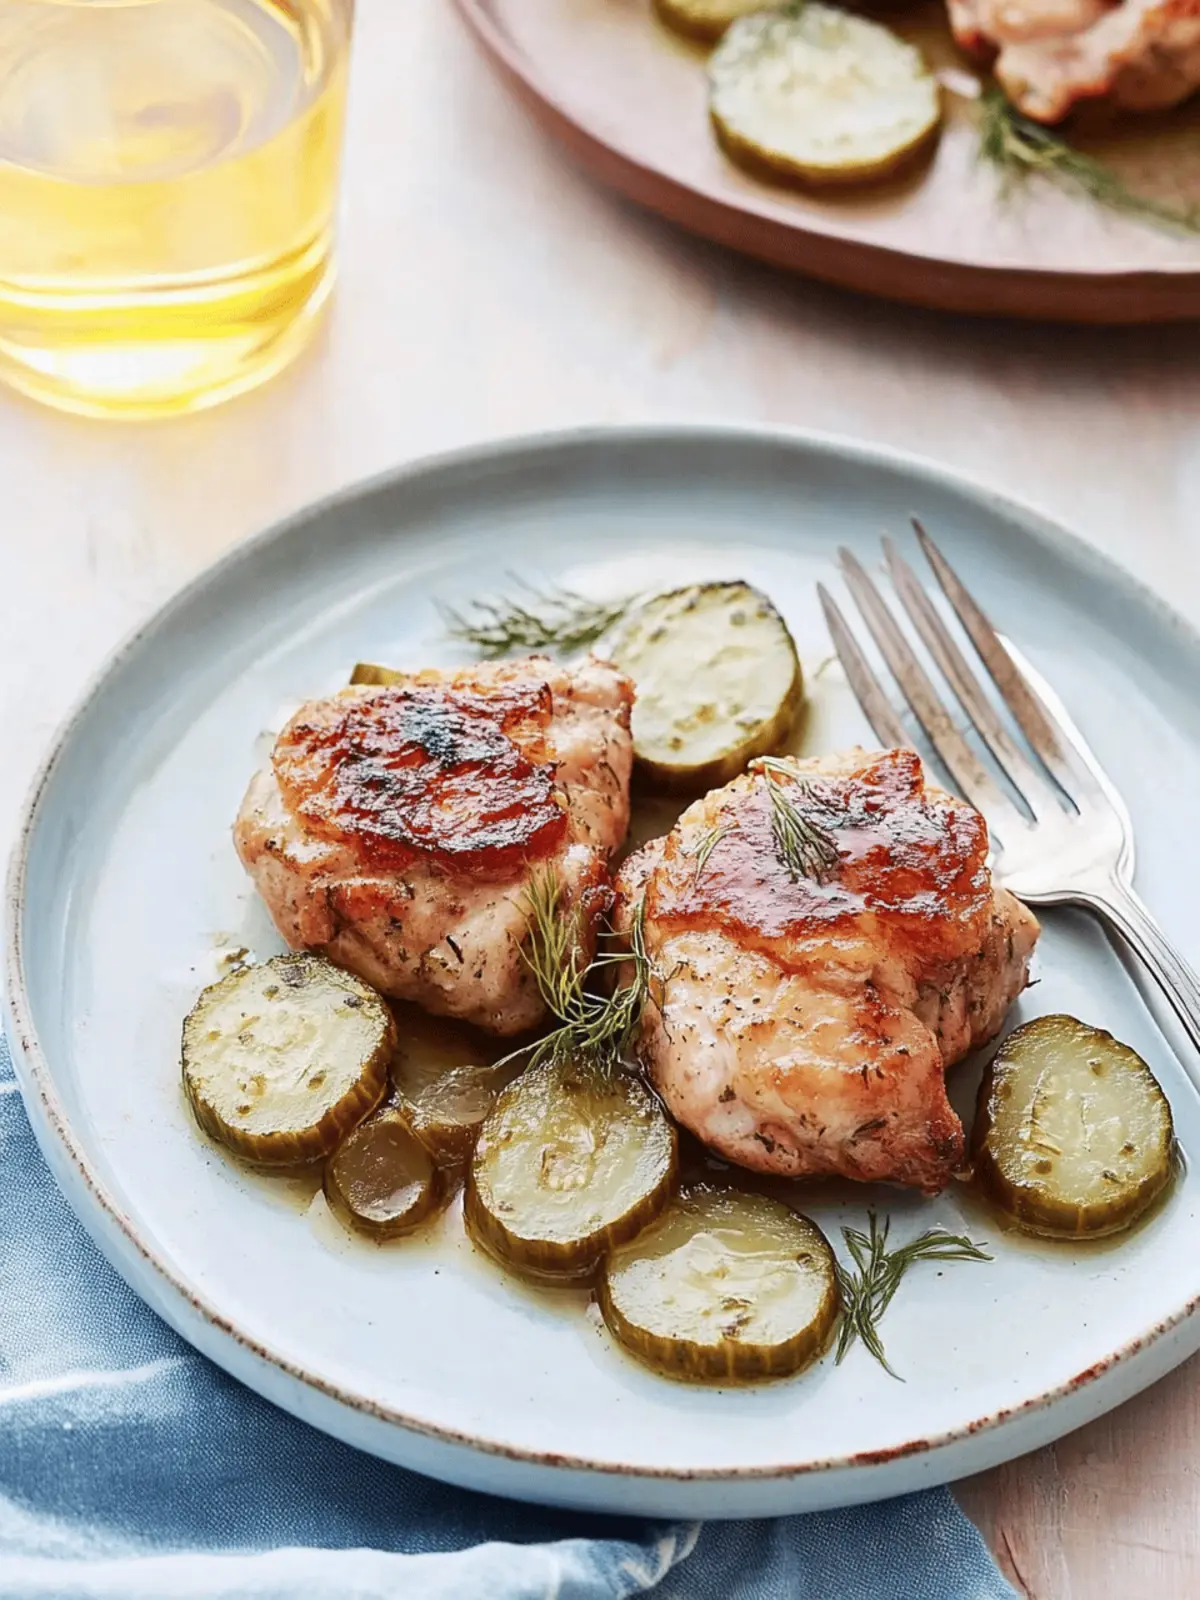
Delicious Dill Pickle Chicken: A Zesty Twist for Dinner
Ingredients
Equipment
Method
- Brine the Chicken: Place boneless, skinless chicken thighs in a shallow dish and cover with pickle brine. Refrigerate for 2 to 8 hours, allowing the flavors to soak in deeply.
- Preheat the Oven: Set your oven to 425°F (220°C) and arrange a baking rack in the middle.
- Prepare the Chicken: After brining, drain the chicken and pat dry with paper towels. Season each thigh generously with kosher salt and freshly ground black pepper on both sides.
- Roast the Chicken: Arrange the seasoned thighs in a single layer in a baking dish. Roast for about 20 minutes or until the internal temperature reaches 165°F (75°C).
- Rest the Chicken: Once done, cover the baking dish with foil and allow the chicken to rest for 10 minutes.
- Optional: Garnish with diced pickles and fresh dill before serving.

