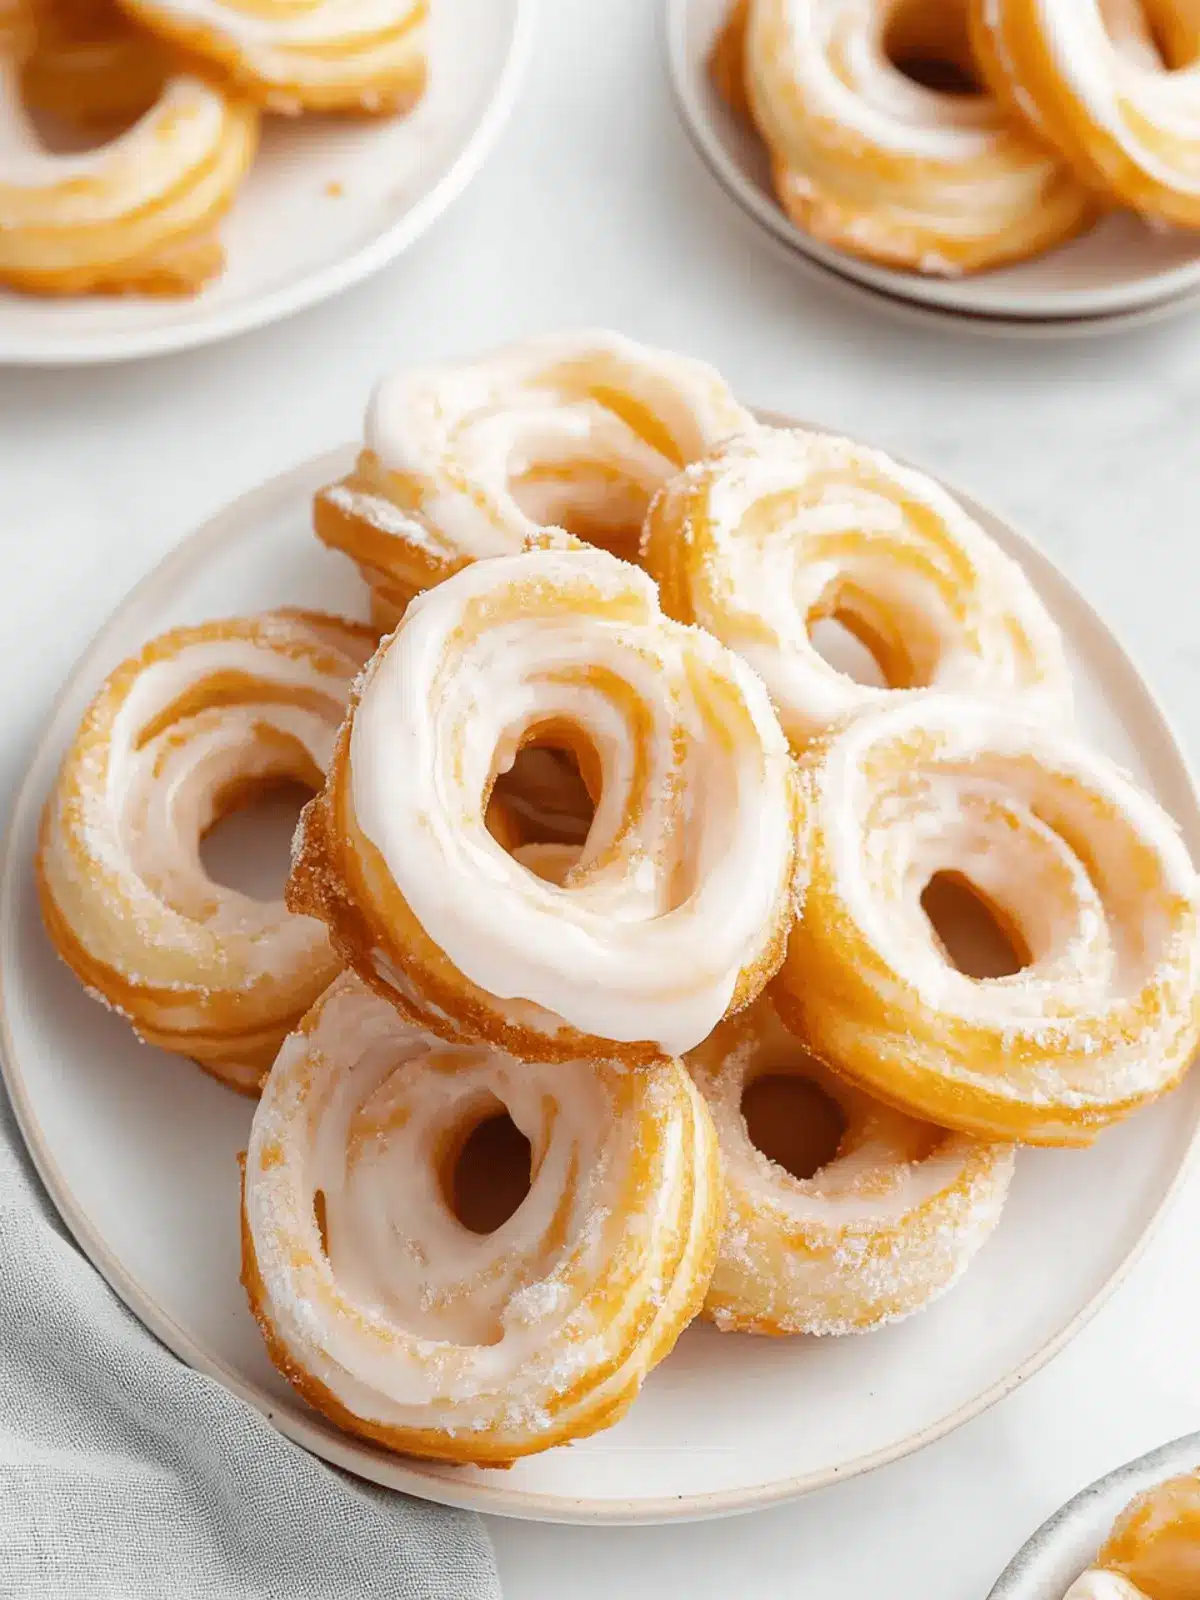
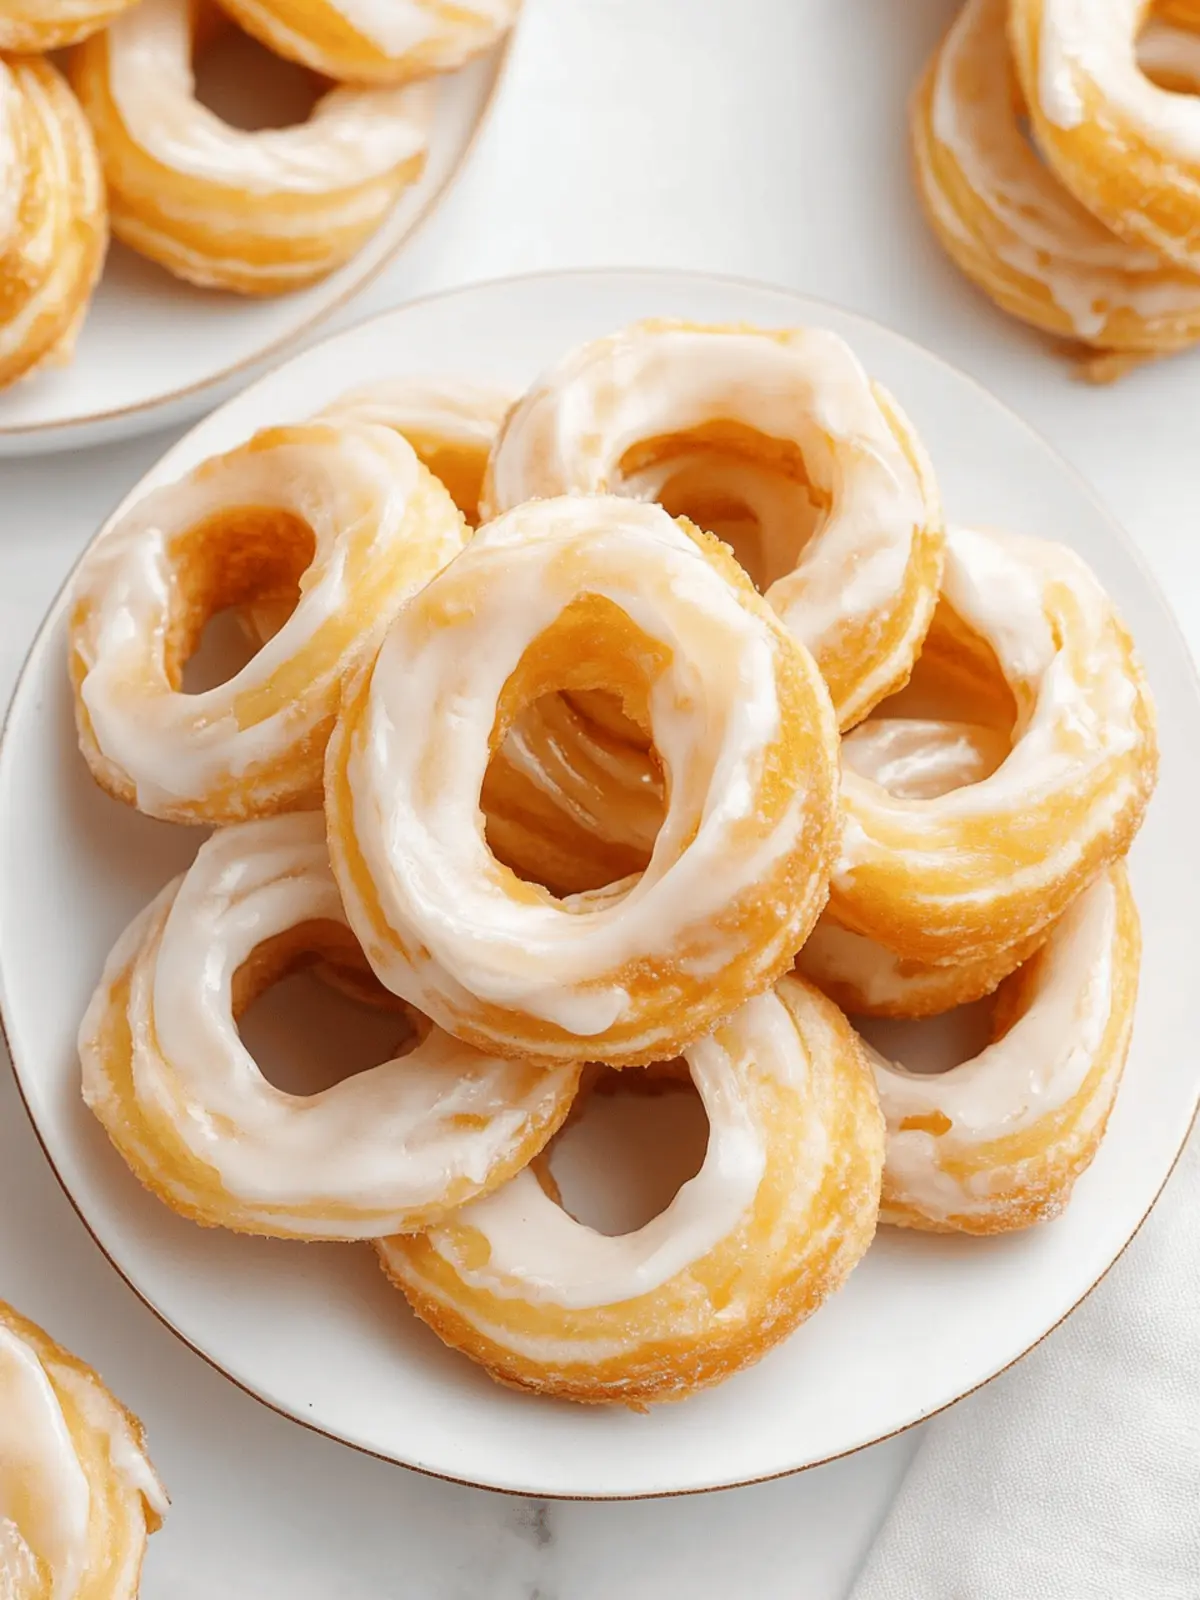
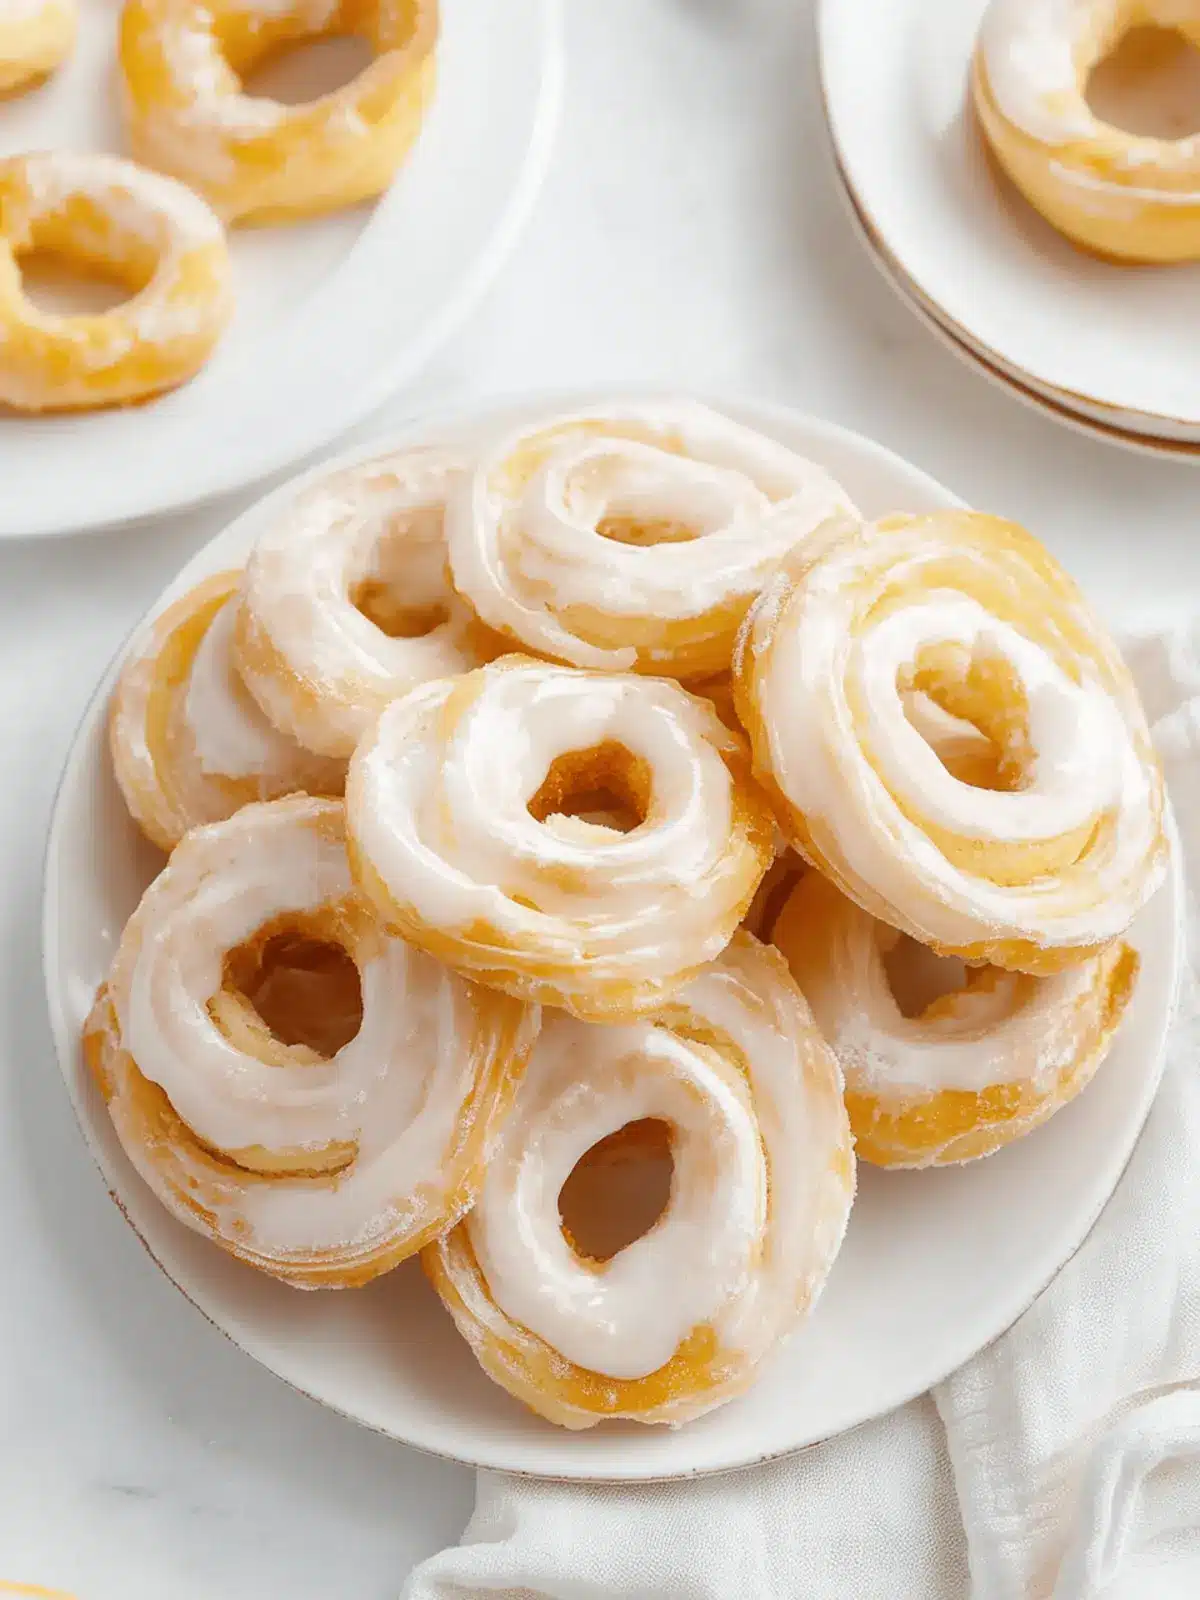
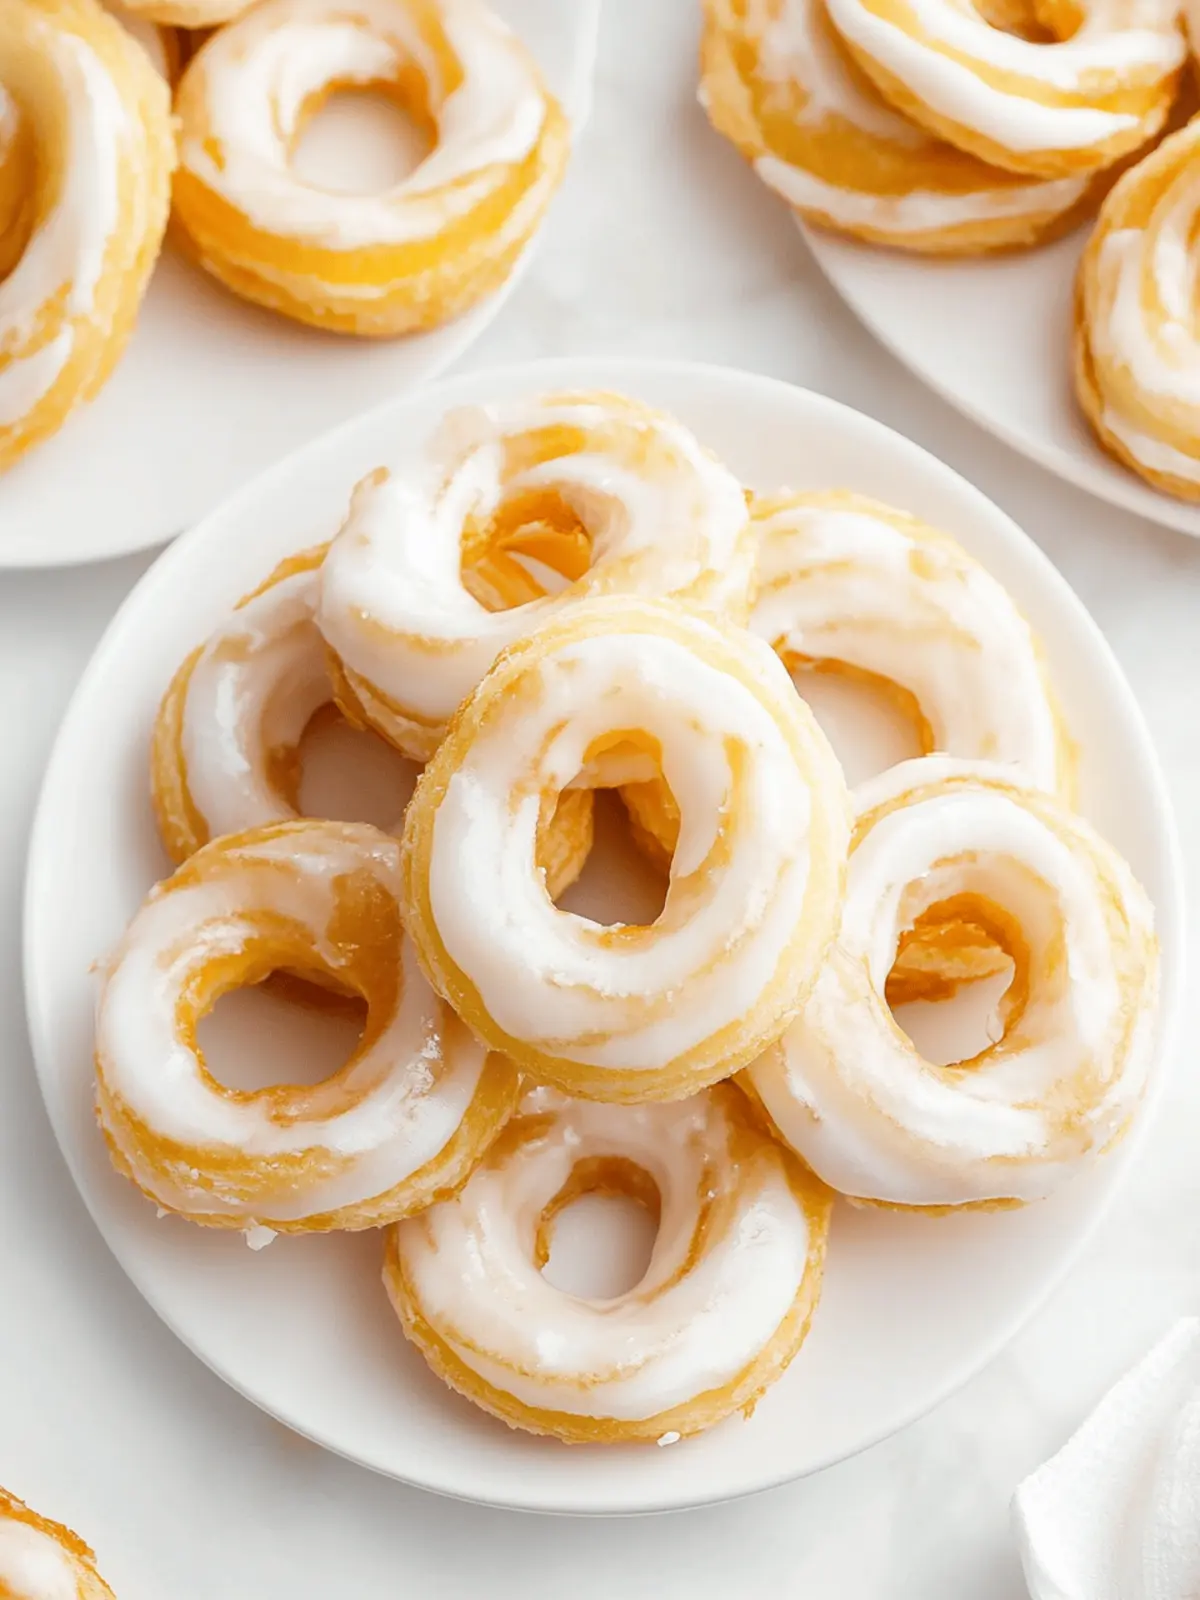
There’s something enchanting about the moment you bite into a freshly made French cruller. The light, airy dough, with its crisp exterior and pillowy interior, offers a delightful experience that transports you straight to a quaint café in Paris. As the sweet vanilla aroma wafts through the kitchen, you can’t help but feel that every lazy weekend or special morning deserves this indulgence.
I was inspired to whip up these delectable doughnuts after watching my neighbor effortlessly serve them during a spring brunch gathering. The way guests’ faces lit up with each bite solidified my determination to master this recipe. Best of all, crafting these homemade treats is more accessible than it seems—perfect for impressing friends at a potluck or simply elevating your breakfast routine. With a simple glaze and a handful of ingredients, you’ll create something that feels both sophisticated and comforting. So, let’s roll up our sleeves and create a batch of these irresistible French crullers together—they could very well become your new favorite treat!
Why are French Crullers a Must-Try?
Delicate Texture: The airy, light dough combined with a crispy outer crust creates a unique and satisfying bite that you’ll crave.
Effortless Elegance: Impress loved ones effortlessly with these café-style doughnuts that look and taste gourmet, perfect for any occasion.
Customizable Flavors: Dive into creativity! Swap out vanilla for almond or orange for a delightful twist to your crullers.
Quick Prep: With a simple list of ingredients, you can whip these up in no time, making breakfast feel special without spending hours in the kitchen.
Perfect Pairing: Enjoy them hot with a cup of coffee or tea—the ideal breakfast companion that never fails to please!
Make-ahead Option: Prep the dough a day in advance for an effortless and fresh-tasting breakfast that saves you time. Feel free to explore more tips to make your mornings sweeter!
French Cruller Ingredients
• Gather your ingredients to craft these irresistible French crullers that will elevate your breakfast game!
For the Dough
- Butter – Adds richness and flavor; substitute with margarine or plant-based butter for a dairy-free option.
- Water – Hydrates the dough and helps in creating steam; no substitution needed.
- Salt – Enhances overall flavor; essential for taste balance.
- Sugar – Provides sweetness; can use less for a less sweet variant.
- All-Purpose Flour – Provides structure; for a gluten-free version, substitute with a gluten-free flour blend.
- Eggs – Adds moisture and binding; flaxseed eggs can be used as a vegan alternative.
For the Glaze
- Powdered Sugar – Sweetens the glaze; for a sugar-free option, use powdered erythritol.
- Milk – Adds creaminess to the glaze; substitute with almond milk or any non-dairy milk.
Dive into this delightful recipe and create the perfect batch of French crullers—your mornings will never be the same!
How to Make French Crullers
-
Prepare Dough: Melt the butter in a medium saucepan. Stir in water, salt, and sugar, then bring to a vigorous boil. Add the all-purpose flour, stirring continuously until a smooth ball of dough forms.
-
Incorporate Eggs: Allow the dough to cool slightly, then add eggs one at a time, mixing vigorously until the dough is smooth and slightly sticky. You want a soft, pliable consistency.
-
Pipe Crullers: Fit a piping bag with a star tip and fill it with the dough. Pipe 4-inch long strips onto parchment-lined baking sheets, leaving space between each one for expansion.
-
Heat Oil: In a deep fryer or a heavy pot, heat oil to 350°F (175°C). Ensure you have enough oil for the crullers to float freely while frying.
-
Fry Crullers: Carefully add the piped crullers into the hot oil. Fry for about 3 minutes on each side or until golden brown and crisp. Use a slotted spoon to remove them and drain on paper towels.
-
Glaze: Mix powdered sugar with milk in a bowl until smooth. Dip the warm crullers into the glaze, allowing the excess to drip off before placing them on a cooling rack.
Optional: Dust with a sprinkle of cinnamon for an added touch of flavor!
Exact quantities are listed in the recipe card below.
Make Ahead Options
These French crullers are perfect for busy mornings and can be prepped ahead to save you valuable time! You can prepare the dough and refrigerate it for up to 24 hours to maintain that airy texture and rich flavor. To do this, simply complete steps 1 and 2 of the recipe, then cover the dough tightly with plastic wrap or place it in an airtight container before refrigerating. When you’re ready to enjoy them, let the dough sit at room temperature for about 30 minutes before piping and frying. This way, you’ll achieve that light, fluffy cruller goodness with minimal effort, ready to impress your family or guests!
French Cruller Variations
Feel free to let your creativity shine by customizing these crullers for a unique twist on a classic favorite!
- Almond Twist: Substitute vanilla extract with almond extract for a nutty flavor that adds depth to your crullers.
- Citrus Zest: Incorporate lemon or orange zest into the dough for a refreshing citrus kick that brightens up each bite.
- Chocolate Dipped: After glazing, dip half of each cruller into melted chocolate for a decadent flavor pairing that chocolate lovers will adore.
- Cinnamon Sugar Dusting: Once glazed, roll the crullers in a mixture of cinnamon and sugar for an extra sweet and spicy layer.
- Maple Glaze: Swap the milk in your glaze for maple syrup, and enjoy an autumn-inspired twist. It’s downright delightful!
- Spicy Kick: Add a pinch of cayenne pepper to your dough for a surprising hint of heat that contrasts beautifully with the sweetness.
- Nutty Crunch: Fold in crushed nuts, like almonds or pecans, into the dough for added texture and crunch, elevating each bite.
- Savory Option: Experiment with herb-infused oils or cheeses for a savory cruller perfect for brunch or an appetizer. The possibilities are endless!
Expert Tips for Perfect French Crullers
-
Right Temperature: Ensure your oil is at 350°F (175°C) for optimal frying. Too low will make them soggy; too high, they’ll burn quickly.
-
Chill Before Frying: Refrigerate the piped dough for about 10 minutes before frying. This helps the crullers hold their shape and puff beautifully.
-
Timing is Key: Fry each batch for about 3 minutes on each side to achieve that perfect golden-brown color, ensuring a crispy exterior.
-
Glaze Wisely: Dip the crullers while they’re still warm but not scalding hot to create a deliciously glossy glaze that clings perfectly.
-
Avoid Excess Moisture: Let the fried crullers drain completely on paper towels to remove excess oil before glazing for a flawless finish.
-
Experiment with Flavors: Don’t hesitate to customize your French crullers! Consider mixing in almond or citrus zest for a delightful twist on the classic taste.
How to Store and Freeze French Crullers
Room Temperature: Store freshly made French crullers in an airtight container for up to 2 days to maintain freshness and prevent them from getting soggy.
Fridge: If you plan to keep them longer, refrigerate crullers in an airtight container for up to a week. However, expect them to lose some of their crispy texture.
Freezer: For extended storage, freeze crullers in a single layer on a baking sheet, then transfer to an airtight freezer bag. They will last up to 2 months in the freezer.
Reheating: To reheat, simply warm crullers in an oven at 350°F (175°C) for 5-7 minutes to restore some of their original texture before glazing.
What to Serve with French Crullers?
Indulging in freshly made French crullers is a delightful treat, and pairing them with the right accompaniments can take your breakfast or brunch to the next level!
- Rich Coffee: A cup of your favorite brew complements the sweet vanilla flavor, enhancing the overall experience.
- Fresh Berries: Their tartness contrasts beautifully with the sweet crullers, adding a pop of color and freshness to your plate.
- Whipped Cream: Light, airy, and sweet, whipped cream adds an indulgent touch that makes crullers feel extra luxurious.
- Citrus Salad: A vibrant mix of citrus fruits refreshes the palate and balances the sweetness of the doughnuts.
Pairing these crullers with a homemade fruit compote is a delightful option; the warm, stewed fruits meld perfectly with the fluffy texture. Just imagine the sweet drizzles cascading over the crullers while you savor each delicious bite.
- Spiced Chai Latte: Perfectly spiced and warming, this drink creates a cozy atmosphere, making mornings that much sweeter.
- Vanilla Yogurt: Creamy and smooth, yogurt pairs well with crullers, providing a tangy note that contrasts superbly with the doughnuts.
Now, gather your family and serve these fabulous treats with amazing sides for a breakfast that feels like a celebration!
French Crullers Recipe FAQs
What are the best ingredients for French crullers?
Absolutely! For the best flavor and texture, use high-quality butter, fresh eggs, and all-purpose flour. If you’re looking for a dairy-free option, plant-based butter works wonderfully, and for a gluten-free version, I recommend a gluten-free flour blend. Each ingredient plays a pivotal role in achieving that delightful airy texture.
How should I store leftover French crullers?
Store freshly made French crullers in an airtight container at room temperature for 2 days. If you want to keep them longer, refrigerate them for up to a week. Keep in mind that refrigeration may slightly alter their texture, making them less crispy.
Can I freeze French crullers, and if so, how?
Absolutely! To freeze, first allow the crullers to cool completely. Then, place them in a single layer on a baking sheet and freeze until solid, about 1-2 hours. Once frozen, transfer them to an airtight freezer bag, where they’ll stay fresh for up to 2 months. For best results, reheat them in an oven at 350°F (175°C) for 5-7 minutes to help restore their glorious texture before glazing.
What should I do if my dough is too thick or too runny?
If your cruller dough is too thick, consider adding a teaspoon of warm water at a time until you reach the desired consistency—it should be soft and slightly sticky. Conversely, if it’s too runny, stir in a bit more flour until it’s manageable. Remember, the goal is to achieve a dough that holds shape when piped but isn’t dry.
Are French crullers safe for pets, especially dogs?
While the ingredients in French crullers are generally not toxic to dogs, they are high in sugar and fat. It’s best to avoid giving these treats to pets. If you want to treat your furry friend, consider making homemade dog-friendly treats instead that are safe for their digestive systems.
What can I do if my crullers don’t puff up during frying?
Very! If your crullers don’t puff up, this might be due to oil that’s not hot enough. Ensure your oil reaches 350°F (175°C) before frying. You can also chill the piped dough briefly before frying to help maintain shape and encourage puffing. Enjoy the process, and don’t hesitate to make adjustments until you get that perfect puff!

Fluffy French Crullers: Elevate Your Breakfast Game Today
Ingredients
Equipment
Method
- Melt the butter in a medium saucepan. Stir in water, salt, and sugar, then bring to a vigorous boil.
- Add the all-purpose flour, stirring continuously until a smooth ball of dough forms.
- Allow the dough to cool slightly, then add eggs one at a time, mixing vigorously until the dough is smooth and slightly sticky.
- Fit a piping bag with a star tip and fill it with the dough. Pipe 4-inch long strips onto parchment-lined baking sheets.
- In a deep fryer or a heavy pot, heat oil to 350°F (175°C) and ensure you have enough oil for the crullers to float.
- Carefully add the piped crullers into the hot oil. Fry for about 3 minutes on each side or until golden brown.
- Remove crullers and drain on paper towels. Mix powdered sugar with milk until smooth; dip warm crullers into glaze.


