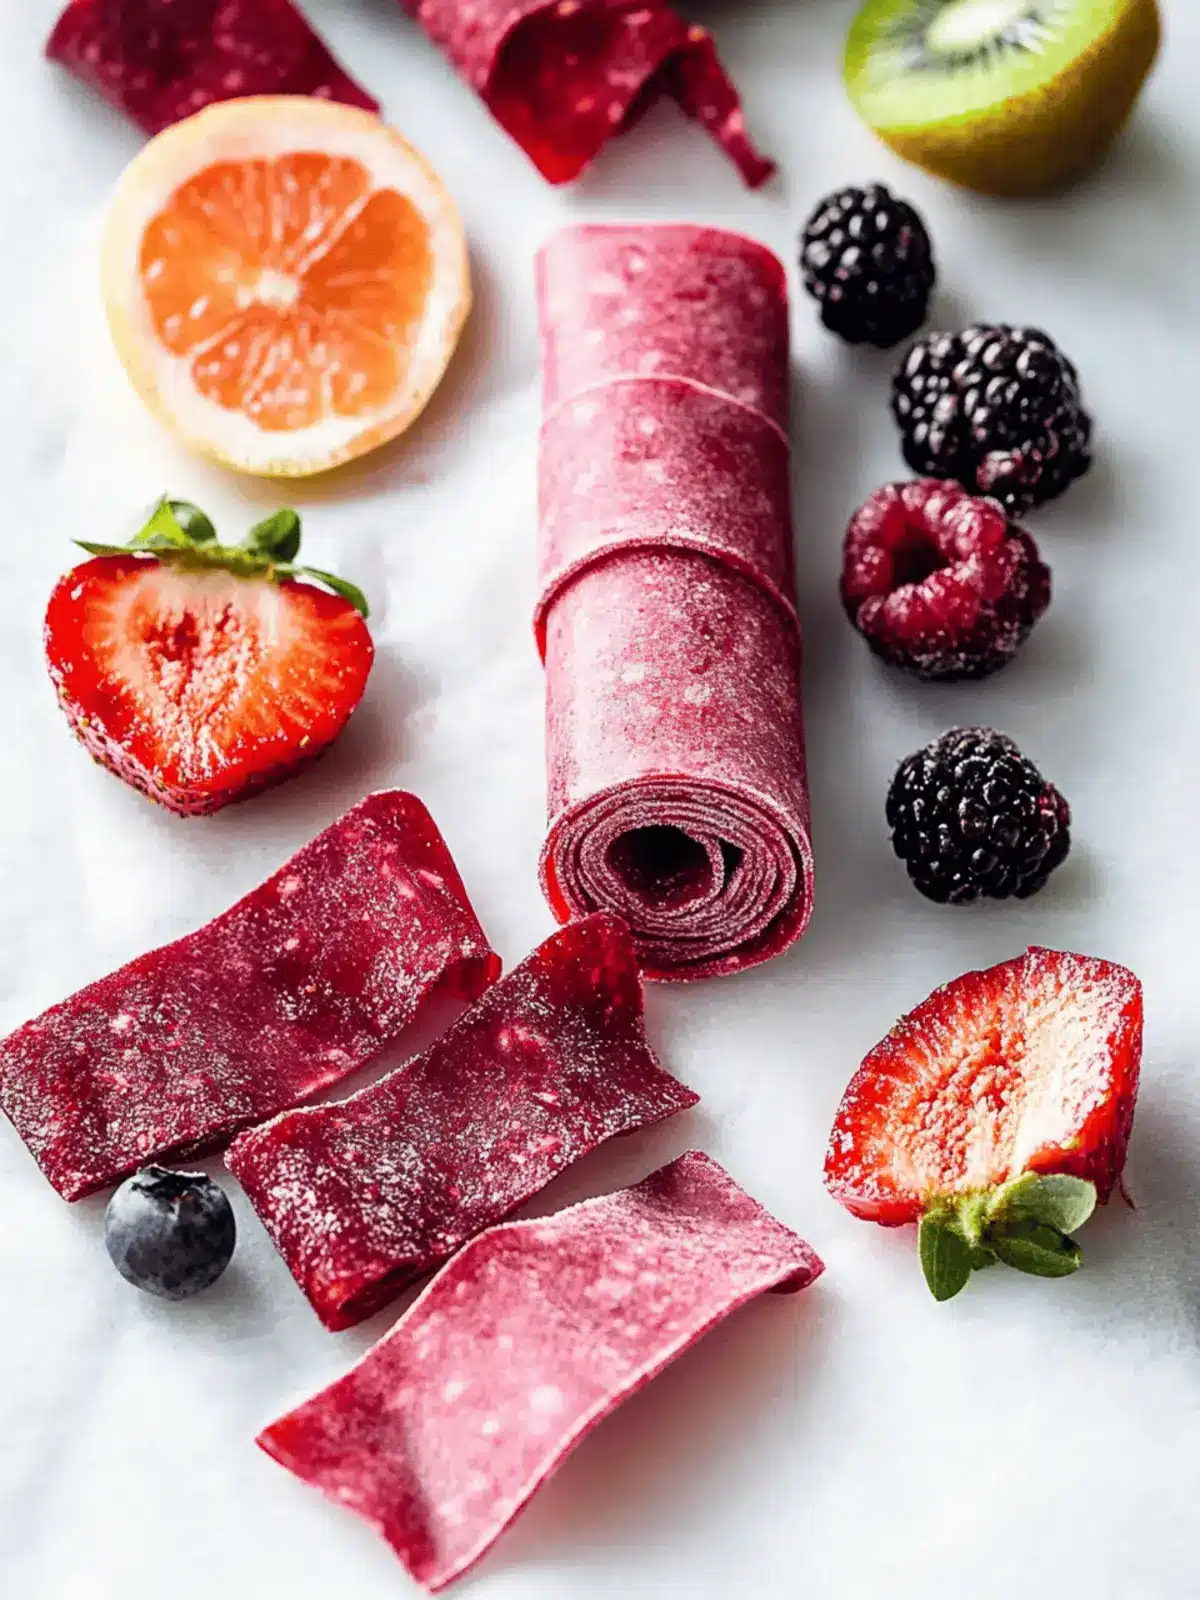
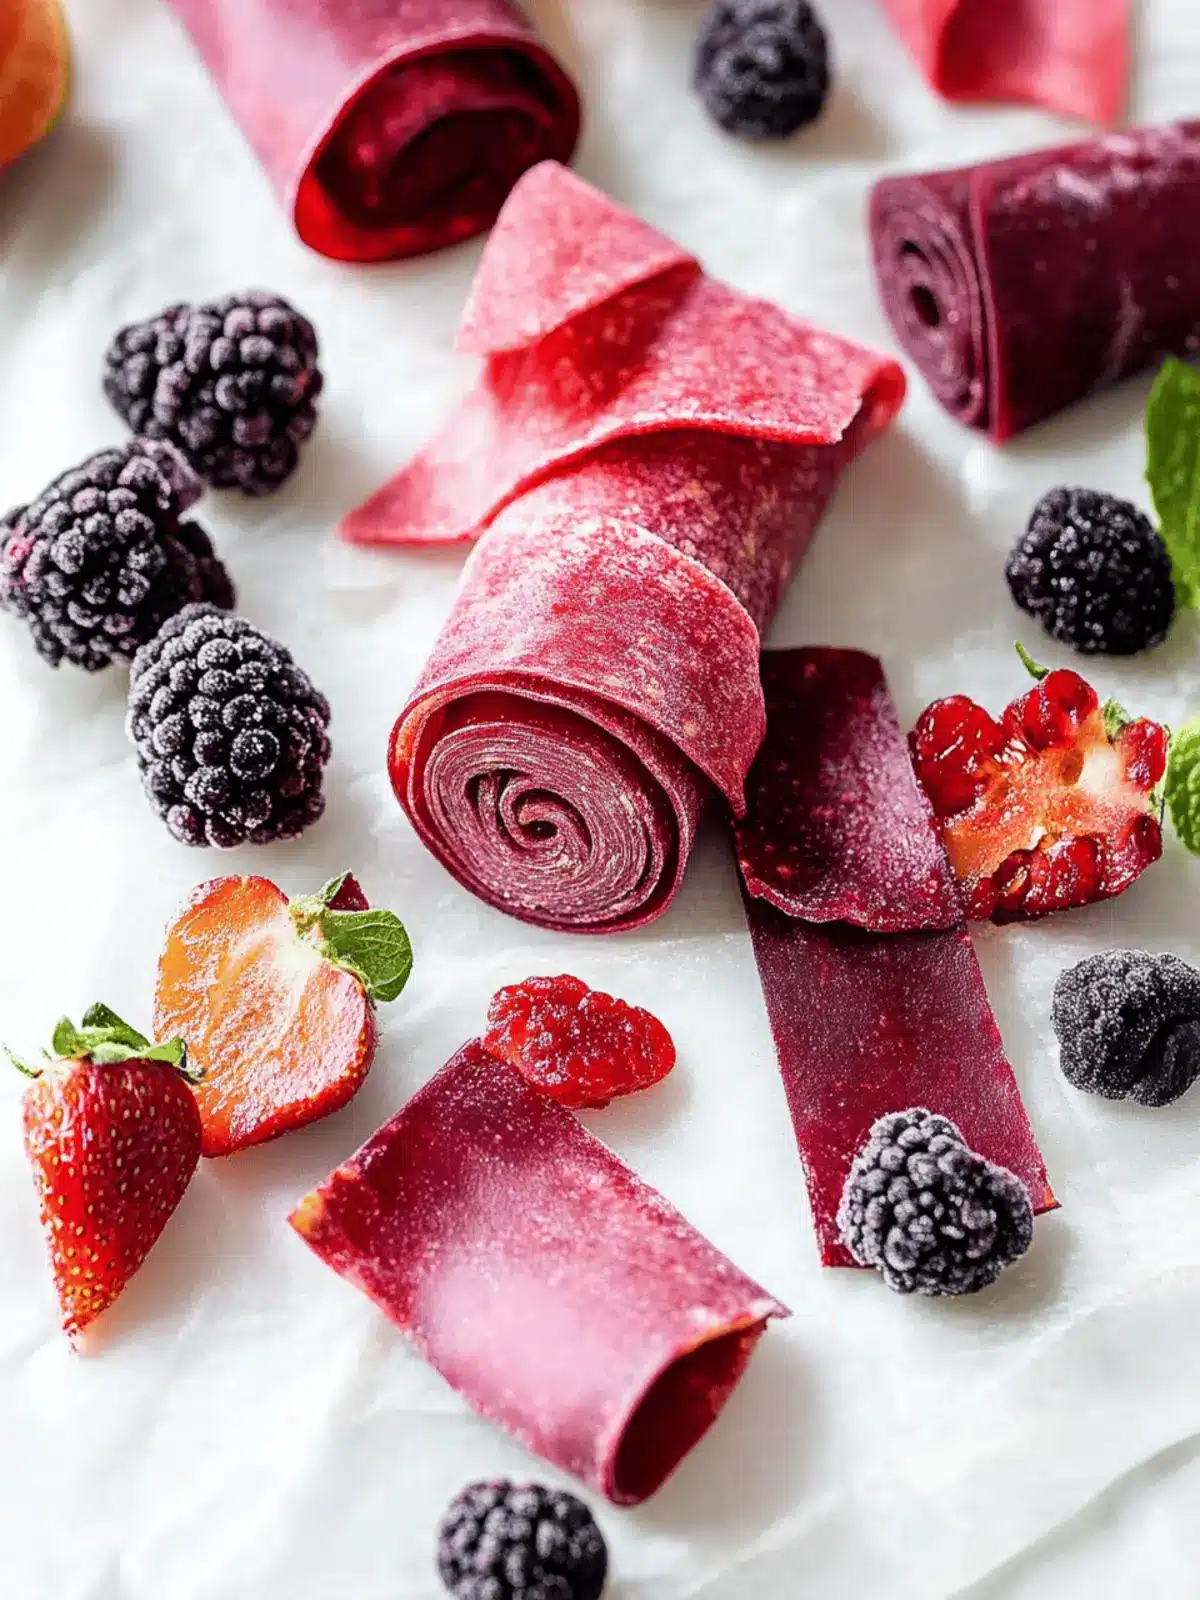
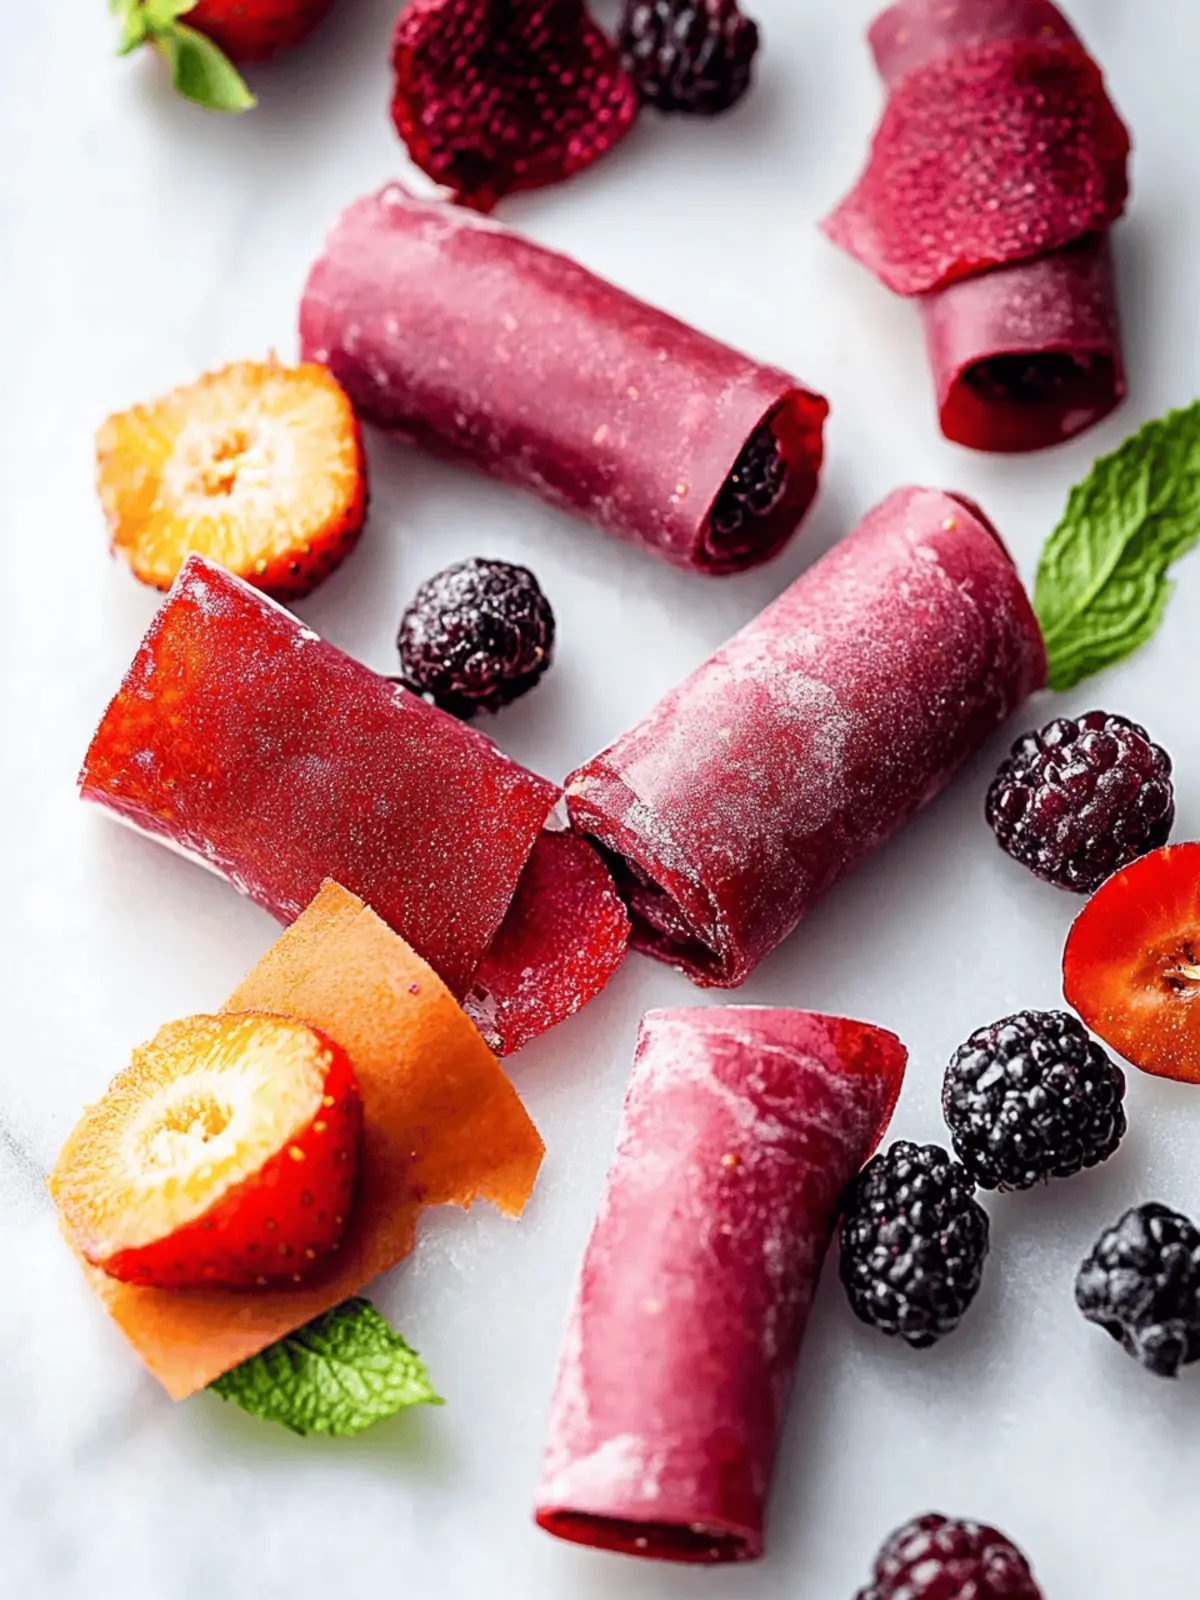
When summer berries are in full bloom, there’s nothing quite as satisfying as transforming them into homemade fruit roll-ups. You might find it hard to believe, but with just three simple ingredients—nature’s sweet bounty, honey, and a splash of lemon—this delightful snack bursts with real berry flavor and wholesome goodness. I remember a sunny afternoon spent picking fresh strawberries with my kids, laughter filling the air as we crafted our very own fruity treats in the kitchen. These roll-ups are not just easy to make; they’re also a hit with kids and a perfect alternative to store-bought snacks loaded with sugar and artificial ingredients. Whether you’re enjoying them during road trips, as a lunchbox surprise, or after school, these fruit roll-ups bring a chewy, tangy-sweet explosion that’s simply irresistible. Get ready to dive in and discover how fun and rewarding it is to make your healthy snacks at home!
Why love Homemade Fruit Roll-Ups?
Easy to Make: This recipe features just three simple ingredients, making it perfect for quick snacks.
Kid-Friendly Fun: Involve the little ones in the process of blending and pouring—they’ll love it!
Natural Sweetness: With no added sugars, you’re providing a healthier alternative to store-bought snacks.
Versatile Options: Mix and match your favorite berries for endless flavor combinations.
Perfect for Any Occasion: Whether for lunchboxes or after-school munchies, these roll-ups are a crowd-pleaser at any time!
Homemade Fruit Roll-Ups Ingredients
For the Berry Mixture
• Berries – Core ingredient that provides flavor and texture; use strawberries, raspberries, blueberries, or blackberries for delicious homemade fruit roll-ups.
• Honey – A natural sweetener that adds just the right amount of sweetness; substitute with maple syrup for a vegan option.
• Lemon Juice – Enhances flavor and helps preserve the vibrant color of your roll-ups; fresh lime juice can be a fun alternative for a zesty twist.
How to Make Homemade Fruit Roll-Ups
-
Preheat your oven to 170°F (or the lowest setting). This low temperature helps to create the perfect chewy texture for your fruit roll-ups without burning them.
-
Prepare a large rimmed baking sheet by lining it with parchment paper or a silicone mat. This ensures your berry mixture won’t stick, making it easy to peel off later.
-
Rinse and remove any stems from the berries. Fresh berries are crucial for flavor, so pick the ripest ones for the best taste!
-
Blend the berries with honey and lemon juice in a blender until smooth. This mixture creates a vibrant and flavorful concoction—get ready to enjoy the delightful berry aroma!
-
Strain the puree through a fine mesh strainer if you prefer a smoother texture. This step is optional, but it helps eliminate pesky seeds for a more refined fruit roll-up.
-
Pour the berry puree onto the prepared baking sheet, spreading it evenly into a thin layer. Aim for about 1/8 to 1/4 inch thick to ensure even baking.
-
Bake in the oven for 5-6 hours, rotating the pan halfway through. The roll-ups are done when the mixture is no longer sticky and feels like fruit leather.
-
Cool the fruit leather completely, then peel it off the parchment paper. Use kitchen scissors or a sharp knife to cut into strips, then roll them up for a delightful treat.
-
Store in an airtight container for up to 2 weeks. Keeping them sealed helps maintain their chewy goodness!
Optional: Try dusting with a touch of coconut flakes for a tropical flair.
Exact quantities are listed in the recipe card below.
What to Serve with Homemade Fruit Roll-Ups?
Creating vibrant homemade fruit roll-ups is just the beginning; let’s build a delightful meal or snack spread that makes your healthy treats even more enjoyable!
- Greek Yogurt: Creamy and tangy, it pairs perfectly for dipping and adds a protein boost to your snack time.
- Nut Butter: Spread almond or peanut butter on a whole grain cracker for a crunchy contrast that complements the chewy roll-ups beautifully.
- Fresh Fruit Salad: Bright and refreshing, a mix of seasonal fruits adds texture and balances the sweetness of the roll-ups.
- Cheese Cubes: Include a variety of cheese for a savory twist; the contrast with sweet flavors creates a delightful snack platter.
- Vegetable Sticks: Crisp carrot and celery sticks offer a fresh crunch that lightens up your snack spread alongside berry flavors.
Pairing these options not only enhances your meal but also makes it a fun and nutritious experience for the whole family!
Homemade Fruit Roll-Ups Variations
Feel free to get creative and personalize these homemade fruit roll-ups to suit your taste and dietary needs!
-
Mix & Match Berries: Blend strawberries with blueberries or raspberries for a unique flavor combination. Let your imagination run wild!
-
Spiced Up: Adding a dash of cinnamon or nutmeg can introduce a warm, comforting essence to your roll-ups. It’s a delightful twist on the traditional!
-
Citrus Zing: Substitute lemon juice with fresh lime juice for a zesty flavor boost. The brightness will really elevate your fruity snacks!
-
Creamy Texture: For a rich twist, mix in a spoonful of Greek yogurt before blending. It adds creaminess alongside a delicious taste.
-
Tropical Delight: Try adding pureed pineapple or mango to the berry mix for a sweet, tropical vibe. A delicious escape every time you take a bite!
-
Nutty Surprise: Fold in finely chopped nuts after blending for added texture and crunch. Consider almonds or walnuts for a delightful contrast.
-
Sweetened with Dates: If you’re seeking an alternative sweetener, blend in pitted dates for a deeper, caramel-like flavor. Just pulse them together with the berries!
-
Heat it Up: For adventurous eaters, add a pinch of cayenne pepper or chili powder to the mix. It creates an unexpected heat that’s sure to surprise and delight!
Expert Tips for Homemade Fruit Roll-Ups
• Bake Thoroughly: Ensure you allow enough baking time for the berry mixture. Too much moisture can leave them sticky, so check frequently!
• Berry Choices: Feel free to experiment with different berry combinations for your homemade fruit roll-ups. Each type brings its own flavor profile; mix them up!
• Kid Participation: Let kids help wash the berries and pour the mixture onto the baking sheet. It makes for a fun bonding experience and encourages healthy habits.
• Storage Advice: Use wax paper to wrap individual roll-ups for easy snacking on the go. This helps preserve freshness and keeps them from sticking together.
• Smooth Texture: If you prefer a smooth consistency for your fruit roll-ups, definitely strain the puree. It makes every bite a little more enjoyable!
• Honey Consideration: When using honey, remember it’s safe for kids over 1 year old. For younger ones, substitute with maple syrup for a tasty, safe option.
Make Ahead Options
These Homemade Fruit Roll-Ups are ideal for meal prep, saving you time during those busy weeks! You can prepare the berry mixture up to 24 hours in advance by blending the berries with honey and lemon juice, then storing it in the refrigerator. This allows the flavors to meld together, enhancing the overall taste. When you’re ready to bake, simply pour the berry puree onto the baking sheet and follow the remaining steps. To maintain the chewy texture and vibrant color, ensure that the fruit leather cools completely before cutting and storing in an airtight container for up to two weeks. Enjoy wholesome, delicious snacks at your convenience!
How to Store and Freeze Homemade Fruit Roll-Ups
Fridge: Keep your homemade fruit roll-ups in an airtight container in the fridge for up to 2 weeks. This will help maintain freshness and chewiness.
Freezer: For longer storage, freeze rolled-up fruit leather in a freezer-safe bag or container. They can last for up to 3 months and make for a convenient snack option.
Portioning: If freezing, consider cutting them into smaller strips and wrapping each piece in wax paper. This way, you can easily grab a single serving when cravings strike.
Thawing: To enjoy, simply remove from the freezer and let them thaw at room temperature for about 10-15 minutes, or pop them in the fridge overnight for a ready-to-eat treat!
Homemade Fruit Roll-Ups Recipe FAQs
What berries are best for homemade fruit roll-ups?
Absolutely! You can use a variety of berries like strawberries, raspberries, blueberries, and blackberries. Make sure to select ripe fruit; they should be firm and free from dark spots for the best flavor and sweetness. If preferred, you can strain the seeds from berries like raspberries for a smoother texture.
How should I store my homemade fruit roll-ups?
Store your homemade fruit roll-ups in an airtight container placed in the fridge for up to 2 weeks. This helps to maintain their chewy goodness. If you wrap individual roll-ups in wax paper, they’re even easier to grab on the go!
Can I freeze homemade fruit roll-ups?
Very! To freeze your fruit roll-ups, make sure they are completely cooled and then roll them up tightly. Place them in a freezer-safe bag or container. They can last for up to 3 months. When you’re ready to enjoy, simply let them thaw at room temperature for about 10-15 minutes or in the fridge overnight.
What should I do if my fruit roll-ups are sticky after baking?
If your homemade fruit roll-ups feel sticky, it may be that they need more baking time. Check them after the initial 5-6 hours. They should feel less sticky and have a firm texture. If they still feel wet, bake them in 30-minute increments until they reach the desired consistency. Just remember, the moisture content of your berries can affect baking time!
Are homemade fruit roll-ups safe for kids under one year?
When making homemade fruit roll-ups, it’s essential to avoid using honey for children under 1 year due to the risk of botulism. Instead, opt for maple syrup as a sweetener for a safe and delicious alternative. Your little ones can enjoy these tasty snacks when they’re old enough to safely consume honey.
Can I experiment with different flavors for my fruit roll-ups?
Absolutely! Feel free to mix and match different berries, or even blend in other fruits like bananas or mango for unique flavors. Adding a pinch of cinnamon can also elevate the taste. The possibilities are endless—get creative and enjoy the fun of making your own delectable snacks!
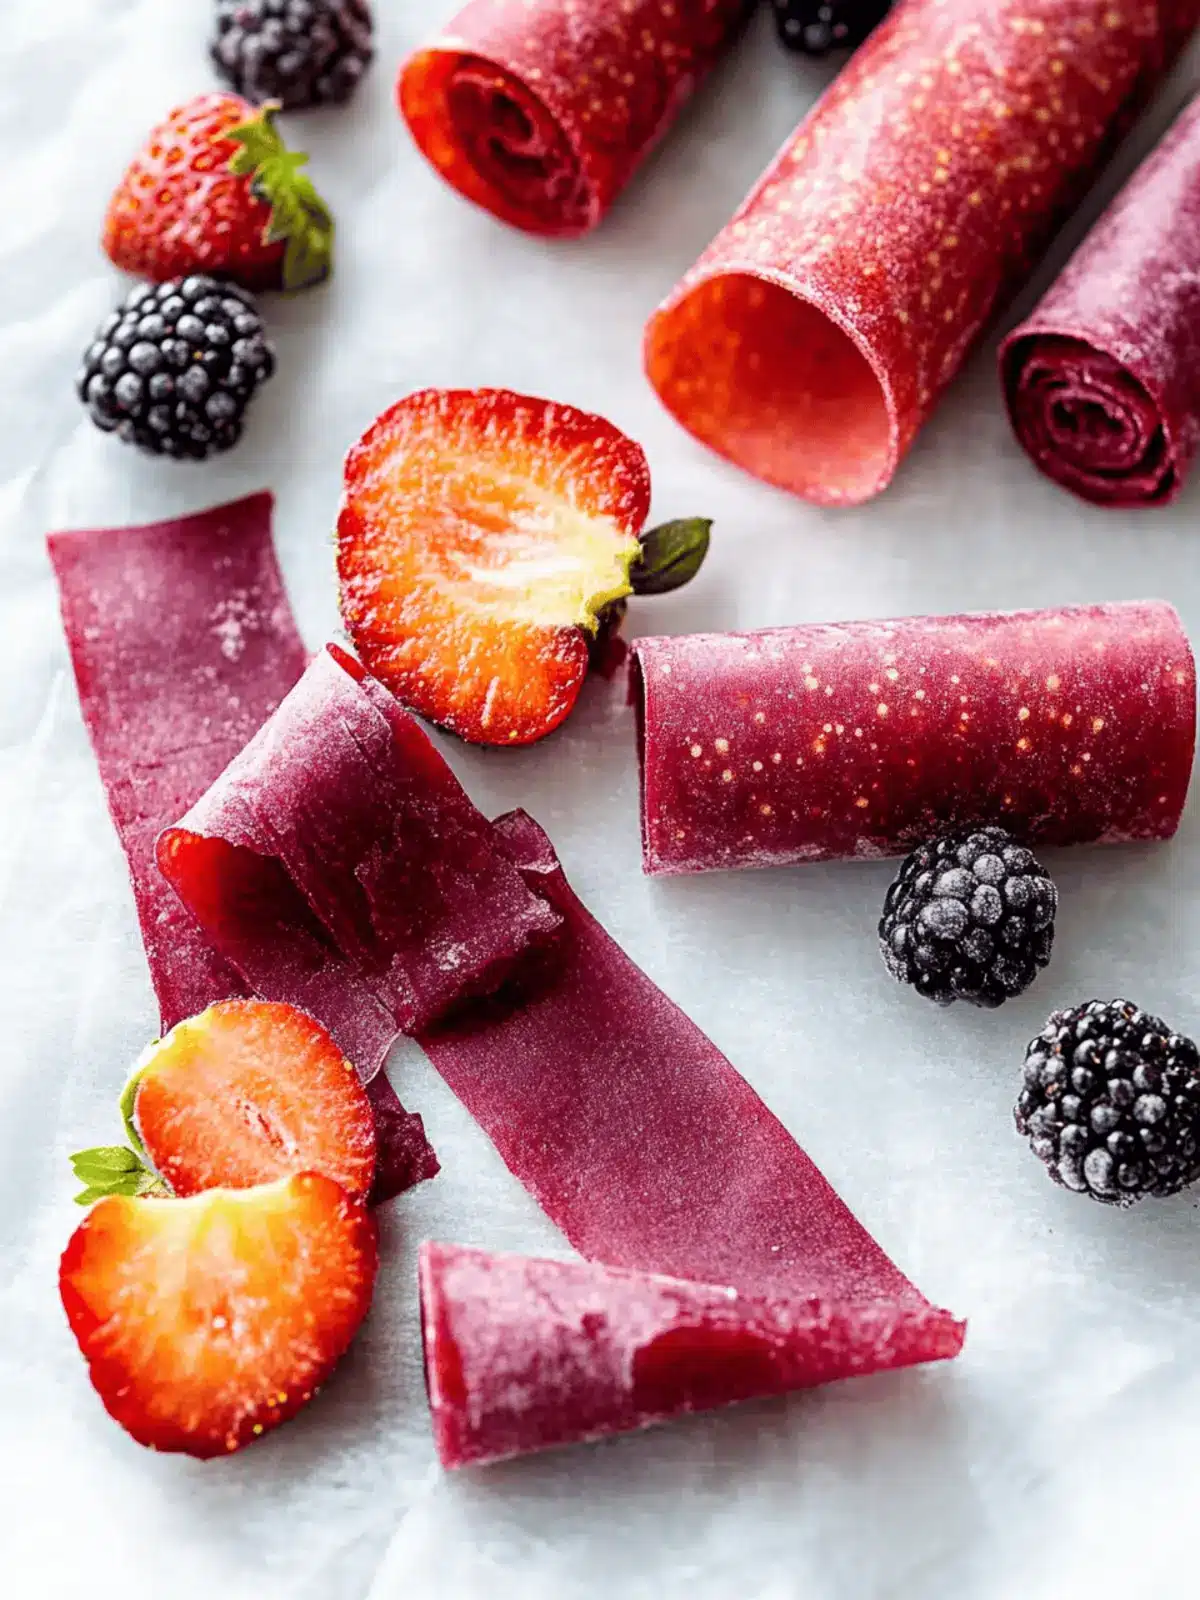
Delicious Homemade Fruit Roll-Ups: Easy 3-Ingredient Treats
Ingredients
Equipment
Method
- Preheat your oven to 170°F (or the lowest setting). This low temperature helps to create the perfect chewy texture for your fruit roll-ups without burning them.
- Prepare a large rimmed baking sheet by lining it with parchment paper or a silicone mat.
- Rinse and remove any stems from the berries.
- Blend the berries with honey and lemon juice in a blender until smooth.
- Strain the puree through a fine mesh strainer if you prefer a smoother texture.
- Pour the berry puree onto the prepared baking sheet, spreading it evenly into a thin layer.
- Bake in the oven for 5-6 hours, rotating the pan halfway through.
- Cool the fruit leather completely, then peel it off the parchment paper.
- Use kitchen scissors or a sharp knife to cut into strips, then roll them up for a delightful treat.
- Store in an airtight container for up to 2 weeks.

