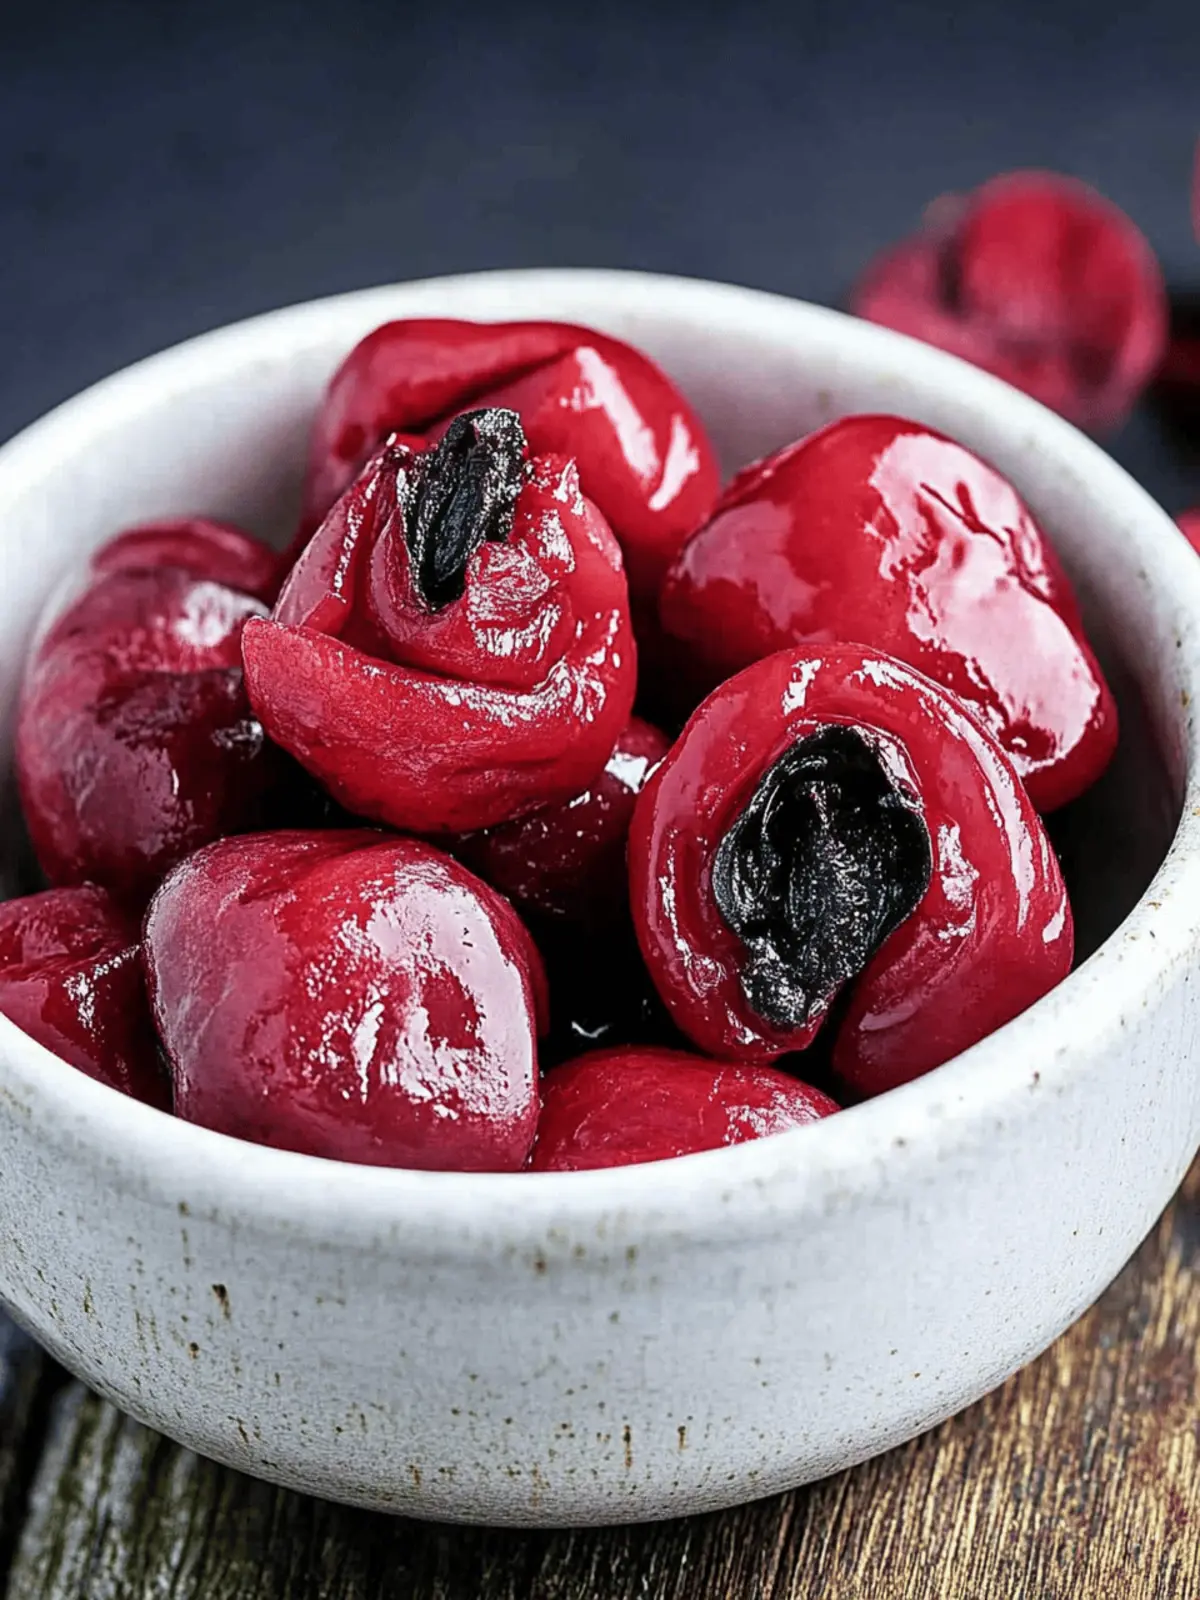
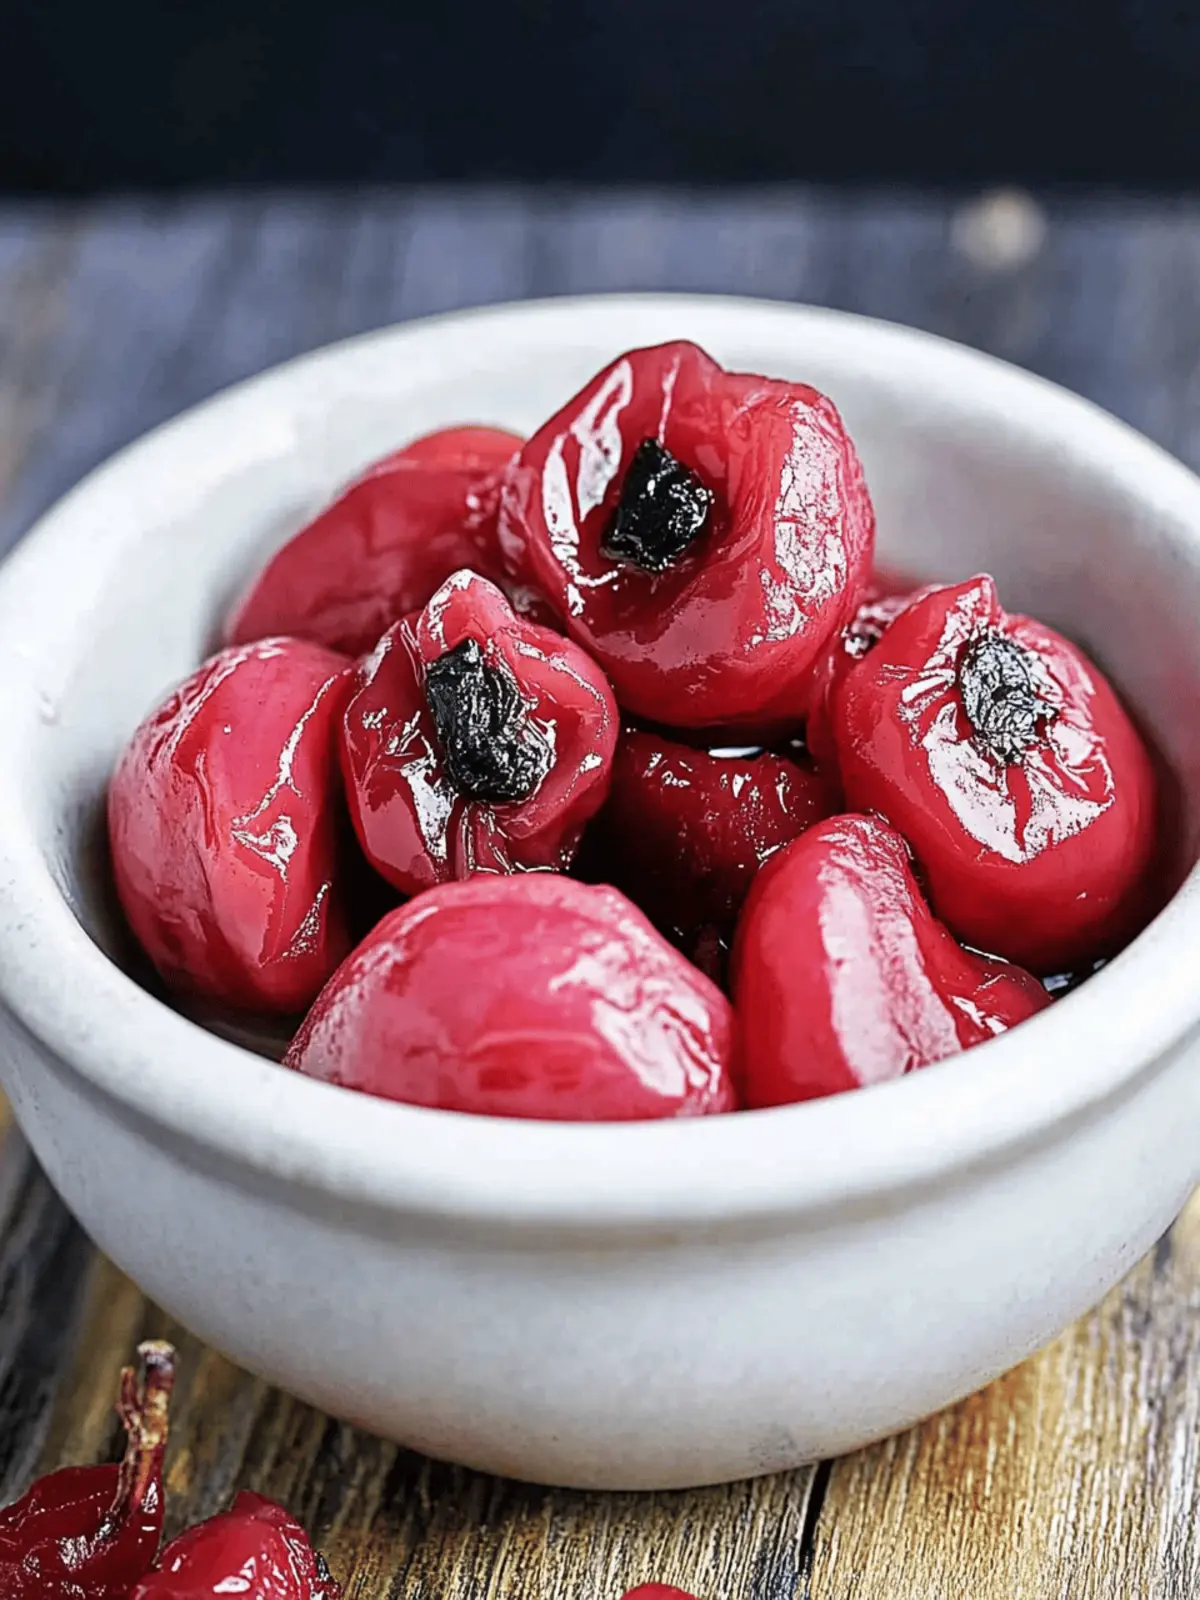
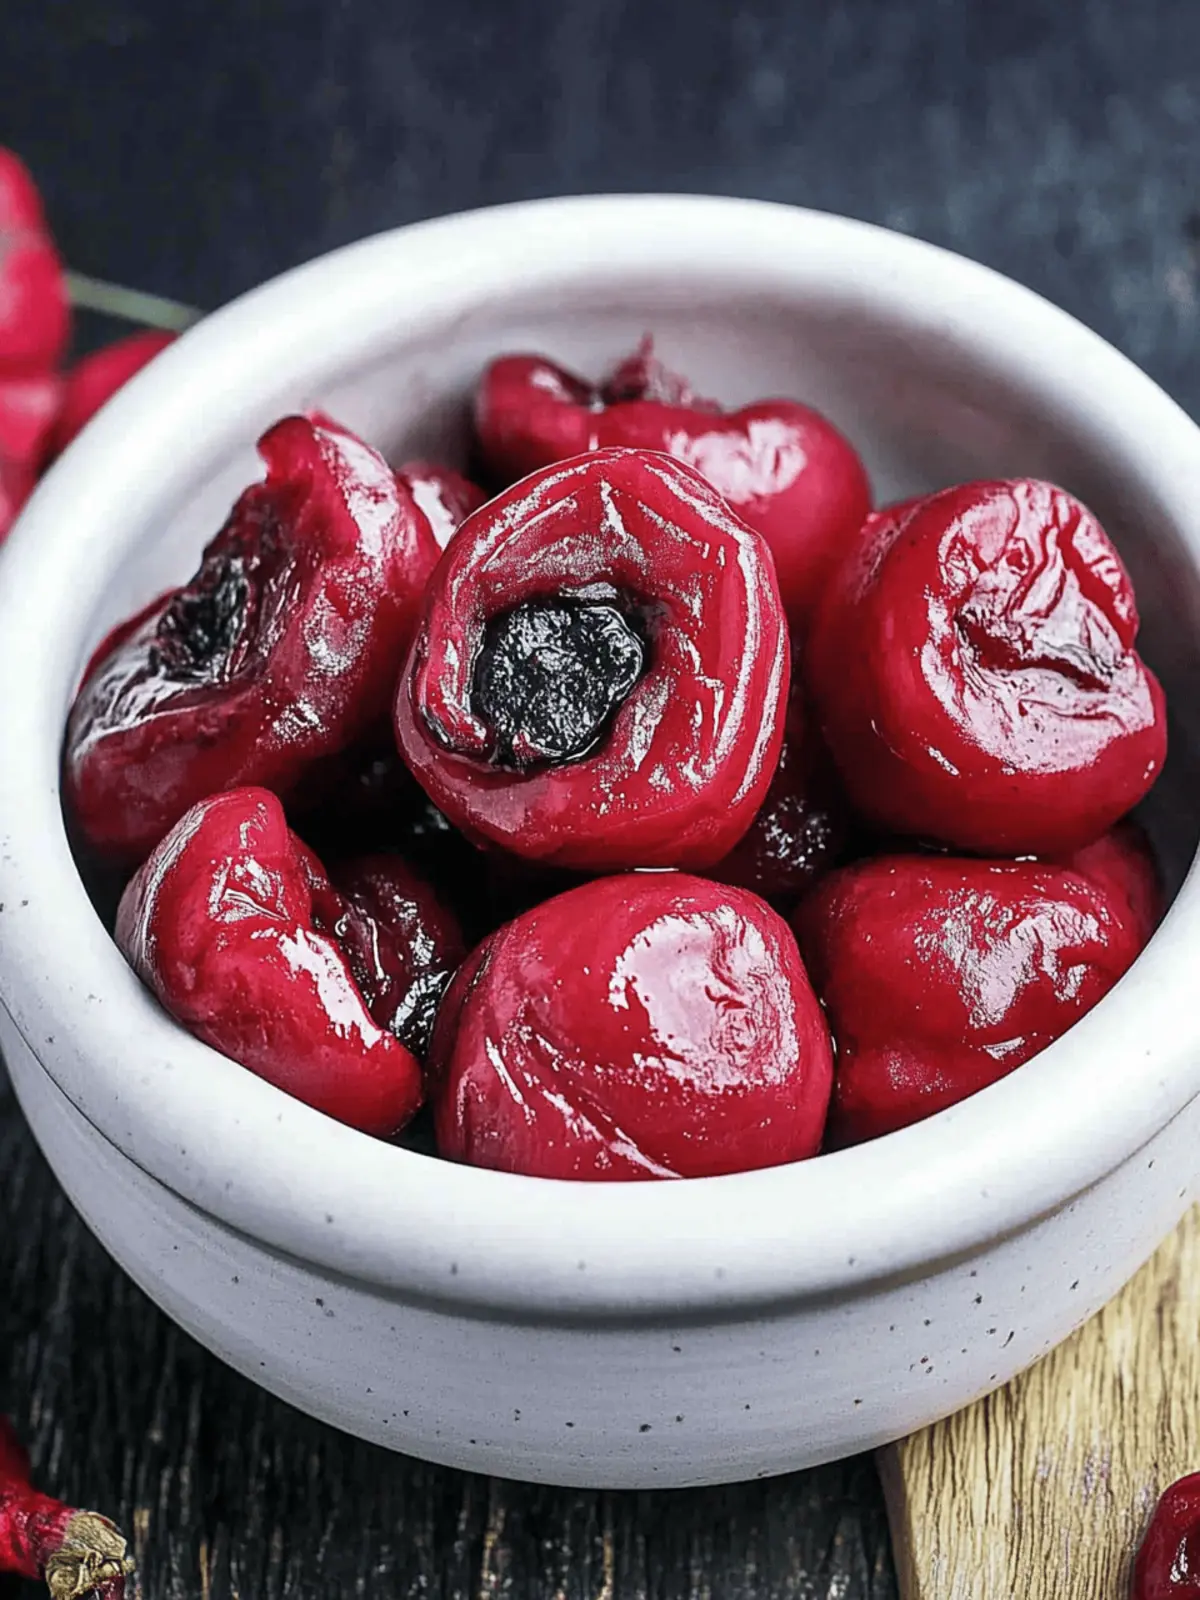
The first bite of a homemade umeboshi is nothing short of a delightful surprise. As you sink your teeth into the plump, tangy Japanese pickled plums, you’re greeted with a sweet-sour explosion that dances on your palate. I often find myself whisked away to sunlit Japanese markets, where the scent of ripe ume hangs thick in the air, beckoning for attention.
This recipe caught my eye on a quiet afternoon, when I was craving something distinctly different from my usual snacks. The method seemed straightforward yet rewarding, offering a fun project that promises incredible flavor. With just a handful of ingredients—including those vibrant red perilla leaves—it transforms humble plums into an exquisite condiment that pops with personality.
Not only is this umeboshi perfect for elevating a simple bowl of rice or a savory breakfast dish, but the tangy companion can also add a unique twist to charcuterie boards or salads. Ready to reclaim your kitchen from the monotony of fast food? Let’s dive into this delightful journey of flavors and memories!
Why Choose Japanese Pickled Plums?
Unique, Bold Flavor: The sweet-sour explosion awaits with every taste of these homemade umeboshi. Health Benefits: Packed with probiotics, these pickled plums boost digestion and wellness. Versatile Use: Enhance rice dishes, salads, and even cocktails with their tangy zing. Simple Yet Rewarding: This recipe uses only a few ingredients, making the process enjoyable. Culinary Adventure: Experience a taste of Japan right at home—perfect for those looking to break free from ordinary snacks. Unleash your creativity in the kitchen and try these with our guide on how to make the most of umeboshi in various dishes!
Japanese Pickled Plums Ingredients
• Get ready to craft these delightful umeboshi with just a few ingredients!
For the Plums
- Japanese plums (ume) – Ripe and yellow, these should be medium to large in size for the best flavor and texture.
- Sea salt – Use approximately 80 g, which is about 18% of the weight of the ume, to properly cure the plums.
- White liquor – A splash of shochu, sake, or vodka (2 tbsp) helps to enhance the ume’s flavors while aiding in preservation.
For the Perilla Leaves
- Red perilla leaves (akajiso) – 80 g is ideal, adding a unique flavor and color to your Japanese pickled plums.
- Sea salt for perilla – You’ll need an additional 1 tbsp to massage into the leaves, removing excess moisture and enhancing their taste.
Now that you’re armed with all the ingredients, you’re one step closer to enjoying the rich taste of homemade umeboshi!
How to Make Japanese Pickled Plums
-
Wash the 450 g of Japanese plums (ume) in a bowl filled with water. Gently scrub their surface and remove any stems with a bamboo skewer. Make sure they’re clean and ready for pickling.
-
Dry each plum using kitchen paper, then place them on a clean surface, ensuring they’re completely moisture-free for optimal pickling.
-
Roll each plum in 2 tbsp of white liquor in a small bowl, then transfer them to a large sealable freezer bag. This step adds flavor and aids in the fermentation process.
-
Massage 80 g of sea salt into the bag with the plums until they’re fully coated. This is crucial for drawing out the juices and curing the plums.
-
Seal the bag while pushing out excess air. Place it flat in a rectangular container, layering the plums without overlap. Add a weighted plate on top equivalent to double the plums’ weight (900 g).
-
Rest the plums in a cool, dry place for 3-7 days. Flip the bag daily to redistribute the salt and juices until fully submerged in the vinegar.
-
Prepare the 80 g of red perilla leaves (akajiso) by washing, then cutting off the thick stems. Sprinkle half of the salt (0.5 tbsp) on the leaves and massage them thoroughly with food-safe gloves.
-
Squeeze the shiso leaves to remove the foamy astringent water, disposing of it afterward. This helps reduce bitterness and enhances flavor.
-
Repeat the salting process with the remaining salt, squeezing out more water before placing the softened leaves in a new bowl.
-
Combine about 125 ml of the accumulated plum vinegar from the plums with the shiso leaves in the bowl, mixing well to loosen them up.
-
Pour the shiso and vinegar mixture back into the bag with the plums, gently massaging to distribute evenly for great flavor throughout.
-
Seal the bag tightly, pushing out any air, and place the weight back on top again. Store it in a cool, dark place for 1-4 weeks, flipping occasionally for an even color.
-
Sun-dry the ume for 2-3 days when a sunny stretch is forecasted. Arrange them on a large tray, allowing them to bask in the sunlight for the morning to mid-afternoon before returning them to vinegar.
-
Rest the leftover plum vinegar with the plums in a clean glass jar for 5 days, letting the flavors meld and plump them back up.
-
Enjoy your homemade umeboshi! You can either keep the plums in the vinegar or drain it to use in other recipes. Remember to store in a cool, dark place for at least 3 months before indulging.
Optional: Serve these delightful pickled plums as a tangy appetizer or snack.
Exact quantities are listed in the recipe card below.
Expert Tips for Japanese Pickled Plums
- Choose Ripe Ume: Look for plump, yellow Japanese plums with no blemishes for the best flavor; under-ripe or overly soft plums may not pickle well.
- Salt Massaging: Make sure you massage the sea salt into the plums thoroughly; insufficient salting can lead to spoilage instead of perfect umeboshi.
- Layering Matters: When placing the plums in the bag, arrange them in one single layer; overlapping can impede even pickling.
- Keep It Cool: Store the plums in a cool, dark place during the initial pickling phase to prevent unwanted fermentation that can ruin the flavor.
- Sunny Days Needed: Pick sunny days for the final drying—sunlight is key in enhancing the ume’s flavors and achieving that desired tangy finish.
How to Store and Freeze Japanese Pickled Plums
Room Temperature: Keep unopened jars of umeboshi in a cool, dark place for up to 3 months to maintain flavor and quality.
Fridge: Once opened, store the umeboshi in the refrigerator for up to 6 months to keep them fresh and tangy. Ensure they are tightly sealed in an airtight container.
Freezer: For long-term storage, freeze umeboshi in a freezer-safe bag for up to 1 year. Allow them to thaw in the fridge before using for the best texture.
Reheating: Serve umeboshi straight from the fridge, or enjoy them at room temperature to fully appreciate their unique flavor.
Japanese Pickled Plums Variations
Feel free to personalize your umeboshi experience with these delightful twists and substitutions!
- Dairy-Free: Use coconut vinegar instead of plum vinegar for a tropical flavor without any dairy involvement.
- Herb Infusion: Add fresh basil or mint leaves along with the perilla for a refreshing herbal note that brightens the dish. Feel free to experiment, as both herbs can beautifully complement the tangy plums.
- Spicy Kick: Incorporate a pinch of red pepper flakes or sliced fresh chili into the mix for a surprising heat that dances on your tongue. This variation adds a fun twist for those who crave a little spice in their umeboshi!
- Smoky Flavor: Substitute traditional white liquor with a smoked version of shochu or bourbon to infuse a delightful smokiness into the mixture, enhancing its depth and character.
- Sweetened Version: Add a splash of honey or agave syrup to the brine for a touch of sweetness that balances the tartness, creating a unique flavor profile. This sweet variant is especially pleasing to those who prefer less acidity.
- Citrus Zing: Mix in some zest from a lemon or lime for a refreshing citrus twist that energizes each bite. The zing of citrus can brighten the rich taste of umeboshi beautifully!
- Garlic Kick: Mashed garlic can be incorporated during the vinegar soaking process, creating a bold umami surprise that adds complexity to your dish. The garlic will mellow and blend perfectly throughout the plums.
- Vinegar Varieties: Experiment with different types of vinegar, like apple cider or rice vinegar, to explore other flavor dimensions. Each vinegar will lend its own unique character, making your umeboshi example truly special!
What to Serve with Japanese Pickled Plums?
Add a burst of flavor to your meals by complementing these tangy delights with some thoughtfully chosen sides.
- Steamed Rice: Serve umeboshi over a bowl of warm steamed rice, enhancing its flavor with a salty-sour contrast that’s simply delightful.
- Grilled Fish: The fresh, flaky texture of grilled fish pairs beautifully with the acidity of pickled plums, creating a balanced dish that excites the palate.
- Noodle Salad: Toss some chilled noodles with vegetables and a splash of sesame oil—then top with umeboshi for a tangy kick. It’s a refreshing twist!
- Tofu Stir-Fry: The umami tones of stir-fried tofu blend perfectly with the tartness of umeboshi, making for a deliciously harmonious meal.
- Charcuterie Board: Incorporate these plums into a charcuterie board, where their bold flavors can elevate cheeses and cured meats for an impressive appetizer.
- Sake Pairing: Enjoy a chilled glass of dry sake alongside your umeboshi for an authentic Japanese dining experience; the subtle flavors complement each other wonderfully.
- Roasted Vegetables: A side of roasted seasonal vegetables can bring out the depth of flavor in umeboshi, as their caramelized sweetness contrasts beautifully with the tanginess.
- Miso Soup: Pair these pickled plums with a comforting bowl of miso soup; the plums add an unexpected but delightful flavor dimension.
- Fresh Fruit Salad: For a refreshing dessert, serve a fruit salad that includes sweet and tart fruits to play off the umami of the pickled plums.
- Matcha Green Tea: Sip on a warm cup of matcha green tea while enjoying umeboshi. The earthy flavors of the tea resonate beautifully with the tangy treats!
Make Ahead Options
These Japanese pickled plums are perfect for meal prep enthusiasts! You can wash and salt the 450 g of ume up to 24 hours in advance, making the initial steps a breeze. Simply clean and soak the plums, roll them in the white liquor, and massage in the sea salt before sealing the bag. For an even more flavorful outcome, prepare the red perilla leaves (akajiso) a few hours before serving by massaging in the salt and combining with the plum vinegar. This early prep ensures your umeboshi will still be just as delicious after fermentation, saving time in your busy week while still delivering a delightful, tangy twist to your meals!
Japanese Pickled Plums Recipe FAQs
What should I look for when selecting Japanese plums (ume)?
Absolutely! For the best umeboshi, choose plump, ripe yellow Japanese plums that are medium to large in size. They should feel firm to the touch, and avoid those with any dark spots or blemishes. Perfectly ripe plums have a slightly sweet aroma and are essential for that delicious tang!
How should I store my umeboshi after making them?
Once your homemade umeboshi is ready, you can keep them at room temperature in a cool, dark place for up to 3 months if unopened. However, if you’ve already opened the jar, transfer them to the refrigerator, where they will stay fresh for up to 6 months. Always ensure they are in an airtight container to maintain their flavor and quality.
Can I freeze Japanese pickled plums?
Very! For long-term storage, you can freeze umeboshi in a freezer-safe bag for up to 1 year. To ensure the best texture and flavor, allow them to thaw overnight in the fridge before using. When ready, they can be served straight from the fridge or at room temperature, making them an excellent tangy addition to your dishes!
What if my umeboshi didn’t turn out correctly?
Don’t worry! If your umeboshi appears excessively sour or has developed off odors, it might be because of inadequate salting or improper storage. Next time, be sure to massage the salt into the plums thoroughly and keep them in a cool, dark place during pickling. If they are just too tart for your taste, consider using them in recipes where a robust flavor is welcomed, such as dressings or marinades.
Are there any dietary considerations to keep in mind with umeboshi?
Definitely! Umeboshi is naturally low in calories and suitable for most diets; however, they can be high in salt due to the pickling process. If you have specific dietary restrictions concerns, especially regarding sodium intake or allergies to plums, proceed with caution. Additionally, since umeboshi sometimes contain additional ingredients like shochu, I recommend checking labels or making a pure batch without alcohol if you’re serving them to anyone with allergies.
How can I use leftover plum vinegar after making umeboshi?
Great question! The leftover plum vinegar is packed with flavor and can be a fantastic addition to dressings, marinades, or even as a zesty splash in cocktails. Just pour it into a clean jar and store it in the refrigerator. It can last for several months! Using the vinegar allows you to enjoy the distinct taste that complements various dishes beautifully.
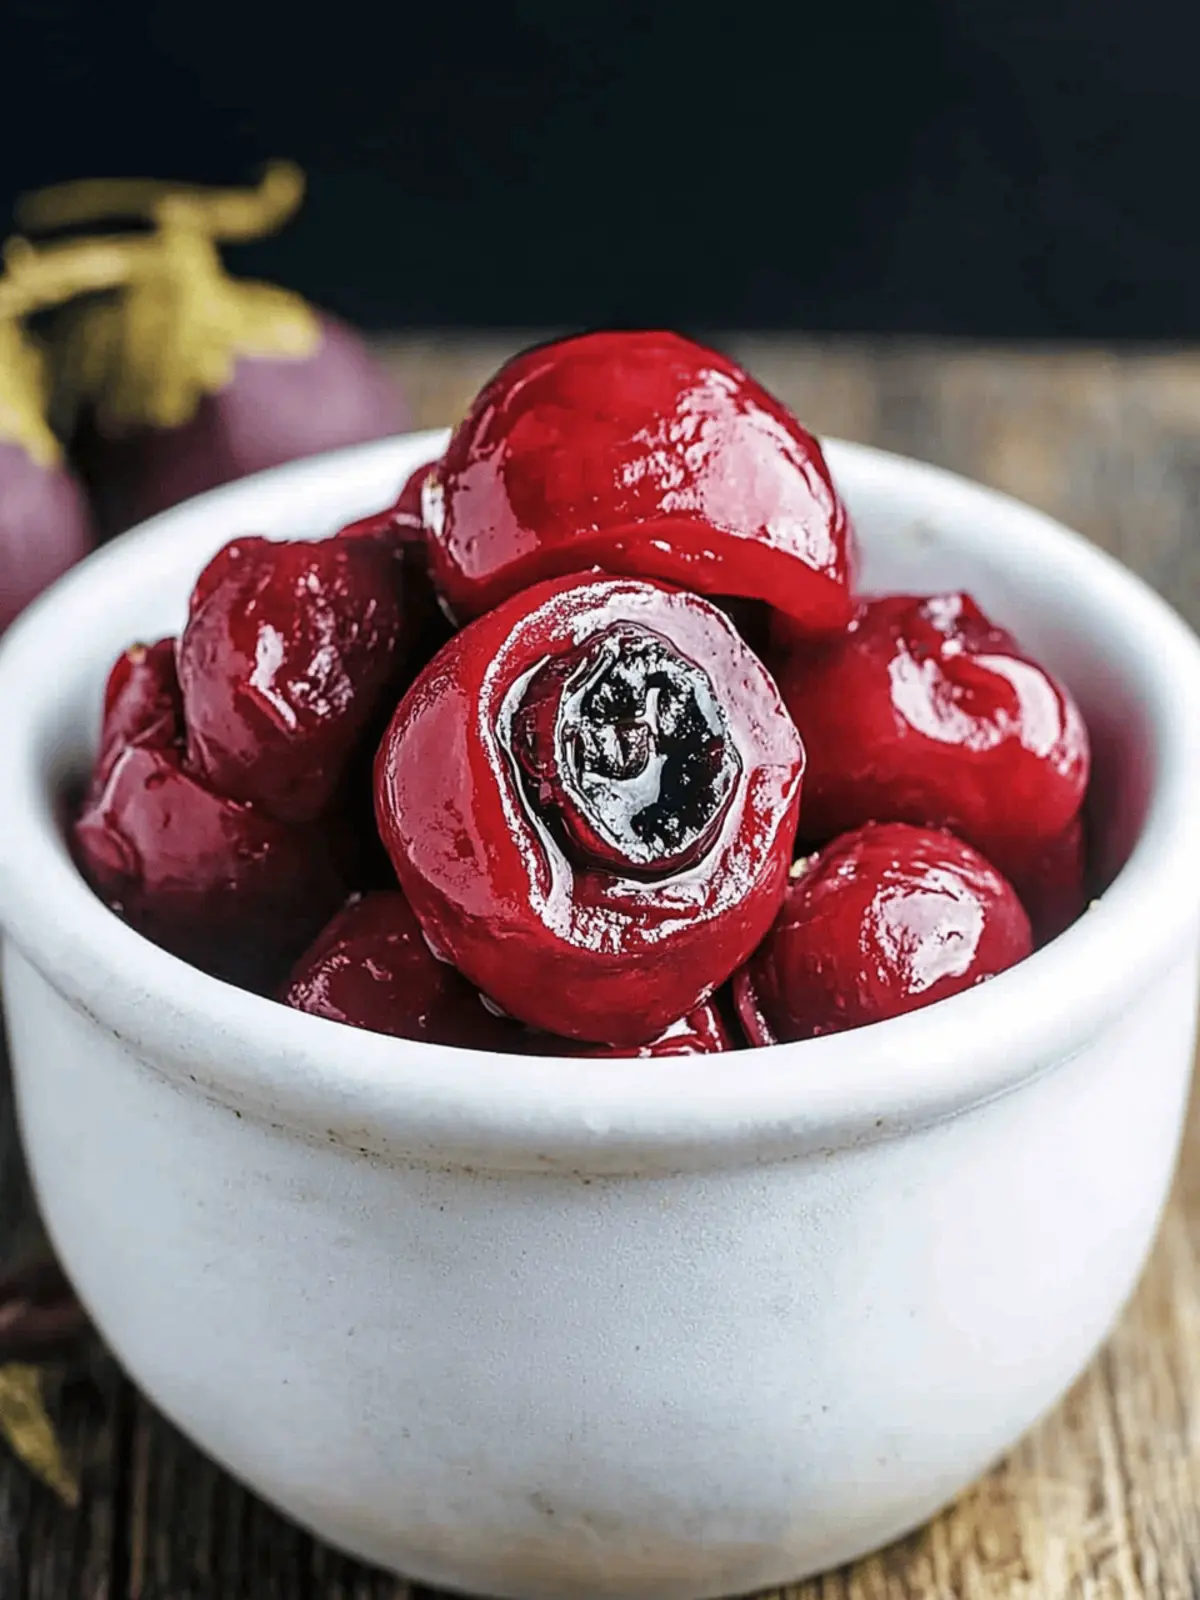
Delicious Japanese Pickled Plums for a Tangy Upgrade
Ingredients
Equipment
Method
- Wash the Japanese plums in a bowl filled with water. Gently scrub their surface and remove any stems with a bamboo skewer.
- Dry each plum using kitchen paper, then place them on a clean surface to ensure they’re moisture-free.
- Roll each plum in white liquor in a small bowl, then transfer them to a large sealable freezer bag.
- Massage sea salt into the bag with the plums until they’re fully coated.
- Seal the bag while pushing out excess air. Place it flat in a container, layering the plums without overlap.
- Rest the plums in a cool, dry place for 3-7 days, flipping the bag daily.
- Prepare the red perilla leaves by washing and cutting off the thick stems, then sprinkle half of the salt on the leaves and massage them.
- Squeeze the shiso leaves to remove astringent water.
- Repeat the salting process with the remaining salt, squeezing out more water.
- Combine accumulated plum vinegar with the shiso leaves, mixing well.
- Pour the shiso and vinegar mixture back into the bag with the plums, massaging to distribute evenly.
- Seal the bag tightly and place weight on top again. Store in a cool, dark place for 1-4 weeks.
- Sun-dry the ume for 2-3 days during a sunny stretch, allowing them to bask in sunlight.
- Rest the leftover plum vinegar with the plums in a glass jar for 5 days.
- Enjoy your homemade umeboshi, storing it in a cool, dark place for at least 3 months before indulging.

