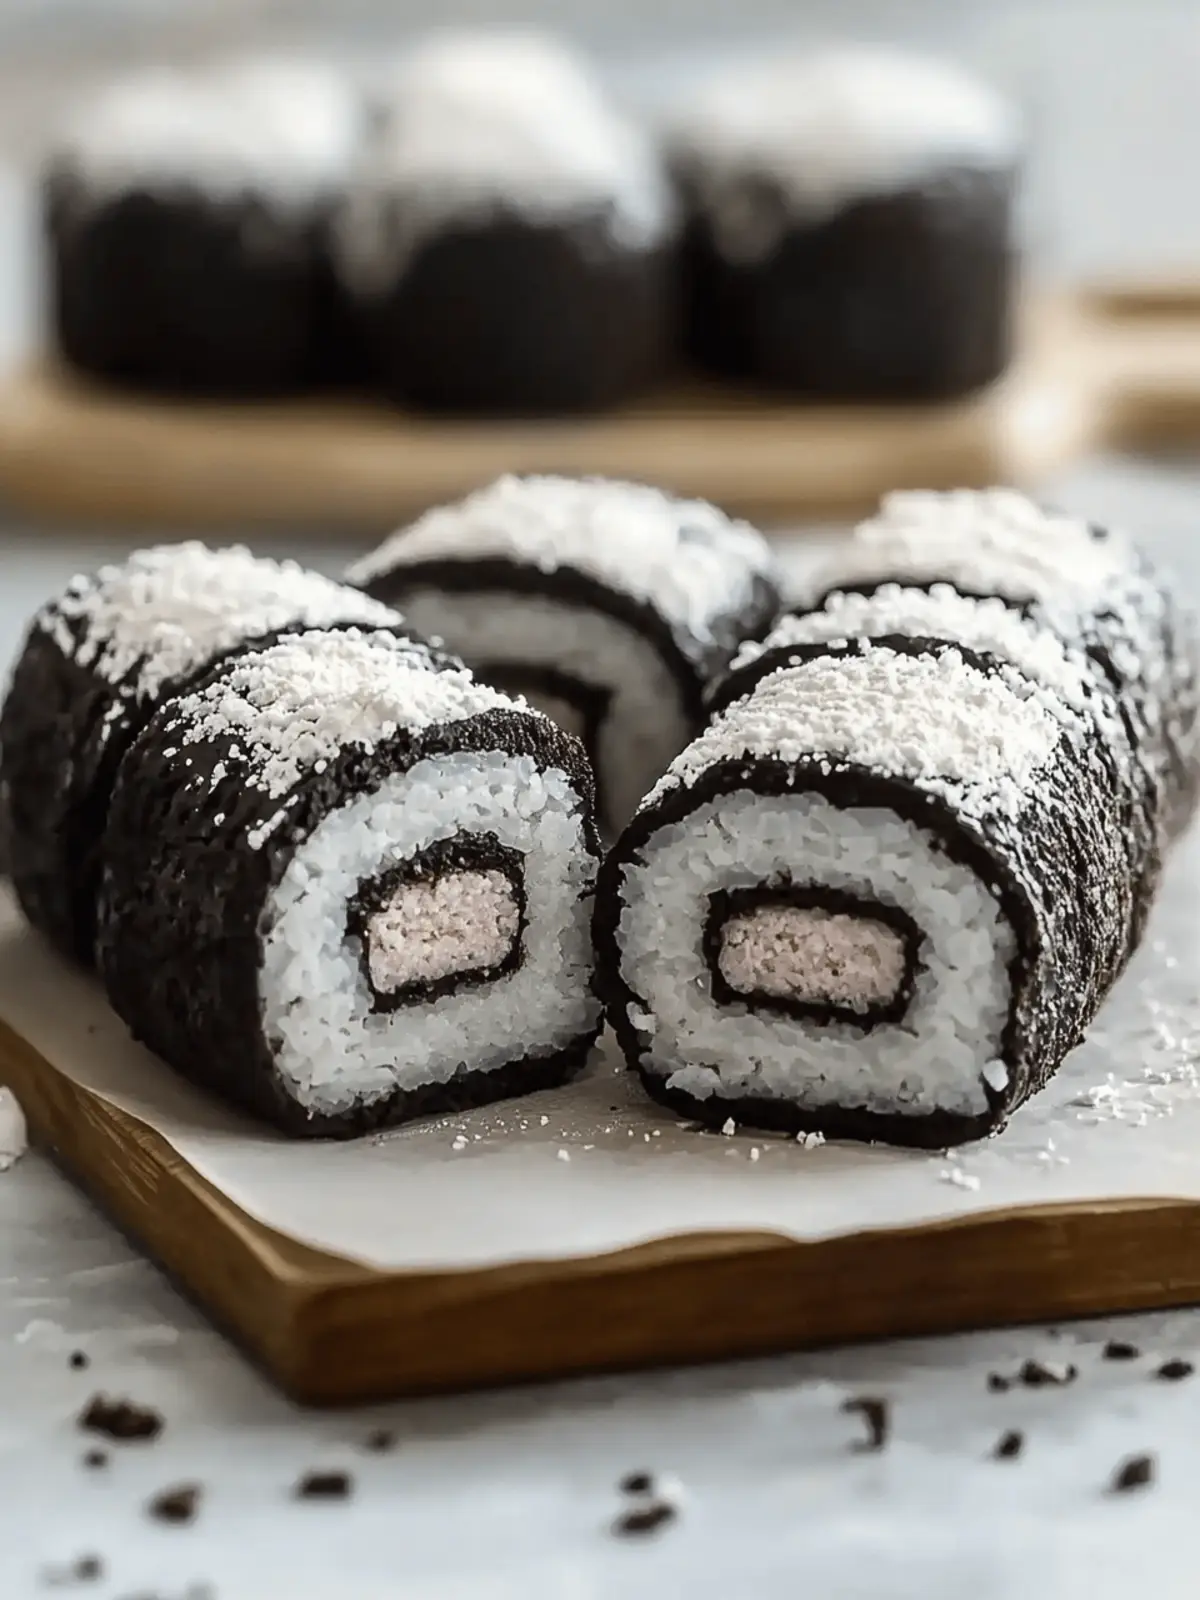
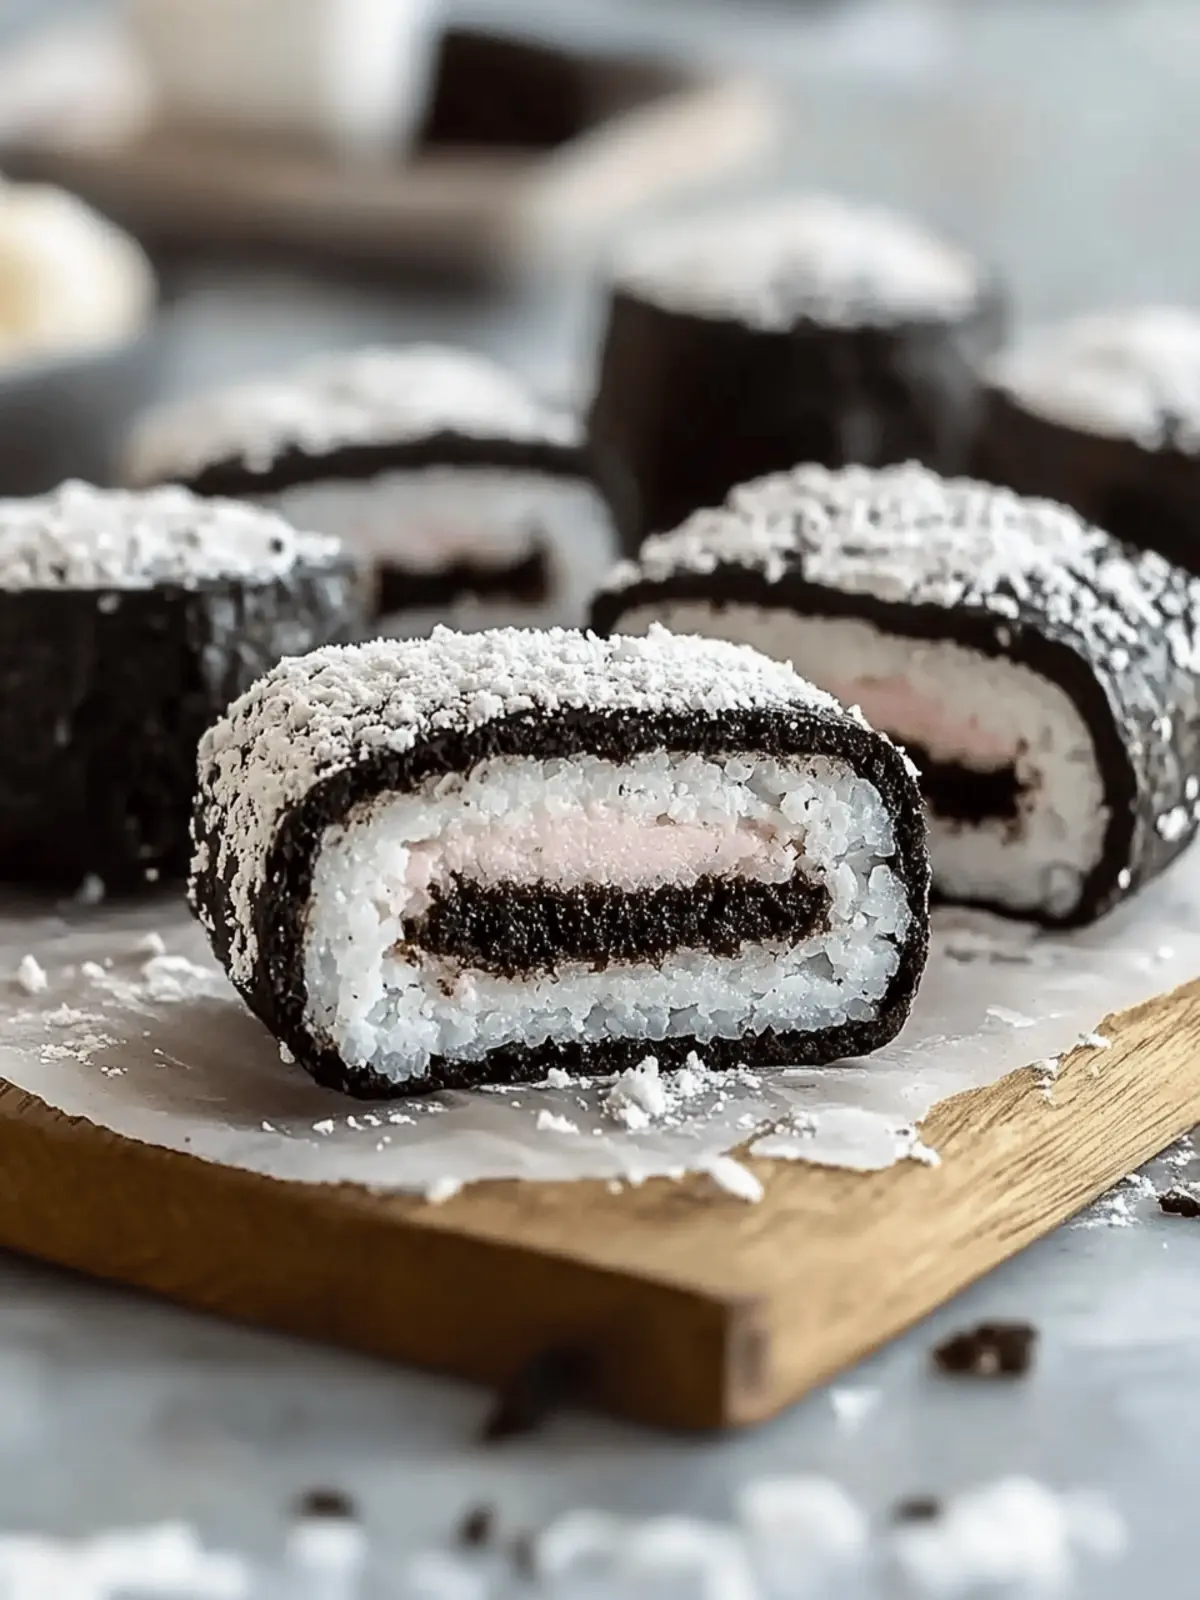
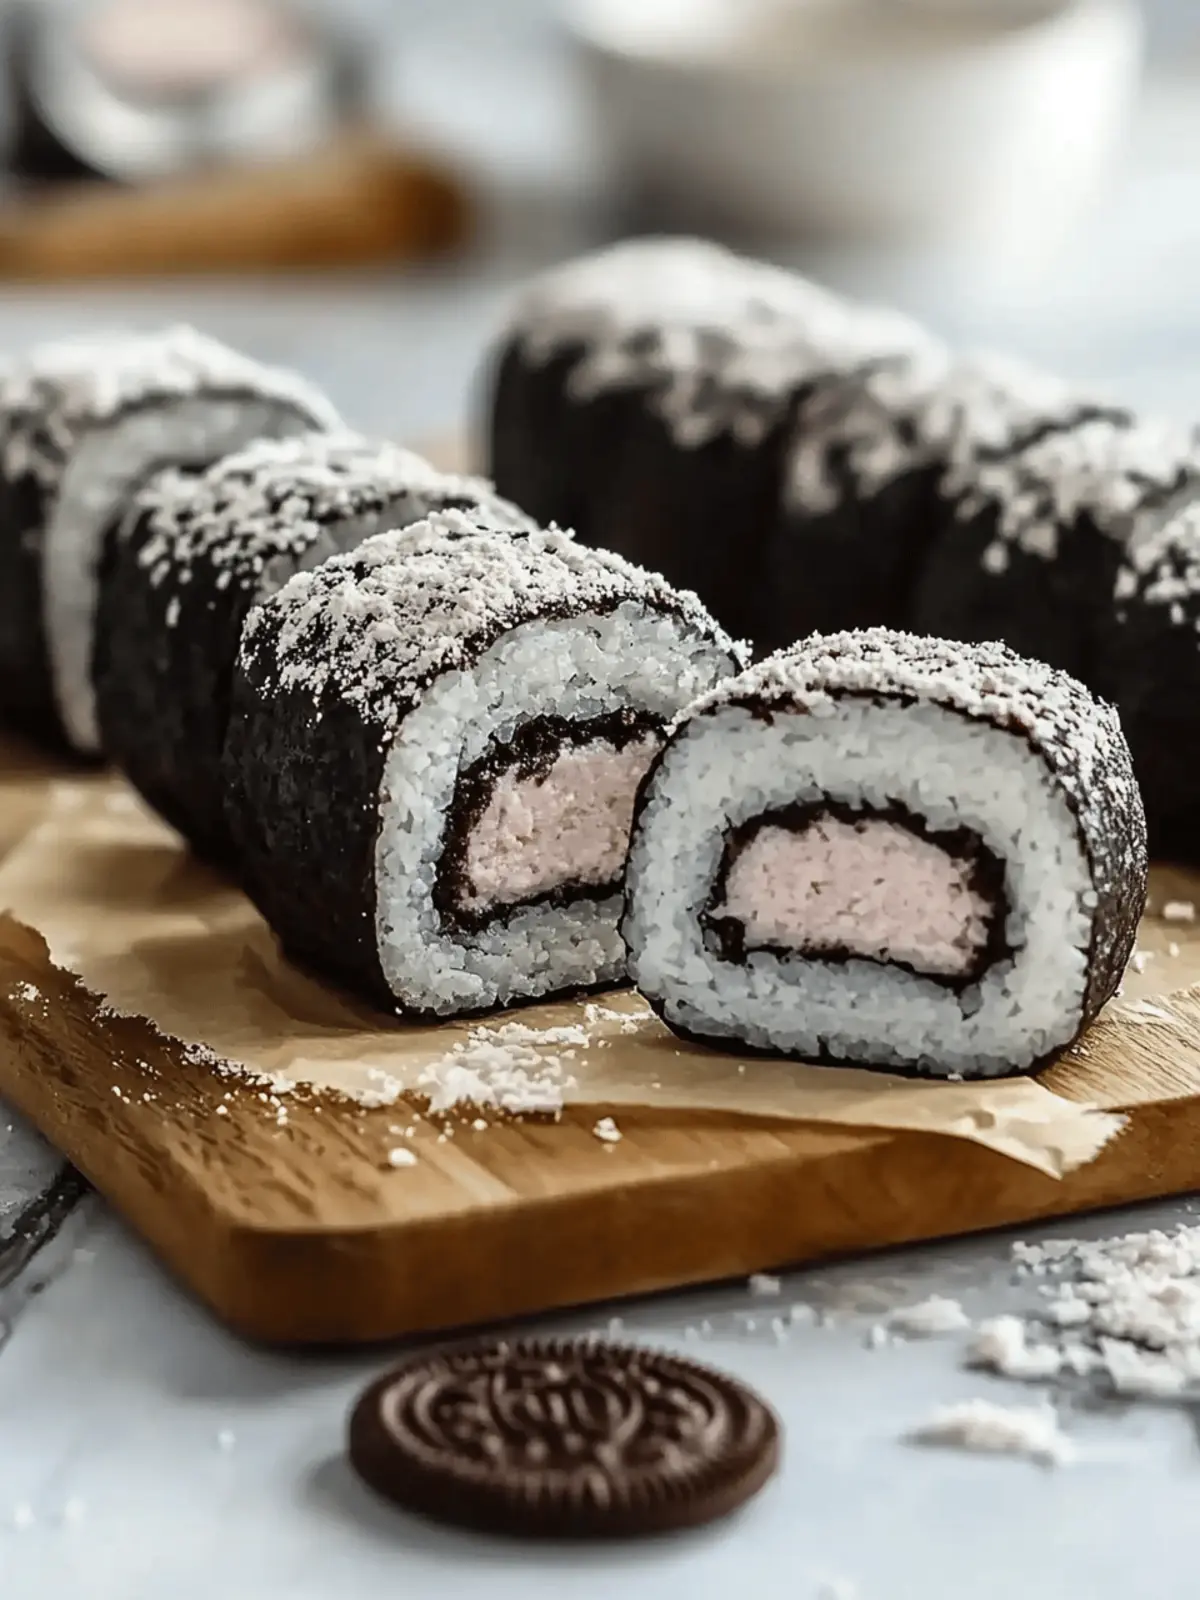
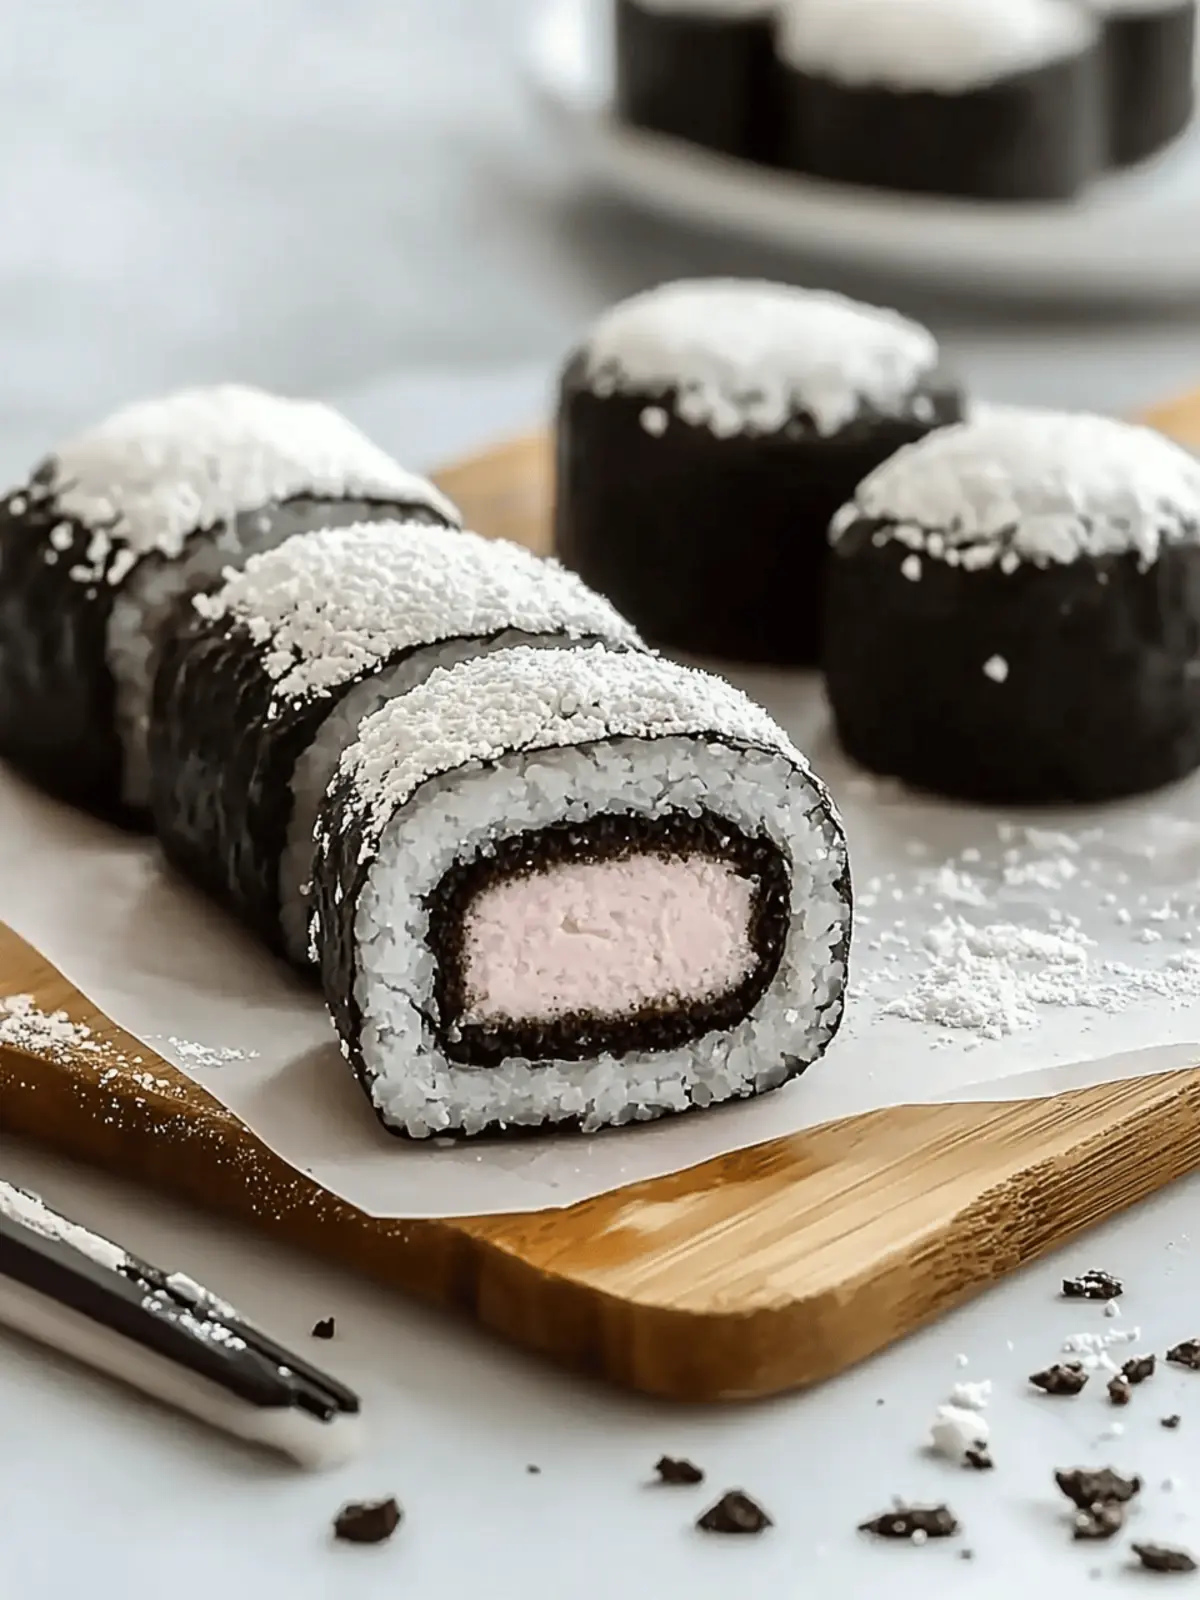
When a late-night snack craving strikes, my mind often wanders to the delightful crunch of an Oreo cookie. But what if I told you there’s a way to elevate this classic treat into something whimsical and downright fun? Enter Oreo Sushi—a two-ingredient dessert that transforms those familiar cookies into sushi roll-inspired bites. This playful recipe not only tantalizes the taste buds but also sparks creativity in the kitchen.
Picture this: the creamy filling of Oreos wrapped in a soft, dough-like cookie base, making it a hit with kiddos and adults alike. This quick and easy dessert is perfect for family gatherings, birthday parties, or simply satisfying that afternoon sweet tooth without the fuss. The best part? It’s versatile—you can customize flavors and toppings to keep things exciting. Ready to roll? Let’s dive into this delightful world of Oreo Sushi!
Why is Oreo Sushi the Perfect Dessert?
Simplicity at its Finest: With only two ingredients, anyone can whip up this delightful treat, even on a busy weeknight.
Kid-Friendly Fun: Kids love to help in the kitchen! This recipe encourages creativity and is a great way to bond over dessert-making.
Endless Customization: Feel free to mix it up with different Oreo flavors or add fresh fruit and delicious dips for extra flair.
Crowd-Pleasing Appeal: Whether it’s a birthday party or a casual movie night, Oreo Sushi will impress guests of all ages with its whimsical presentation.
Time-Saving Treat: In just a few minutes, you’ll have a unique dessert ready to serve, making it a go-to when cravings hit.
For more delightful dessert ideas, check out our easy homemade dessert options.
Oreo Sushi Ingredients
Discover what you need to create this fun two-ingredient dessert!
For the Base
- Oreo Cookies – The essential ingredient that gives this dish its familiar flavor; feel free to get creative and use different Oreo flavors like mint or peanut butter!
- Milk – Helps create a dough-like consistency; any type of milk, whether dairy or plant-based, will work beautifully.
For Optional Add-Ins
- Fresh Fruit – Consider adding slices of strawberries or bananas for extra sweetness and color!
- Dipping Sauces – Enhance your Oreo Sushi experience by serving with chocolate sauce, caramel, or whipped cream for that extra touch of decadence.
Feel inspired, and let’s get rolling with this delightful Oreo Sushi!
How to Make Oreo Sushi
-
Separate Oreos: Twist each Oreo apart to separate the cookies from the creamy filling. Place the cream in a bowl and the cookies in a zip-top bag.
-
Prepare Cookie Base: Crush the cookies into fine crumbs by rolling a pin over the bag. Once crushed, transfer the crumbs to a bowl and gradually mix in milk until you achieve a thick, dough-like paste.
-
Assemble Roll: On a flat surface, lay down a piece of plastic wrap. Spread the cookie paste evenly over it, leaving space around the edges. Next, layer the cream filling on top.
-
Roll and Slice: Using the plastic wrap, roll the mixture tightly into a log shape, being careful not to tear the wrap. Once rolled, slice it into bite-sized pieces that resemble sushi.
-
Serve: Arrange the delicious Oreo Sushi pieces on a plate, and consider adding dipping sauces like chocolate sauce or whipped cream for an extra treat.
Optional: Drizzle with melted chocolate for a luscious finish.
Exact quantities are listed in the recipe card below.
How to Store and Freeze Oreo Sushi
-
Fridge: Store any leftover Oreo Sushi in an airtight container for up to 2 days. This will keep them fresh and delicious for those late-night cravings!
-
Freezer: For longer storage, wrap individual slices in plastic wrap and place them in a freezer-safe bag. Freeze for up to 1 month, providing a cool treat for hot days.
-
Reheating: While best enjoyed cold, if you prefer, let the frozen Oreo Sushi thaw in the fridge before serving or enjoy them directly from the freezer for a refreshing crunch.
-
Serving Tips: If you’re ready to impress guests, consider adding fresh toppings just before serving for extra flair and flavor.
What to Serve with Oreo Sushi?
Elevate your Oreo Sushi experience with delightful pairings that add flavor and excitement to your dessert table.
-
Fresh Fruit Salad: A vibrant mix of berries and tropical fruits balances the sweetness of the Oreo roll, offering a refreshing contrast.
-
Chocolate Dipping Sauce: Rich and creamy, this sauce intensifies the chocolatey goodness of your Oreo Sushi, making each bite even more indulgent.
-
Whipped Cream: Light and fluffy, whipped cream provides a delightful texture that complements the creamy filling of the Oreo rolls perfectly.
-
Ice Cream: Vanilla or chocolate ice cream creates a deliciously cool accompaniment to your dessert, enhancing the creamy goodness of the Oreos.
-
Caramel Sauce: Drizzling caramel over your Oreo Sushi adds a sweet, buttery depth that enhances its whimsical appeal.
-
Milkshake: Pair with a classic milkshake for a fun combination; the shake echoes the flavors of the cookies and is perfect for sipping between bites.
These delightful accompaniments transform your Oreo Sushi into a dessert spread that’s sure to impress!
Make Ahead Options
These Oreo Sushi rolls are a fantastic treat for busy home cooks looking to save time! You can prepare the cookie base up to 24 hours in advance by crushing the Oreos and mixing them with milk, then refrigerating the mixture in an airtight container. To maintain the quality and prevent drying, make sure to wrap the mixture tightly or press plastic wrap directly onto its surface. When you’re ready to serve, simply spread the prepared cookie paste on plastic wrap, layer the cream filling, and roll as instructed. With these make-ahead options, you can enjoy delicious Oreo Sushi with minimal effort, making it perfect for last-minute gatherings or after-school treats.
Expert Tips for Oreo Sushi
-
Crush Fine: Ensure cookie crumbs are finely crushed to prevent lumps in the dough, leading to an optimal texture in your Oreo Sushi.
-
Roll Tightly: Rolling the mixture too loosely can make for uneven slices; be sure to roll it tightly but without tearing the plastic wrap.
-
Dipping Sauce Variety: Don’t hesitate to experiment with different dipping sauces; a drizzle of caramel or melted chocolate enhances the flavor of your Oreo Sushi.
-
Chill Before Slicing: For easier handling, chill the log in the fridge for 15-30 minutes before slicing; this helps maintain shape and firmness.
-
Play with Flavors: Try using different Oreo flavors like mint or peanut butter, or adding fresh fruit to create unique variations of your Oreo Sushi!
Oreo Sushi Variations
Get ready to put your own twist on this delightful treat!
-
Add Fruit: Incorporate fresh fruit slices like strawberries or bananas for vibrancy and a refreshing taste. It adds natural sweetness and a splash of color, making every bite exciting!
-
Different Oreos: Experiment with various Oreo flavors such as mint or peanut butter to create a new taste sensation. Each flavor brings its own unique character, offering endless fun for your palate.
-
Toppings: Dip your sushi in melted chocolate or drizzle with caramel, sprinkles, or crushed nuts for added flair. The extra crunch and sweetness will elevate your Oreo Sushi to another level of indulgence.
-
Frozen Option: Freeze the rolled sushi for a cool and refreshing dessert, perfect for warm weather. This icy twist can provide a delightful contrast on a hot summer day.
-
Nut Butter Spread: Instead of using just the cream filling, spread a layer of almond or peanut butter on top of the cookie base for an irresistible nutty flavor. This adds richness and depth to the overall profile.
-
Spicy Kick: For the adventurous, mix in a dash of cayenne pepper or chili powder to the cookie dough. The subtle heat will complement the sweetness of the Oreos for a surprising flavor combination!
-
Coconut Flakes: Roll the finished sushi log in shredded coconut before slicing for a tropical twist. The chewy texture of coconut adds an extra layer of delight to each bite.
-
Chocolate Hazelnut Spread: Swap the cream filling for a generous layer of chocolate-hazelnut spread for a double chocolate treat. This rich filling transforms your Oreo Sushi into a decadent experience!
Oreo Sushi Recipe FAQs
What kind of Oreos should I use for Oreo Sushi?
Absolutely, you can use any flavor of Oreo cookies that you prefer, such as classic, mint, or peanut butter. These variations not only add different flavors but also colorful presentations to your sushi rolls. The more the merrier when it comes to mixing up the flavors!
How long can I store Oreo Sushi in the fridge?
Oreo Sushi can be stored in an airtight container in the refrigerator for up to 2 days. If you want to enjoy it later, make sure to keep it sealed to maintain its freshness, so you can savor those delightful bites whenever the mood strikes.
Can I freeze Oreo Sushi?
Yes! To freeze Oreo Sushi, wrap individual pieces tightly in plastic wrap and place them in a freezer-safe bag. This way, you can freeze them for up to 1 month. When you’re ready to enjoy, you can let them thaw in the fridge for a few hours or enjoy them right out of the freezer for a refreshing treat!
What should I do if the cookie base is too crumbly?
If you’re encountering a crumbly mixture, simply add a touch more milk, one teaspoon at a time, until it reaches a thick dough-like consistency that holds together well. Make sure to mix it thoroughly as sometimes the cookies can absorb milk differently, causing varying textures.
Is Oreo Sushi safe for kids with allergies?
Great question! Since Oreo products may contain allergens like wheat, soy, or dairy, it’s essential to check the package for specific ingredient information. If you’re creating this recipe for someone with allergies, I recommend using allergy-friendly cookie alternatives and understanding the ingredients in your milk choice as well.
Can I use any type of milk in this recipe?
Very much so! You can use any milk, whether it’s dairy, almond, soy, or oat milk. Each type will affect the flavor subtly, but the key is to add just enough to create that perfect dough-like paste. Feel free to get creative based on personal preferences!

Oreo Sushi: Create Fun 2-Ingredient Dessert Rolls at Home
Ingredients
Equipment
Method
- Separate Oreos: Twist each Oreo apart to separate the cookies from the creamy filling. Place the cream in a bowl and the cookies in a zip-top bag.
- Prepare Cookie Base: Crush the cookies into fine crumbs by rolling a pin over the bag. Transfer the crumbs to a bowl and gradually mix in milk until you achieve a thick, dough-like paste.
- Assemble Roll: Lay down a piece of plastic wrap and spread the cookie paste evenly over it, leaving space around the edges. Layer the cream filling on top.
- Roll and Slice: Using the plastic wrap, roll the mixture tightly into a log shape. Once rolled, slice it into bite-sized pieces.
- Serve: Arrange the Oreo Sushi pieces on a plate and consider adding dipping sauces for an extra treat.


