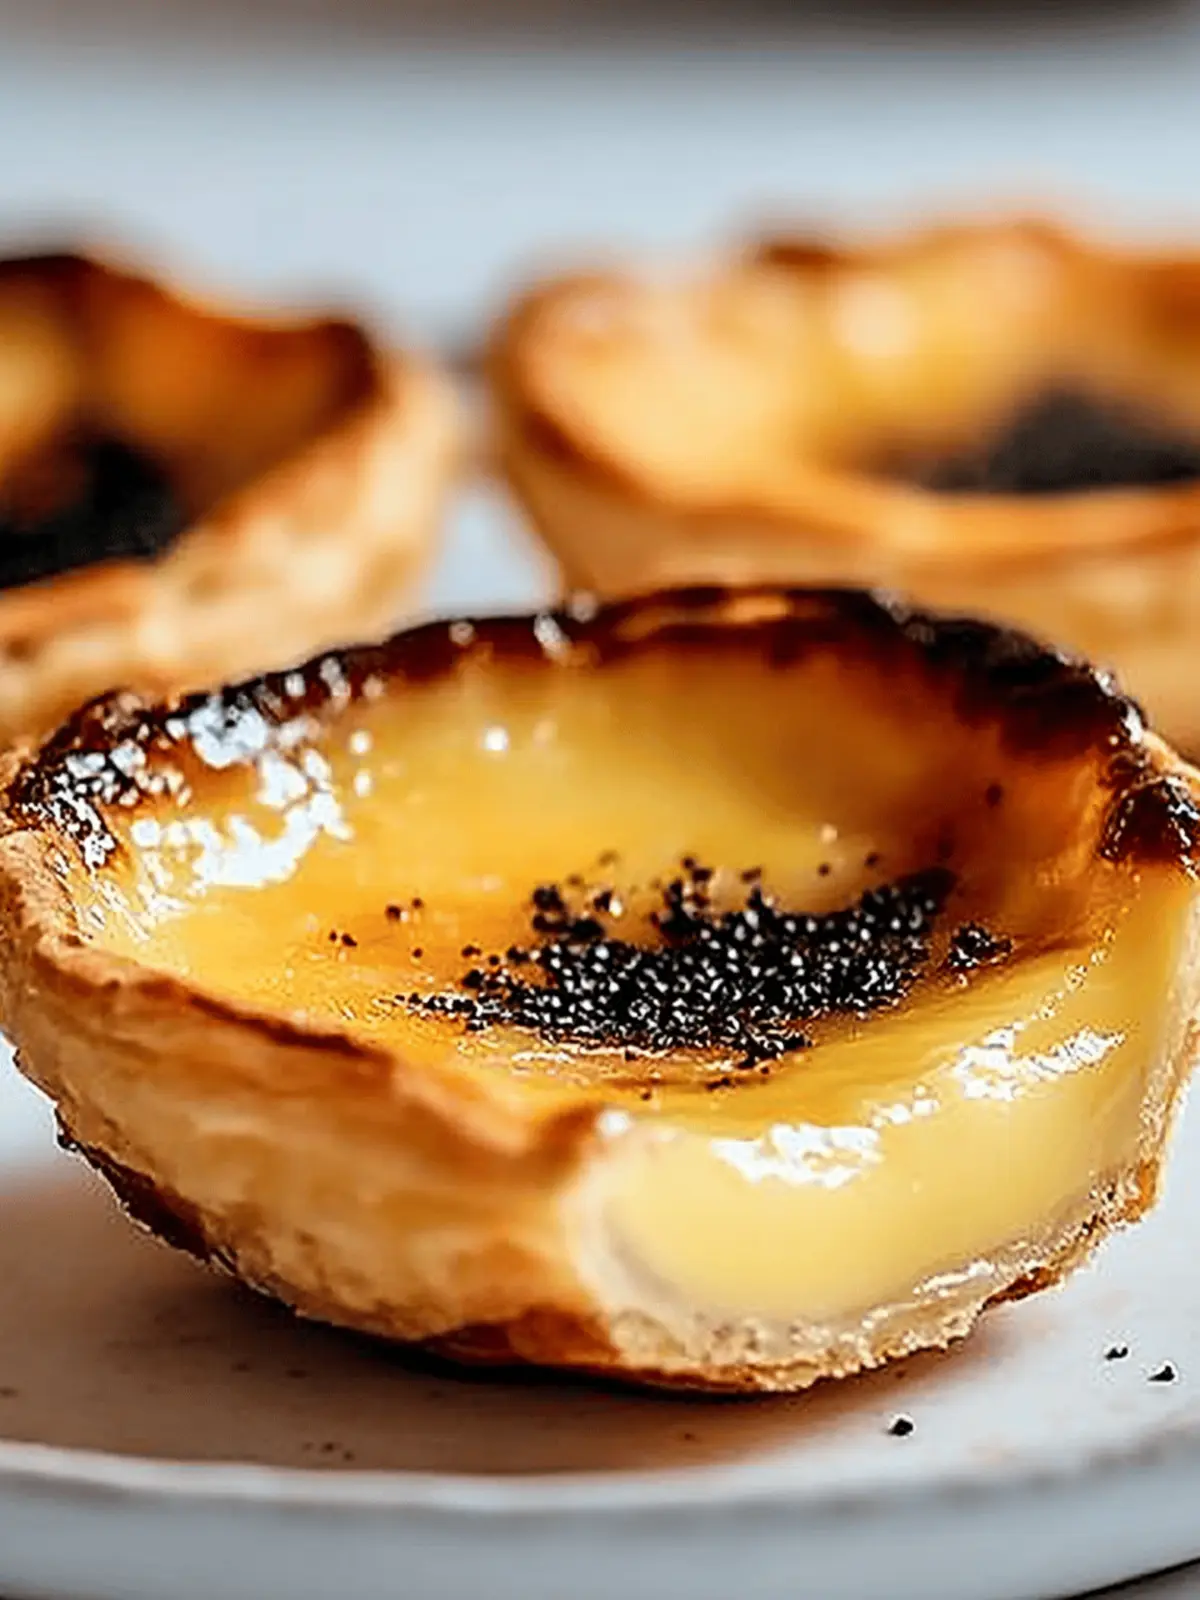
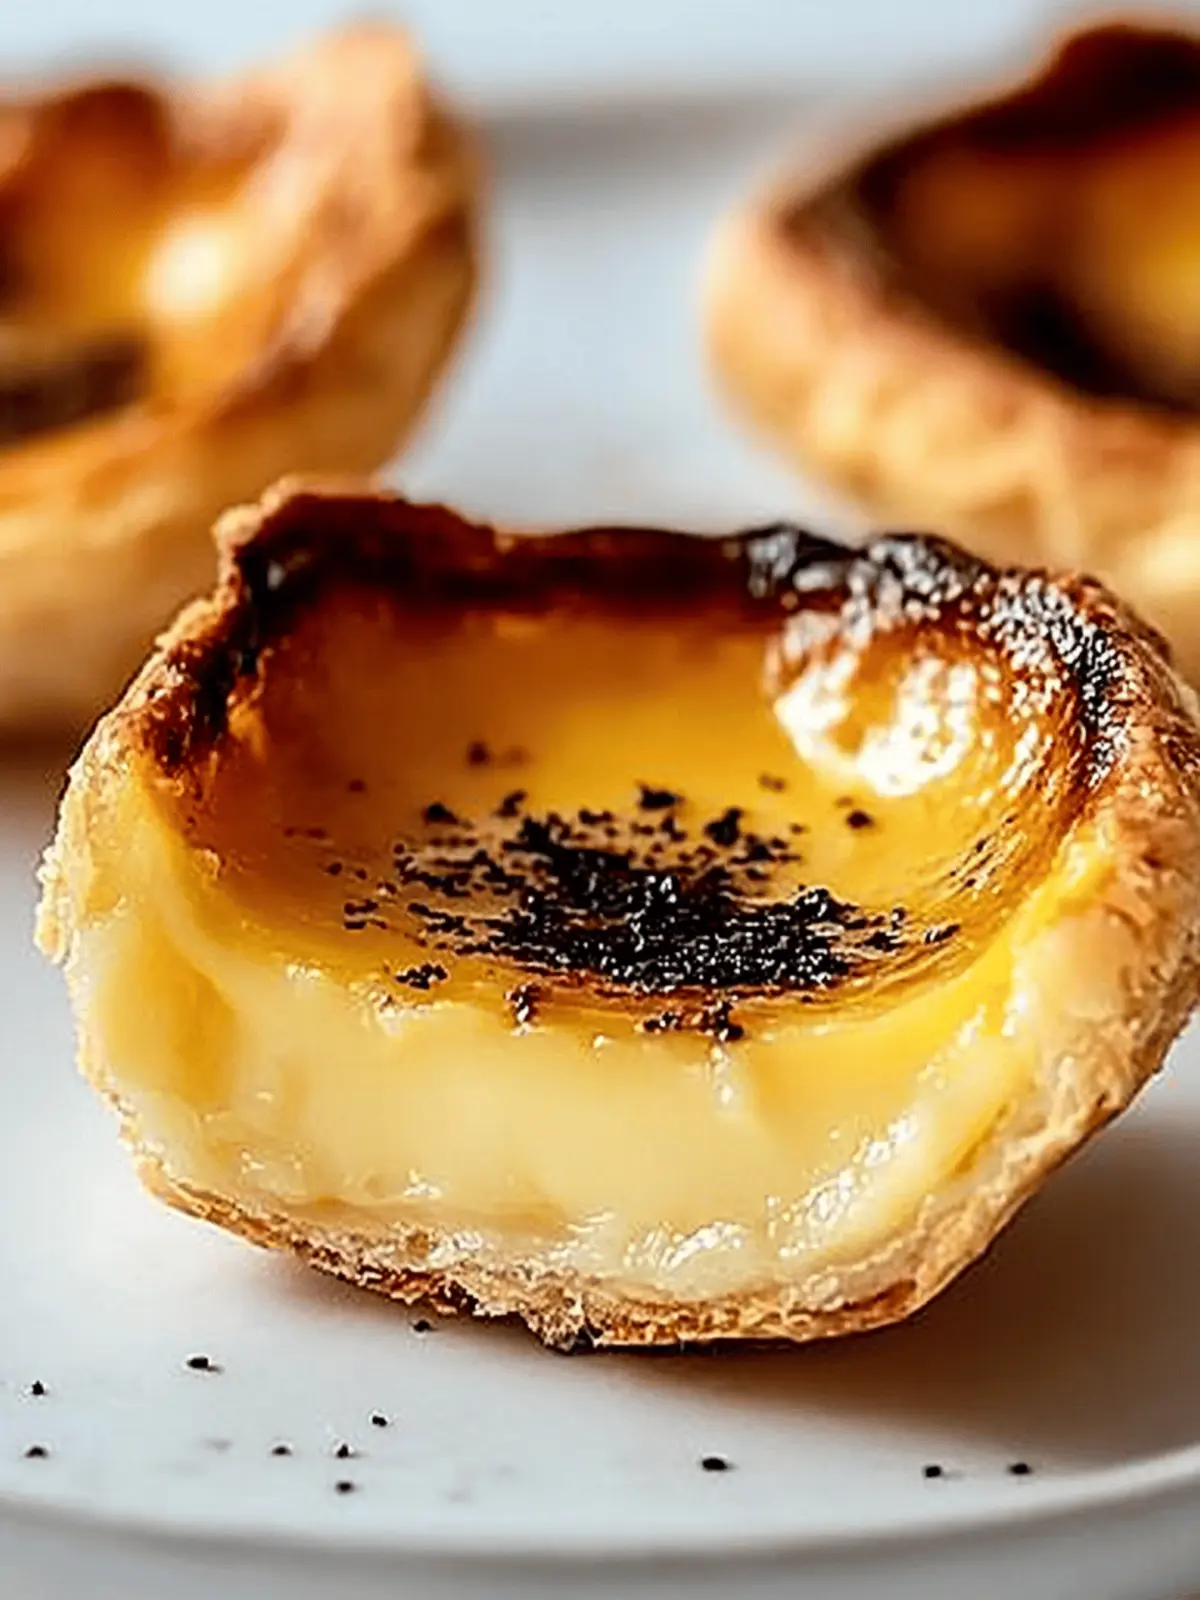
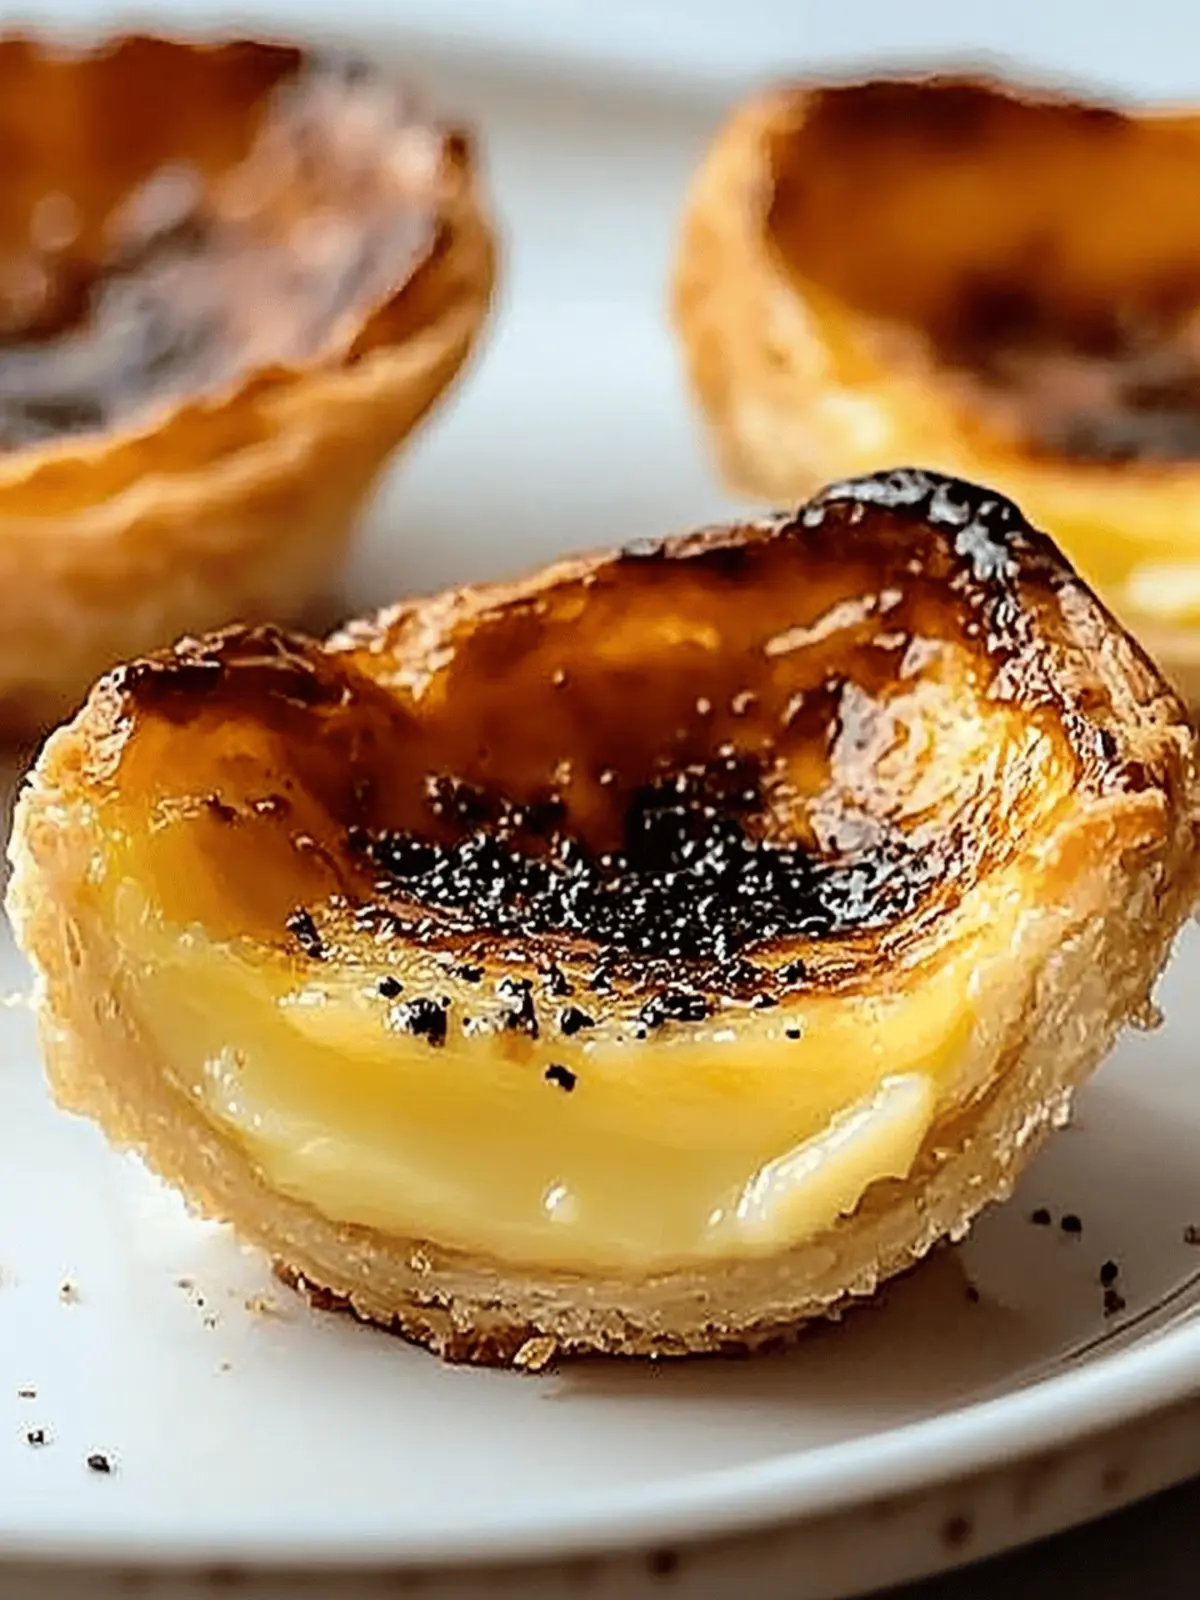
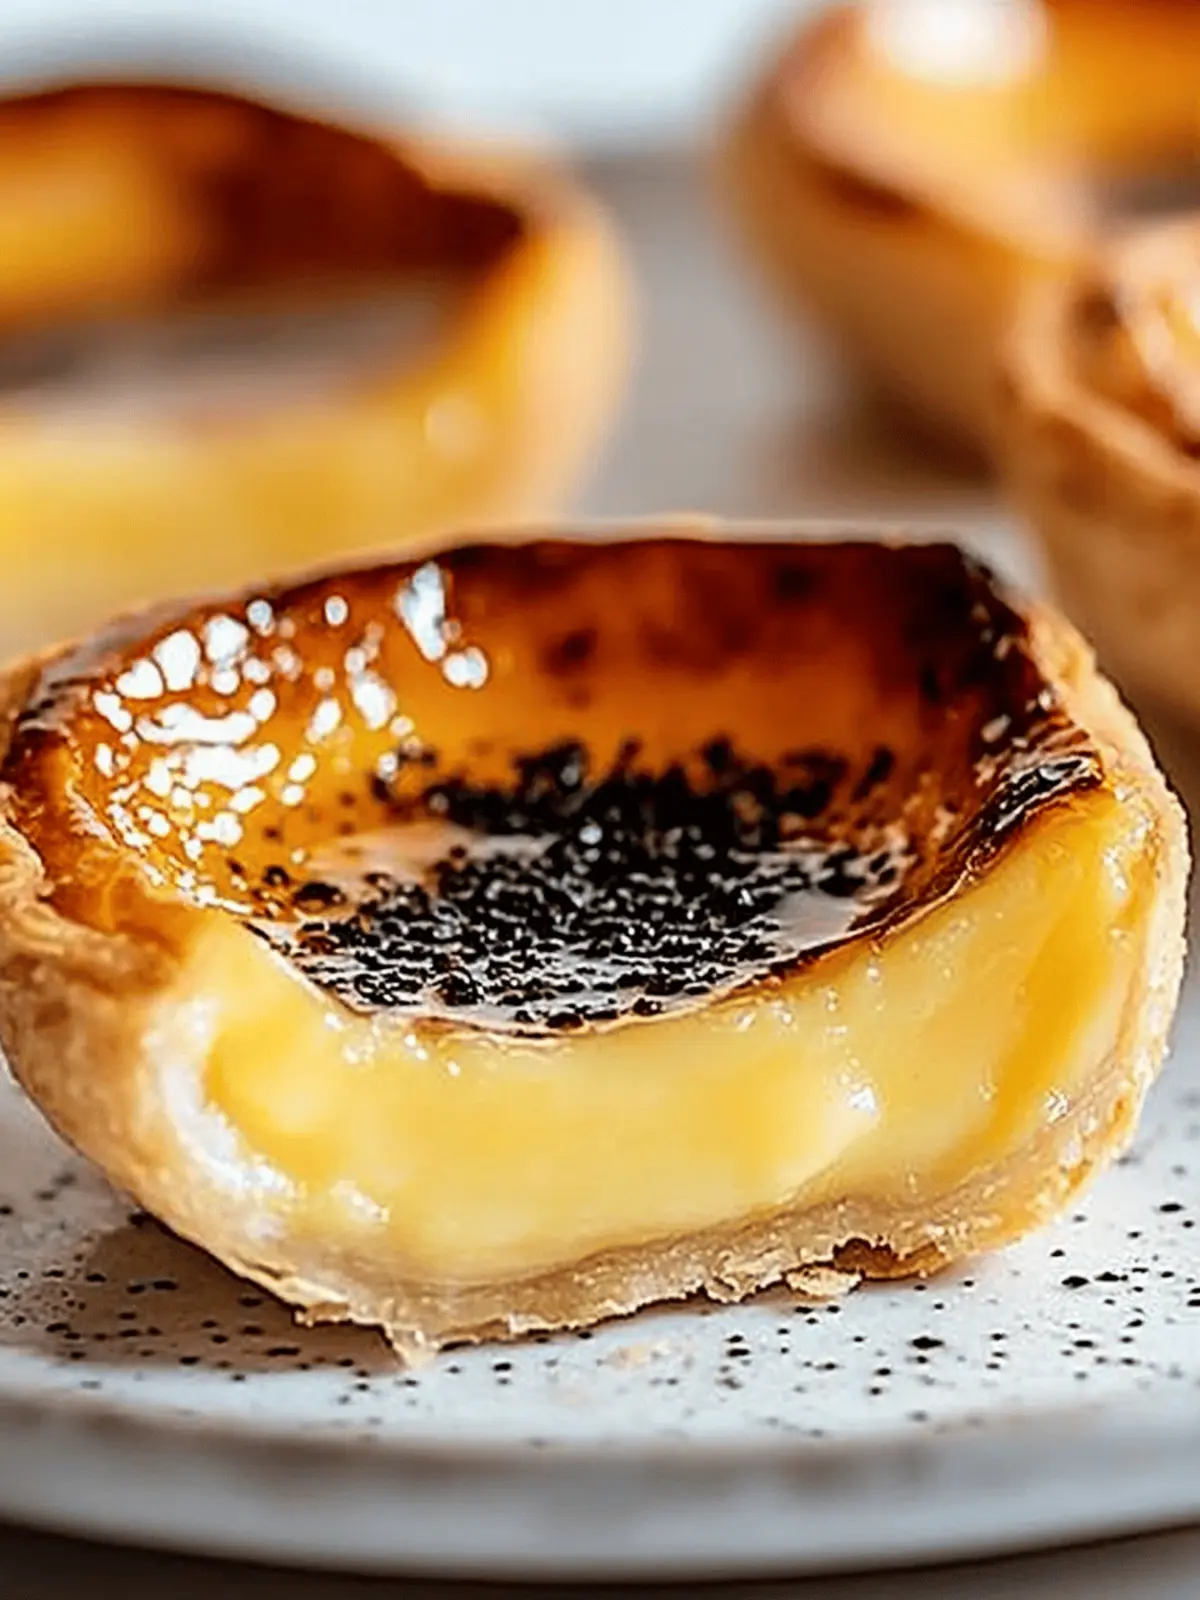
There’s something undeniably special about the first bite of a freshly baked Pastel de Nata. The crisp, flaky pastry cradling a velvety custard infused with warm cinnamon and a hint of lemon zest instantly transports me to the bustling streets of Lisbon. These delightful Portuguese tarts are more than just a dessert; they evoke moments of joy, laughter, and connection.
Recently, a friend invited me over for coffee, and as soon as I stepped inside, the sweet, buttery aroma wrapped around me like a cozy blanket. She had decided to make these classic treats, and let me tell you, I had to have the recipe. Perfect for impressing guests or simply satisfying that midday craving, Pastéis de Nata are surprisingly easy to whip up at home, giving you the satisfaction of creating something truly magical without the fuss.
Get ready to treat yourself and your loved ones to this delicious pastry that’s sure to become a beloved fixture in your kitchen!
Why is Pastel de Nata a must-try?
Delightfully Simple: This recipe makes Pastel de Nata accessible to all skill levels; even beginners can impress with these flaky treats.
Irresistible Flavor: The creamy custard, combined with hints of lemon and cinnamon, creates a burst of flavor that dances on your palate.
Perfect for Any Occasion: Whether you’re hosting a gathering or enjoying a quiet evening at home, these tarts wow guests while satisfying your sweet tooth.
Quick Prep: With just 20 minutes of prep time, you’ll have a delicious dessert ready in no time, making it an ideal weekday treat.
Culinary Adventure: Making these tarts is like taking a trip to Portugal right in your kitchen! For more related treats, check out my post on Portuguese desserts.
Crowd-Pleasing Treat: Everyone loves a warm Pastel de Nata, guaranteeing smiles around the table!
Pastel de Nata Ingredients
• Get ready for a delightful baking journey!
For the Pastry
- Frozen puff pastry – This flaky base provides the perfect crispiness for your Pastel de Nata.
- Flour for dusting – Dust the surface to prevent sticking while rolling out the pastry.
For the Custard
- Granulated sugar – Sweetens the custard and balances the flavors beautifully.
- All-purpose flour – Helps thicken the custard for a silky consistency.
- Whole milk – Ensures a rich and creamy filling that melts in your mouth.
- Cinnamon stick – Infuses warm spice into the custard for that delightful touch.
- Lemon peel – Adds a bright, zesty note that lifts the overall flavor of the tart.
- Large egg yolks – Give the custard its luscious texture and golden hue.
For the Topping (Optional)
- Ground cinnamon – Sprinkle on top for an extra layer of aromatic flavor.
- Powdered sugar – A light dusting adds a sweet finish to your beautiful pastries.
Get ready to create irresistible Pastel de Nata that will leave everyone asking for seconds!
How to Make Pastel de Nata
-
Roll out the puff pastry on a lightly floured surface. Shape it into a thin rectangle, then gently roll it up tightly from one short end to the other, resembling a jelly roll. Slice into 12 equal pieces.
-
Shape the pastry by placing each piece into a muffin tin cup, cut-side down. Press and stretch the dough evenly to create a lovely base and sides in each cup.
-
Prepare the custard by whisking together the sugar, all-purpose flour, and a small amount of the milk in a saucepan to create a smooth paste. Gradually add the rest of the milk, cinnamon stick, and lemon peel while cooking over medium heat. Whisk constantly until it starts to simmer and thicken.
-
Steep the mixture by removing it from heat and letting everything sit for about 10 minutes. This allows the flavors to blend beautifully.
-
Whisk the egg yolks in a separate bowl. Once the cinnamon stick and lemon peel are taken out of the milk mixture, slowly whisk the warm milk into the egg yolks.
-
Strain the custard through a fine mesh sieve for a perfectly smooth filling. Let it cool slightly while you continue the process.
-
Preheat your oven to 500°F (260°C) or as high as your oven safely permits. This high temperature is key for achieving that characteristic blistering.
-
Fill the pastry cups by pouring the custard into each one, filling about 3/4 full. Bake for 12–15 minutes, or until the custard puffs up and the tops become beautifully blistered and golden brown.
-
Cool the tarts in the tin for 5 minutes before transferring them to a wire rack to cool completely. This step ensures they hold their shape while cooling.
Optional: Dust with ground cinnamon and powdered sugar for an extra touch of sweetness.
Exact quantities are listed in the recipe card below.
Make Ahead Options
These Pastel de Nata are an excellent choice for busy home cooks looking to save time! You can prepare the pastry cups and store them in the refrigerator for up to 24 hours; simply cover them with plastic wrap to prevent drying out. Additionally, the custard filling can be made a day ahead and refrigerated—just remember to strain it and let it cool before storing. When you’re ready to indulge, fill the pastry cups with the chilled custard and bake as directed for about 12–15 minutes. This way, your delightful Pastel de Nata will be just as delicious and perfectly puffed, making your meal planning easier and hassle-free!
Pastel de Nata Variations & Substitutions
Feel free to make these delightful tarts your own with a few simple tweaks that will elevate their flavor and keep things exciting!
- Gluten-Free: Substitute the all-purpose flour with a gluten-free flour blend; these tarts will still deliver deliciousness without the gluten!
- Dairy-Free: Replace whole milk with almond or coconut milk and use dairy-free puff pastry for a lovely vegan version of these treats.
- Citrus Burst: Swap the lemon peel for lime or orange peel for a refreshing twist that brightens up the custard beautifully.
- Spice It Up: Add a pinch of nutmeg or cardamom into the milk mixture for a unique flavor profile that will surprise your taste buds.
- Chocolate Delight: Incorporate dark chocolate chips into the custard for a rich, indulgent taste, turning your Pastel de Nata into a little chocolate fantasy.
- Nutty Touch: Sprinkle crushed almonds or hazelnuts over the filling before baking to add crunch and a delightful nutty flavor contrast.
- Berry Boost: Top the custard with fresh berries like raspberries or blueberries before serving for an inviting burst of color and freshness.
- Extra Sweetness: Drizzle a sensational caramel or white chocolate sauce atop the tarts for an extra touch of indulgence that will make everyone swoon.
How to Store and Freeze Pastel de Nata
Room Temperature: Enjoy your Pastel de Nata fresh for the best experience! If left out for a few hours, consume them the same day to maintain flavor and texture.
Fridge: Store any leftovers in an airtight container in the fridge for up to 3 days. This will keep the custard creamy and the pastry less soggy.
Freezer: You can freeze the unbaked pastry cups for up to 2 months. Prepare your custard, fill the cups, then wrap tightly in plastic wrap before placing them in a freezer bag.
Reheating: If you’re reheating baked tarts, do so in a preheated oven at 350°F (175°C) for about 10 minutes. This will help restore the crispiness of the pastry.
What to Serve with Pastel de Nata?
Crafting the perfect dining experience around these luscious tarts can elevate any occasion from simple to sensational.
-
Espresso Coffee: The rich, bold flavors of espresso beautifully contrast the sweetness and creaminess of the tarts, making for a delightful pairing.
-
Fresh Berries: Juicy strawberries or raspberries add a refreshing burst of flavor and color, complementing the custard’s richness perfectly.
-
Whipped Cream: Lightly sweetened whipped cream adds an airy texture that balances the dense filling, creating a harmonious dessert experience.
-
Citrus Salad: A zesty citrus salad made of oranges and grapefruits brings brightness and a touch of acidity, cutting through the pastry’s sweetness.
-
Vanilla Ice Cream: Serve with a scoop of smooth vanilla ice cream for an update on a classic dessert combo that offers creaminess with each bite.
-
Port Wine: A glass of chilled Port wine introduces deep, fruity notes that enhance the custard’s flavor, making it a sophisticated choice.
-
Chai Tea: The warm spices in chai tea echo the cinnamon in the tarts, creating a cozy and aromatic pairing that warms the soul.
-
Chocolate Drizzle: A drizzle of dark chocolate ganache adds richness and elegance, turning these tarts into a gourmet dessert treat.
-
Golden Milk: This turmeric tea offers a unique, spiced flavor profile that complements the sweet and creamy notes of the Pastel de Nata.
Tips for the Best Pastel de Nata
-
Chill Ingredients: Ensure the puff pastry and ingredients are cold before starting; warm ingredients can affect the pastry’s flakiness.
-
Don’t Rush the Steeping: Allowing the milk mixture to steep with cinnamon and lemon peel enhances flavor; don’t skip this step!
-
Watch the Oven: Keep an eye on your tarts while baking. Overbaking can lead to burnt tops; you want them golden and blistered.
-
Thickening Custard: If your custard isn’t thickening, ensure your milk mixture is hot enough before combining with egg yolks.
-
Serve Fresh: For the best experience, serve your Pastel de Nata warm or at room temperature; this preserves the delightful textures!
Pastel de Nata Recipe FAQs
How do I select the best puff pastry?
Absolutely! Look for frozen puff pastry that’s cold and still firm; it should be nicely rolled and without any dark spots or tears. High-quality brands usually offer a better flakiness once baked, and I often recommend checking the expiration date to ensure freshness.
How should I store leftover Pastel de Nata?
Very important! Keep any leftovers in an airtight container in the fridge for up to 3 days. This storage method helps maintain the custard’s creaminess while preventing the pastry from becoming too soggy. Before serving, let them come to room temperature for the best taste!
Can I freeze unbaked Pastel de Nata?
Absolutely! After filling the pastry cups with custard, wrap tightly in plastic wrap and place in a freezer bag. They can be stored for up to 2 months. When you’re ready to bake, simply remove from the freezer and bake directly from frozen—just add an extra couple of minutes to the baking time.
What should I do if my custard is too runny?
Oh, no worries! If you find your custard isn’t thickening, ensure your milk mixture is hot enough before whisking in the egg yolks. If it’s already too runny, gently reheat the custard mixture on low while whisking in another tablespoon of flour until the desired consistency is reached.
Are Pastel de Nata suitable for gluten-free diets?
Very much so! To make gluten-free Pastel de Nata, you can use gluten-free puff pastry available in stores. Ensure that all other ingredients, including the flour, are certified gluten-free. The flavor will remain delicious, and you won’t miss the traditional version!
Can dogs eat Pastel de Nata?
Though it may be tempting to share, it’s best not to give your furry friends Pastel de Nata. The high sugar and egg content can be difficult for their stomachs to digest, and some ingredients like milk may not suit all dogs. Stick to pet-safe treats instead!

Irresistible Pastel de Nata: Your Homemade Sweet Escape
Ingredients
Equipment
Method
- Roll out the puff pastry on a lightly floured surface. Shape it into a thin rectangle, then gently roll it up tightly from one short end to the other, resembling a jelly roll. Slice into 12 equal pieces.
- Shape the pastry by placing each piece into a muffin tin cup, cut-side down. Press and stretch the dough evenly to create a lovely base and sides in each cup.
- Prepare the custard by whisking together the sugar, all-purpose flour, and a small amount of the milk in a saucepan to create a smooth paste. Gradually add the rest of the milk, cinnamon stick, and lemon peel while cooking over medium heat. Whisk constantly until it starts to simmer and thicken.
- Steep the mixture by removing it from heat and letting everything sit for about 10 minutes. This allows the flavors to blend beautifully.
- Whisk the egg yolks in a separate bowl. Once the cinnamon stick and lemon peel are taken out of the milk mixture, slowly whisk the warm milk into the egg yolks.
- Strain the custard through a fine mesh sieve for a perfectly smooth filling. Let it cool slightly while you continue the process.
- Preheat your oven to 500°F (260°C) or as high as your oven safely permits. This high temperature is key for achieving that characteristic blistering.
- Fill the pastry cups by pouring the custard into each one, filling about 3/4 full. Bake for 12–15 minutes, or until the custard puffs up and the tops become beautifully blistered and golden brown.
- Cool the tarts in the tin for 5 minutes before transferring them to a wire rack to cool completely. This step ensures they hold their shape while cooling.
- Optional: Dust with ground cinnamon and powdered sugar for an extra touch of sweetness.


