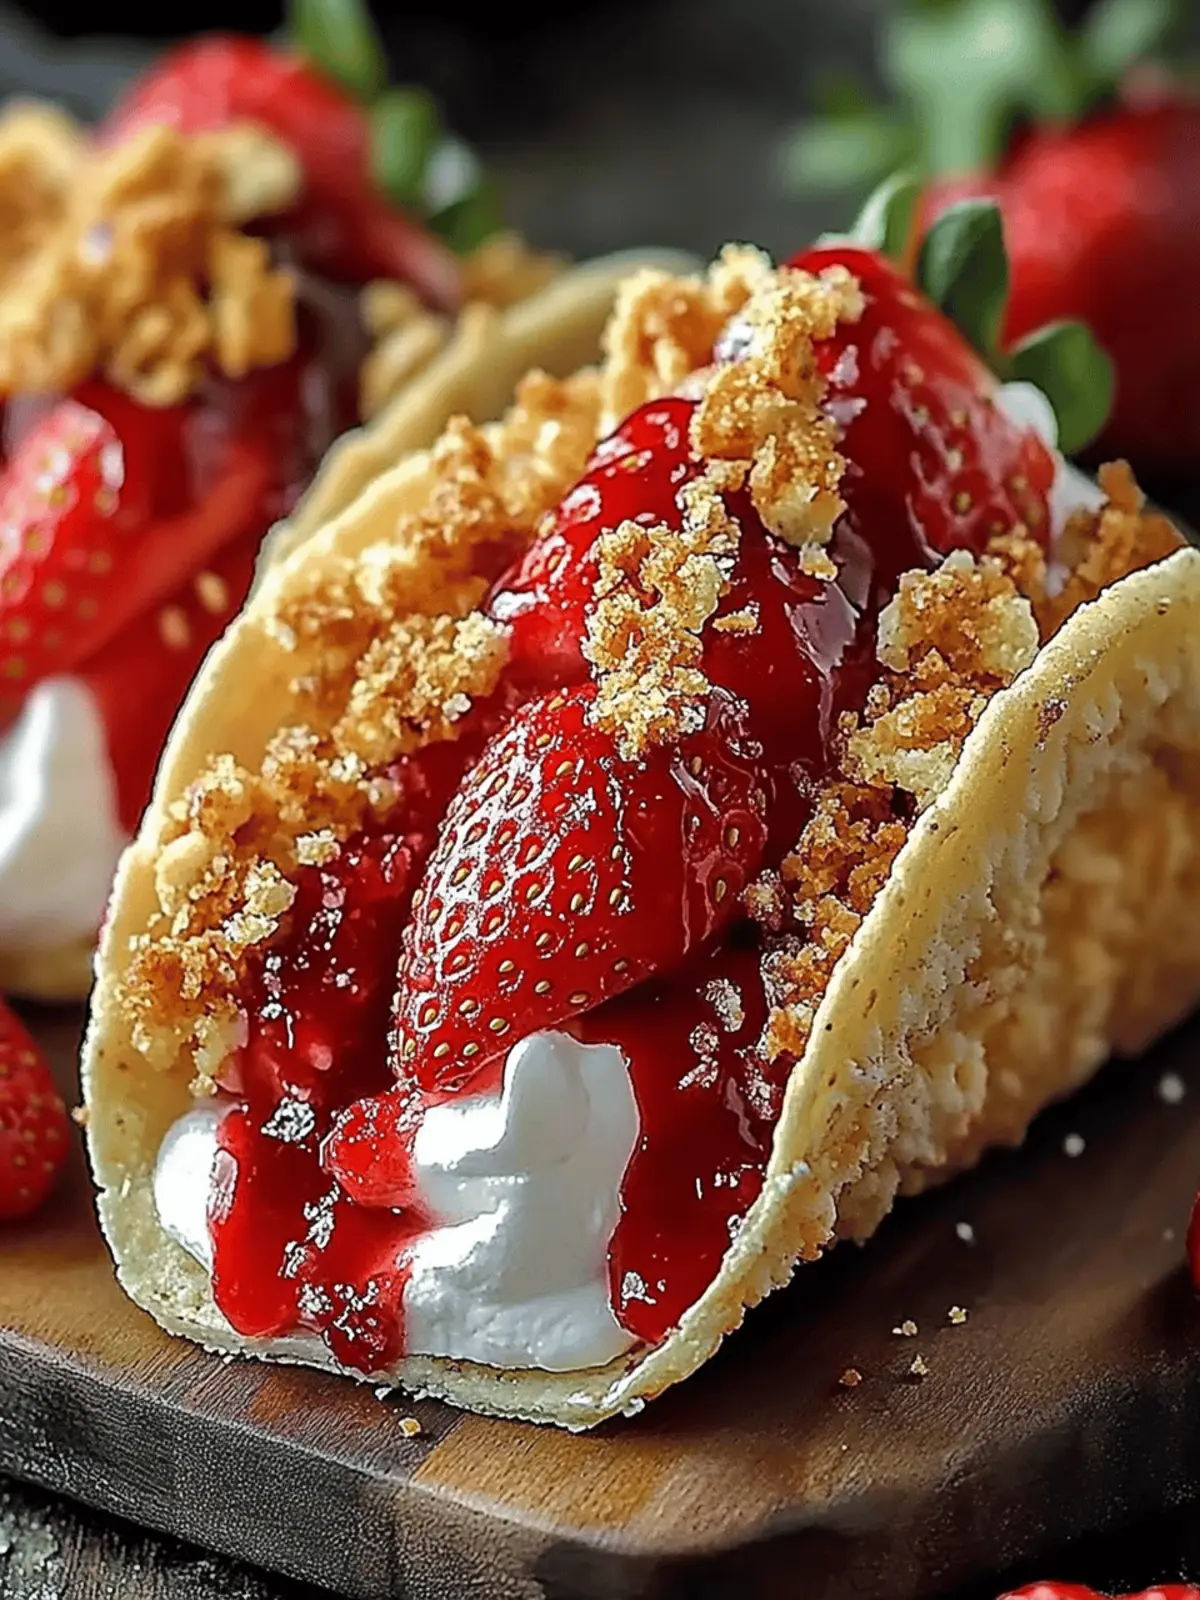
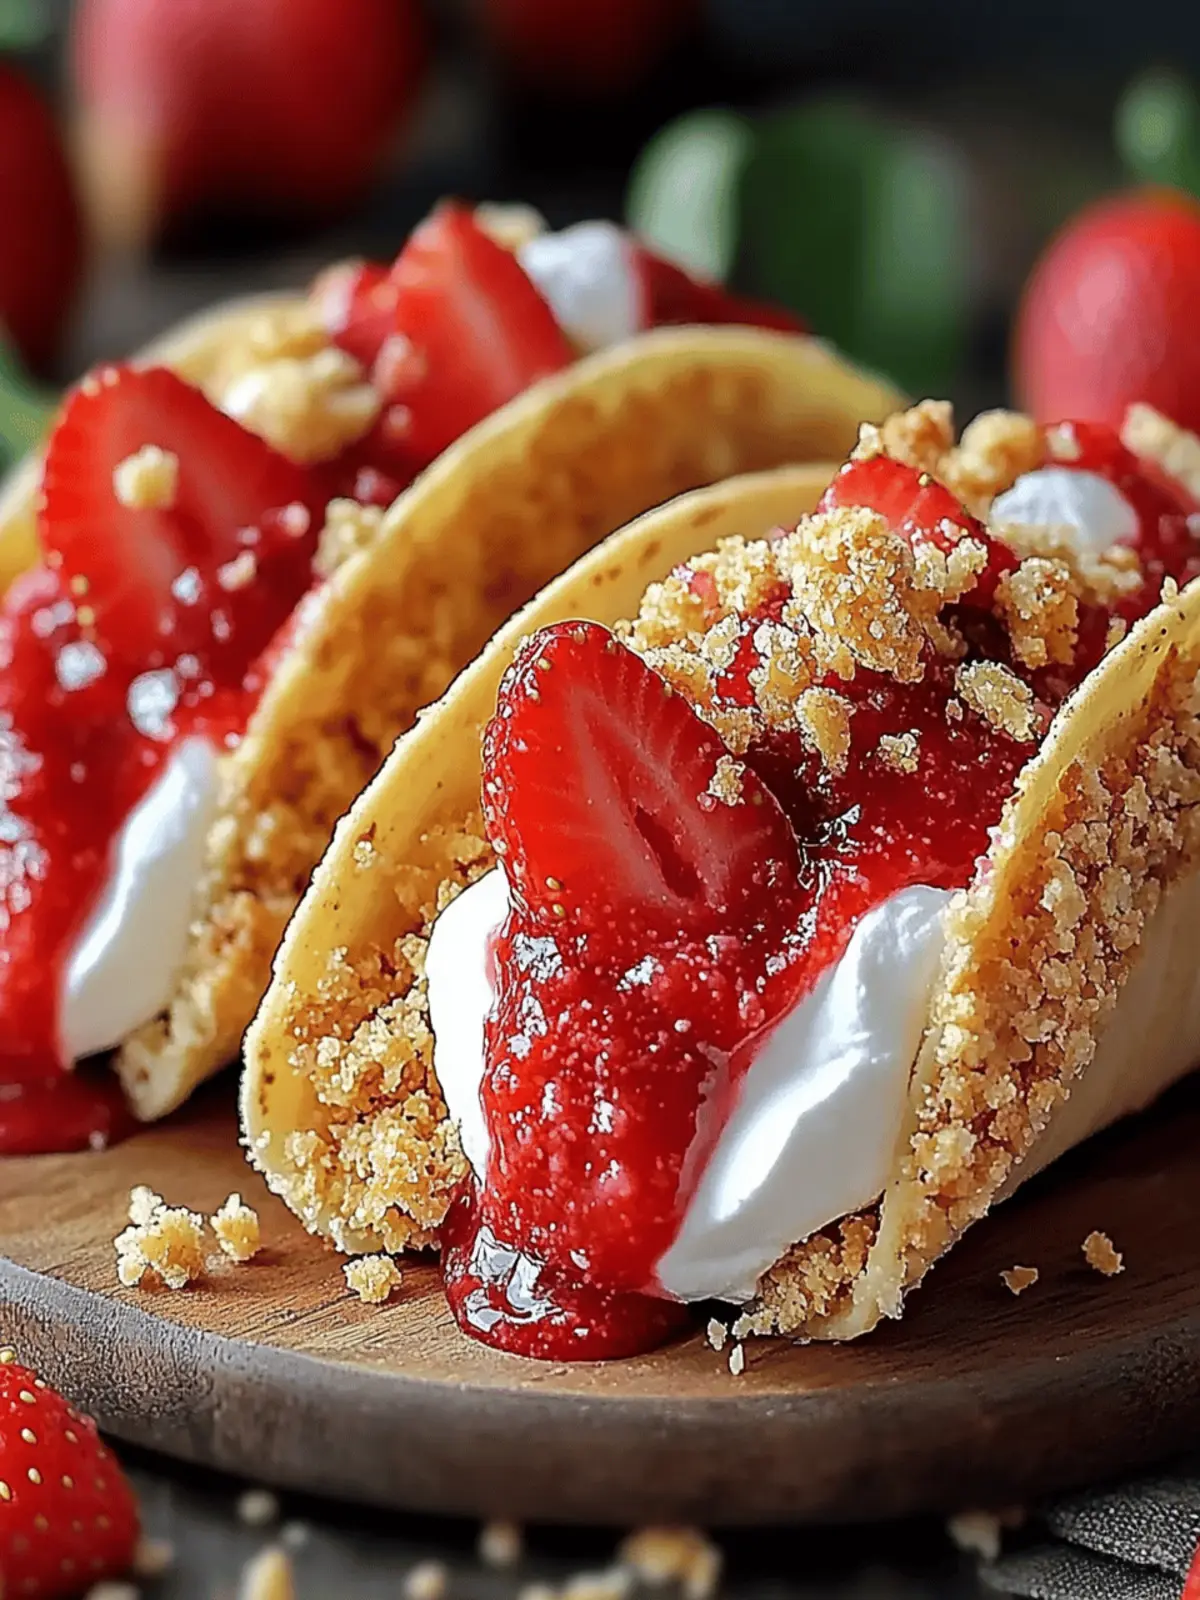
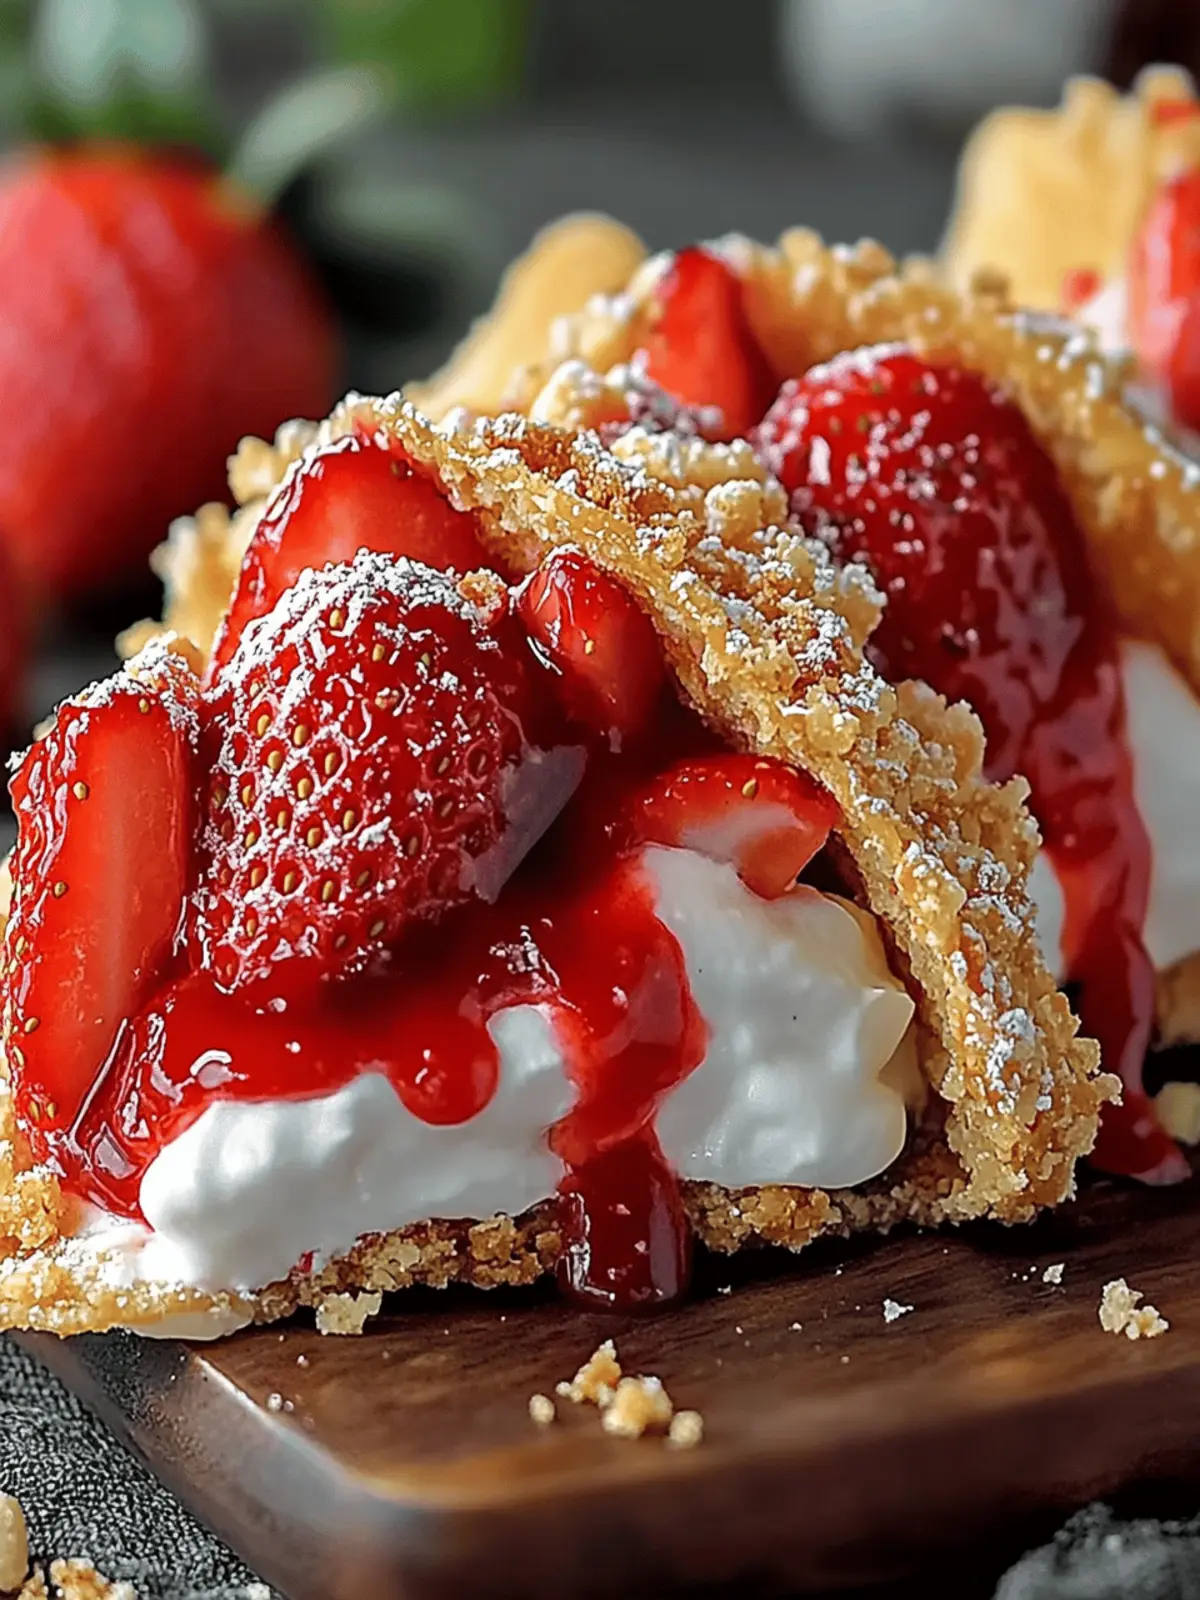
When the summer sun shines, the allure of fresh strawberries becomes simply irresistible. Picture sinking your teeth into a creamy cheesecake filling that’s nestled inside a crunchy graham cracker taco shell—it’s like a party for your taste buds! These Strawberry Crunch Cheesecake Tacos aren’t just a dessert; they’re a playful twist that transforms the classic cheesecake into an unforgettable, handheld delight.
I discovered this no-bake gem on a day when I craved something sweet yet simple, and I haven’t looked back since. With a blend of vibrant flavors and a texture that’s both creamy and crunchy, these tacos are perfect for warm gatherings, casual get-togethers, or just a cozy night in when you need a touch of indulgence. Plus, they leave room for creativity—experiment with different berries or add a nutty crunch on top! Ready to whip up a dessert that dazzles? Let’s dive into this delightful recipe!
Why are Strawberry Crunch Cheesecake Tacos amazing?
Flavor Explosion: Each bite bursts with the sweet, juicy strawberries combined with the rich, creamy filling that feels indulgent yet light.
No-Bake Convenience: Skip the oven and save time; these delightful tacos are ready in a flash!
Visually Stunning: Impress your guests with a playful presentation that’s as beautiful as it is delicious.
Versatile for All: With options to swap in different berries or nuts, everyone can customize their own taco to suit their taste.
Crowd-Pleaser: Perfect for gatherings, these tacos will be a hit among both kids and adults alike, making dessert a fun event!
Dive into this creative recipe and experience the joy of handheld cheesecakes!
Strawberry Crunch Cheesecake Tacos Ingredients
For the Cheesecake Filling
- Cream Cheese – Provides creaminess and structure to the cheesecake filling; try Neufchâtel cheese for a lighter option.
- Granulated Sugar – Sweetens the filling to balance the tanginess of the cream cheese; powdered sugar gives a smoother texture.
- Vanilla Extract – Adds a delightful aromatic flavor; almond extract offers a unique twist instead.
- Heavy Cream – Contributes richness and stability; substitute with whipping cream or coconut cream for a dairy-free version.
- Fresh Strawberries – Adds sweetness and texture; feel free to swap with raspberries or blackberries for variety.
For the Taco Shells
- Graham Crackers – Forms a crunchy base; crushed cookies or digestive biscuits work well as a substitute.
- Unsalted Butter – Binds the graham cracker mixture together; use coconut oil for a dairy-free alternative.
For the Topping (Optional)
- Chopped Toasted Pecans – Adds a nutty crunch; try almonds or walnuts if desired for a different flavor.
Indulge in making these delightful Strawberry Crunch Cheesecake Tacos, and let your creativity shine!
How to Make Strawberry Crunch Cheesecake Tacos
-
Beat Begin by beating the softened cream cheese using a hand mixer or a stand mixer on medium speed until it’s smooth and creamy. This should take about 2-3 minutes, ensuring there are no lumps.
-
Add Gradually sprinkle in the granulated sugar and vanilla extract. Continue mixing until fully combined and the mixture is fluffy—about another minute should do the trick.
-
Fold Carefully fold in the heavy cream with a spatula until just combined. Add in the chopped fresh strawberries, ensuring not to overmix so your filling maintains a lovely texture.
-
Mix In a separate bowl, mix the graham cracker crumbs and melted butter until the crumbs are fully coated. The mixture should feel like wet sand and clump together.
-
Press Using taco-shaped molds or muffin tins, press the graham cracker mixture firmly into the bottom and sides to form taco shells. A good amount of pressure helps them hold together.
-
Chill Place the filled molds in the refrigerator and chill for at least 2 hours or until the shells are firm and set, making them easier to handle.
-
Fill Carefully remove the taco shells from the molds. Fill each shell generously with the cheesecake mixture, distributing each scoop evenly among the shells.
-
Top Optionally, sprinkle the tops with chopped toasted pecans for that extra crunch and flavor.
-
Garnish If desired, add additional strawberries on top for a beautiful finish that boosts the visual appeal.
-
Serve Plate your delightful tacos and serve them chilled. Your guests are in for a treat!
Optional: Drizzle with chocolate sauce for an indulgent touch!
Exact quantities are listed in the recipe card below.
Strawberry Crunch Cheesecake Tacos Variations
Embrace your creativity in the kitchen by experimenting with these delightful twists on the classic recipe!
-
Berry Medley: Swap strawberries for a mix of your favorite berries like blueberries or blackberries for a vibrant, colorful filling. Each bite will bring a unique burst of flavor!
-
Nutty Delight: Add some chopped almonds or walnuts into the cheesecake filling for an extra crunch. This nutty addition complements the sweetness beautifully.
-
Chocolate Drizzle: Top your tacos with a luscious chocolate drizzle for a touch of indulgence. Melt some dark or milk chocolate and let it cascade over your tacos.
-
Citrus Zest: Enhance the flavor by incorporating lemon or orange zest into the filling. The citrus will brighten the taste and add a refreshing twist.
-
Dairy-Free Option: Replace cream cheese and heavy cream with cashew cream or coconut yogurt for a delicious vegan version. You’ll still enjoy a creamy, delightful filling!
-
Caramel Swirl: Mix in some caramel sauce into the cheesecake filling for that irresistibly sweet and gooey surprise. This sweet twist will leave your guests wanting more!
-
Frozen Treat: Transform these tacos into a frozen dessert by freezing the filled shells for a few hours. Enjoy a refreshing treat on a hot day!
-
Spicy Kick: Add a pinch of cayenne pepper or cinnamon to the filling for a surprising hint of warmth. It’s a fun way to elevate your dessert!
Make Ahead Options
These Strawberry Crunch Cheesecake Tacos are perfect for busy weeknights or special occasions when you need to save time! You can prepare both the cheesecake filling and the taco shells up to 24 hours in advance to ease your cooking process. Simply make the cheesecake filling as directed, then store it in an airtight container in the refrigerator. For the taco shells, press the graham cracker mixture into molds, chill them, and keep in a sealed container in the fridge to maintain their crunch. When you’re ready to serve, simply fill each shell with the cheesecake mixture, and garnish with strawberries or nuts, ensuring each bite is just as delightful as if it were freshly made!
Expert Tips for Strawberry Crunch Cheesecake Tacos
-
Room Temperature Cream Cheese: Ensure your cream cheese is at room temperature for easy blending, preventing lumps in the filling.
-
Gentle Mixing: Avoid overmixing the filling once you add heavy cream. This will keep it airy and prevent deflation.
-
Use a Piping Bag: For a neat presentation, consider using a piping bag to fill the taco shells with the cheesecake mixture.
-
Chill Thoroughly: Allow the taco shells to chill for at least 2 hours to set properly; this makes them easier to handle and fill.
-
Storage Solutions: If you have leftover cheesecake filling, store it in the refrigerator for up to 3 days—perfect for quick desserts later!
How to Store and Freeze Strawberry Crunch Cheesecake Tacos
Fridge: Store assembled Strawberry Crunch Cheesecake Tacos in an airtight container for up to 2 days. This helps maintain the freshness of the strawberries and the texture of the filling.
Taco Shells: If you have leftover taco shells, they can be stored in an airtight container at room temperature for up to 1 week. This keeps them crunchy while you prepare the filling fresh.
Filling Storage: Keep leftover cheesecake filling in the fridge for up to 3 days. Use it for dipping fruits or topping other desserts for a delightful treat!
Freezing: For long-term storage, you can freeze the taco shells separately, wrapped tightly in plastic wrap, for up to 3 months. Fill them just before serving to keep the shells crisp!
What to Serve with Strawberry Crunch Cheesecake Tacos?
Delight in complementing your sweet creation with flavors and textures that elevate your dessert experience.
- Fresh Fruit Salad: A medley of seasonal fruits adds a bright, refreshing contrast to the creamy tacos, enhancing the fruity notes.
- Whipped Cream: Light, fluffy whipped cream adds an airy touch, balancing the richness of the cheesecake filling beautifully.
- Mint Leaves: Garnishing with fresh mint will not only add a pop of color but also a refreshing aromatic element that elevates each bite.
- Chocolate Drizzle: A delicate drizzle of chocolate sauce can add an indulgent flair and a hint of richness to your dessert.
- Lemon Sorbet: The tartness of lemon sorbet provides a cool, palate-cleansing effect that perfectly complements the sweetness of the tacos.
- Iced Tea: A refreshing glass of iced tea can complement the flavors of the tacos, making for a delightful summer pairing.
For a truly inviting dessert spread, consider serving these tacos alongside a fruit salad and some whipped cream for a luscious finish!
Strawberry Crunch Cheesecake Tacos Recipe FAQs
How do I choose ripe strawberries for the filling?
Absolutely! Look for strawberries that are bright red, firm, and plump. Avoid any fruits with green tops or dark spots all over, as these indicate overripeness. The perfect strawberries should have a sweet smell and feel slightly soft to the touch, which signals they are just right for your delicious tacos!
How long can I store the assembled tacos in the fridge?
Very! Assembled Strawberry Crunch Cheesecake Tacos can be stored in an airtight container for up to 2 days. This helps maintain the freshness of the strawberries and keeps the creamy filling from getting too runny. Just make sure to enjoy them within that timeframe for the best flavor!
Can I freeze the taco shells or the cheesecake filling?
Absolutely! You can freeze the taco shells separately, wrapped tightly in plastic wrap, for up to 3 months. When you’re ready to enjoy, just fill them just before serving to keep the shells nice and crisp. You can also freeze the cheesecake filling in a separate container for up to 3 months; just thaw it in the fridge overnight before using.
What should I do if my filling is too runny?
Not to worry! If your cheesecake filling turns out runny, it could be due to underwhipping the cream. To fix this, try re-whipping the leftover filling until it thickens, which usually takes another 1-2 minutes of mixing on medium speed. If you want a thicker consistency without rewhipping, consider adding a tablespoon of cornstarch or powdered sugar, mixing gently to combine.
Are these cheesecake tacos safe for people with nut allergies?
Absolutely! To accommodate those with nut allergies, simply omit the chopped toasted pecans from the topping. You can also swap in other crunchy toppings, like crushed graham crackers or coconut flakes, to maintain that delightful texture while ensuring everyone can enjoy this treat safely!
How can I make these tacos vegan or dairy-free?
Very! To create a vegan or dairy-free version, substitute cream cheese with a plant-based alternative and use coconut cream in place of heavy cream. For the graham cracker shells, opt for dairy-free cookies and coconut oil instead of butter. This way, everyone can join in the fun without compromising on taste!
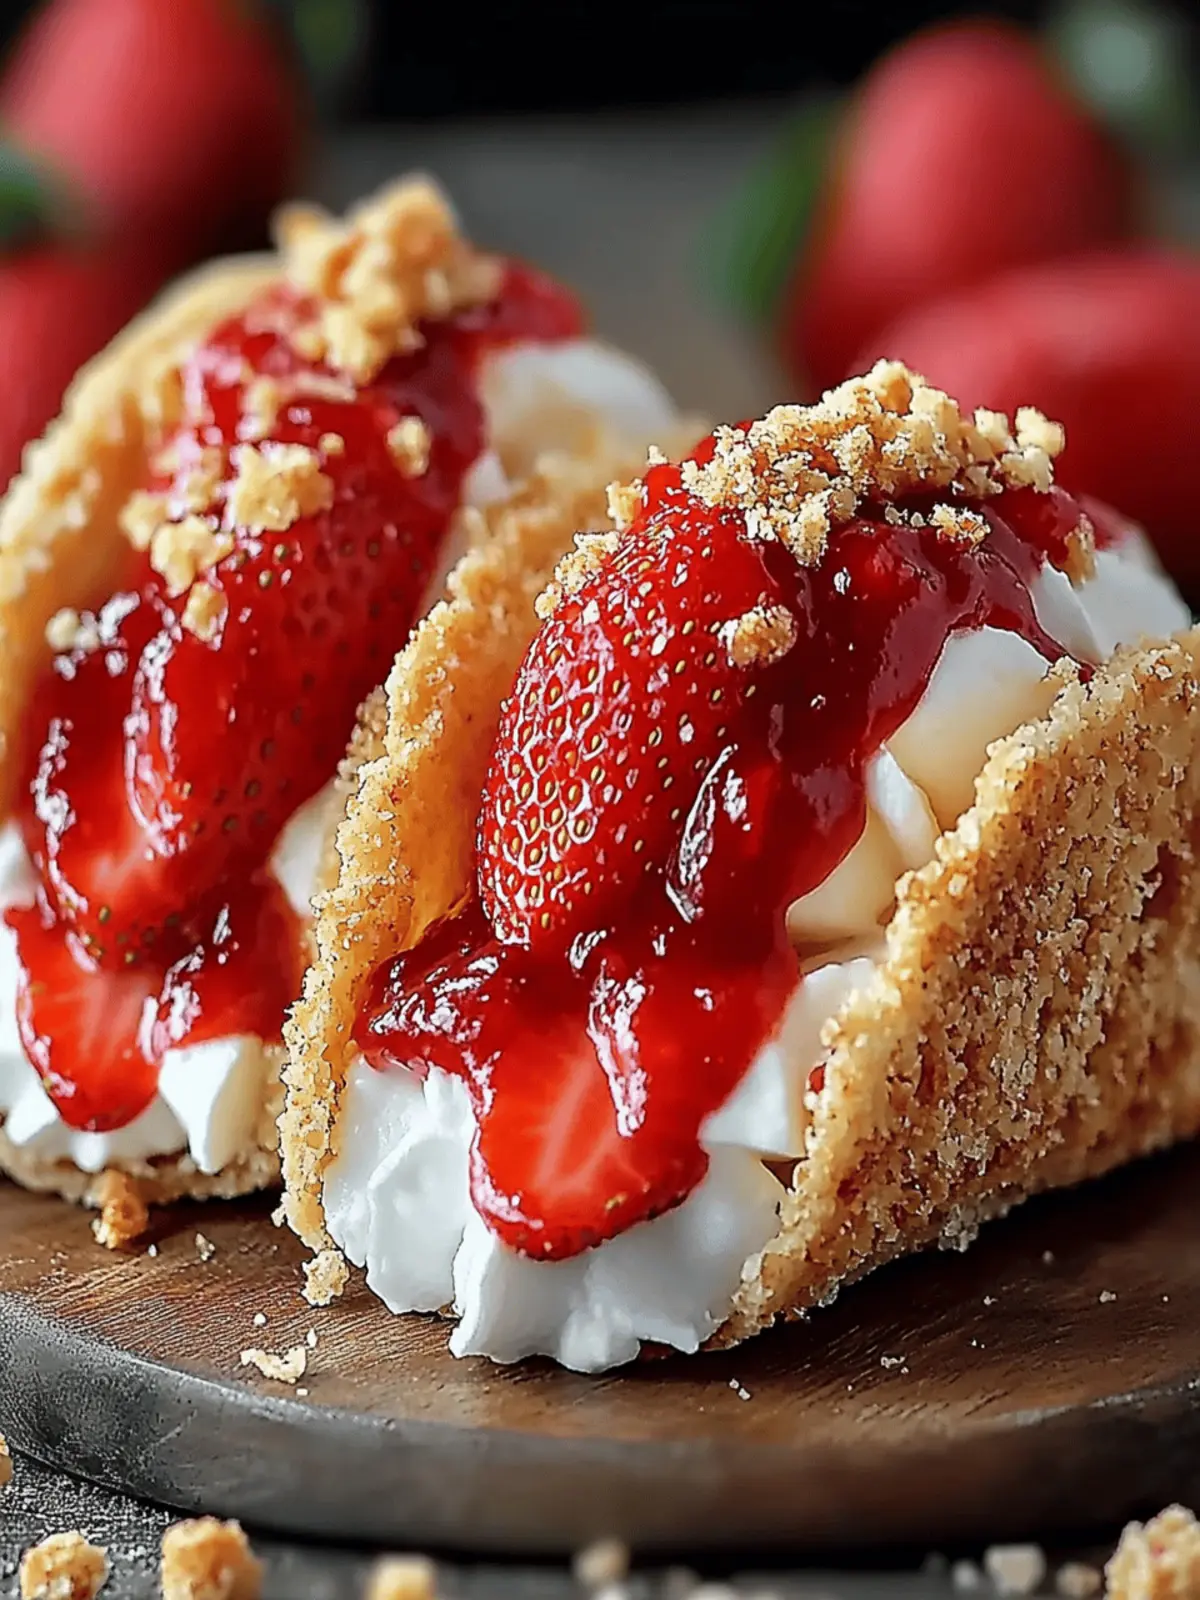
Strawberry Crunch Cheesecake Tacos That Wow at Every Party
Ingredients
Equipment
Method
- Begin by beating the softened cream cheese using a hand mixer or a stand mixer on medium speed until smooth and creamy for about 2-3 minutes.
- Gradually sprinkle in the granulated sugar and vanilla extract. Continue mixing until fully combined and fluffy—about another minute.
- Carefully fold in the heavy cream with a spatula until just combined. Add in the chopped fresh strawberries, ensuring not to overmix.
- In a separate bowl, mix the graham cracker crumbs and melted butter until fully coated and the mixture feels like wet sand.
- Using taco-shaped molds or muffin tins, press the graham cracker mixture firmly into the bottom and sides to form taco shells.
- Place the filled molds in the refrigerator and chill for at least 2 hours to firm the shells.
- Carefully remove the taco shells from the molds and fill each shell generously with the cheesecake mixture.
- Optionally, sprinkle the tops with chopped toasted pecans for that extra crunch and flavor.
- If desired, add additional strawberries on top for a beautiful finish.
- Plate your delightful tacos and serve them chilled. Optional: drizzle with chocolate sauce for an indulgent touch.

