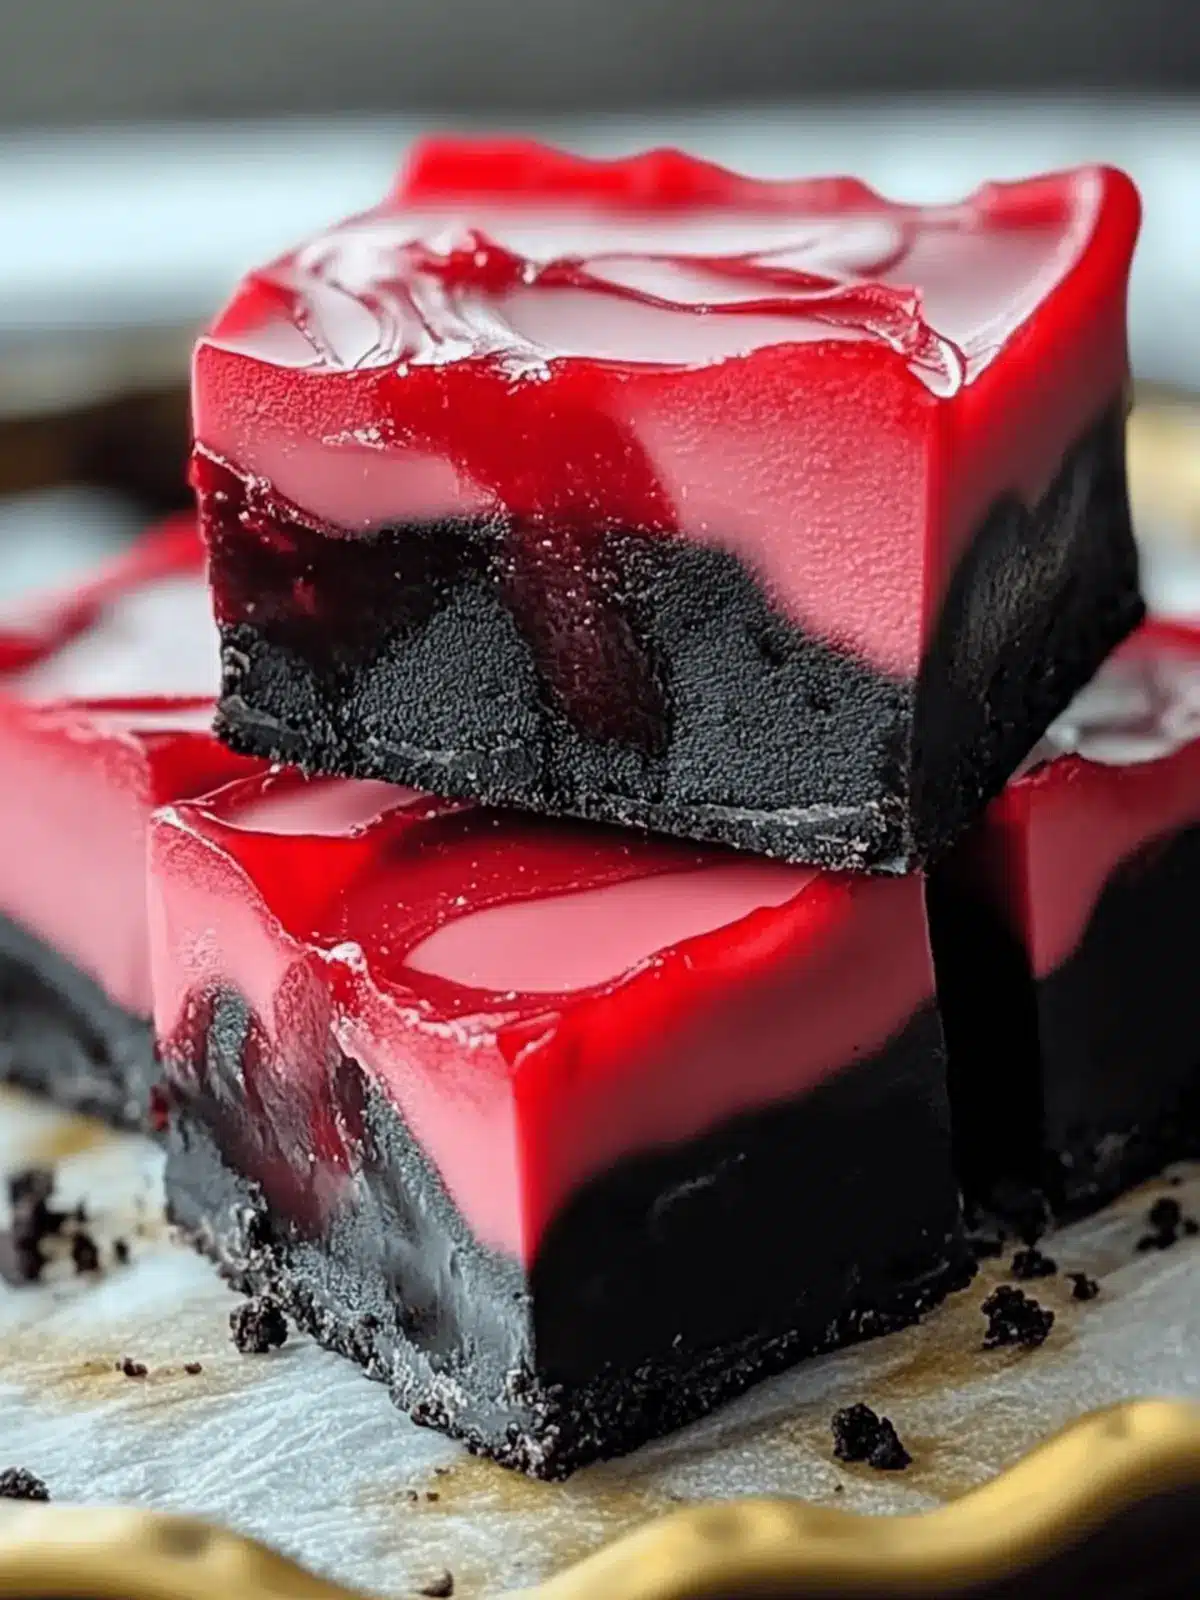
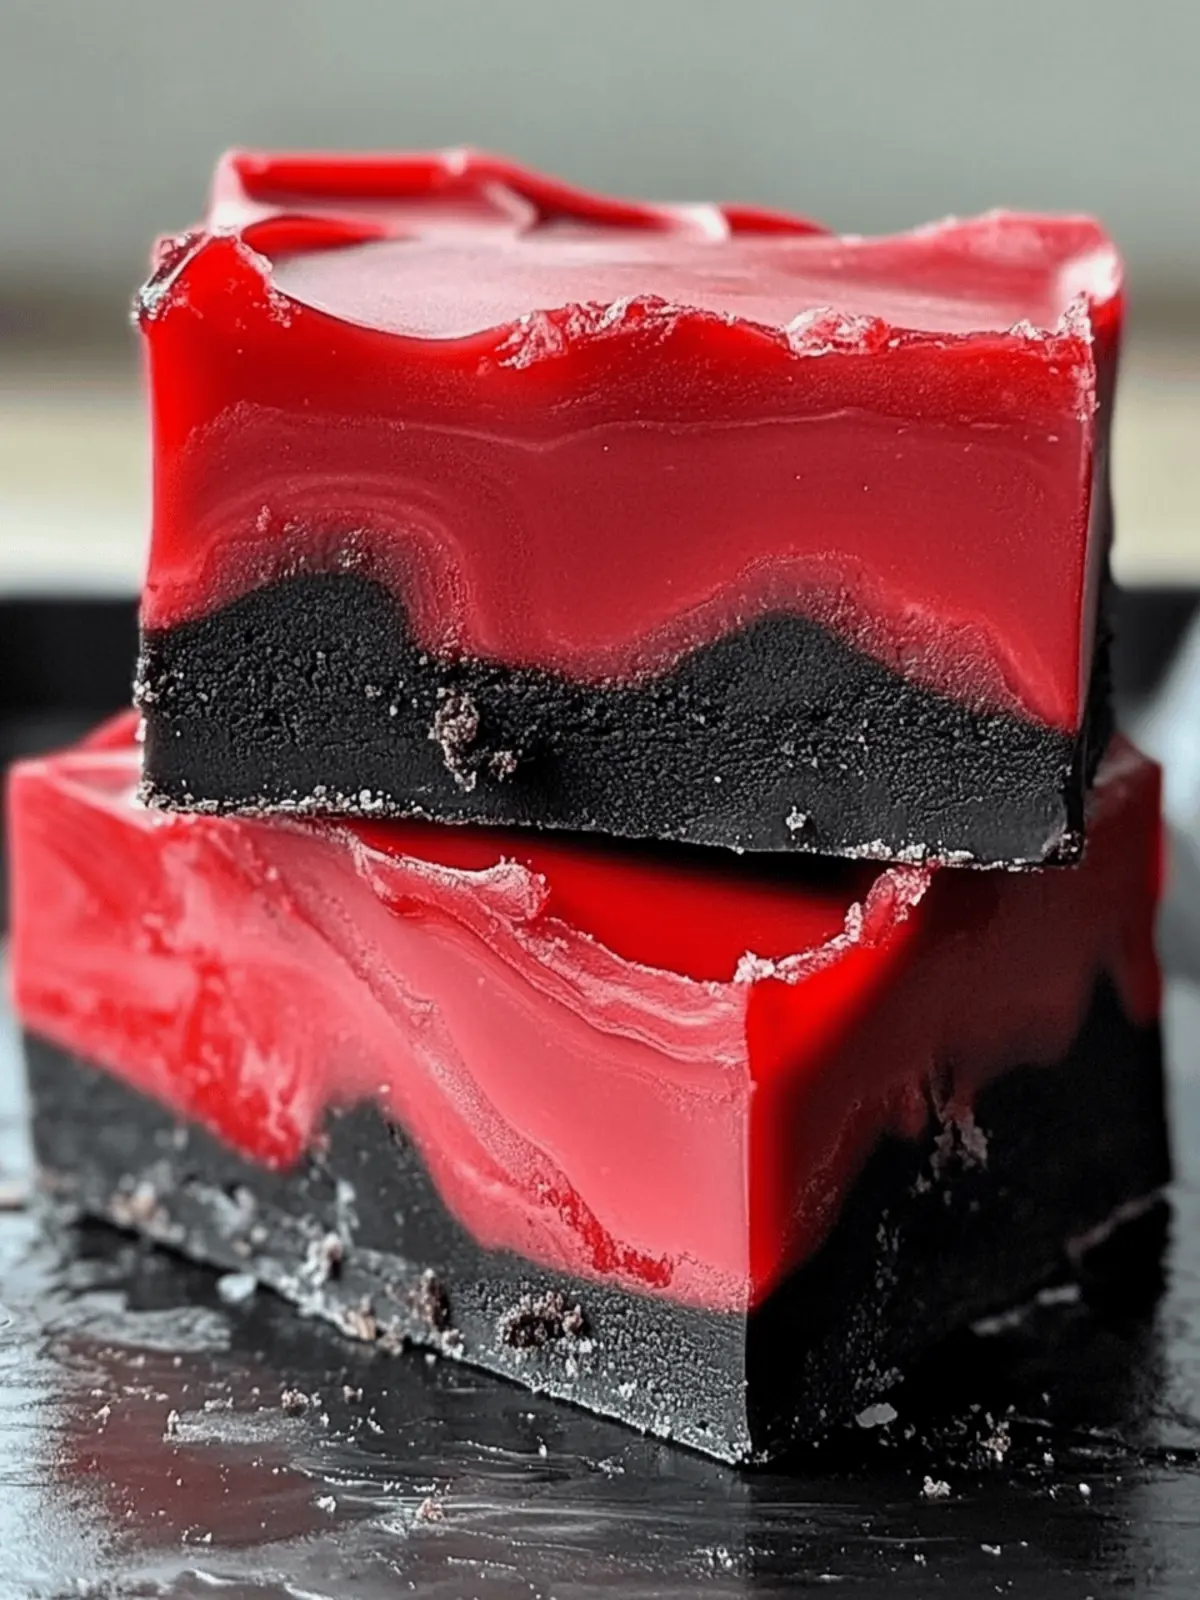
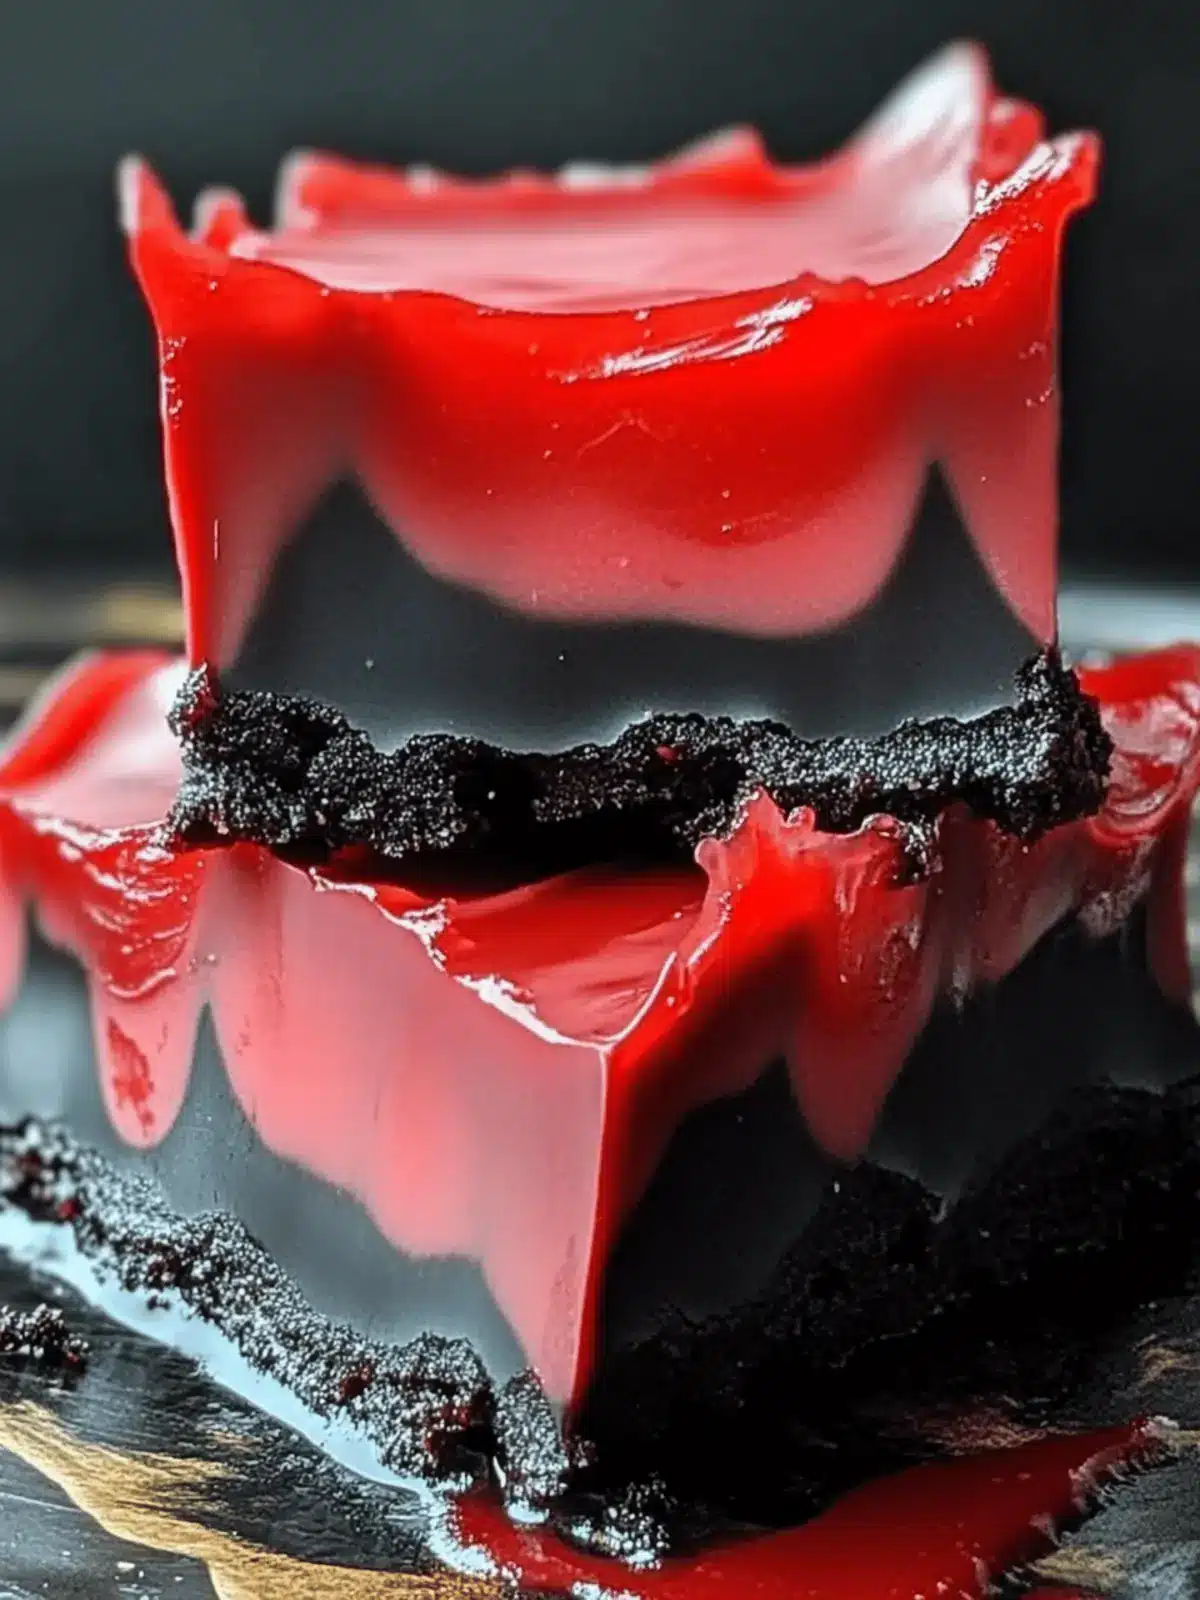
There’s something delightfully enchanting about taking the mundane and transforming it into something extraordinary, and this Spooky Vampire Fudge does just that! As the Halloween season creeps closer and the nights grow darker, what better way to excite your family and friends than with a treat that’s as visually striking as it is delicious? With bold swirls of black and red, this fudge captures the spirit of the season while ensuring everyone—from kids to adults—can indulge in its creamy, sweet richness.
I discovered this gem during a last-minute panic over what to bring to our neighborhood Halloween potluck. With just a handful of ingredients and minimal prep time, this decadent dessert was not only a breeze to whip up but also a standout centerpiece on the dessert table! Plus, it’s vegetarian and gluten-free, making it an ideal choice for anyone with dietary restrictions. So, gather your favorite candy melts, and let’s dive into this easy, crowd-pleasing recipe that will surely add some spooky flair to your festivities!
Why is Vampire Fudge a Must-Make?
Simplicity at its best: This recipe requires just a few ingredients and minimal cooking skills, making it accessible for everyone.
Visual appeal: The striking black and red colors create an eye-catching treat that will steal the show at any Halloween gathering.
Fun and festive: Easily customize with different candy melts or sprinkles for a personalized twist to suit your theme.
Crowd-pleaser: Perfect for kids and adults alike, this fudge will delight guests at potlucks, parties, or as a spooky snack!
Quick and easy: With short prep time and no baking required, you can whip up this delectable fudge in no time.
Elevate your dessert game this Halloween with this easy Vampire Fudge recipe that’s sure to impress!
Vampire Fudge Ingredients
For the Fudge Base
- Cream Cheese Frosting – Provides a creamy texture and sweet flavor; you can substitute it with thick vanilla frosting if needed.
- Black Candy Melts – Adds a deep, spooky color and rich flavor; feel free to swap with other dark-colored melts for a different hue.
- Red Candy Melts – Gives the fudge a vibrant contrasting color; various bright colors can be chosen based on your Halloween theme.
Indulge in creating this Vampire Fudge with these delightful ingredients that will transform your gathering into a festive treat celebration!
How to Make Vampire Fudge
-
Prepare the Pan: Lightly grease an 8″ x 8″ cake pan and line it with parchment paper, creating a cross shape. This helps with easy removal once your fudge sets.
-
Melt the Candy: Place black candy melts in one microwave-safe bowl and red candy melts in another. Microwave each bowl separately for 2 minutes, stirring every 30 seconds until smooth and melted.
-
Warm the Frosting: Microwave the cream cheese frosting for 45 seconds until it’s warmed and easy to mix. This will help it blend seamlessly with the melted candies.
-
Combine Ingredients: Divide the warmed frosting evenly between the bowls of melted candy. Mix until well combined, ensuring a smooth consistency and vibrant color.
-
Layer the Colors: Alternate pouring the black and red mixtures into the prepared pan, layering them until the pan is filled. This creates beautiful swirls and patterns in your fudge.
-
Level and Set: Tap the pan gently on the counter to level the fudge. Refrigerate for about 4 hours, or until it is completely set and firm to the touch.
-
Cut and Serve: Once the fudge is firm, lift it out of the pan using the parchment paper. Cut into squares and arrange them on a festive serving platter.
Optional: Drizzle additional melted chocolate on top for a decorative finish.
Exact quantities are listed in the recipe card below.
Expert Tips for Vampire Fudge
-
Stir Frequently: Always stir the melted candy every 30 seconds to avoid burning, ensuring your Vampire Fudge has that perfect smooth texture.
-
Use Parchment Paper: Line the pan with parchment paper not only for easier removal but also to prevent sticking, making cutting simpler.
-
Temperature Check: If the cream cheese frosting is too cold, it may not blend well. Warm it up properly to achieve a more cohesive Vampire Fudge mixture.
-
Color Play: Get creative by swapping the black and red candy melts for even more spooky color combinations, like purple and green for a witchy vibe.
-
Storage Tips: To maintain your Vampire Fudge freshness, always store it in an airtight container in the fridge. It can also be frozen for longer storage, ensuring your treats stay delicious!
What to Serve with Vampire Fudge?
There’s nothing quite like rounding out a Halloween festivities with some delightful snacks and treats that complement your enchanting Vampire Fudge.
-
Gummy Worms: These fun candies add a playful touch and a hint of chewiness, perfect for your spooky dessert table.
-
Haunted Bat Cookies: These whimsical cookies are a fun, thematic pairing that balances the fudge’s sweetness with their crisp texture.
-
Popcorn Balls: Sweet and salty popcorn treats bring a delightful crunch and chewiness that contrasts beautifully with the velvety fudge.
-
Apple Slices with Caramel Dip: Crisp apples provide a refreshing contrast to the richness of the fudge, while caramel adds a sweet, buttery touch.
-
Pumpkin Spice Hot Chocolate: This warm drink creates a cozy, seasonal vibe that perfectly complements the fudge’s flavors and is sure to warm your spirits.
-
Cheesecake Brownies: These decadent brownies with their creamy layers provide a rich, satisfying cherry on top of your Halloween dessert spread.
For a complete Halloween dessert board, arrange these treats with your Vampire Fudge for a delightful celebration that will leave everyone coming back for more!
Make Ahead Options
These Vampire Fudge squares are perfect for busy home cooks looking to streamline their Halloween festivities! You can prepare the fudge up to 24 hours ahead of time by following the initial steps of melting the candy and blending it with the cream cheese frosting, then pouring it into the prepared pan. After layering, tap the pan to level it and refrigerate the fudge until it sets; this can be done overnight for optimal results. To maintain its rich flavor and fabulous texture, wrap the finished fudge tightly in plastic wrap once set. When you’re ready to serve, simply cut them into squares and enjoy the spooky sweetness—it’ll be just as delicious as when it was freshly made!
Vampire Fudge Variations & Substitutions
Feel free to unleash your creativity and tailor this recipe to your taste buds—there’s no wrong way to make it uniquely yours!
-
Color Twist: Swap black and red candy melts for purple and green for a witch-themed confection. Playful colors can set the Halloween vibe!
-
Flavor Boost: Incorporate a splash of almond extract into the melted candy for a nutty depth that complements the sweetness beautifully. Just a hint will elevate each bite!
-
Crunchy Chunks: Add crushed nuts or Halloween-themed candies into the fudge mixture for a delightful crunch. This contrast in texture adds a fun surprise in every piece.
-
Spooky Sprinkles: Top the fudge with festive sprinkles before it sets to enhance the visual appeal. They bring a joyful flair that will delight all ages!
-
Minty Fresh: Mix in a few drops of peppermint extract with the frosting for a refreshing twist. The mint pairs surprisingly well with chocolatey flavors, making your fudge irresistible!
-
Dairy-Free: Substitute cream cheese frosting with a vegan alternative and choose dairy-free candy melts. It’s a perfect way to make this treat accessible for everyone.
-
Heat it Up: Add a pinch of cayenne pepper to the fudge for a subtle spicy kick. It’s a daring twist that will intrigue adventurous eaters!
-
Cocoa Confusion: Mix in cocoa powder with the candy melts for a deeper chocolate flavor. The combination not only enhances taste but adds a richer color to the fudge.
Embrace the spine-chilling fun of Halloween while exploring these exciting variations. Each bite will be a sweet reminder of your culinary creativity!
How to Store and Freeze Vampire Fudge
Fridge: Keep your Vampire Fudge in an airtight container in the refrigerator for up to 2 weeks to maintain its creamy texture and freshness.
Freezer: For longer storage, wrap the fudge tightly in plastic wrap and then place it in a freezer-safe container. It can be frozen for up to 2 months.
Thawing: When you’re ready to enjoy your frozen Vampire Fudge, simply transfer it to the fridge and allow it to thaw overnight. This helps maintain its delightful taste and texture.
Reheating: If you prefer a softer fudge, you can microwave individual pieces for just a few seconds—take care to avoid overheating!
Vampire Fudge Recipe FAQs
What types of candy melts can I use for Vampire Fudge?
You can use any colored candy melts that catch your eye! While black and red are traditional for a spooky effect, feel free to get creative with colors like purple and green for a witch-themed treat. The more colors, the merrier!
How should I store Vampire Fudge?
Store your Vampire Fudge in an airtight container in the refrigerator, where it will stay fresh for up to 2 weeks. If you prefer to keep it longer, you can freeze it—just wrap it tightly in plastic wrap and place it in a freezer-safe container. It’s good for up to 2 months!
Can I freeze Vampire Fudge?
Absolutely! To freeze your fudge, wrap it tightly in plastic wrap, ensuring there are no air pockets, and place it in a freezer-safe container. When you’re ready to enjoy it, simply transfer the fudge to the refrigerator to thaw overnight for optimal texture and flavor.
What should I do if the melted candy doesn’t come out smooth?
If your melted candy isn’t smooth, don’t worry! Just pop it back into the microwave in 15-second intervals, stirring in between until it’s silky and lump-free. Remember, frequent stirring while melting ensures a perfect consistency without burning the candy.
Are there any allergy considerations for this Vampire Fudge?
Since this recipe contains cream cheese and candy melts, be cautious of any dairy allergies or sensitivities. Many candy melts are gluten-free, but always check the packaging to ensure they meet your dietary needs. If making for children or guests with allergies, consider using alternative ingredients that cater to their requirements.
How long does it take to set the Vampire Fudge?
Your Vampire Fudge will need to refrigerate for about 4 hours to set completely. Patience is key here! Once it’s firm to the touch, you can easily lift it out of the pan and slice it into delightful squares for everyone to enjoy.
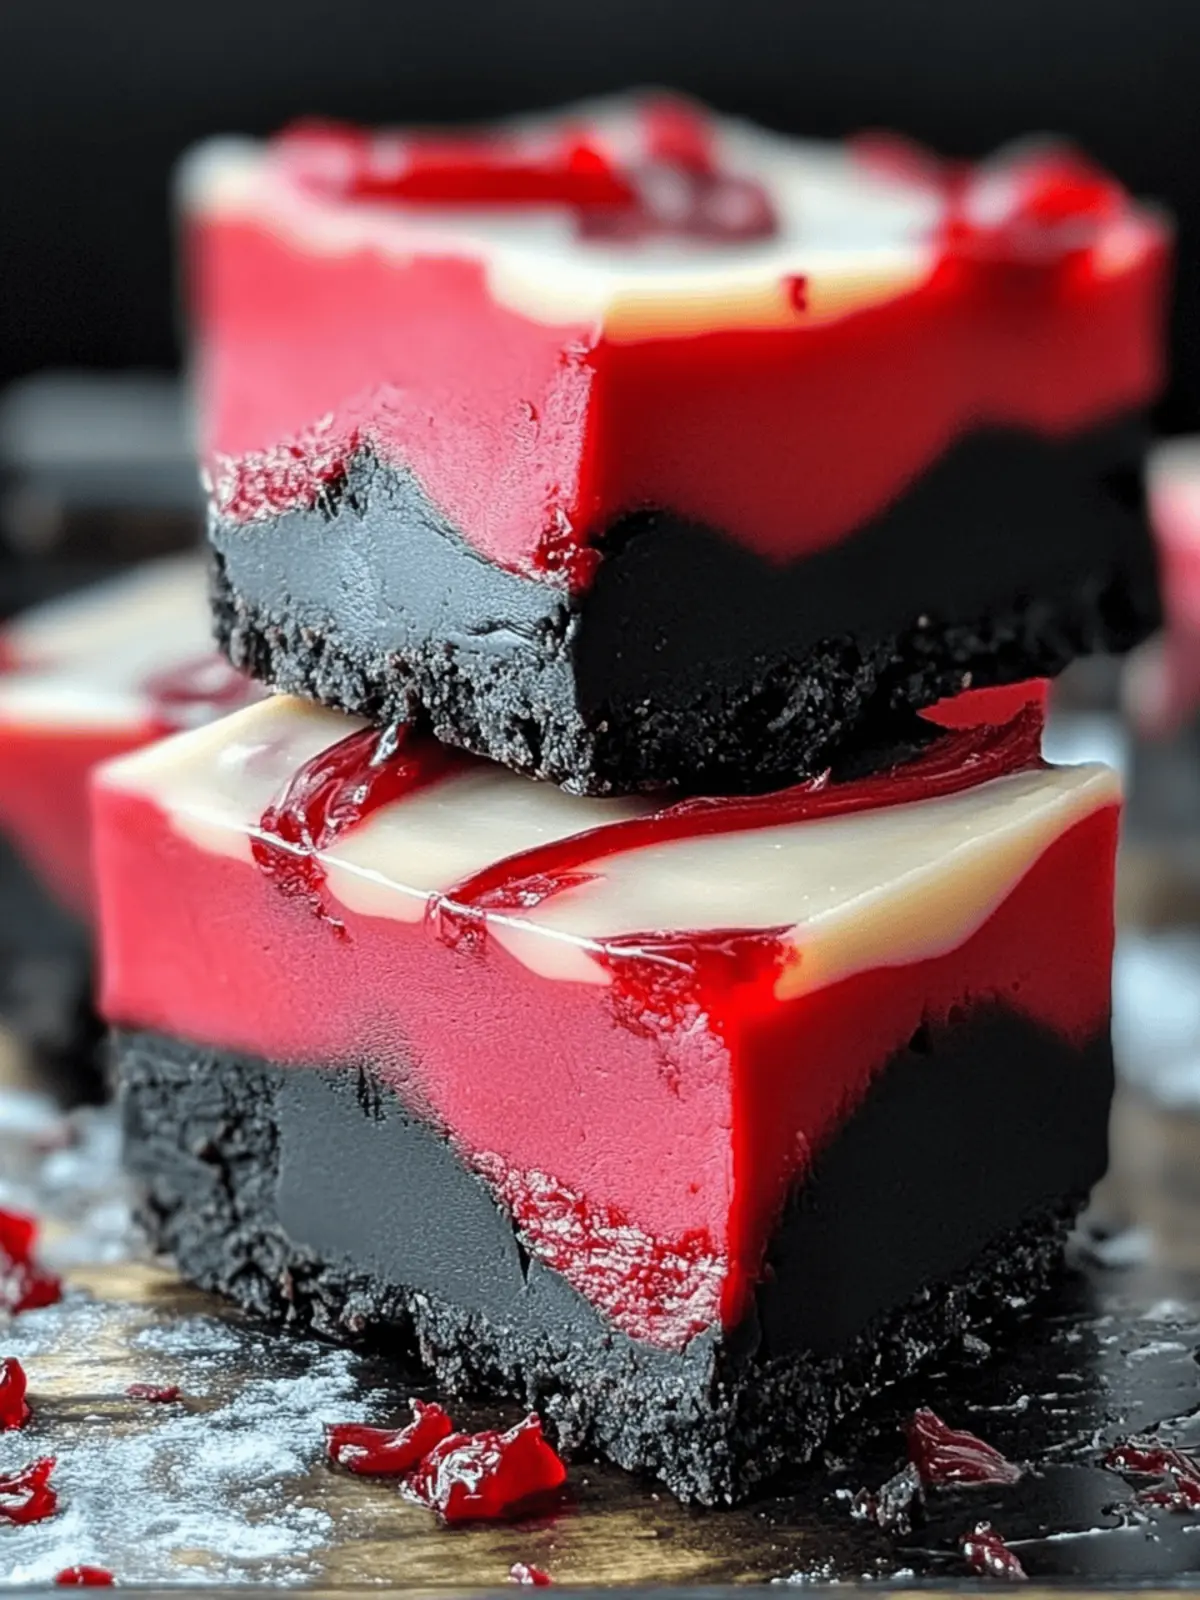
Deliciously Halloween: Easy Vampire Fudge Recipe for Fun Treats
Ingredients
Equipment
Method
- Lightly grease an 8" x 8" cake pan and line it with parchment paper, creating a cross shape.
- Place black candy melts in one microwave-safe bowl and red candy melts in another. Microwave each bowl separately for 2 minutes, stirring every 30 seconds until smooth and melted.
- Microwave the cream cheese frosting for 45 seconds until warmed.
- Divide the warmed frosting evenly between the bowls of melted candy and mix until smooth.
- Alternate pouring the black and red mixtures into the prepared pan, layering them until filled.
- Tap the pan gently on the counter to level the fudge and refrigerate for about 4 hours until set.
- Remove the fudge from the pan using the parchment paper and cut into squares.

