
The first bite of cherry cheesecake is like a burst of summer sunshine on my taste buds. I remember the delightful way the tangy cream cheese melds with the vibrant cherry topping, creating a dessert that’s not just a feast for the palate, but also for the eyes. This recipe came to life during a rainy afternoon when I was determined to transform a bag of cherries sitting in my fridge into something special.
What I love most about this cherry cheesecake is its versatility—whether it’s a special occasion or simply a Tuesday night, it fits perfectly as a comforting dessert that will impress anyone lucky enough to partake. With a smooth and creamy filling nestled atop a crunchy Oreo crust, this indulgent treat effortlessly balances flavors and textures. So let’s get started on this delightful journey; a piece of this cheesecake awaits!
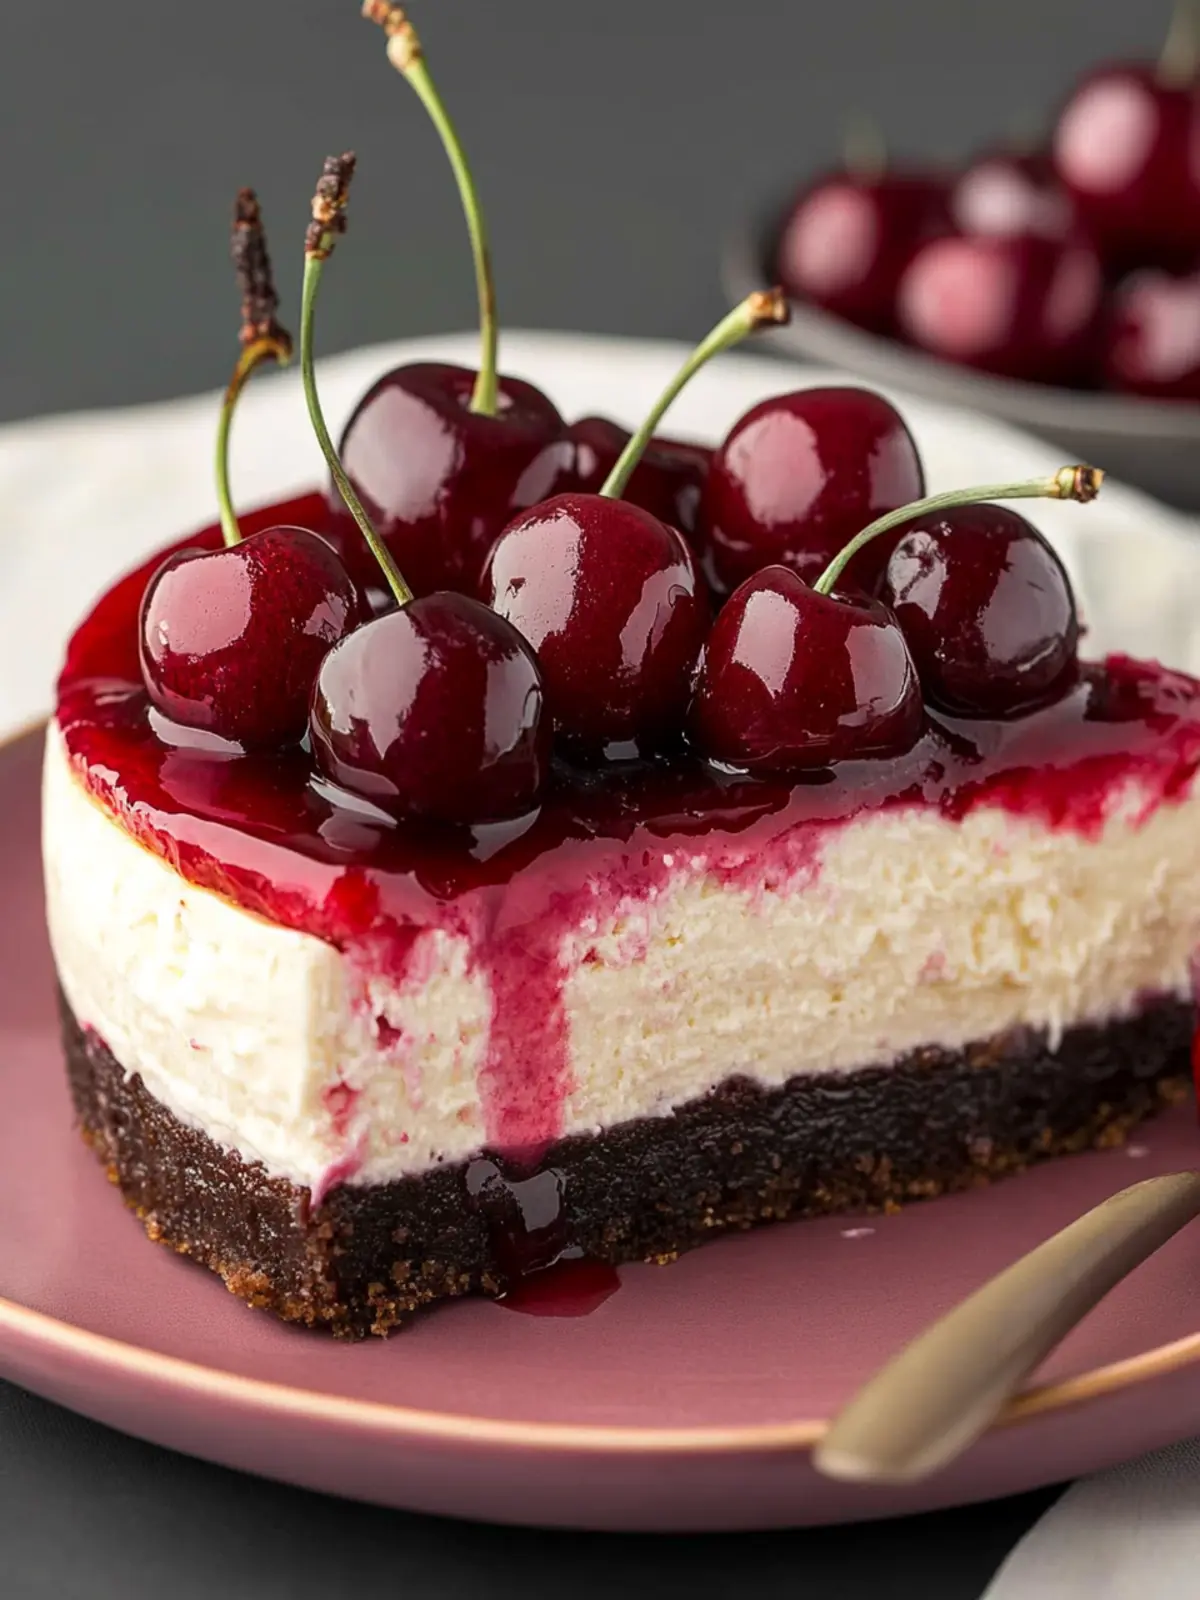
Why is this Cherry Cheesecake a Must-Try?
Delightful Experience: The moment you slice into this Cherry Cheesecake, you’ll be captivated by its vibrant colors and luscious layers.
Crowd-Pleasing Treat: Perfect for gatherings or cozy nights in, this cheesecake will leave everyone raving about its rich flavor and beautiful presentation.
Easy to Prepare: With simple ingredients and straightforward steps, even novice bakers can create this stunning dessert without stress.
Versatile Option: Serve it with fresh cherries, whipped cream, or even chocolate shavings for an added twist that fits any palate.
Long-lasting Flavor: The combination of cream cheese and sweet cherries results in a creamy texture paired with a hint of tartness that will have you coming back for seconds!
Cherry Cheesecake Ingredients
For the Crust
• Oreo crumbs – a delightful, chocolatey base that provides the perfect crunch.
• Unsalted butter – binds the crumbs together, ensuring a rich, buttery flavor.
For the Cherry Topping
• Cherries – fresh or frozen pitted cherries add a burst of sweet and tangy flavor.
• White granulated sugar – balances the tartness of the cherries, enhancing their natural sweetness.
• Cornstarch – thickens the cherry mixture for a luscious topping.
For the Cheesecake Filling
• Cream cheese – must be at room temperature for a smooth, creamy texture.
• White granulated sugar – sweetens the filling without overpowering the cherry flavor.
• Sour cream – adds tang and creaminess to the rich filling.
• Cherry filling pureed – gives the cheesecake a beautiful flavor and light pink hue.
• Pure vanilla extract – infuses a warm, aromatic note to the filling.
• Large eggs – ensure a rich and velvety cheesecake texture when mixed in.
This Cherry Cheesecake is waiting to charm your taste buds—let’s get baking!
How to Make Cherry Cheesecake
-
Preheat your oven to 325°F. Spray a 9-inch springform pan with baking nonstick spray and line the bottom with a circle of parchment paper for easy release later.
-
Blend the Oreo cookies into fine crumbs using a food processor. In a small bowl, mix the crumbs with the melted butter until well combined and crumbly.
-
Press the crumb mixture into the springform pan, covering the bottom and pressing it up the sides firmly with your hands or a measuring cup. Bake for 12 minutes until slightly set.
-
Cook the cherries, sugar, and cornstarch in a medium saucepan over medium heat. Stir until the juice begins to separate, then gently mash half the cherries and cook until thickened.
-
Puree 1/2 cup of the cherry mixture in a blender and freeze it for about 15 minutes to cool, creating a smooth layer for your cheesecake.
-
Refrigerate the remaining cherry topping in an airtight container to keep it fresh while the cheesecake sets.
-
Beat the cream cheese and sugar together in a mixer on high speed for 2 minutes until smooth. Scrape the bowl to ensure even mixing.
-
Add in the sour cream, cherry puree, and vanilla extract, mixing on medium speed. Then slowly add the eggs, mixing on low until just combined; your batter should be a lovely light pink.
-
Pour the batter into your baked Oreo crust. Prepare a water bath by choosing one of these methods:
- Method 1: Place the springform pan inside a 10-inch cake pan within a roasting pan, filling the roasting pan with hot water halfway up the cake pan.
- Method 2: Wrap the springform pan tightly in aluminum foil and put it into a roasting pan filled with hot water halfway up the sides.
-
Bake for 70-80 minutes until the edges are set and the center has a slight jiggle. Turn off the oven, crack the door, and allow the cheesecake to cool for 30 minutes.
-
Transfer the cheesecake to a cooling rack to cool completely. Cover and chill it in the fridge overnight or for at least 6 hours for the best flavor.
-
Remove the cheesecake from the springform pan and peel off the parchment paper. Top it with the chilled cherry topping and serve!
Optional: Garnish with whipped cream and fresh cherries for an extra touch!
Exact quantities are listed in the recipe card below.
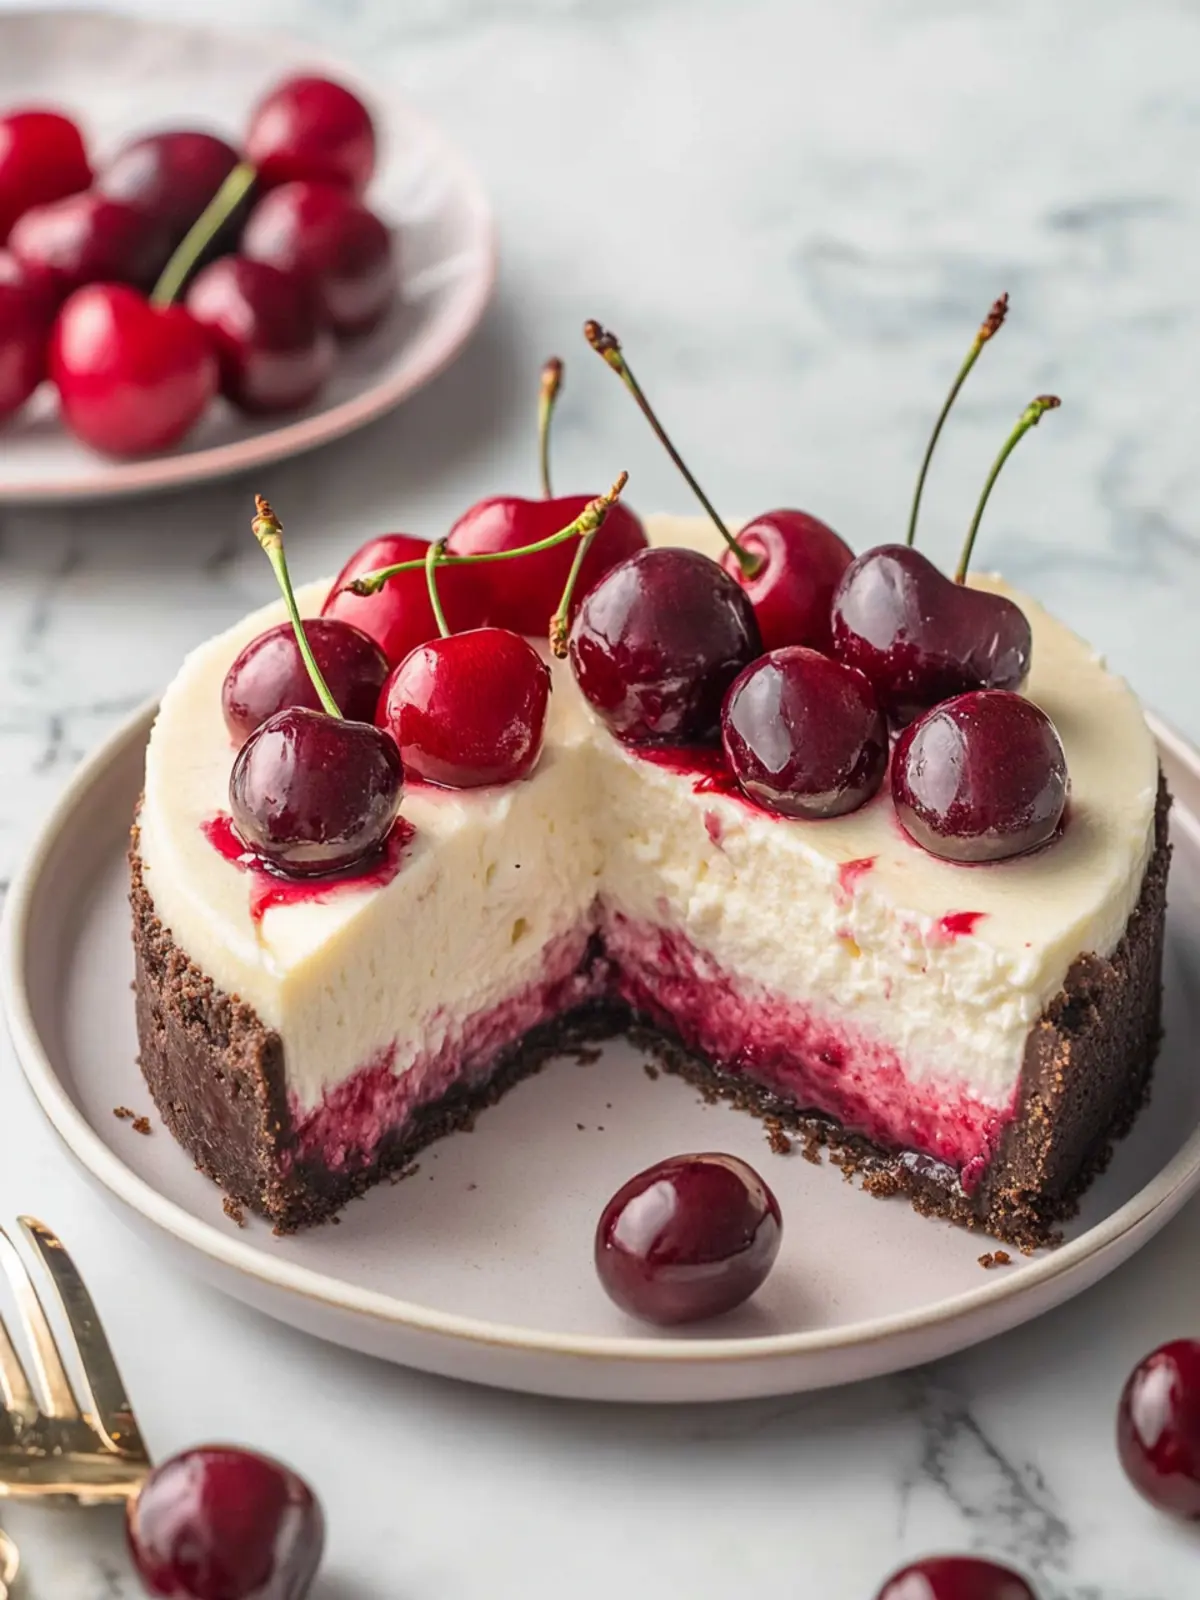
What to Serve with Cherry Cheesecake?
Indulging in a slice of cherry cheesecake opens up a delightful canvas for pairing, making your dessert experience even more memorable.
-
Whipped Cream: A dollop of freshly whipped cream adds a light and airy contrast, enhancing the creaminess of the cheesecake and bringing out the cherries’ flavors.
-
Dark Chocolate Drizzle: A rich chocolate drizzle complements the sweetness of the cheesecake, introducing a decadent twist that chocolate lovers adore.
-
Fresh Berries: Serve alongside a medley of fresh berries for a bright, refreshing touch, balancing the cheesecake’s luscious richness with a burst of tartness.
-
Vanilla Ice Cream: The classic combination of warm cherry cheesecake with a scoop of vanilla ice cream creates a delightful temperature contrast and a creamy addition you’ll crave.
-
Coffee: Brewed coffee, especially a rich espresso, provides a robust counterpoint to the sweetness, making each bite and sip a perfect harmony.
-
Mint Leaves: A garnish of fresh mint leaves not only adds visual appeal but also a subtle hint of freshness that elevates the entire dessert experience.
-
Lemon Sorbet: For those seeking a refreshing cleanse, lemon sorbet serves as a zesty palate cleanser that beautifully complements the sweet and creamy cheesecake.
With these pairs, your cherry cheesecake becomes the star of a delightful dessert spread, ensuring every bite is a moment to savor!
How to Store and Freeze Cherry Cheesecake
Fridge: Keep your Cherry Cheesecake stored in an airtight container in the refrigerator for up to 3 days. This helps maintain its creamy texture and flavor.
Freezer: Wrap individual slices of cheesecake tightly in plastic wrap and then foil. Store in the freezer for up to 3 months for a delicious treat whenever you desire.
Thawing: When you’re ready to enjoy a frozen slice, transfer it to the fridge for 6 hours or overnight to thaw slowly, preserving its delightful taste.
Reheating: If you prefer your cheesecake slightly warm, place a slice in the microwave for 10-15 seconds. Be careful not to overheat to avoid compromising that luscious creaminess!
Make Ahead Options
These Cherry Cheesecake creations are a dream for busy home cooks! You can prepare the Oreo crust and even the cherry topping up to 3 days in advance by simply storing them separately in airtight containers in the fridge. The cheesecake filling can also be whipped up up to 24 hours before baking; just mix all the ingredients and cover it tightly until you’re ready to pour into the crust. When it’s time to serve, bake the cheesecake, allow it to cool, and top it with the chilled cherry topping before enjoying this delightful treat just as delicious as when made fresh. Save valuable time with these smart make-ahead tips!
Expert Tips for Cherry Cheesecake
-
Room Temperature Ingredients: Ensure your cream cheese, eggs, and sour cream are at room temperature. This helps achieve a smooth, creamy filling without lumps.
-
Avoid Overmixing: Once you add the eggs, mix on low speed until just combined. Overmixing can lead to a dense texture, leaving your Cherry Cheesecake less fluffy.
-
Perfect Water Bath: Use the water bath method to prevent cracks. This keeps the cheesecake moist and helps it bake evenly.
-
Cool Gradually: After baking, let the cheesecake cool in the oven with the door slightly open. This prevents sudden temperature changes, which can cause cracks.
-
Chill Overnight: For the best flavor and texture, chill the cheesecake overnight. This allows the flavors to meld beautifully, making every bite irresistible!
Variations & Substitutions of Cherry Cheesecake
Feel free to personalize your Cherry Cheesecake to make it uniquely yours and tantalizingly delicious!
-
Gluten-Free Crust: Substitute the Oreo crumbs with gluten-free chocolate cookies for a delightful alternative that everyone can enjoy.
-
Nutty Twist: Add 1/2 cup of finely chopped walnuts or almonds to the crust for a crunchy surprise that pairs beautifully with the creamy filling.
-
Berry Medley: Swap half of the cherries for mixed berries like blueberries or raspberries to create a deliciously colorful berry cheesecake.
-
Cheesecake Swirl: Before baking, swirl in half of the cherry topping into the filling, creating an eye-catching marbled effect that’s as tasty as it is beautiful.
-
Coconut Cream: For a tropical twist, replace the sour cream with coconut cream, blending in a hint of shredded coconut to infuse a lovely fragrance.
-
Dark Chocolate Drizzle: Melt dark chocolate and drizzle it over the cheesecake before serving for a decadent touch that complements the tartness of the cherries.
-
Single Serve: Use mini springform pans for individual cheesecakes, making the perfect personal dessert for parties or gatherings.
-
Spicy Kick: Add a pinch of cayenne or cinnamon when mixing the filling for a surprising twist that brings a warm, comforting flavor.
Let these variations guide your creativity in the kitchen—your taste buds will thank you!
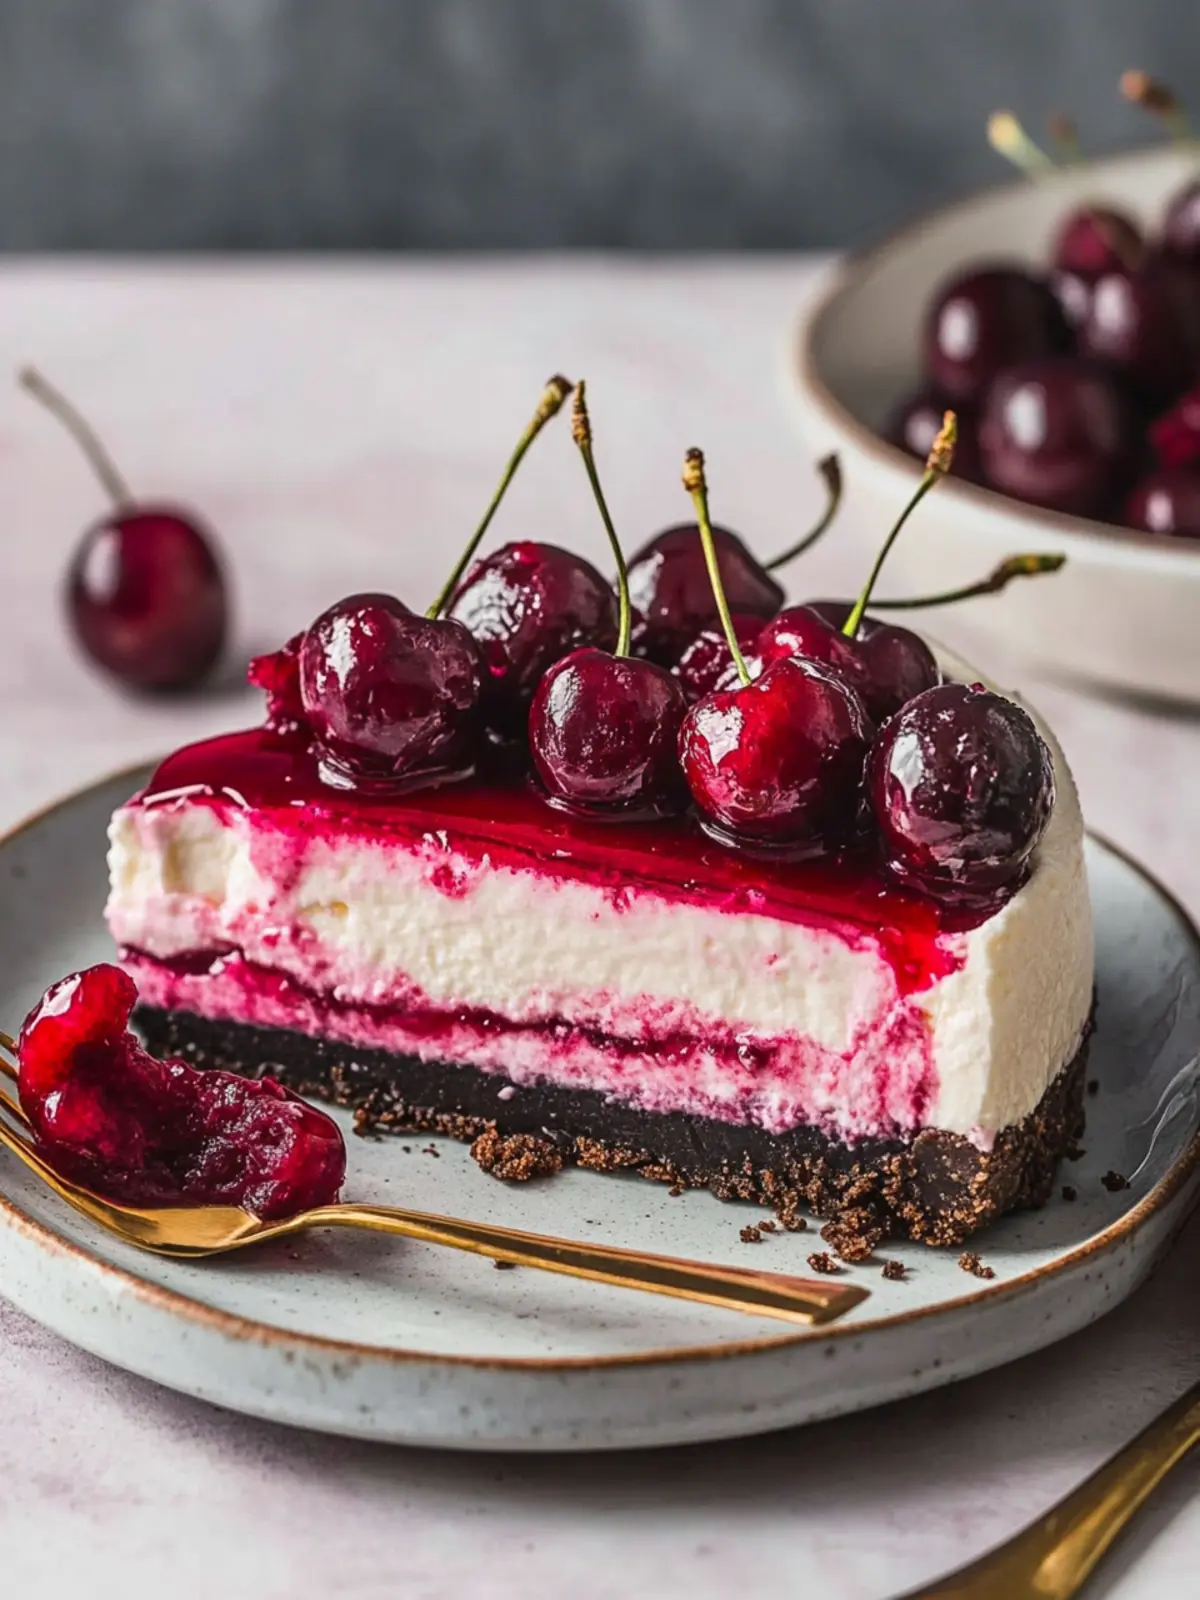
Cherry Cheesecake Recipe FAQs
How can I select the best cherries for my cheesecake?
Absolutely! For the freshest flavor in your Cherry Cheesecake, choose cherries that are firm, plump, and glossy. Avoid those with dark spots or blemishes, as they may indicate overripeness or spoilage. If using frozen cherries, opt for those without added sugars for the best results.
What is the best way to store Cherry Cheesecake?
Store your Cherry Cheesecake in an airtight container in the refrigerator, where it will stay fresh for up to 3 days. Just be sure to cover it well to prevent it from absorbing any other odors or flavors in the fridge. This keeps every slice as delicious as the first!
Can I freeze Cherry Cheesecake, and if so, how?
Yes, you can definitely freeze your Cherry Cheesecake! To do this, wrap each slice tightly in plastic wrap followed by aluminum foil to avoid freezer burn. It will maintain its quality for up to 3 months. When you’re ready to serve, simply transfer it to the fridge to thaw for about 6 hours or overnight—this helps preserve its creamy texture.
What if my cheesecake cracks during baking?
Very good question! If you notice cracks in your cheesecake, don’t worry! This can often happen due to rapid temperature changes. To prevent this, make sure to cool your cheesecake gradually in the oven with the door slightly ajar after baking. If cracks still occur, a sprinkle of powdered sugar or a dollop of whipped cream can work wonders to cover them up!
Are there any dietary considerations for Cherry Cheesecake?
Yes! If you have allergies, be mindful of the ingredients. Gluten-sensitive individuals should look for gluten-free Oreos for the crust. Also, if serving to pets, keep in mind that cherries can be harmful to dogs—always check what’s safe for your furry friends!
Can I make this cheesecake ahead of time?
Definitely! In fact, I often recommend making your Cherry Cheesecake the day before serving. The flavors meld beautifully overnight, enhancing the overall taste and leading to a richer experience for your guests. Just be sure to keep it covered in the fridge to maintain freshness!
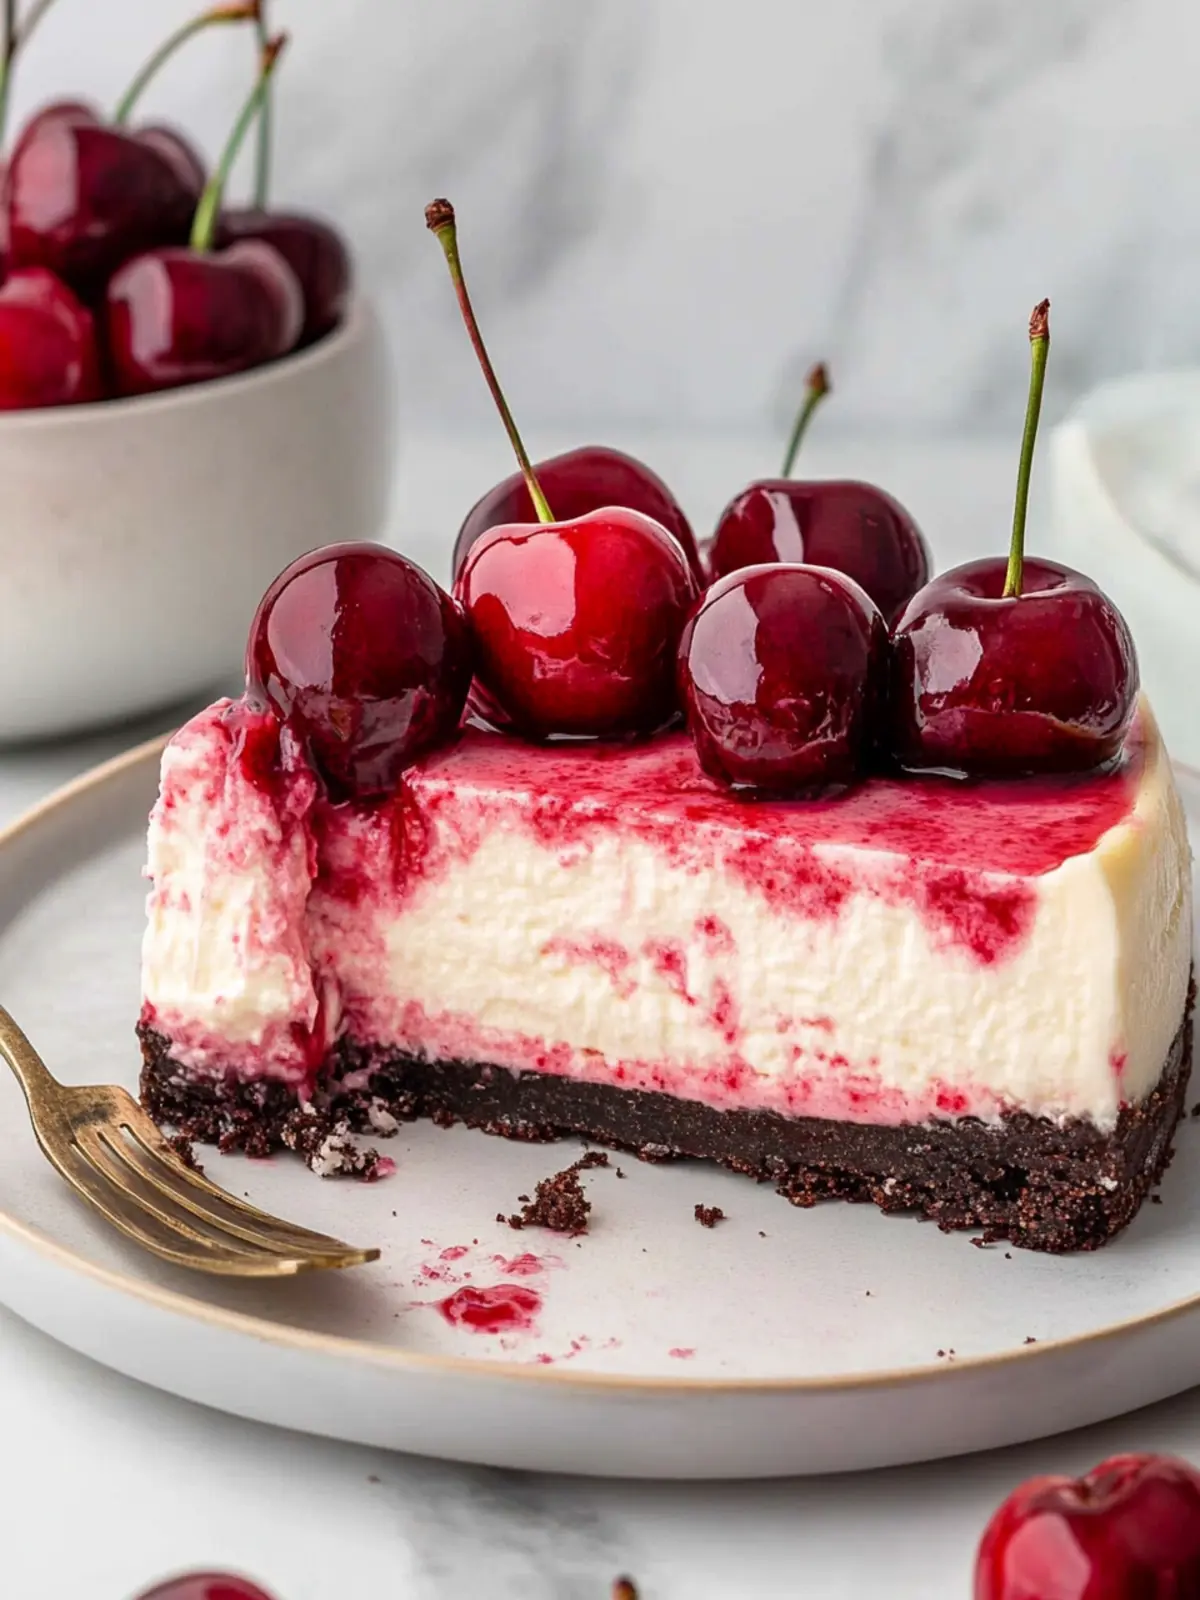
Delicious Cherry Cheesecake Recipe That Will Impress Everyone
Ingredients
Equipment
Method
- Preheat your oven to 325°F. Spray a 9-inch springform pan with baking nonstick spray and line the bottom with a circle of parchment paper for easy release later.
- Blend the Oreo cookies into fine crumbs using a food processor. In a small bowl, mix the crumbs with the melted butter until well combined and crumbly.
- Press the crumb mixture into the springform pan, covering the bottom and pressing it up the sides firmly with your hands or a measuring cup. Bake for 12 minutes until slightly set.
- Cook the cherries, sugar, and cornstarch in a medium saucepan over medium heat. Stir until the juice begins to separate, then gently mash half the cherries and cook until thickened.
- Puree 1/2 cup of the cherry mixture in a blender and freeze it for about 15 minutes to cool, creating a smooth layer for your cheesecake.
- Refrigerate the remaining cherry topping in an airtight container to keep it fresh while the cheesecake sets.
- Beat the cream cheese and sugar together in a mixer on high speed for 2 minutes until smooth. Scrape the bowl to ensure even mixing.
- Add in the sour cream, cherry puree, and vanilla extract, mixing on medium speed. Then slowly add the eggs, mixing on low until just combined; your batter should be a lovely light pink.
- Pour the batter into your baked Oreo crust. Prepare a water bath using one of the specified methods.
- Bake for 70-80 minutes until the edges are set and the center has a slight jiggle. Turn off the oven, crack the door, and allow the cheesecake to cool for 30 minutes.
- Transfer the cheesecake to a cooling rack to cool completely. Cover and chill it in the fridge overnight or for at least 6 hours for the best flavor.
- Remove the cheesecake from the springform pan and peel off the parchment paper. Top it with the chilled cherry topping and serve!