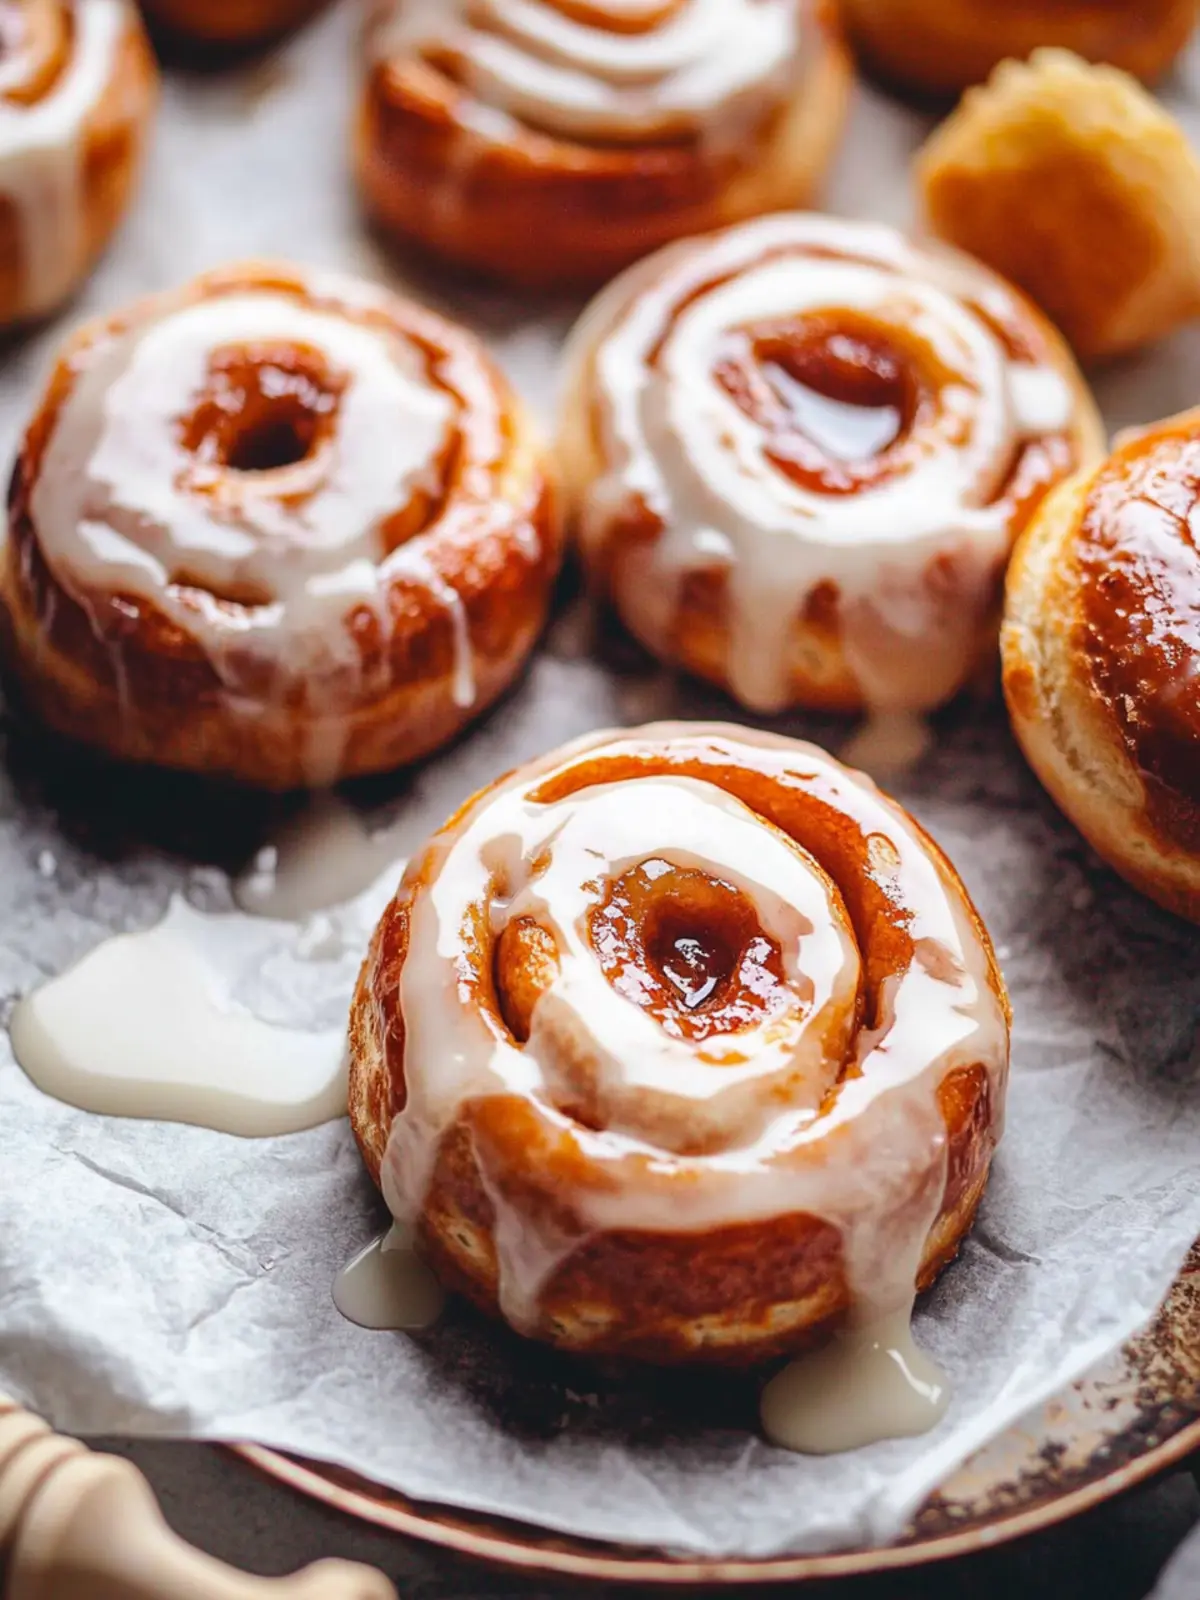
The moment you delve into making these Glazed Homemade Honey Buns, a warm sense of nostalgia wraps around you like a cozy blanket. Picture the sweet aroma wafting through your kitchen, a gentle reminder of childhood mornings filled with laughter and warmth. Just the thought of that fluffy, glazed goodness brings back memories of family gatherings where everyone eagerly awaited their share.
As I experimented with this delightful recipe, I realized how easy it is to create such indulgent treats at home. With a few simple ingredients and the option to fry or air fry, these honey buns are not only a joy to eat but also a perfect solution for anyone seeking comfort beyond the fast-food routine. Imagine sharing these soft, sweet morsels with friends and family; they’re bound to become a weekend favorite!
So, let’s roll up our sleeves and transform your kitchen into a haven of blissful baking. Trust me, the process is just as rewarding as the warm, sugary rewards that await you at the end!
Why are Glazed Homemade Honey Buns irresistible?
Irresistible Sweetness: The warm glaze perfectly complements the soft, fluffy texture of the buns, making each bite a delightful treat.
Nostalgic Flavor: A blend of cinnamon and honey gives these buns a nostalgic taste that will remind you of cherished memories.
Easy to Customize: You can easily modify this recipe by experimenting with different fillings or glazes, ensuring each batch is uniquely yours.
Quick Prep: With just 20 minutes of prep time, you can whip up these treats for any gathering or cozy breakfast at home.
Versatile Cooking Options: Whether you prefer frying or air frying, both methods yield scrumptious results that satisfy any craving.
Get ready to impress your friends and family with this delicious comfort food that’s sure to brighten anyone’s day!
Glazed Homemade Honey Buns Ingredients
• Dive into the delightful world of baking with these sweet and fluffy buns!
For the Dough
- Granulated sugar – Adds a touch of sweetness that activates the yeast for fluffy texture.
- Almond milk or milk of choice – Keeps the buns moist and flavorful; feel free to substitute with any milk.
- Active dry yeast – The key ingredient that makes the dough rise to perfection.
- All-purpose flour – Forms the base for the buns, ensuring they are soft and airy.
- Ground cinnamon – Infuses warm and comforting flavor into each bite.
- Table salt – Enhances the sweetness and balances the flavors.
- Vegan butter (salted) – Provides richness and moisture; can swap with regular butter if preferred.
- Vanilla extract – Adds depth of flavor to the dough, making it irresistibly fragrant.
- Bob’s Red Mill Egg Replacer – A fantastic vegan alternative to eggs, keeping the recipe egg-free.
- Agave nectar or vegan honey – Sweetens the dough naturally and gives a glossy finish.
For the Glaze
- Powdered sugar – Creates a sweet, creamy glaze that beautifully coats each bun.
- Vegan butter or butter of choice – Enhances the flavor and texture of the glaze; can be substituted with coconut oil.
- Agave nectar or vegan honey – Keeps the glaze sweet and adds an extra layer of flavor.
- Vanilla extract – Brightens up the glaze with its lovely aroma.
- Almond milk or milk of choice – Helps achieve the perfect pourable consistency for dipping.
For Cooking
- Vegetable oil – Essential for frying the buns until they are golden and crisp.
- Cooking spray – Ideal for air frying, ensuring buns cook evenly and don’t stick.
With these Glazed Homemade Honey Buns Ingredients, you’re well on your way to creating a sweet treat that will bring joy to every bite!
How to Make Glazed Homemade Honey Buns
-
Dissolve the sugar in warm almond milk and add the yeast. Stir gently, then let it sit for about 5-10 minutes until bubbly and activated. This is your yeast magic moment!
-
Combine the flour, cinnamon, and salt in a large bowl or stand mixer. This dry mix lays the foundation for your fluffy honey buns.
-
Create a well in the dry mix and pour in the almond milk, melted vegan butter, egg replacer, vanilla, agave nectar, and the yeast mixture. Stir until a soft dough forms, feeling that warm embrace of sweet ingredients!
-
Knead the dough on a floured surface for about 10 minutes (or 5-6 minutes with a dough hook on medium speed) until it’s soft and smooth. Place it in a greased bowl, cover it with a damp towel, and let it rise in a warm place for 1 ½ hours or until doubled in size.
-
Roll out the dough on a lightly floured surface into a 12×12” square. Make this space an inviting patch of doughy delight!
-
Brush the prepared filling mixture onto the dough, leaving a ½” border. Roll it tightly into a log, cut into 8 pieces, and place swirl-side up on a baking sheet. Press gently to flatten them to about ½” tall, then cover with a damp towel and let rise for another 30 minutes.
-
Heat a medium-sized pot filled with 3-4 inches of vegetable oil over medium-low heat until it reaches 350°F. This is your bun-frying moment!
-
Flatten the buns a second time into an oval shape right before frying. This ensures even cooking and a delightful texture.
-
Fry 1-2 buns at a time in the hot oil, cooking each side for 2-3 minutes until they turn golden brown. The aroma will be heavenly!
-
Remove the buns using a spatula or slotted spoon and place them on a paper towel-lined cooling rack. Let them cool completely before glazing; patience is key here!
-
Air fry by preheating your air fryer to 375°F. Place buns in a parchment-lined basket, spray or brush them generously with oil, and air fry for 6-8 minutes until they’re golden and delicious.
-
Mix all glaze ingredients in a medium-sized bowl until you reach a thick yet pourable consistency. Dip the tops of the cooled buns into the glaze and place them back on the cooling rack to set.
Optional: Drizzle extra glaze over the tops before serving for that extra sweet touch.
Exact quantities are listed in the recipe card below.
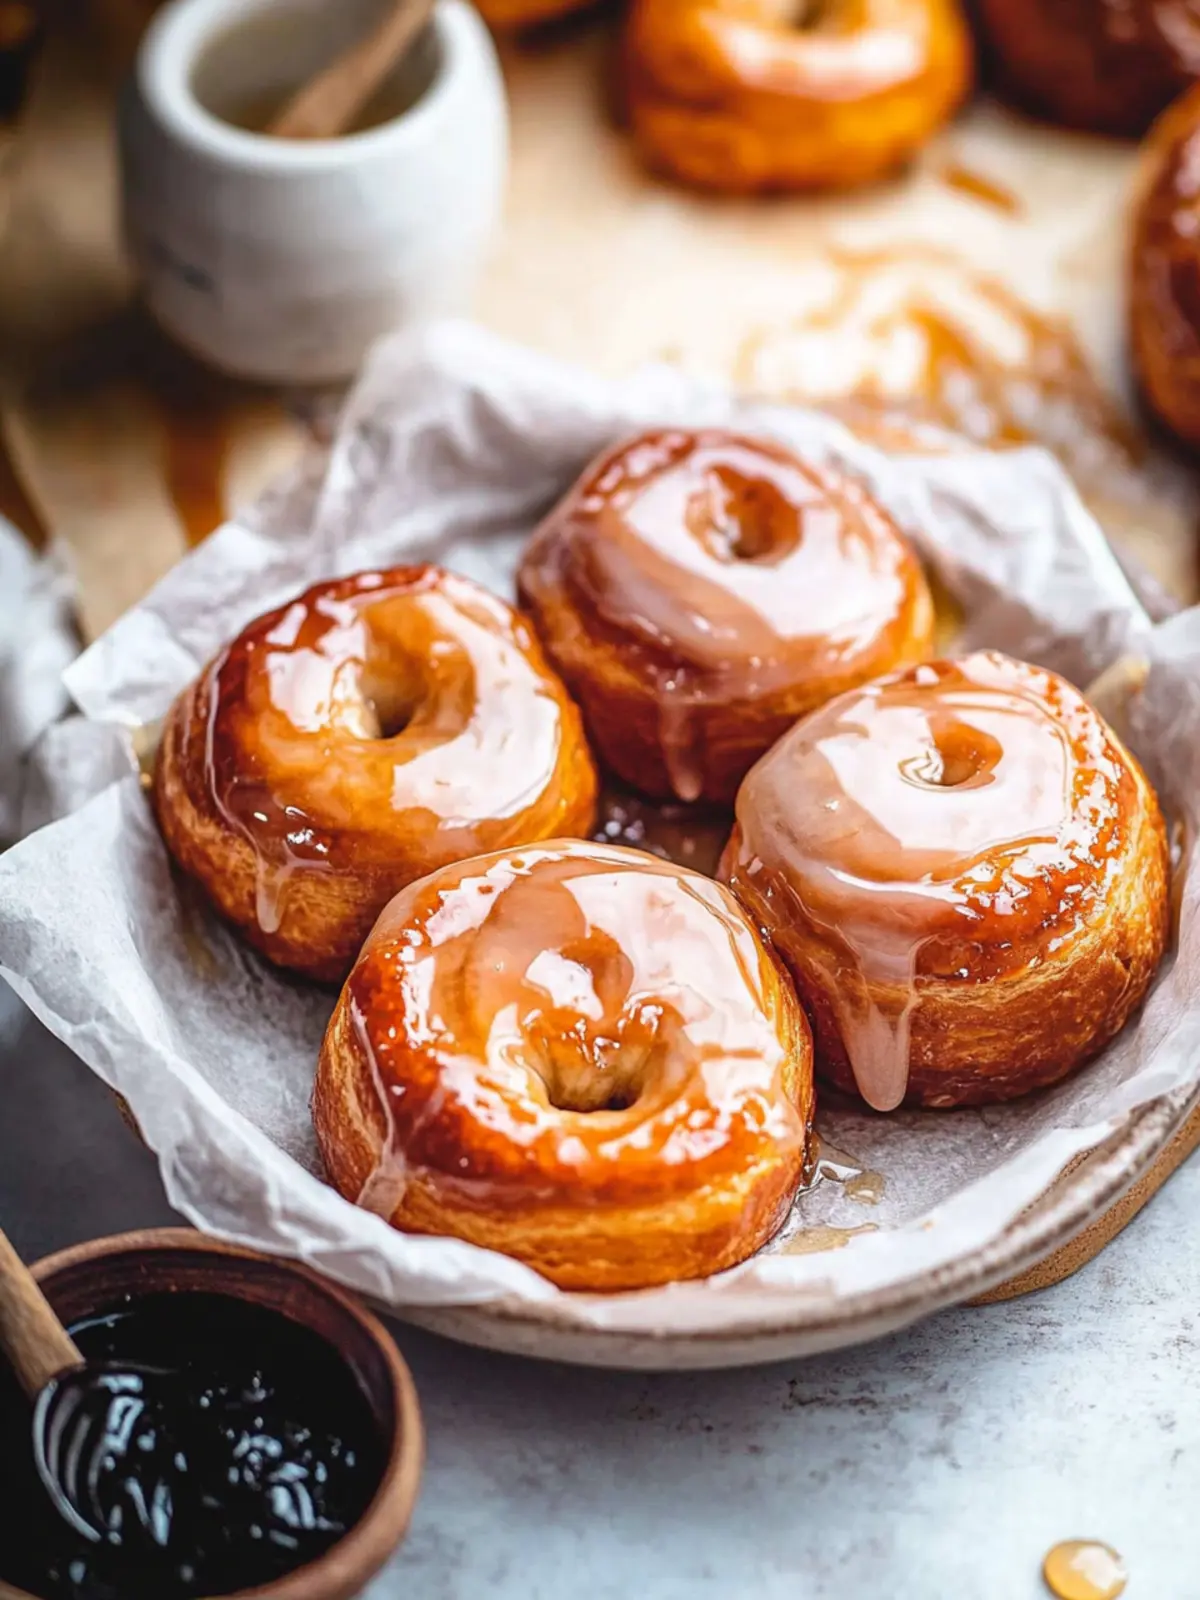
What to Serve with Glazed Homemade Honey Buns?
Picture this: a cozy brunch table, filled with the warming scents of sweet pastries and vibrant flavors. These honey buns are not just a treat on their own; they can be paired beautifully with a variety of dishes that make your meal truly special.
-
Fresh Fruit Salad: A mix of seasonal fruits adds a refreshing zing, balancing the sweetness of the buns beautifully. Think bright strawberries and juicy peaches nestled among greens.
-
Creamy Yogurt Parfait: Layered with granola and berries, a parfait adds creamy texture and a crunch that perfectly complements the soft honey buns.
-
Savory Scrambled Eggs: The richness of fluffy eggs plays well against the sweetness of the honey buns, creating a satisfying contrast that everyone will love.
-
Maple Syrup Drizzle: A light drizzle over the buns enhances their sweetness and adds a familiar breakfast touch that’s hard to resist.
-
Iced Coffee with Cream: Serve a glass of smooth iced coffee to enjoy alongside your sweet buns; the bitterness of the coffee provides a delightful counterbalance.
-
Cinnamon Sticky Buns: Expand on the sweetness with mini cinnamon sticky buns. They’re a perfect bite-sized addition that keeps the theme cozy and indulgent!
-
Vanilla Almond Milk: A glass of chilled vanilla almond milk is a lovely drink pairing, echoing the flavors in your honey buns while keeping it light and refreshing.
Pairing these Glazed Homemade Honey Buns with these delightful options will not only create a memorable meal but also fill your home with warmth and deliciousness. Enjoy!
Make Ahead Options
These Glazed Homemade Honey Buns are perfect for meal prep, allowing you to enjoy sweet freshness even on the busiest days! You can prepare the dough up to 24 hours in advance; simply follow the first few steps up to the first rise, then refrigerate it in a greased bowl covered with plastic wrap. Before frying, allow the dough to come to room temperature for about 30 minutes. Additionally, you can pre-mix the glaze up to 3 days ahead and store it in the fridge—just re-whisk before use to maintain its smooth consistency. With these thoughtful prep options, busy home cooks can indulge in homemade goodness without the last-minute rush!
Glazed Homemade Honey Buns Variations
Feel free to experiment and make this recipe your own with exciting twists and substitutions!
-
Dairy-Free: Substitute almond milk with coconut milk for a tropical flair, or use oat milk for a creamy texture.
-
Gluten-Free: Use a 1:1 gluten-free flour blend to make these honey buns gluten-free, maintaining that tender texture everyone loves.
-
Cinnamon Rolls: Add a swirl of brown sugar and cinnamon inside the dough for a twist that resembles classic cinnamon rolls.
-
Fruit-Filled: Inject sweetness by adding fresh berries or apple slices in the filling; they create a juicy burst of flavor with every bite.
-
Chocolate Lover’s Delight: Mix cocoa powder into the dough or add chocolate chips to the filling for a rich, indulgent variation.
-
Spicy Kick: Sprinkle in a pinch of cayenne pepper or chili powder into the glaze for a surprising sweet and spicy combination.
-
Nutty Crunch: Fold in chopped nuts, like walnuts or pecans, for added texture and flavor; they add a delightful crunch and richness.
-
Maple Glaze: Replace agave nectar with maple syrup in the glaze for a unique, earthy sweetness that sings with every sip of coffee or tea alongside these buns.
How to Store and Freeze Glazed Homemade Honey Buns
Room Temperature: Store cooled honey buns in an airtight container for up to 3 days to keep them soft and fresh.
Fridge: If you need them to last longer, pop the buns in the fridge for up to a week. Make sure to wrap them tightly to avoid drying out.
Freezer: Freeze the honey buns in a resealable bag or container for up to 3 months. When ready to enjoy, let them thaw overnight in the fridge or at room temperature.
Reheating: To reheat, pop them in the microwave for 10-15 seconds or warm them in an oven at 350°F for a few minutes until heated through; enjoy the delightful texture of these Glazed Homemade Honey Buns!
Helpful Tricks for Glazed Homemade Honey Buns
-
Yeast Activation: Make sure the water is warm (not hot!) to properly activate the yeast; this ensures your buns rise beautifully.
-
Kneading Time: Don’t rush the kneading process; kneading for about 10 minutes helps develop gluten, giving your buns that perfect fluffy texture.
-
Temperature Check: When frying, use a thermometer to maintain the oil temperature at 350°F; overly hot oil can burn the buns, while too cool oil can make them greasy.
-
Flattening Before Frying: Gently flatten the buns before frying for even cooking; this step enhances their texture and ensures a nice golden brown finish.
-
Glazing Technique: For a glossy finish, dip buns in glaze while they are still slightly warm; this allows the glaze to adhere better and adds to the sweetness of these Glazed Homemade Honey Buns.
-
Customize Fillings: Feel free to get creative with the fillings or glazes; experimenting will make each batch of honey buns uniquely delightful!
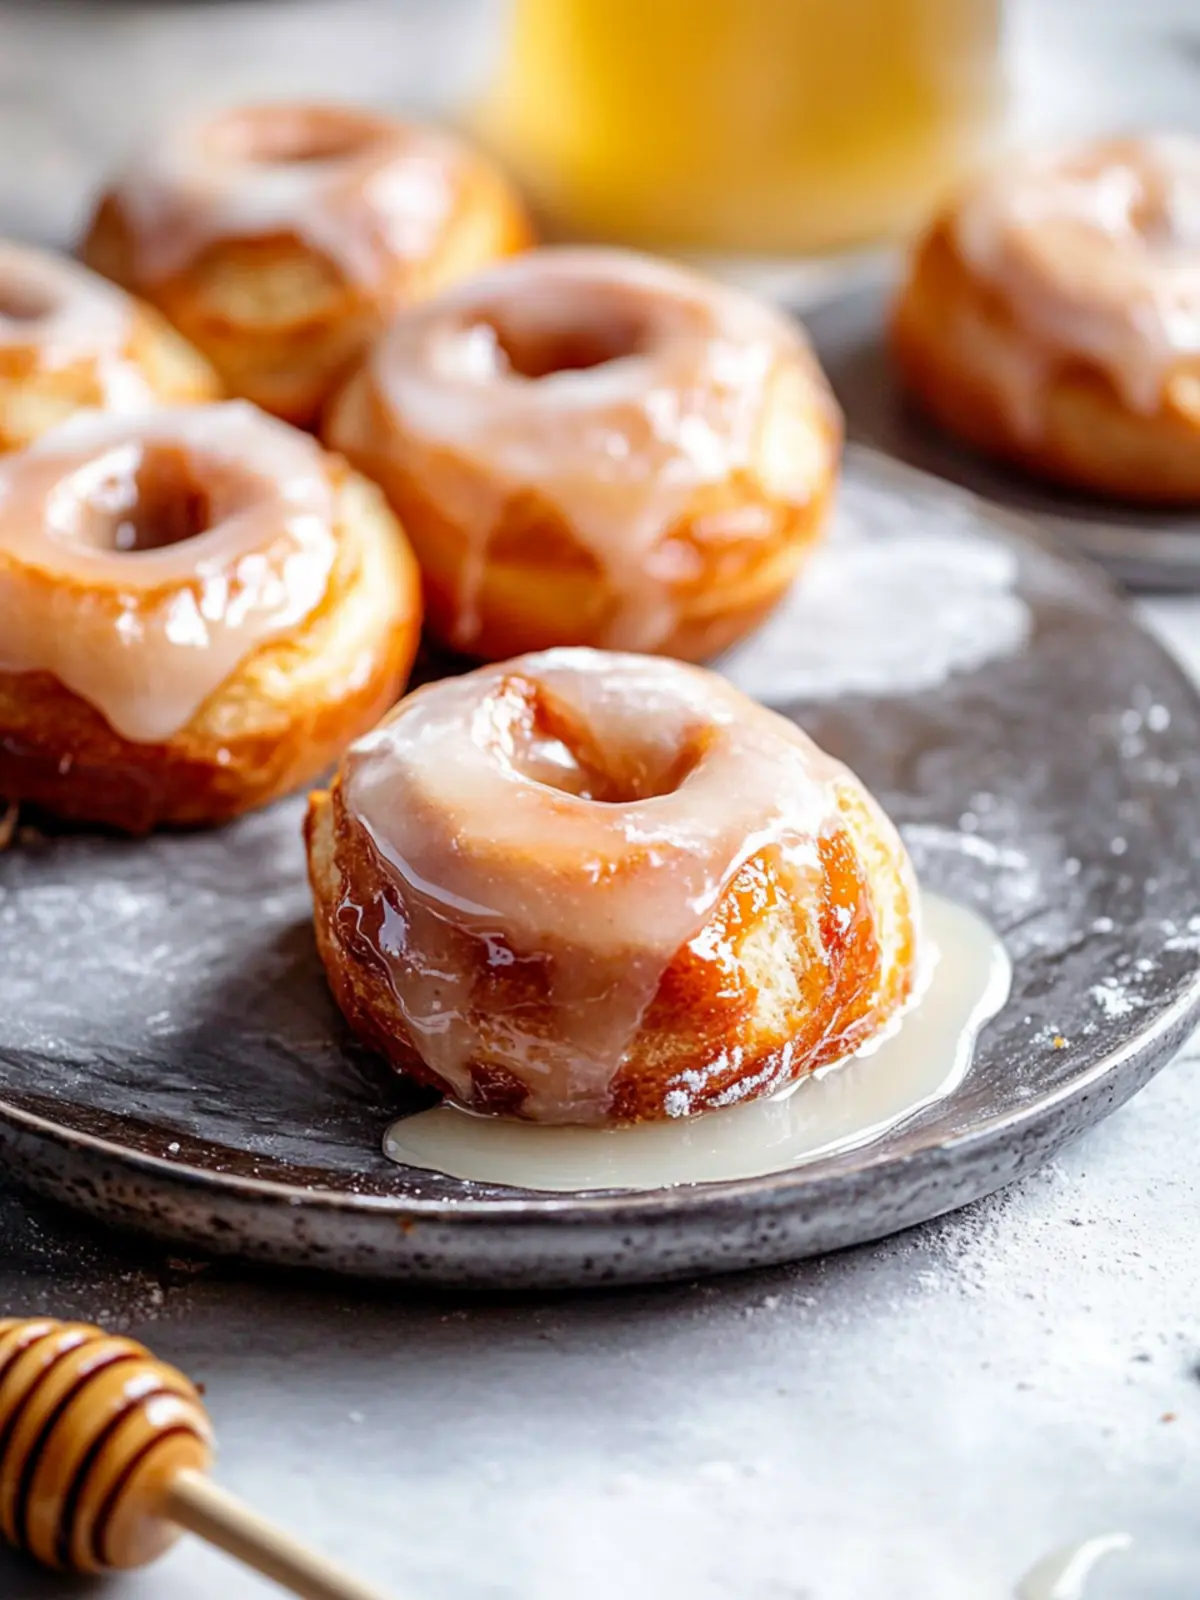
Glazed Homemade Honey Buns Recipe FAQs
How do I choose the right almond milk or milk for this recipe?
Absolutely! When selecting almond milk or any milk of choice, look for unsweetened options to avoid adding extra sugar to the recipe. Check the expiration date and opt for a brand known to blend well in baking. If you’re not a fan of almond milk, oat milk or any dairy milk would work wonderfully here!
How should I store the glazed honey buns?
For keeping those delicious Glazed Homemade Honey Buns fresh, store them in an airtight container at room temperature for up to 3 days. If you want them to last longer, refrigerate for up to a week, making sure to wrap them tightly to prevent them from drying out.
Can I freeze the honey buns?
Yes! To freeze your honey buns, let them cool completely after glazing. Place them in a resealable freezer bag or an airtight container, separating layers with parchment paper to prevent sticking. They will keep well for up to 3 months. When you’re ready to enjoy, thaw them overnight in the fridge or at room temperature.
What if my honey buns don’t rise properly?
Very common! If your honey buns don’t rise as expected, the yeast might not have activated properly. Always check that your almond milk is warm (but not hot) when you add the yeast and sugar. Look for a bubbly, frothy appearance after 5-10 minutes; this is a good sign your yeast is alive. Also, ensure your dough is placed in a warm, draft-free area during the rising process.
Are these honey buns safe for pets or allergies?
While these honey buns are made with safe ingredients for humans, they contain sugar and vegan butter, which aren’t suitable for pets—especially dogs and cats. Always check to see if anyone in your family has allergies to any of the main ingredients like gluten or dairy before serving. If allergies are a concern, substituting with gluten-free flour and ensuring no cross-contamination will allow you to enjoy these buns safely!
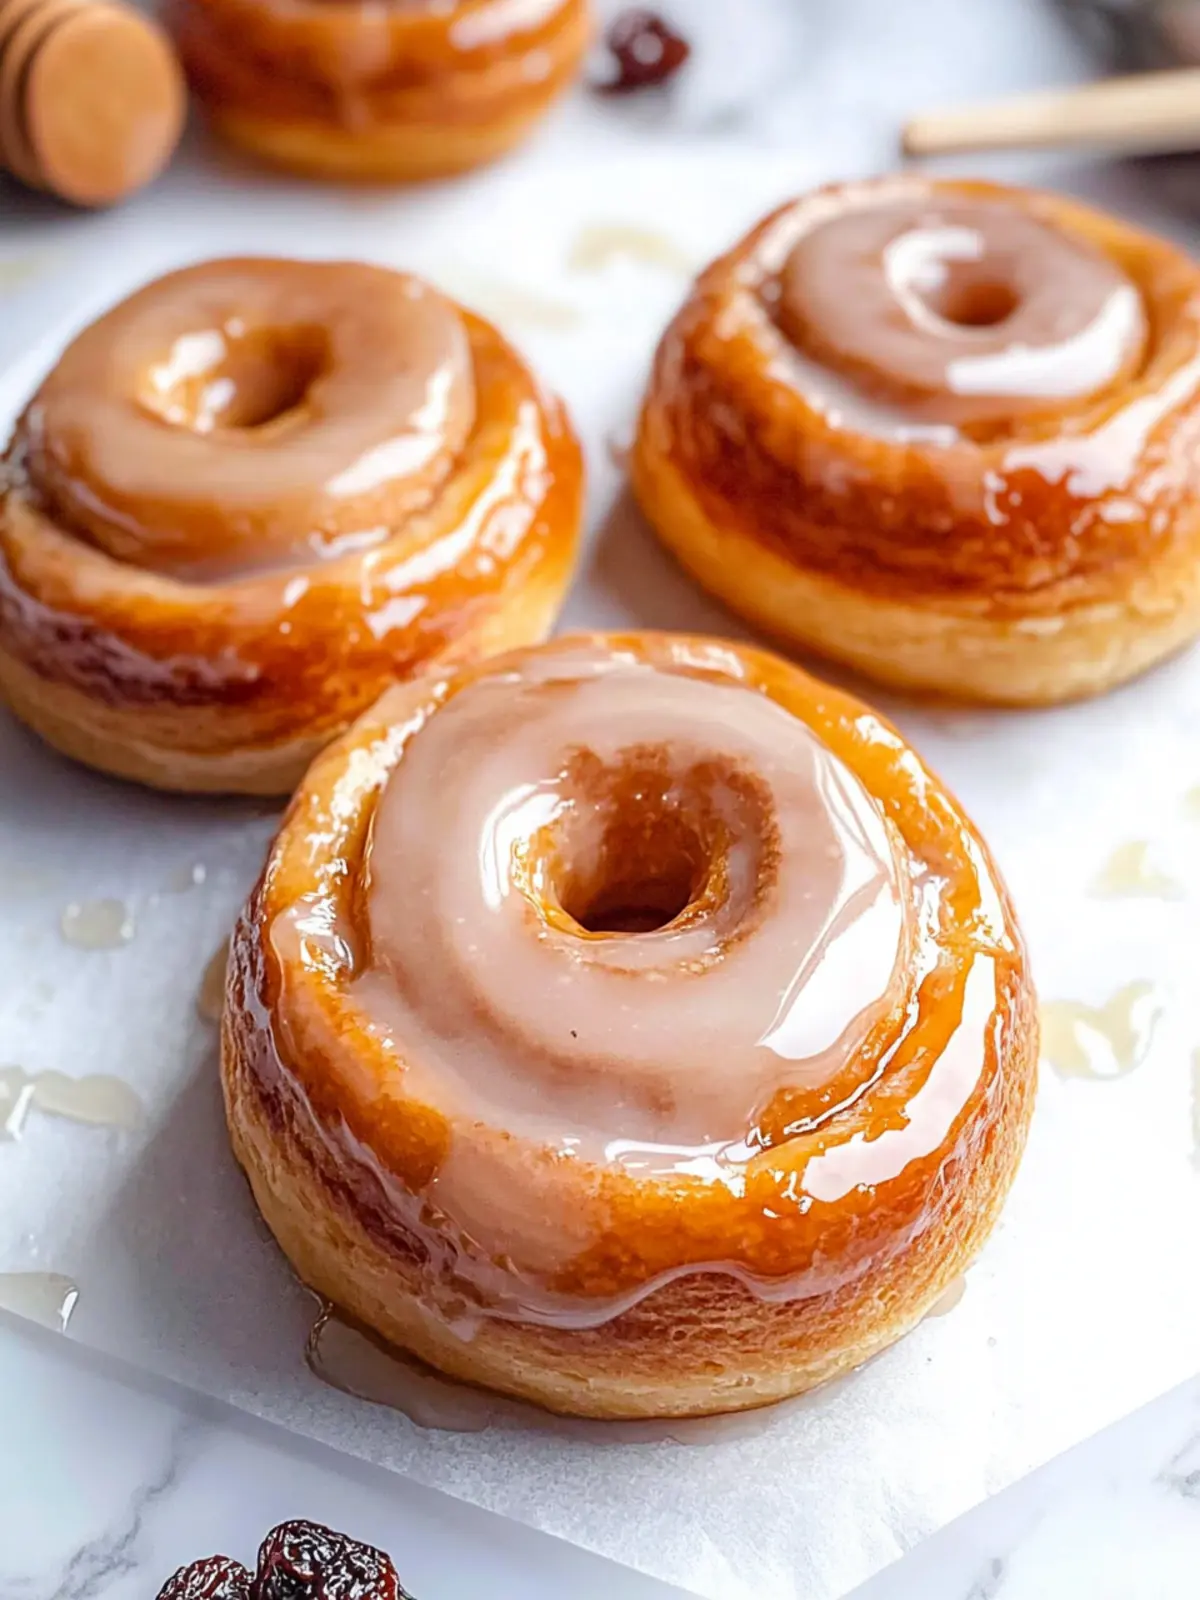
Delicious Glazed Homemade Honey Buns
Ingredients
Equipment
Method
- Dissolve the sugar in warm almond milk and add the yeast. Stir gently, then let it sit for about 5-10 minutes until bubbly and activated.
- Combine the flour, cinnamon, and salt in a large bowl or stand mixer.
- Create a well in the dry mix and pour in the almond milk, melted vegan butter, egg replacer, vanilla, agave nectar, and the yeast mixture. Stir until a soft dough forms.
- Knead the dough on a floured surface for about 10 minutes until it's soft and smooth. Place it in a greased bowl, cover it, and let it rise in a warm place for 1 ½ hours or until doubled in size.
- Roll out the dough on a lightly floured surface into a 12x12” square.
- Brush the prepared filling mixture onto the dough, leaving a ½” border. Roll it tightly into a log, cut into 8 pieces, and place swirl-side up on a baking sheet.
- Press gently to flatten them to about ½” tall, then cover with a damp towel and let rise for another 30 minutes.
- Heat a medium-sized pot filled with vegetable oil over medium-low heat until it reaches 350°F.
- Flatten the buns a second time into an oval shape right before frying.
- Fry 1-2 buns at a time in the hot oil, cooking each side for 2-3 minutes until they turn golden brown.
- Remove the buns using a spatula or slotted spoon and place them on a paper towel-lined cooling rack.
- Air fry by preheating your air fryer to 375°F. Place buns in a parchment-lined basket, spray or brush generously with oil, and air fry for 6-8 minutes.
- Mix all glaze ingredients until you reach a thick yet pourable consistency. Dip the tops of the cooled buns into the glaze.