
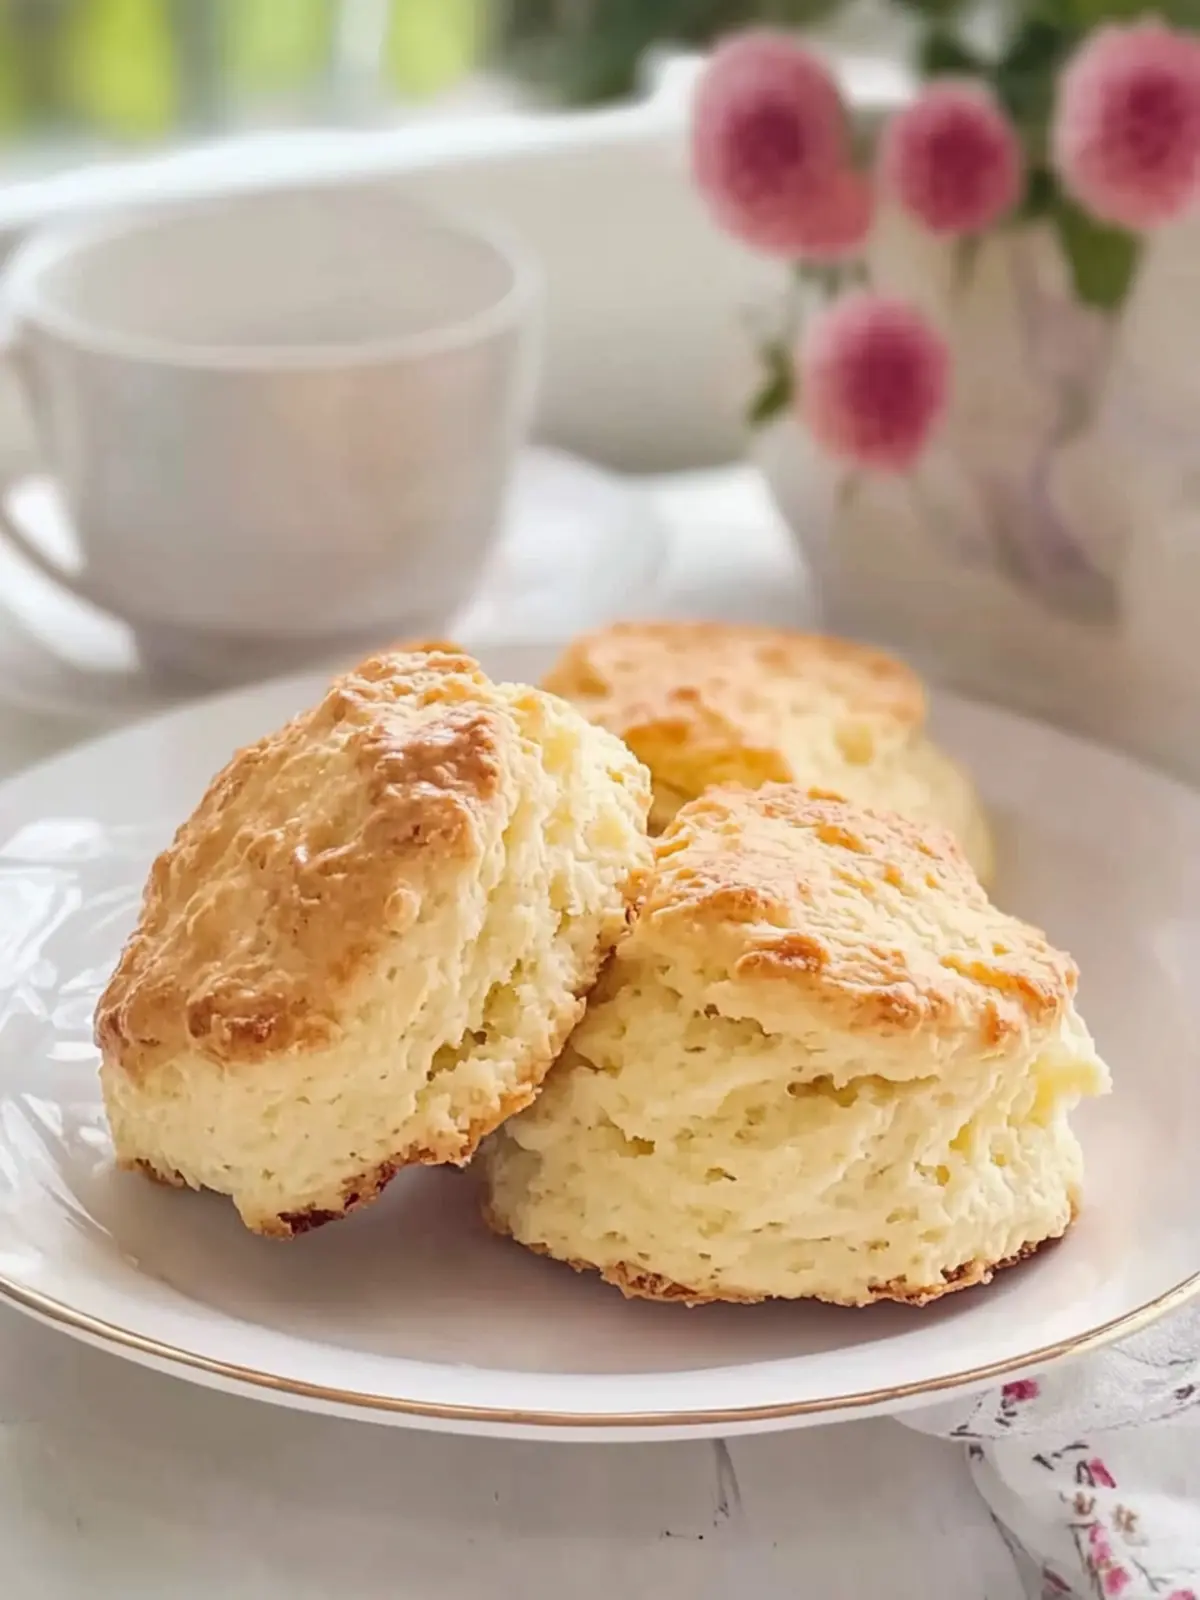
There’s a certain comfort that comes from the warmth of freshly baked scones, especially when you know everyone can enjoy them. Let me take you back to a cozy afternoon when I discovered the perfect gluten-free recipe from the beloved Mary Berry. With every bite, you’ll experience a delightful crumb that is both light and fluffy, breaking the stereotype that gluten-free treats can’t be indulgent. These scones are a beautiful golden-brown, inviting you to slather on some buttery goodness, perhaps with a dollop of jam or a scoop of clotted cream.
As someone who has often felt the disappointment of lacking flavorful options due to gluten intolerance, these scones are a game-changer. Ideal for afternoon tea or even a simple snack, they blend traditional flavors with a modern twist, ensuring that no one feels left out at the table. Join me as we whip up this easy Mary Berry gluten-free scone recipe, making your next gathering a truly inclusive and delicious affair!

Why You’ll Love Mary Berry Gluten-Free Scones
Delicious gluten-free scones bring joy to everyone at the table!
Light and Fluffy: These scones defy expectations, providing a tender crumb and delightful texture.
Easy to Make: Simple steps mean even beginner bakers can create these treats with confidence.
Versatile Serve: Perfect for afternoon tea, brunch, or a delightful snack, they fit any occasion.
Flavor Packed: Buttery richness and hints of sweetness ensure these scones steal the show.
Inclusive Delight: No gluten? No problem! Everyone can savor this classic recipe.
Don’t miss out on upgrading your afternoon with these scrumptious treats!
Mary Berry Gluten-Free Scones Ingredients
• Get ready to bake some delicious gluten-free scones!
For the Scone Mixture
- Gluten-free self-raising flour (2¾ cups / 350g) – This flour provides the essential structure; if unavailable, use plain gluten-free flour plus 2 tsp baking powder.
- Baking powder (1 teaspoon) – An additional leavening agent that ensures a perfect rise for your scones.
- Salt (¼ teaspoon) – A pinch enhances the overall flavor beautifully.
- Salted butter (¼ cup / 55g, softened) – Adds rich, buttery notes and moisture that keeps the scones tender.
- Sugar (¼ cup / 50g) – A touch of sweetness; feel free to adjust based on your personal taste preferences.
- Extra-large eggs (2, beaten) – These bind the mixture and contribute to the scone’s delightful texture.
- Buttermilk (¾ cup / 180ml) – Vital for moisture; can be substituted with regular milk combined with 1 tsp lemon juice for a similar tang.
- Xanthan gum (1 teaspoon) – Crucial for structure if it’s not in your flour blend, providing that perfect gluten-free scone texture.
For Finishing Touches
- Milk (a little for brushing) – Brushing on milk gives your scones a lovely golden finish, adding to their appeal.
Now, let’s bring some warmth and happiness into your kitchen with these scrumptious Mary Berry gluten-free scones!
How to Make Mary Berry Gluten-Free Scones
-
Prep the oven: Preheat your oven to 220°C (425°F), ensuring it’s hot and ready for perfectly baked scones.
-
Mix Dry Ingredients: In a large bowl, combine the gluten-free self-raising flour, baking powder, salt, and xanthan gum (if needed). Whisk them together until well blended.
-
Cream Butter and Sugar: In another bowl, beat the softened butter and sugar together until the mixture is light and fluffy, about 2-3 minutes.
-
Combine Ingredients: Add the beaten eggs and buttermilk to the butter mixture. Fold in the dry ingredients gently until everything is just combined; avoid overmixing to keep the scones light.
-
Shape the Dough: Turn the soft dough onto a floured surface, gently pat it into a circle about 2.5 cm (1 inch) thick, maintaining a light touch to preserve the texture.
-
Cut and Prepare for Baking: Using a sharp knife or a scone cutter, cut the dough into scone shapes. Place them on a baking tray lined with parchment paper. Brush the tops lightly with milk for a golden finish.
-
Bake: Slide the tray into your preheated oven and bake for 12-15 minutes, or until the scones are golden brown and risen beautifully.
-
Cool: Allow the scones to cool slightly on a wire rack before serving. Enjoy them warm for a delightful treat!
Optional: Serve with clotted cream and your favorite jam for a classic pairing.
Exact quantities are listed in the recipe card below.
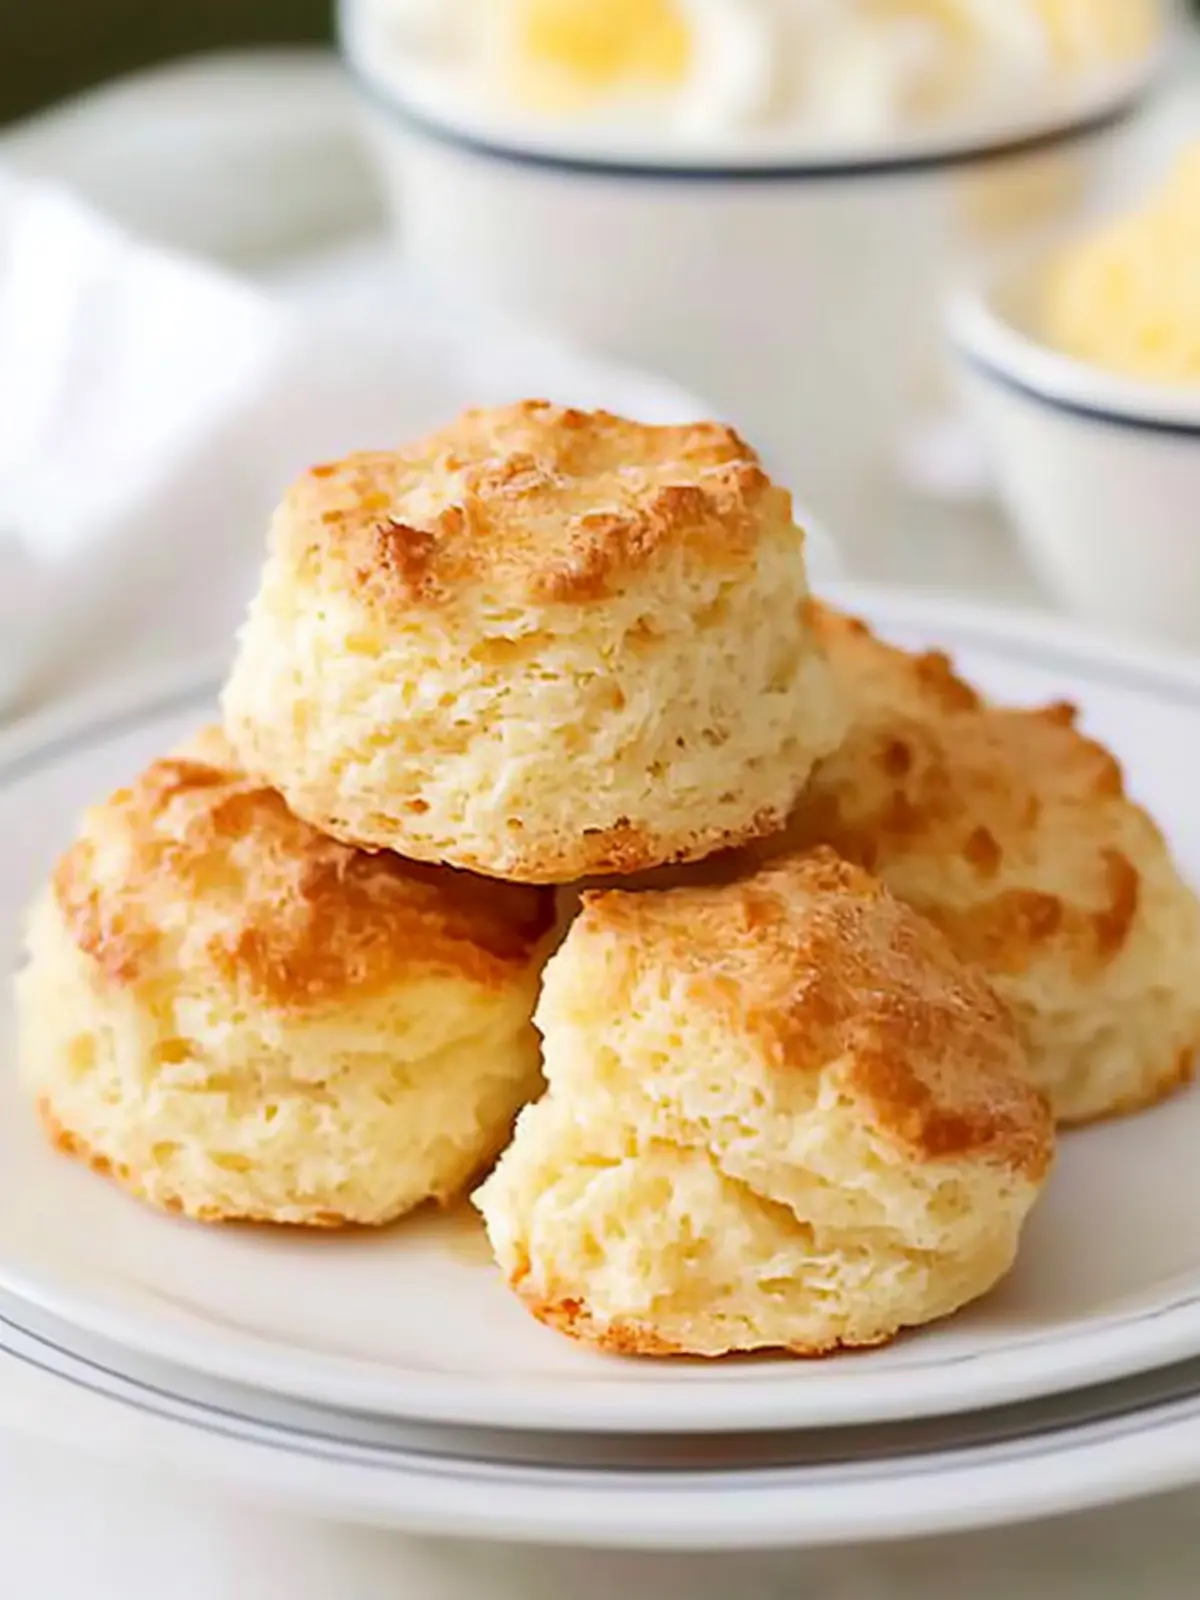
Expert Tips for Mary Berry Gluten-Free Scones
- Gentle Mixing: Avoid toughness: Gently fold the dough to retain its light and airy nature. Overmixing can result in dense scones.
- Flour Adjustments: Avoid dryness: If the dough feels sticky, add flour gradually rather than dumping in too much at once, ensuring moist scones.
- Xanthan Gum Importance: Don’t skip it: If your gluten-free flour blend doesn’t already contain xanthan gum, it’s essential for structure. Omitting it could lead to crumbly scones.
- Dairy-Free Option: Easier alternatives: For a dairy-free version, substitute buttermilk with a mixture of oat milk and a splash of lemon juice.
- Bake with Care: Watch the time: Keep an eye on your scones as they bake; overbaking can lead to dryness, while perfectly baked scones will be golden brown and fluffy.
What to Serve with Mary Berry Gluten-Free Scones?
Elevate your scone experience with delightful accompaniments that bring out the best flavors and textures.
- Clotted Cream: A classic choice, its rich and velvety goodness perfectly complements the light and fluffy scones.
- Fresh Strawberry Jam: Sweet, luscious, and bursting with fruity flavor, this jam adds a delightful contrast to the buttery scones.
- Lemon Curd: For a zingy twist, this creamy curd brightens the scone experience and balances the richness delightfully.
- Herbal Tea: A warm cup of chamomile or earl grey enhances the cozy ambiance, making your afternoon tea truly special.
- Seasonal Fresh Berries: Serve a mix of raspberries, blueberries, and strawberries for freshness that brightens every bite.
- Honey: A drizzle of golden honey provides natural sweetness and a floral note that pairs beautifully with the scones.
With these pairings, your Mary Berry gluten-free scones are sure to shine at any gathering!
Gluten-Free Scones Variations
Feel free to make these scones your own with enticing twists and substitutions that spark joy in every bite!
-
Dairy-Free: Substitute buttermilk with almond milk or coconut milk and a splash of lemon juice for a rich, creamy consistency.
-
Flavor Boost: Add zest from an orange or lemon to the dough for a bright, citrusy kick that complements the buttery notes beautifully.
-
Fruit-Filled: Toss in 1 cup of dried fruits like cranberries, raisins, or apricots for a sweet burst of flavor in every scone.
-
Nutty Crunch: Incorporate ¾ cup of chopped nuts such as walnuts or almonds into the dough for added texture and nutty flavor.
-
Herb-Infused: For a savory twist, fold in finely chopped fresh herbs like rosemary or thyme, making them an unexpected delight at your next gathering.
-
Sweet Spice: Sprinkle in 1 teaspoon of cinnamon or pumpkin spice into the dry mix for those cozy autumn vibes that pair perfectly with a cup of tea.
-
Extra Tenderness: Replace half of the buttermilk with Greek yogurt for even creamier, more tender scones that melt in your mouth.
-
Chocolate Delight: Stir in ½ cup of mini chocolate chips for a decadent treat that will satisfy any sweet tooth.
With these variations, your Mary Berry gluten-free scones can cater to every taste! Enjoy experimenting and creating memorable moments around the table.
How to Store and Freeze Mary Berry Gluten-Free Scones
Room Temperature: Keep scones in an airtight container at room temperature for up to 2 days for the best flavor and texture.
Fridge: If you need them to last a bit longer, store in an airtight container in the fridge for up to 4 days, but note they may lose some freshness.
Freezer: Freeze scones in a single layer, wrapped in plastic wrap and placed in a freezer bag, for up to 3 months.
Reheating: To restore their fluffy goodness, reheat frozen scones in a preheated oven at 180°C (350°F) for about 10-15 minutes until warmed through. Enjoy your Mary Berry gluten-free scones anytime!
Make Ahead Options
These Mary Berry gluten-free scones are perfect for meal prep and can save you precious time during busy weeknights! You can prepare the dough up to 24 hours in advance. Simply follow the recipe until you’ve shaped the scones and placed them on the baking tray. Instead of baking right away, cover the tray with plastic wrap and refrigerate it. When you’re ready to serve, simply preheat your oven and bake them directly from the fridge, adding an extra couple of minutes to the baking time. For optimal flavor and texture, avoid excessive handling of the dough, and enjoy freshly baked scones that are just as delicious as those made on the spot!
Mary Berry Gluten-Free Scones Recipe FAQs
How do I choose the right gluten-free flour for scones?
Absolutely! When selecting gluten-free flour, look for blends specifically marked as “gluten-free self-raising flour” for the best results. If you can’t find it, you can use plain gluten-free flour and add 2 teaspoons of baking powder to achieve a similar rise. This will help create that light and fluffy texture that we all love in scones!
What is the best way to store leftover gluten-free scones?
Very! To store your Mary Berry gluten-free scones, place them in an airtight container at room temperature for up to 2 days. If you’d like to keep them fresh for longer, you can refrigerate them for up to 4 days, but note that they may lose some of their delightful freshness.
Can I freeze Mary Berry gluten-free scones?
Of course! To freeze these scones, first allow them to cool completely. Then, wrap each scone individually in plastic wrap to prevent freezer burn and place them in a freezer bag. They can be stored this way for up to 3 months. When you’re ready to enjoy them, simply reheat in a preheated oven at 180°C (350°F) for 10-15 minutes to restore their original texture and warmth.
What should I do if my dough is too sticky?
No worries! If you find that your dough is a bit sticky, add flour gradually, about a tablespoon at a time, until it reaches a manageable consistency. Remember to handle the dough gently to maintain its airy texture. If you add too much flour, it can lead to dry scones, so be cautious as you adjust!
Are Mary Berry gluten-free scones safe for people with allergies?
Definitely! These scones are suitable for those with gluten intolerance, but always double-check the labels on your ingredients. If you’re making this for someone with other allergies, ensure that any butter or dairy substitutes are allergy-friendly. For a dairy-free version, you can easily replace buttermilk with a mix of oat milk and lemon juice!
How can I tell when my gluten-free scones are done baking?
Great question! Keep an eye on your scones as they bake. They usually take about 12-15 minutes at 220°C (425°F). Look for them to be golden brown on top and risen beautifully. You can also insert a toothpick; if it comes out clean or with a few crumbs, they’re good to go!
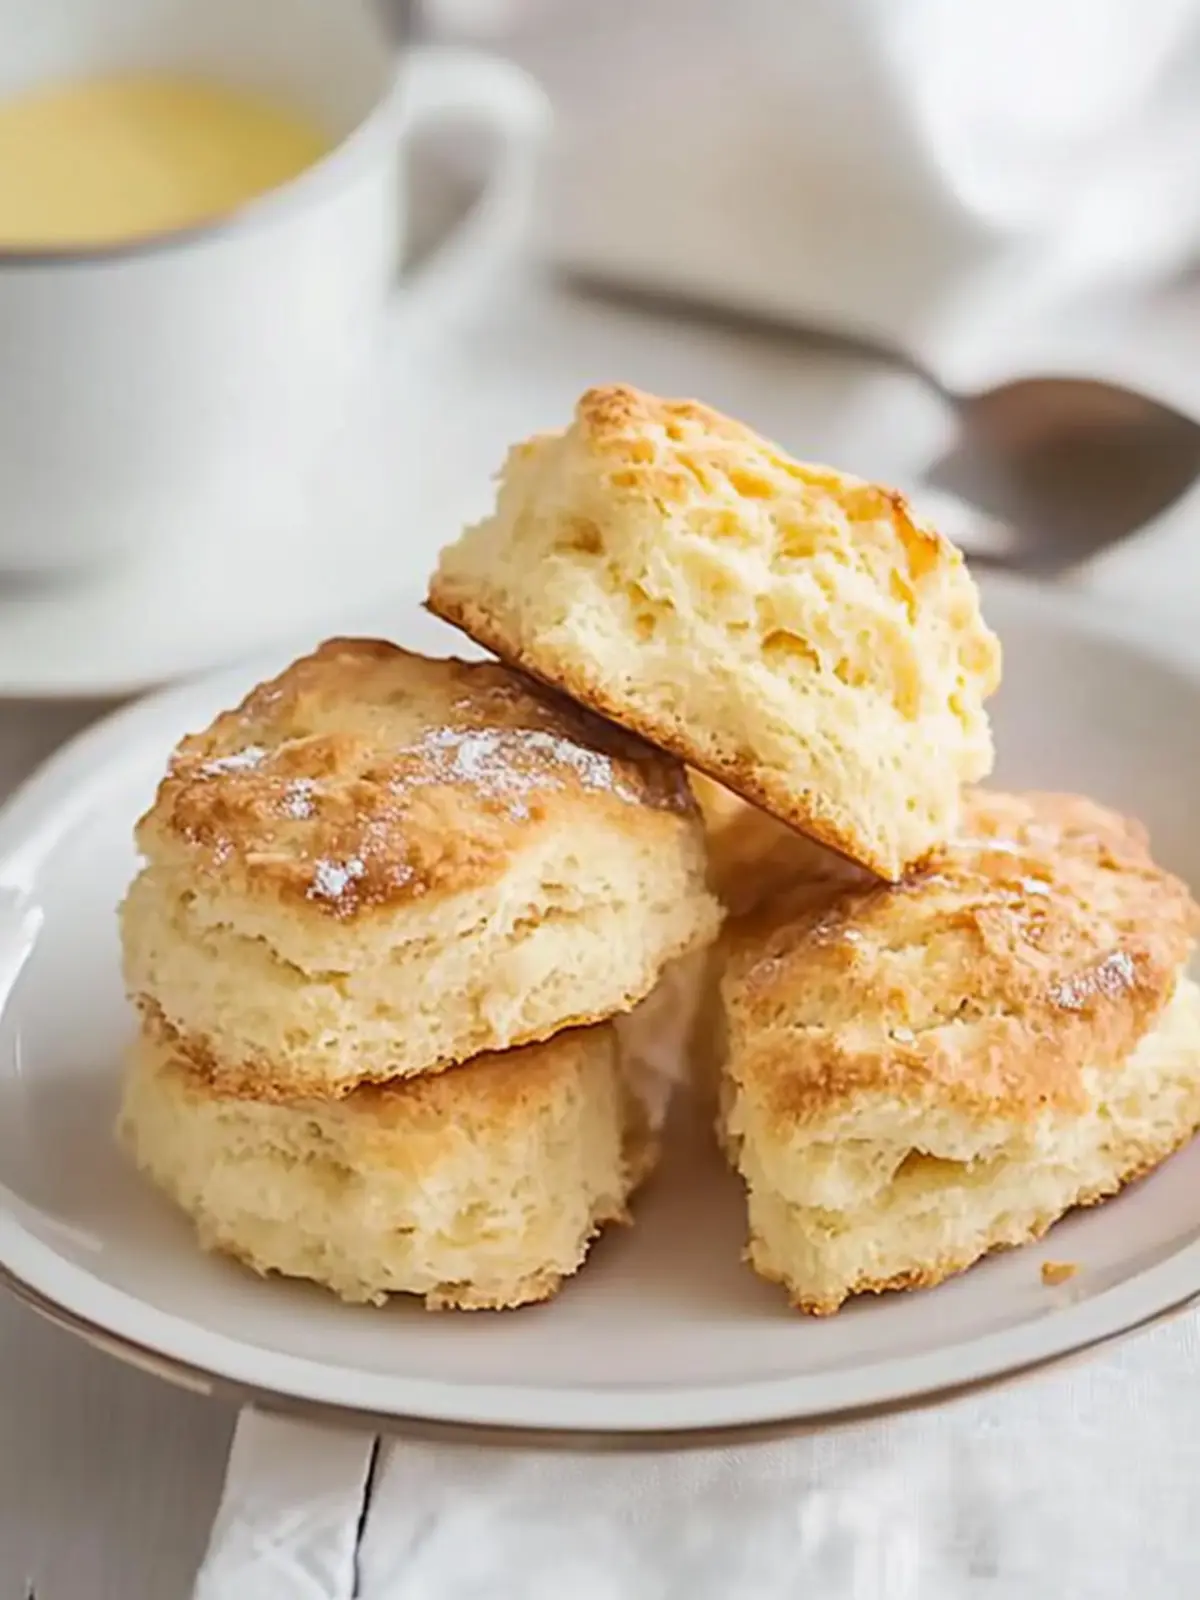
Delicious Mary Berry Gluten-Free Scones for Everyone to Enjoy
Ingredients
Equipment
Method
- Preheat your oven to 220°C (425°F).
- In a large bowl, combine the gluten-free self-raising flour, baking powder, salt, and xanthan gum. Whisk until well blended.
- In another bowl, beat the softened butter and sugar together until light and fluffy, about 2-3 minutes.
- Add beaten eggs and buttermilk to the butter mixture. Fold in dry ingredients gently, avoiding overmixing.
- Turn the soft dough onto a floured surface and pat it into a circle about 2.5 cm thick.
- Cut the dough into scone shapes. Place on a baking tray lined with parchment paper and brush the tops lightly with milk.
- Bake for 12-15 minutes or until golden brown and risen.
- Allow to cool slightly on a wire rack before serving.