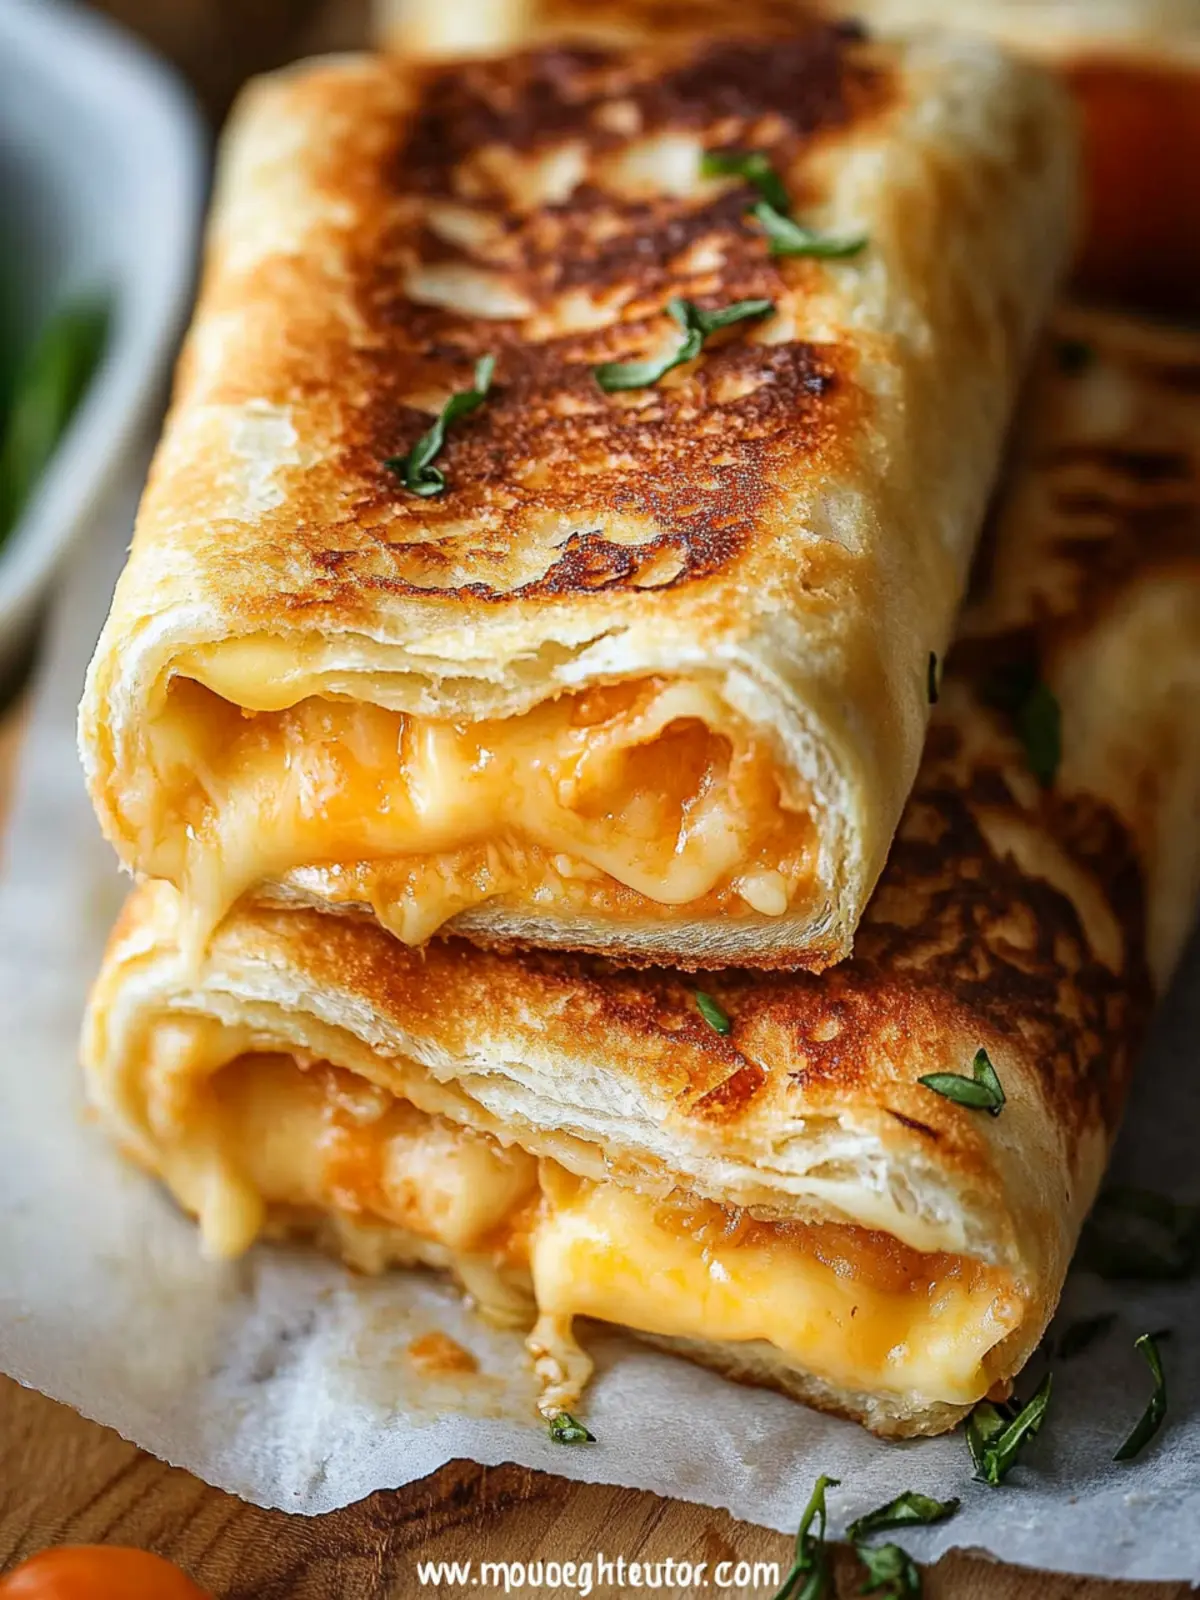
There’s nothing quite like the comforting taste of melted cheese, and when it comes to a creative twist on a classic favorite, Grilled Cheese Roll-Ups have become my go-to. Picture this: the satisfying crunch of golden-brown bread giving way to strings of gooey cheese, all while being deceptively easy to prepare.
I discovered these delightful bites one evening when I was tired of my usual dinner routine and eager for something fun. With just a few simple ingredients, including bread and cheese—which I almost always have on hand—I rolled up an idea that has since made countless appearances at family gatherings, potlucks, and even quiet nights in.
These roll-ups are not only a breeze to whip up, but they also bring a smile to everyone’s face, making them the perfect solution for anyone overwhelmed by fast-food fatigue. Whether you choose to add ham or keep it classic, each bite is sure to impress. Let’s dive into this quick and delicious recipe that will become a favorite in your home!

Why are Grilled Cheese Roll-Ups so delightful?
Easy to Make: You’ll love how simple these roll-ups are to whip up—perfect for busy weeknights or spontaneous snack cravings!
Gooey Goodness: The melted cheese creates a delicious burst of flavor in every bite, elevating a classic dish.
Customizable: Add ham, veggies, or your favorite seasonings to make them uniquely yours.
Crowd-Pleaser: Kids and adults alike rave about these fun bites, ensuring they’re always a hit at gatherings.
Quick Cooking: At just 18 minutes from start to finish, you’ll have a delectable treat ready in no time.
Grilled Cheese Roll-Ups Ingredients
• Get ready to enjoy a cheesy delight!
For the Roll-Ups
• 6 slices of bread – Use your favorite type, but white or whole wheat work beautifully for a classic taste.
• 1 cup thinly shredded cheese – Cheddar, mozzarella, or a blend will melt perfectly for those gooey grilled cheese roll-ups.
• 6 thinly slices of ham (optional) – Adds a savory layer; try turkey or chicken for a lighter touch!
• 2 tbsp of butter – Helps achieve that golden-brown crust while frying; you can substitute with olive oil for a healthier option.
Enjoy crafting your delightful roll-ups!
How to Make Grilled Cheese Roll-Ups
-
Trim the crust off the bread.
Start by removing the crust from each slice of bread for a softer bite, making it easier to roll up and enjoy. -
Flatten the bread.
Gently use a rolling pin or your hands to press each slice flat, which will help create that wonderful roll-up shape later. -
Layer on the cheese.
Sprinkle one cup of thinly shredded cheese over each flattened slice, and if you like, add a slice of ham for an extra boost of flavor. -
Roll it up tightly.
Carefully roll each slice of bread around the cheese (and ham), securing the filling inside. Use toothpicks to keep them closed, if needed. -
Heat your skillet.
Place a skillet over medium to medium-low heat and add the butter, letting it melt and coat the bottom of the pan. -
Place the roll-ups in the pan.
Arrange your Grilled Cheese Roll-Ups in the hot skillet, ensuring they have enough space to brown without overcrowding. -
Cook until golden.
Let the roll-ups cook for about 5 to 8 minutes, turning them with tongs occasionally until they’re a lovely golden brown and the cheese is deliciously melted. -
Serve and enjoy!
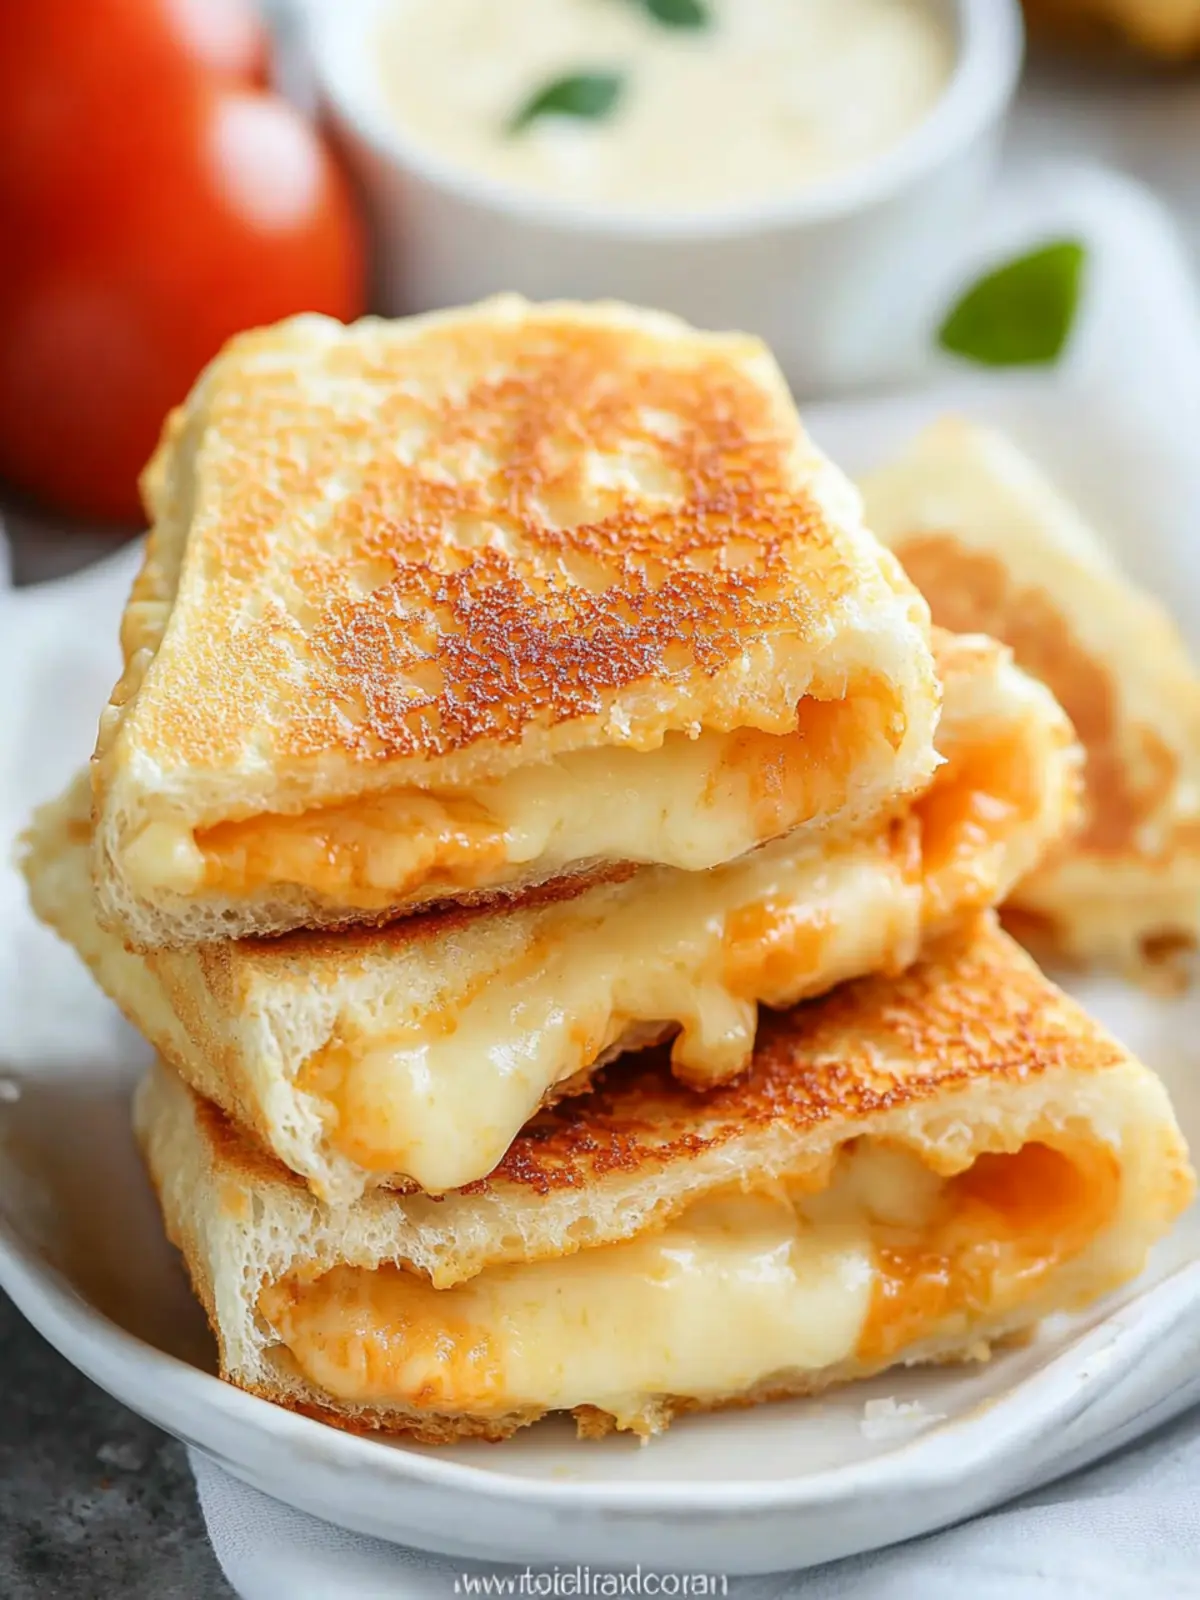
Once done, carefully remove them from the skillet. Cut them in half if you wish, and serve warm for a delightful experience!
Optional: Serve with marinara sauce or your favorite dipping sauce for added flavor!
Exact quantities are listed in the recipe card below.
Grilled Cheese Roll-Up Variations
Feel free to get creative and customize these roll-ups with delightful twists that excite your taste buds!
-
Veggie-Packed: Add sautéed spinach, bell peppers, or mushrooms for a nutritious crunch that complements the cheese beautifully.
Experimenting with flavors enhances the experience, turning a classic snack into a hearty meal. -
Gluten-Free: Substitute the bread with gluten-free varieties for a delicious option suitable for everyone at the table.
This simple swap keeps the joy while accommodating dietary preferences, ensuring no one misses out on the fun! -
Spicy Kick: Mix in some jalapeños or a sprinkle of red pepper flakes for a fiery burst that elevates your roll-ups to a new level.
Adjust the heat to your liking, and feel the warmth linger in every delightful bite. -
Herbed Cheese: Blend in herbs like basil, oregano, or chives with your cheese for an aromatic upgrade that brings freshness.
These subtle flavors will make each roll-up feel like a gourmet treat and brighten your palate. -
Sweet & Savory: Swap out ham for slices of apple or pear alongside brie cheese for an unexpected sweet twist.
The mix of savory cheese with sweet fruit is a delightful harmony that satisfies all cravings in one bite. -
Nutty Crunch: Add a sprinkle of toasted nuts or seeds for a delightful crunch that contrasts beautifully with the melty cheese.
This textural twist can elevate a simple recipe into something truly memorable, creating layers of flavor in each roll-up. -
Pesto Infusion: Spread a thin layer of pesto on the bread before adding cheese for an herby flavor that bursts with Mediterranean vibes.
This adds a wonderful depth to your roll-ups, making them ideal for gatherings or a cozy night in. -
Buffalo Style: Toss shredded cheese with hot sauce before rolling it up for a spicy, tangy delight perfect for wings lovers.
This variation combines the joy of grilled cheese with the excitement of buffalo flavor, making dinner feel festive!
What to Serve with Grilled Cheese Roll-Ups?
Get ready to expand your meal possibilities with delightful pairings that complement every gooey bite of these cheesy treats.
- Tomato Soup: A classic pairing that enhances the comfort of your roll-ups with a soothing, rich flavor. Dipping them creates a nostalgic experience that warms the soul.
- Crispy Salad: A fresh arugula or mixed greens salad adds crunch and balance, making your meal light yet satisfying. Toss in a zesty lemon vinaigrette for an extra punch!
- Sweet Potato Fries: These crispy, slightly sweet fries provide a delightful contrast to the savory roll-ups. Their crispy texture perfectly complements the gooey cheese within.
- Avocado Slices: Creamy avocado adds a rich flavor and a boost of healthy fats, elevating this simple meal into a more nutritious delight. It’s a lovely way to add freshness!
- Fruit Skewers: Combine seasonal fruits for a refreshing side that cleanses the palate. Sweet strawberries, oranges, and grapes make for a vibrant, cheerful addition.
- Sparkling Lemonade: A fizzy, citrus drink enhances the dining experience with a refreshing blast that cuts through the richness of the cheese. Perfect for hot summer days!
- Marinara Sauce: Serve alongside a warm bowl of marinara for dipping. The tangy sauce adds a burst of flavor and elevates the humble roll-ups to a new level.
- Chocolate Chip Cookies: End your meal on a sweet note with warm, gooey cookies that balance the savory flavors. Nostalgic and comforting, you can’t go wrong!
- Grilled Veggies: A side of seasonal grilled vegetables—like zucchini or bell peppers—adds smoky flavor and a splash of color, making your plate as beautiful as it is tasty!
How to Store and Freeze Grilled Cheese Roll-Ups
- Room Temperature: Enjoy your Grilled Cheese Roll-Ups fresh and warm; if you have leftovers, they can sit at room temperature for up to 2 hours.
- Fridge: Store any leftover roll-ups in an airtight container in the fridge for up to 3 days to maintain freshness; reheat for best results.
- Freezer: For longer storage, freeze the roll-ups wrapped tightly in foil or plastic wrap for up to 2 months. Thaw overnight in the fridge before reheating.
- Reheating: To warm leftovers, place them in a skillet on medium heat for a few minutes until crispy again; enjoy every gooey bite!
Make Ahead Options
These Grilled Cheese Roll-Ups are a fantastic choice for meal prep, allowing you to save time on busy weeknights! You can prepare the filling (cheese and ham) and roll the bread up to 24 hours in advance, then refrigerate them wrapped in plastic wrap to maintain their freshness. To finish, simply heat your skillet and cook the roll-ups right before serving; they’ll taste just as delicious! If you need to prep even further ahead, you can freeze the un-cooked roll-ups for up to 3 months. Just be sure to thaw them overnight in the refrigerator before cooking for the best quality and flavor. Enjoy quick, satisfying meals that don’t compromise on taste!
Expert Tips for Grilled Cheese Roll-Ups
- Choose the Right Bread: Use fresh, soft bread that will roll up easily without cracking. Avoid stale bread for the best results.
- Don’t Overstuff: Keep the amount of cheese and fillings moderate to prevent your roll-ups from bursting as they cook.
- Heat Control: Cook on medium-low heat to ensure the bread gets crispy while the cheese melts thoroughly—nobody likes cold cheese!
- Use Toothpicks: If your roll-ups aren’t staying together, use toothpicks to secure them during cooking for easy flipping and perfect browning.
- Experiment with Cheese: Try different cheese blends for varied flavors in your grilled cheese roll-ups; mixing cheddar and mozzarella can be heavenly!

Grilled Cheese Roll-Ups Recipe FAQs
How can I tell if my cheese is good for grilling?
Absolutely! For grilling, you want cheese that melts well. Look for varieties like cheddar, mozzarella, or a blend. Fresh cheese should have a pleasant aroma and a firm texture without any dark spots or excessive moisture.
How should I store leftover Grilled Cheese Roll-Ups?
Very simple! Store any leftovers in an airtight container in the fridge. They will stay fresh for about 3 days. When you’re ready to enjoy them again, just pop them in a skillet to reheat until crispy. Trust me, they’ll taste almost as good as when they were first cooked!
Can I freeze Grilled Cheese Roll-Ups?
Absolutely! To freeze, wrap each roll-up tightly in foil or plastic wrap and place them in a freezer-safe bag. They can be stored for up to 2 months. When you’re ready to eat, simply thaw them overnight in the fridge and reheat in a skillet until golden brown and warm throughout.
What can I do if the roll-ups are bursting during cooking?
No worries! If your roll-ups are bursting, try not to overstuff them with cheese or fillings. Also, tightly rolling them and securing with toothpicks can help keep everything contained while cooking. If they still pop, just enjoy the gooey goodness that spills out—no one will complain about extra cheese!
Are Grilled Cheese Roll-Ups suitable for kids with dietary restrictions?
Very much so! You can easily modify these roll-ups to cater to dietary needs. Use gluten-free bread for those who are gluten intolerant, and select dairy-free cheese for lactose intolerance. Always check for nut allergies if including any additional ingredients in your roll-ups.
Delicious Grilled Cheese Roll-Ups: A Fun Twist on Tradition
Ingredients
Equipment
Method
- Trim the crust off the bread.
- Flatten the bread.
- Layer on the cheese.
- Roll it up tightly.
- Heat your skillet.
- Place the roll-ups in the pan.
- Cook until golden.
- Serve and enjoy!