
There’s something undeniably satisfying about the sound of rice crisping up in a hot pan; it’s music to my ears and a promise of a mouthwatering treat. When I first tried making grilled rice balls, or Yaki Onigiri, I was surprised by how simple yet elegant they were. Just a handful of ingredients come together to create a warm, crispy sensation that’s bursting with flavor.
After a long week of takeout and microwave meals, I craved something wholesome that I could whip up in no time. These grilled rice balls fit the bill perfectly, needing just five minutes from start to finish! Each bite is a delightful contrast of crispy exterior and chewy center, lovingly kissed by a glaze of soy sauce. Best of all, they’re versatile enough to enjoy as a snack, side, or even a main dish. So gather your favorite toppings, and let’s transform just-cooked rice into a delightful Japanese treat that’s sure to impress your family and satisfy your cravings!
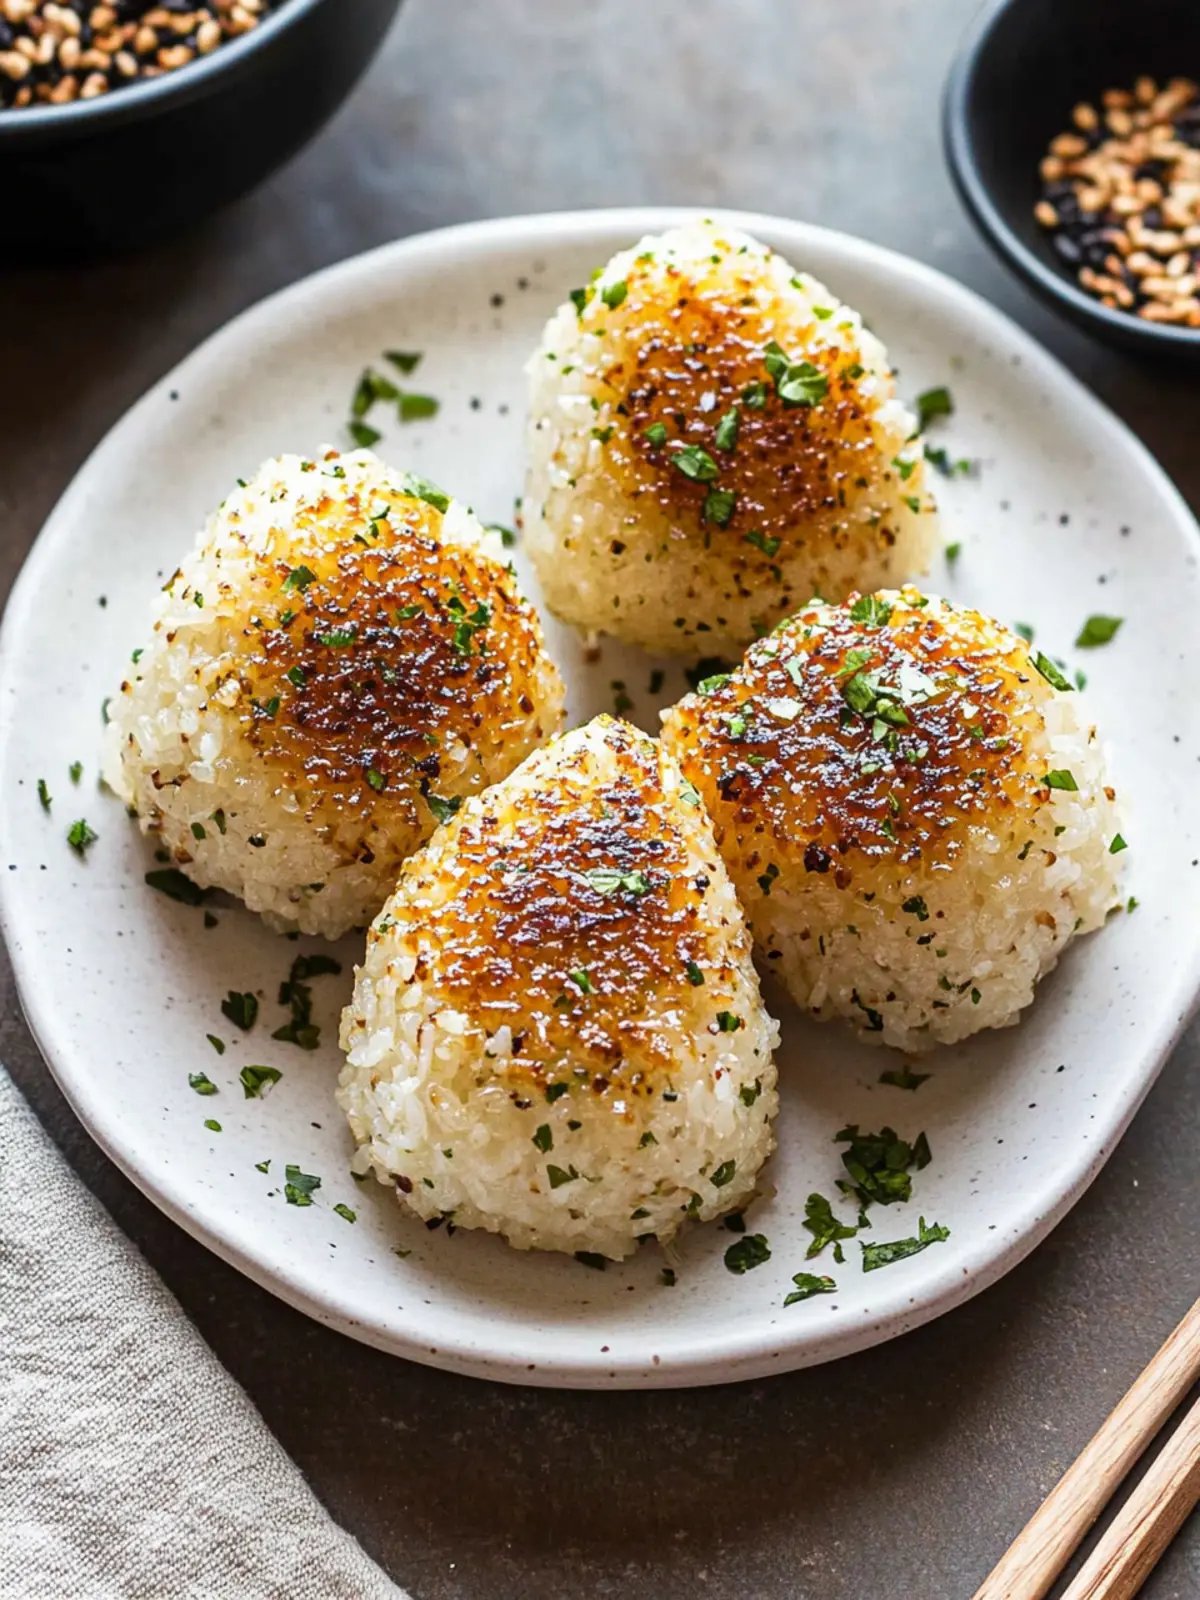
Why are Grilled Rice Balls a must-try?
Quick Preparation: You can have these delicious treats ready in just five minutes, perfect for busy weeknights or impromptu snack cravings.
Flavorful Experience: The crispy exterior, paired with the savory soy sauce glaze, creates an irresistible taste sensation in every bite.
Culinary Versatility: Enjoy them as a snack, side dish, or even a main course, easily adaptable to any meal.
Healthier Choice: Say goodbye to fast food; these rice balls are a wholesome alternative packed with flavor and relatively low in calories.
Crowd-Pleaser: Your family and friends will love the delightful crunch, making them an excellent addition to parties and gatherings.
For more easy and delicious recipes like this, check out our guide on quick dinner ideas.
Grilled Rice Balls Ingredients
• Here’s what you need to make your delicious grilled rice balls!
For the Rice Balls
- 2 cups cooked rice – Use short or medium-grain rice for the best texture.
- 1 Tablespoon vegetable oil – This helps achieve that irresistible golden-brown crust.
For the Glaze
- Soy sauce – Essential for that savory, umami flavor that elevates your grilled rice balls.
How to Make Grilled Rice Balls
- Shape by hand: Begin by wetting your hands with a little water to prevent sticking. Take about ⅓ to ½ cup of warm rice and use both hands to firmly press it into a perfect triangular shape.
- Shape with a mold: If you prefer a uniform look, fill a mold with the same amount of rice and press down firmly. This will create the ideal shape for your rice balls!
- Heat the pan: Over medium heat, warm a skillet and add the vegetable oil. Cook each side of the rice ball until a crispy, golden-brown crust forms. Resist the urge to flip too often to keep that beautiful shape intact.
- Add the glaze: Lower the heat to low and brush one side with soy sauce, flipping it carefully to allow the sauce to caramelize slightly. Check after 15 to 30 seconds to avoid burning. Repeat with the other side for a delicious finish! Serve warm, and if desired, sprinkle with furikake for an extra flavor boost.
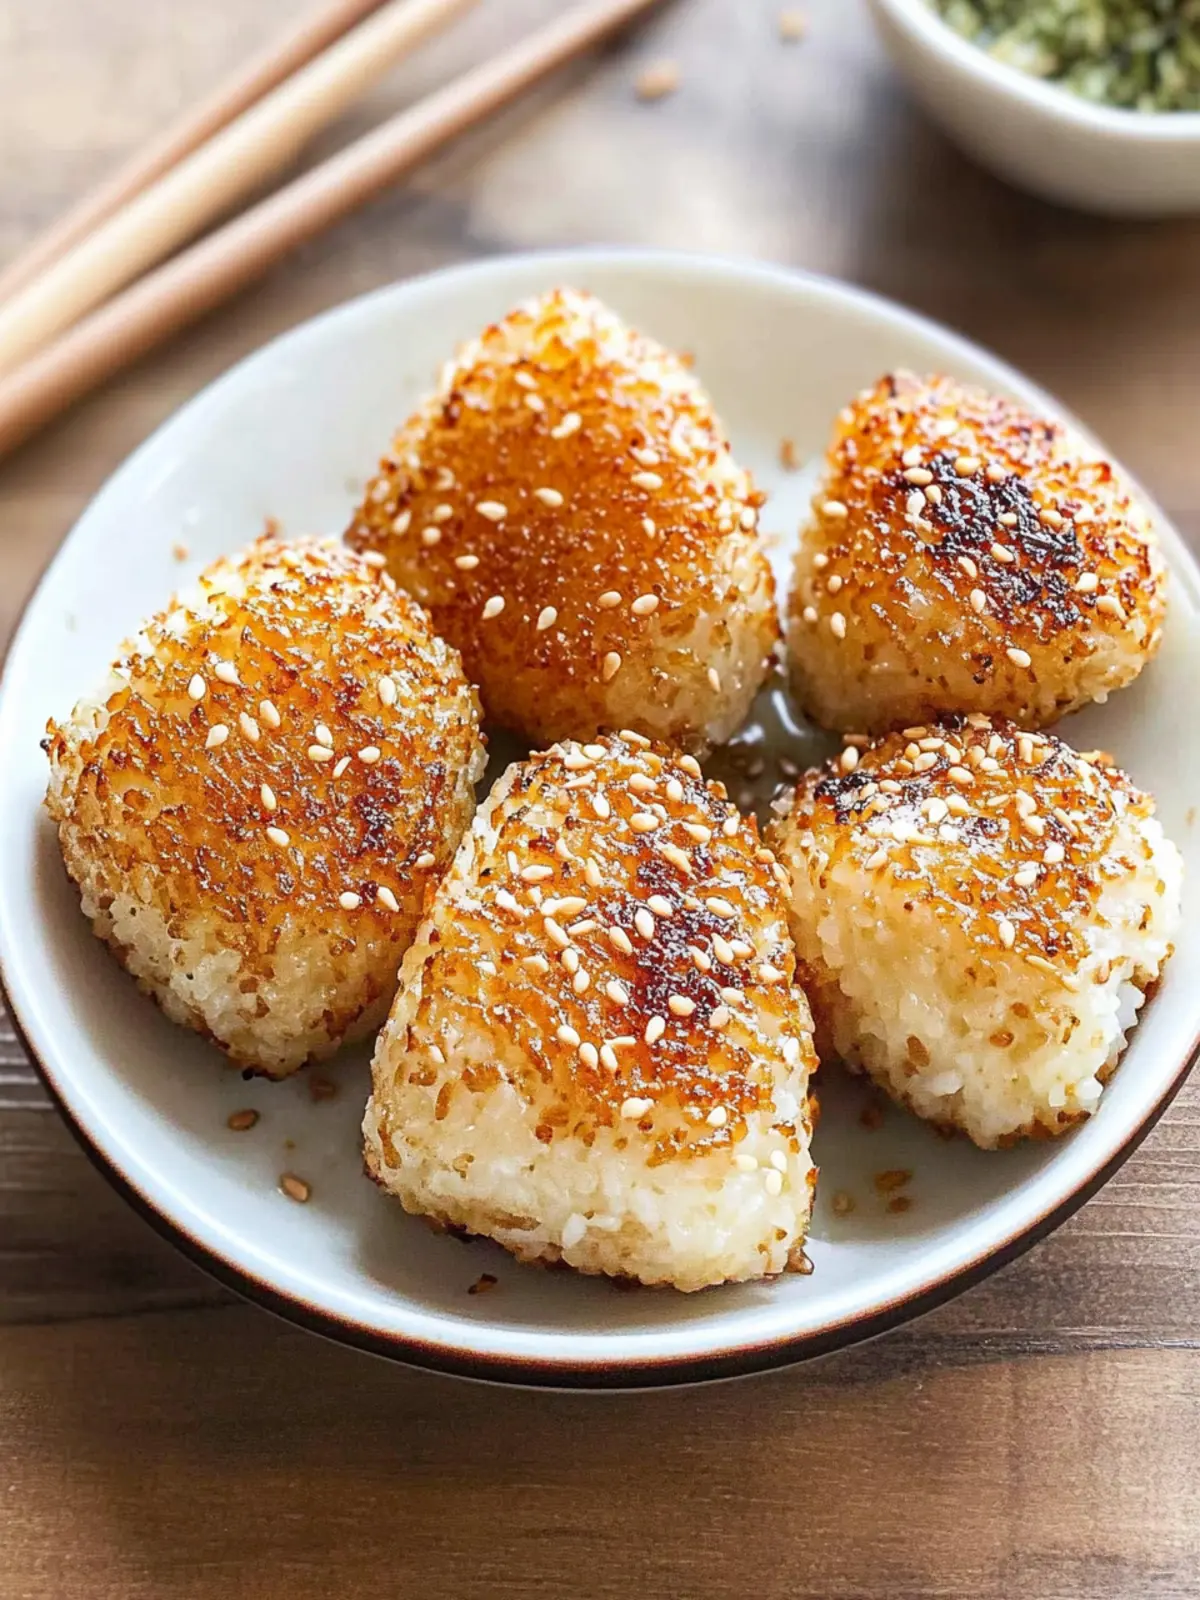
Optional: For an added crunch, try topping with sesame seeds before serving.
Exact quantities are listed in the recipe card below.
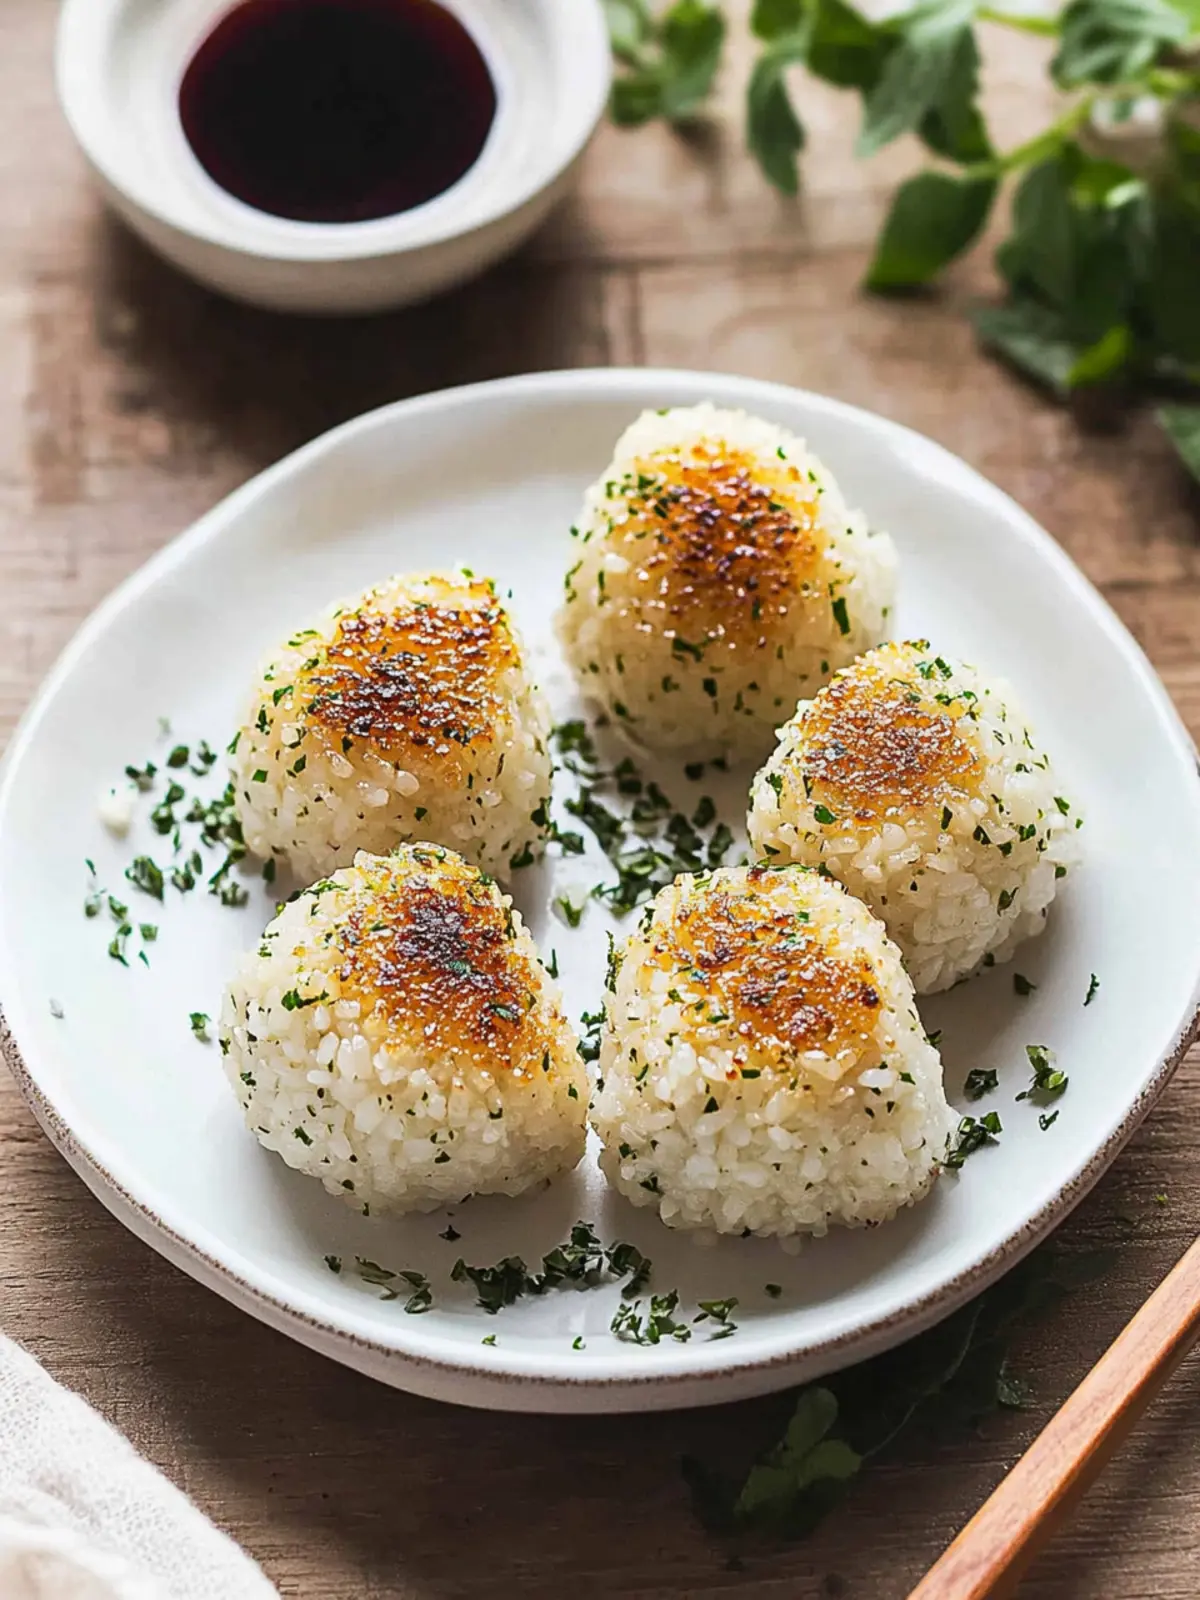
Helpful Tricks for Grilled Rice Balls
- Moisten Your Hands: Prevent rice from sticking by wetting your hands with water before shaping. This makes it easier to mold and keeps the rice balls intact.
- Perfect Temperature: Use medium heat to ensure the rice balls develop a crispy crust without burning. Too high can lead to burnt outsides and raw interiors.
- Soy Sauce Timing: Apply soy sauce towards the end of cooking to achieve that perfect caramelization. Remember to glaze one side before flipping to keep the shape intact.
- Avoid Frequent Flipping: Resist the urge to flip the rice balls too often. This helps maintain their shape and ensures a gorgeous golden crust.
- Creative Toppings: Explore options like furikake or sesame seeds for added flavor and texture. Get creative with toppings to make your grilled rice balls truly unique!
What to Serve with Grilled Rice Balls?
Elevate your meal experience with delightful sides and accompaniments that balance the crispy texture and savory flavor of these rice balls.
- Miso Soup: A warm bowl of miso soup with tofu and seaweed is a comforting pairing that enhances the umami flavors in the rice balls.
- Sautéed Greens: Lightly sautéed spinach or bok choy with garlic adds vibrant color and fresh, crisp notes, balancing the richness of the grilled rice balls.
- Pickled Vegetables: Serve with a variety of pickled vegetables to provide a tangy contrast, refreshing the palate between bites of the savory rice.
- Teriyaki Chicken: This sweet and savory chicken dish harmonizes beautifully with the flavors of grilled rice balls, creating a well-rounded meal.
- Japanese Potato Salad: Creamy and slightly sweet, this potato salad offers a contrasting texture that complements the crispy exterior of each rice ball.
- Chilled Edamame: Lightly salted edamame is a delightful, protein-packed snack that pairs perfectly with the warm flavors of Yaki Onigiri.
- Green Tea: A warm cup of green tea refreshes the senses while serving as a wonderful beverage to enhance your dining experience.
- Fruit Salad: Fresh fruits like mango or strawberries lend a sweet, juicy counterpart to the savory rice balls, making for a light and satisfying dessert.
- Sesame Noodles: A side of these nutty noodles elevates the meal with their unique flavors and delightful textures to contrast with the rice balls.
How to Store and Freeze Grilled Rice Balls
Room Temperature: Enjoy your grilled rice balls fresh for the best taste, but if needed, they can sit out for up to 2 hours.
Fridge: Store leftovers in an airtight container in the fridge for up to 3 days. Reheat gently in a skillet for that crispy texture again.
Freezer: Freeze grilled rice balls individually by wrapping them in plastic wrap and placing them in a freezer-safe bag for up to 2 months.
Reheating: For best results, reheat from frozen in a pan over medium heat to revive the crunch, brushing with a touch more soy sauce if desired.
Grilled Rice Balls Variations
Feel free to let your creativity shine as you adapt this recipe to suit your taste buds.
- Vegetable-Loaded: Mix in finely chopped veggies, such as carrots or spinach, into the rice for a nutritious twist. They add color and nutrition!
- Spicy Kick: Incorporate a dash of sriracha or your favorite hot sauce into the rice for a fiery version that will excite your palate. A little heat adds an extra thrill!
- Cheesy Goodness: Fold in shredded cheese, such as mozzarella or cheddar, before shaping the rice balls for a melty surprise. Imagine the delightful goo when you take a bite!
- Protein Boost: Add cooked chicken, tofu, or shrimp into the center of each rice ball for a filling, protein-packed meal that’s sure to keep you satisfied. This twist not only enhances flavor but also enriches the essence of the dish.
- Herb-Infused: Enhance the flavor by incorporating chopped fresh herbs, like cilantro or scallions, right into the rice. Herbs lend a freshness that brightens each bite.
- Sweet Version: Try a sweet twist by adding a bit of honey or maple syrup when glazing your rice balls for a delightful dessert option. It’s an unexpected surprise that balances the savory notes!
- Seafood Flavor: Mix in shredded nori or seaweed flakes into the rice before shaping. This gives your rice balls an authentic oceanic taste that transports you to a seaside sushi bar.
- Crispy Coating: For an extra crunch, roll the shaped rice balls in panko breadcrumbs before pan-frying. This provides a satisfying crunch and elevates the texture to new heights!
Make Ahead Options
These grilled rice balls are ideal for meal prep! You can shape the rice balls up to 24 hours in advance by forming them into triangles or using a mold. Once shaped, store the rice balls in an airtight container in the refrigerator to keep them fresh. To maintain their crispy exterior, avoid pre-grilling; instead, heat them in a pan with a tablespoon of vegetable oil just before serving. Grill for about 3 minutes per side until golden brown, then brush each side with soy sauce for that signature glaze. This way, you can enjoy a delightful, homemade snack with minimal stress on busier days!
Grilled Rice Balls Recipe FAQs
How do I choose the right rice for making grilled rice balls?
Absolutely! For the best results, opt for short or medium-grain rice. These types have a higher starch content, making them stickier and easier to shape, which helps hold your grilled rice balls together beautifully.
How should I store leftovers?
Store your grilled rice balls in an airtight container in the fridge for up to 3 days. This will help preserve their flavor and texture. When you’re ready to enjoy them again, simply reheat in a skillet over medium heat for that delightful crispness!
Can I freeze grilled rice balls?
Yes, you can freeze them! Wrap each grilled rice ball individually in plastic wrap, then place them in a freezer-safe bag. They’ll keep well for up to 2 months. When you’re ready to eat, reheat directly from frozen in a pan over medium heat. You can brush them lightly with soy sauce while reheating for enhanced flavor.
What if my rice balls don’t hold their shape?
Very! If your rice balls fall apart during cooking, it might be due to using rice that isn’t sticky enough. Make sure to use short or medium-grain rice and pack them firmly. If you need help, you can shape the rice with a mold for more consistency. Also, ensure they’re not overcooked, which can cause them to break apart.
Are these rice balls suitable for kids or people with allergies?
Definitely! Grilled rice balls are generally kid-friendly and can be customized for various dietary needs. However, check for specific allergies related to soy sauce, which contains wheat. You can use gluten-free soy sauce as a delicious alternative to keep them safe for everyone!
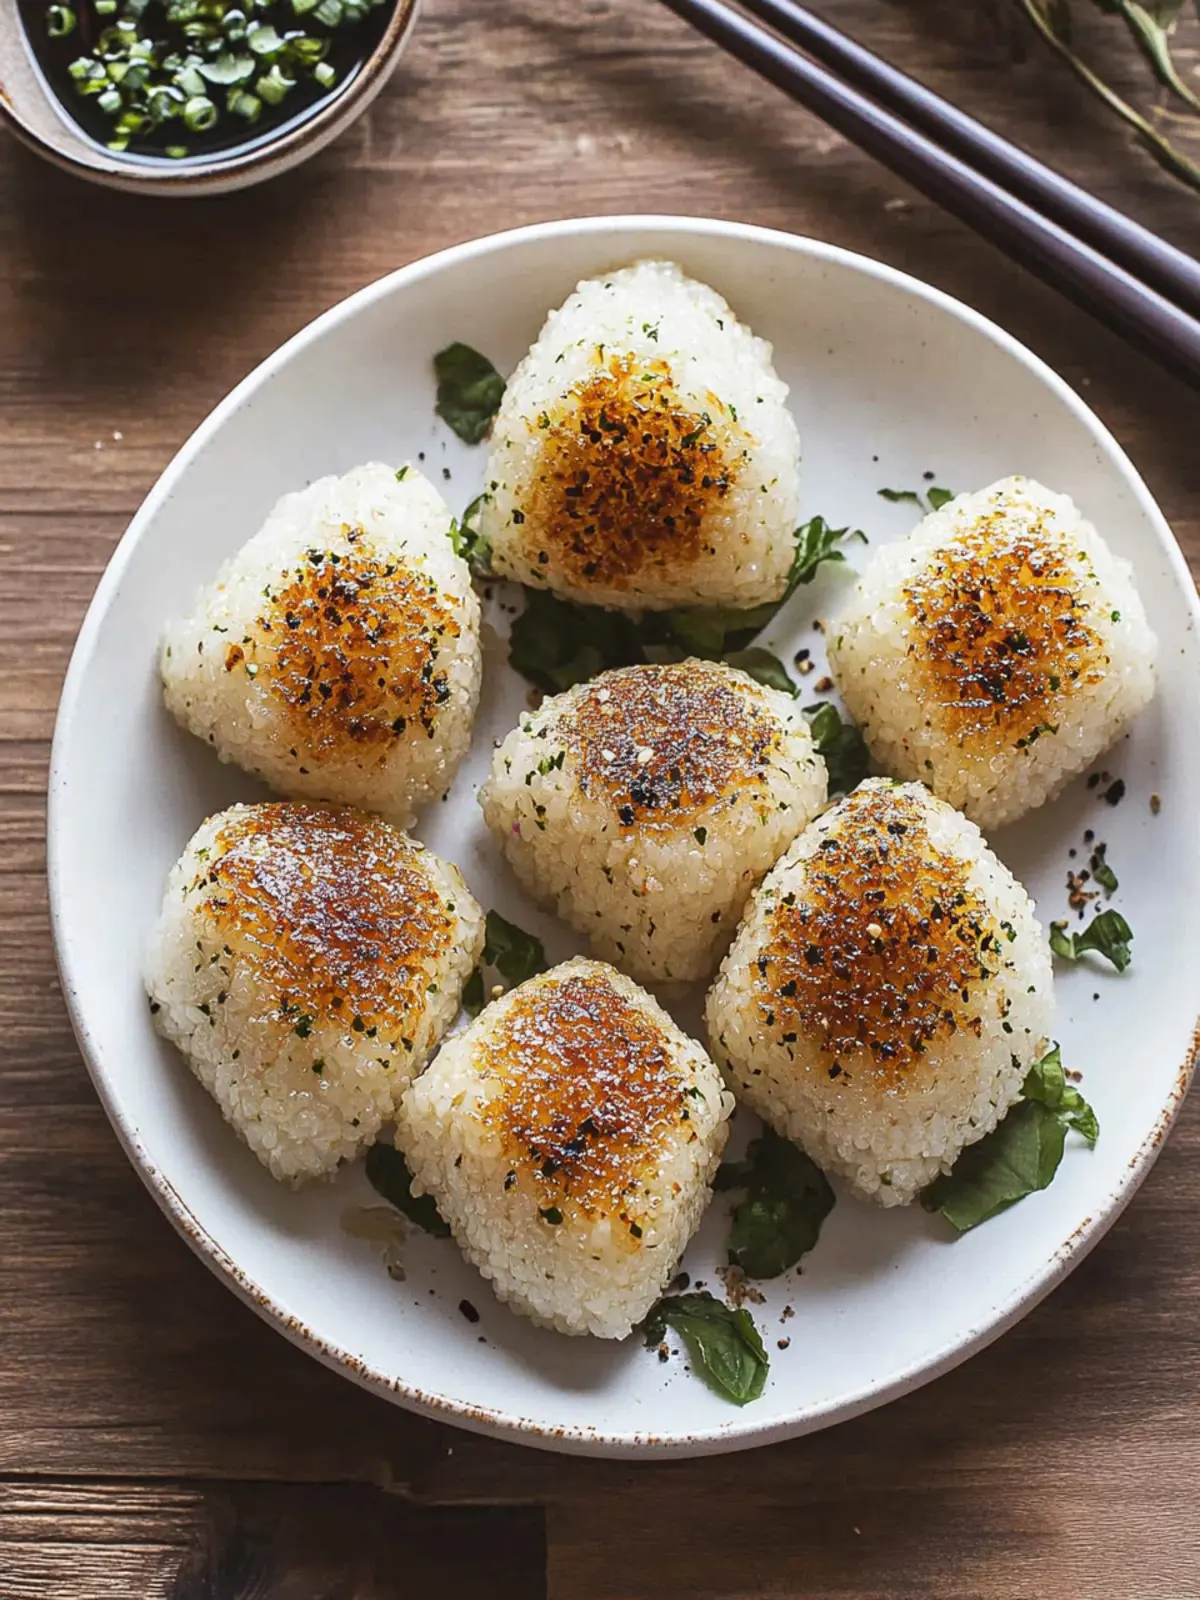
Grilled Rice Balls: Crispy Crunch with Every Bite
Ingredients
Equipment
Method
- Begin by wetting your hands with a little water to prevent sticking. Take about ⅓ to ½ cup of warm rice and use both hands to firmly press it into a perfect triangular shape.
- If you prefer a uniform look, fill a mold with the same amount of rice and press down firmly. This will create the ideal shape for your rice balls!
- Over medium heat, warm a skillet and add the vegetable oil. Cook each side of the rice ball until a crispy, golden-brown crust forms. Resist the urge to flip too often to keep that beautiful shape intact.
- Lower the heat to low and brush one side with soy sauce, flipping it carefully to allow the sauce to caramelize slightly. Check after 15 to 30 seconds to avoid burning. Repeat with the other side for a delicious finish! Serve warm, and if desired, sprinkle with furikake for an extra flavor boost.