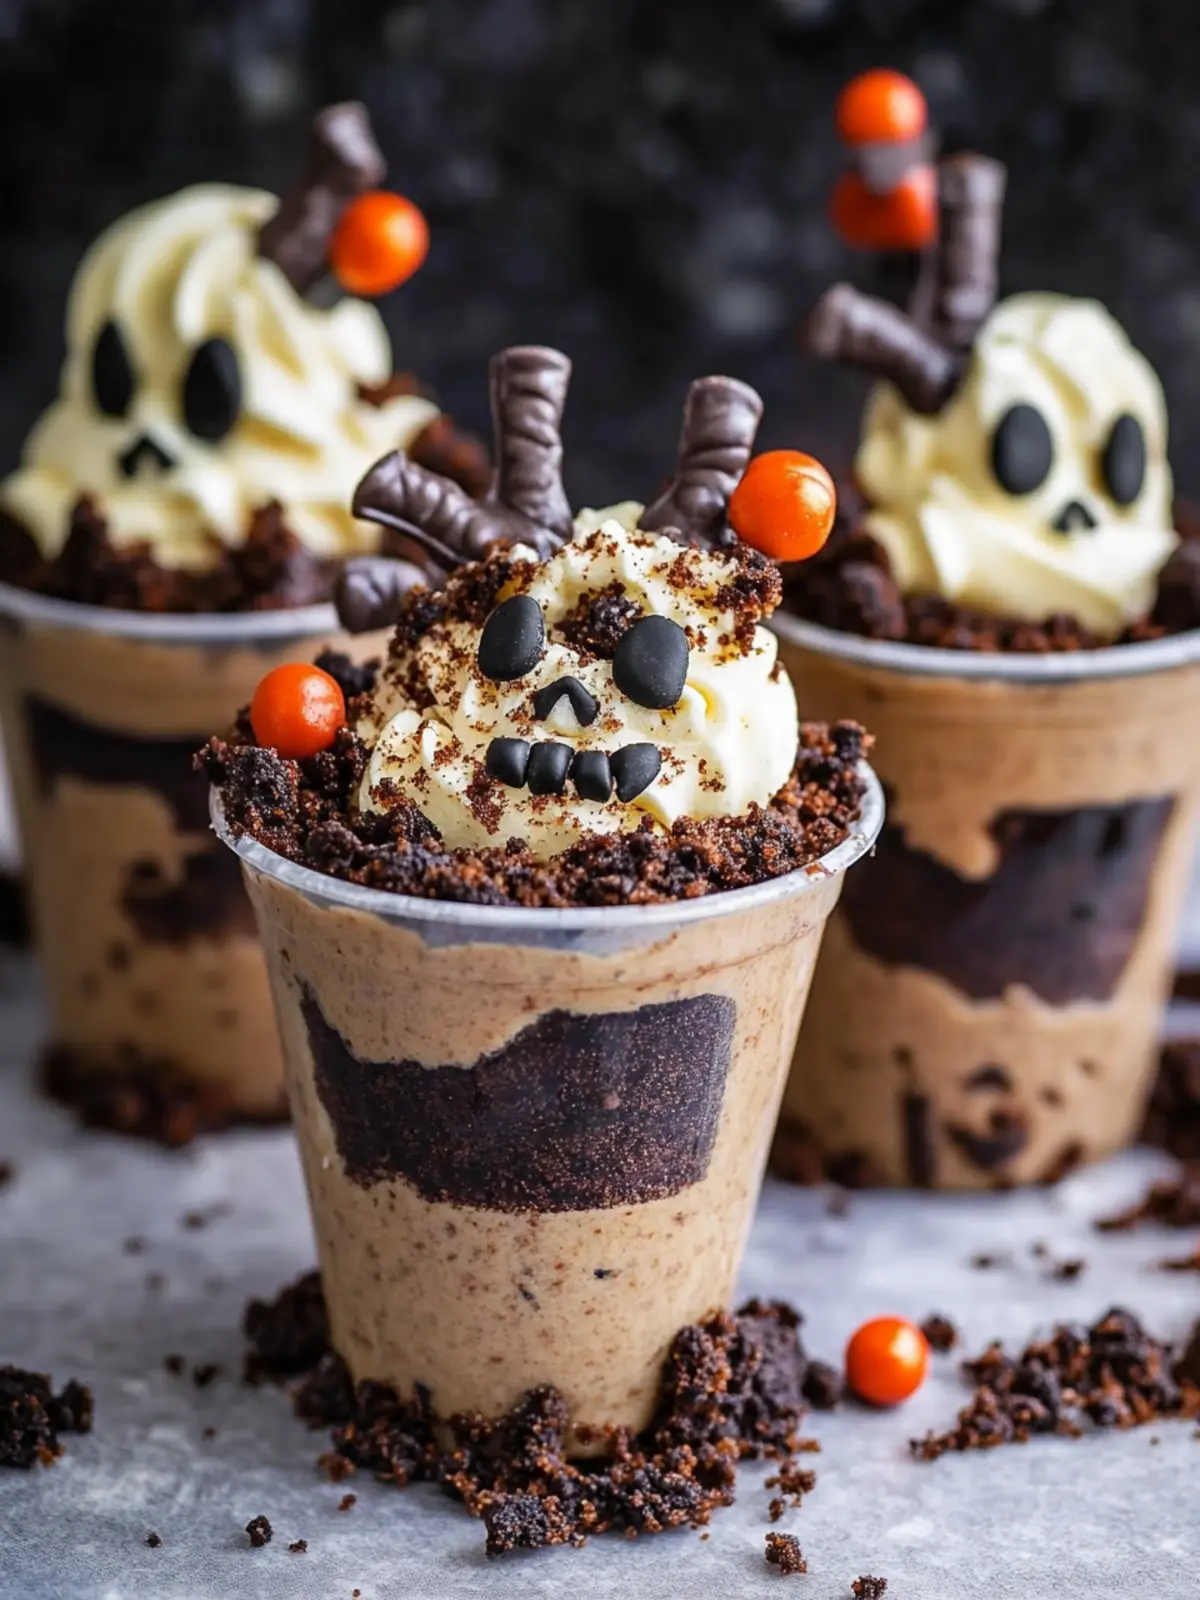
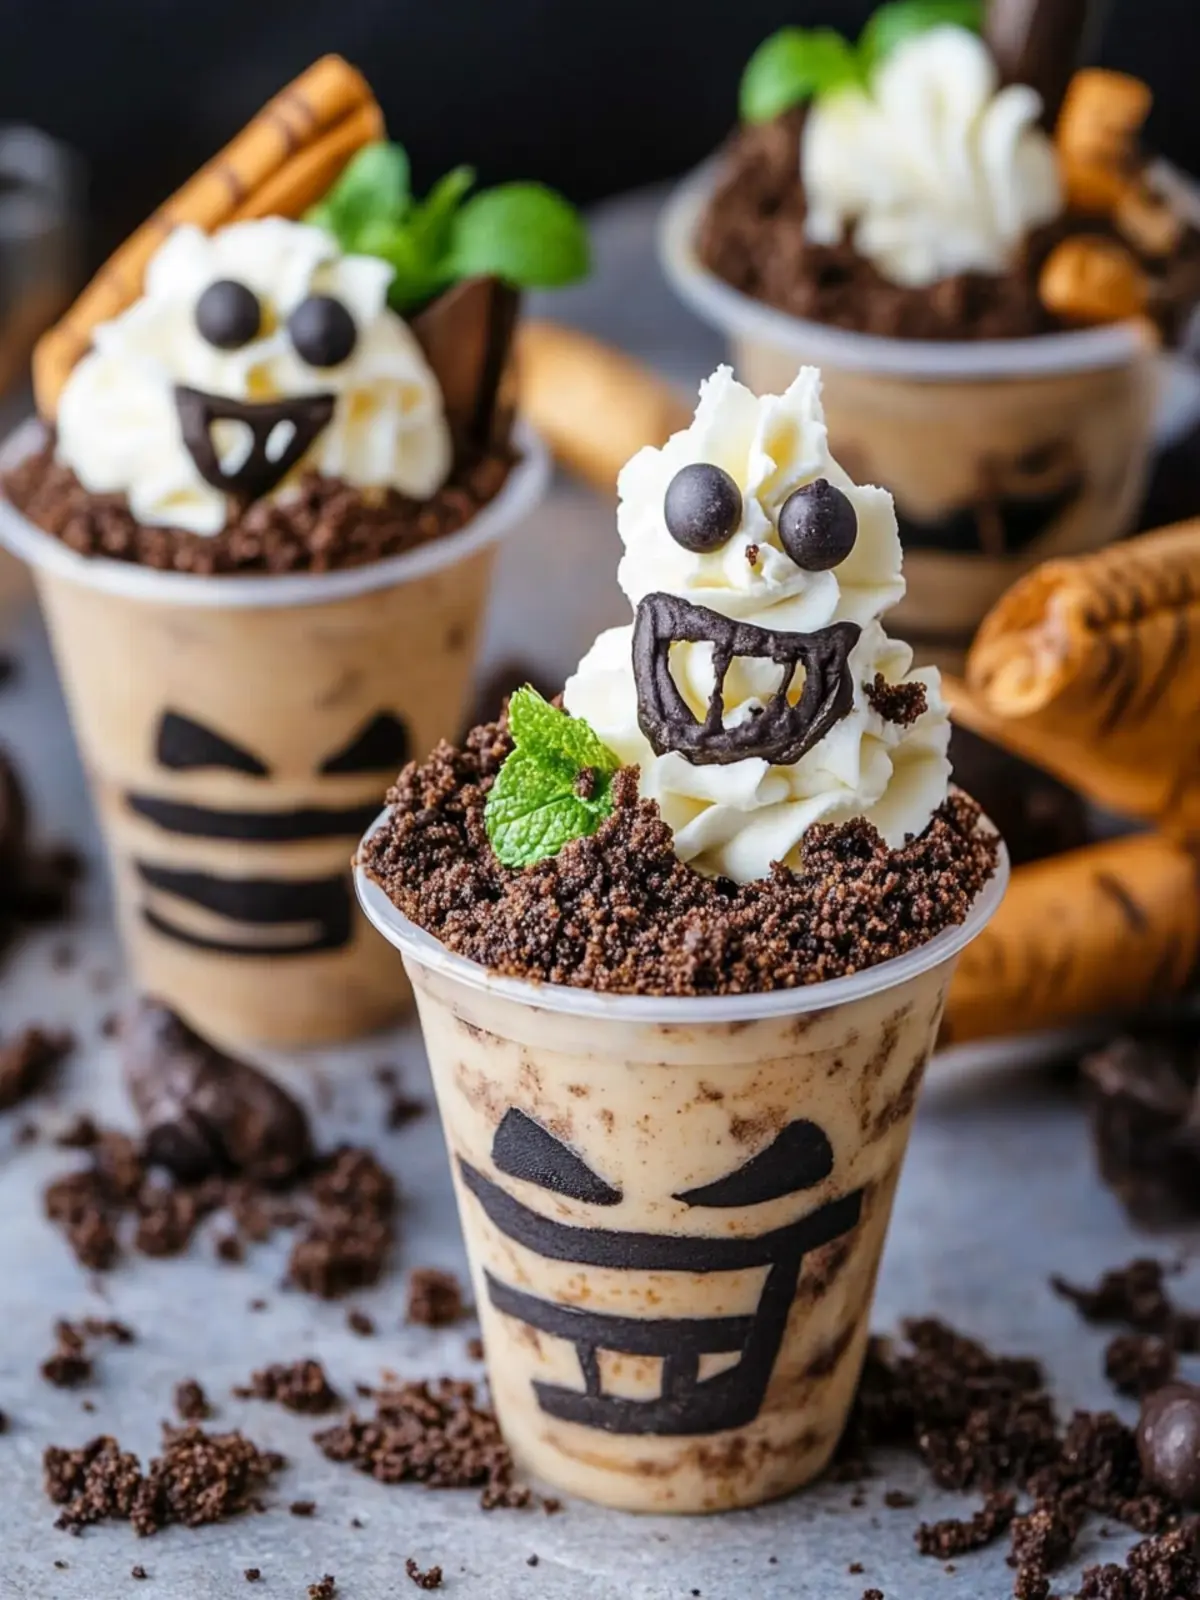
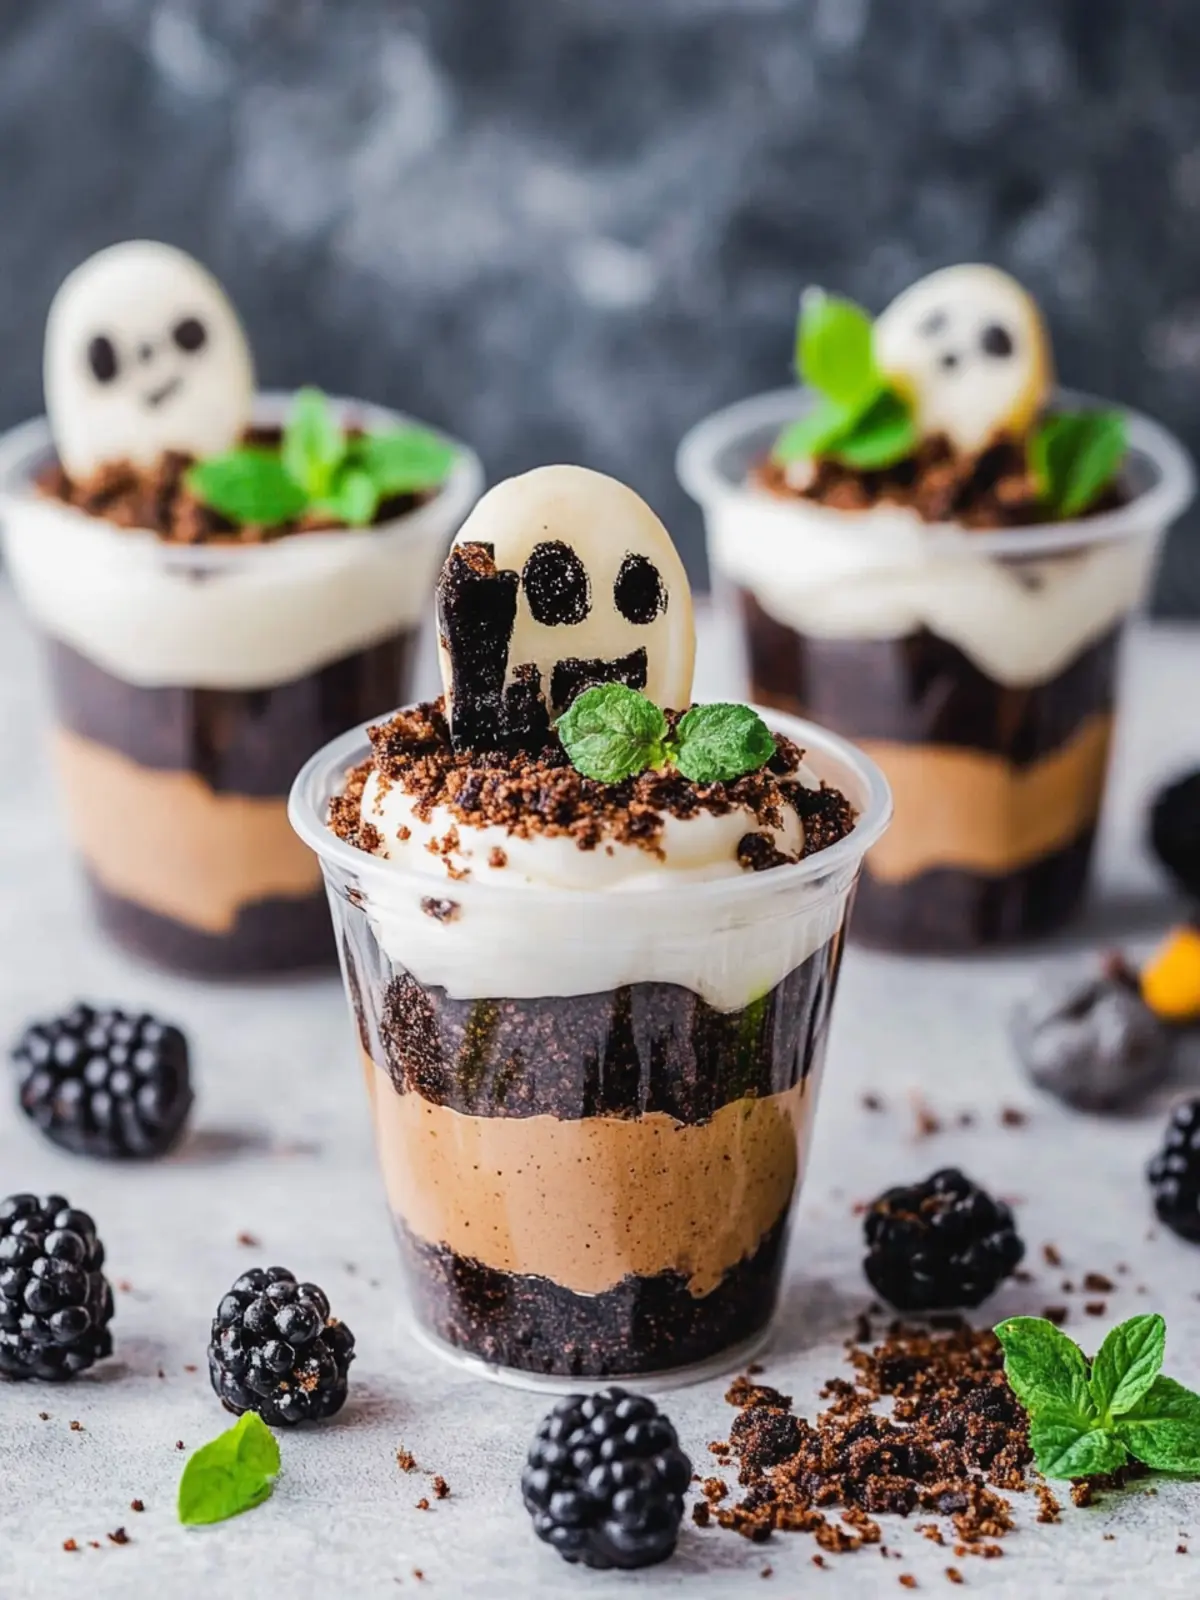
There’s something delightfully playful about transforming classic flavors into a spooky treat! As Halloween approaches, I find myself craving fun desserts that bring a little whimsy to our gatherings. That’s when I stumbled upon Mummy’s Tomb Dirt Cups—an inspired creation that marries the richness of chocolate pudding with the crunchy goodness of graham cracker “dirt” and the cuteness of marshmallow mummies. Picture this: a creamy, chocolatey dessert nestled in clear cups, topped with golden crumbs and whimsical mummy wraps that could make any kid (or kid-at-heart) smile.
Whether it’s for a festive party or a cozy night in, these dirt cups blend nostalgic flavors with that playful spirit we all love during this time of year. Plus, they are surprisingly quick and easy to assemble, making them perfect for anyone who wants to impress without the stress. So roll up your sleeves and join me in whipping up these charming treats that promise to bring joy and smiles to your table!
Why love Mummy’s Tomb Dirt Cups?
Irresistible Fun: These Mummy’s Tomb Dirt Cups are not just a dessert; they’re a playful experience for all ages!
Quick Assembly: You can whip these up in no time, making them a fantastic choice for last-minute gatherings or fun family nights.
Delicious Contrast: The creamy chocolate pudding pairs perfectly with the crunchy graham cracker crumbs, creating a delightful combination of textures.
Visually Adorable: The little marshmallow mummies atop the cups are sure to draw smiles, adding a charming touch to your dessert table.
Versatile Treat: Perfect for Halloween parties, school events, or any festive occasion, these dirt cups are bound to impress both kids and adults alike.
So embrace the spooky spirit and enjoy a delightful time in the kitchen crafting this whimsical dessert that echos the joy of childhood!
Mummy’s Tomb Dirt Cups Ingredients
For the Pudding
• Chocolate instant pudding – provides a rich and creamy base for those delicious Mummy’s Tomb Dirt Cups.
• Cold milk – use whole milk for a creamier texture or any milk substitute for a lighter option.
For the Topping
• Graham crackers – crush these into coarse crumbs to create the “dirt” layer that adds texture and fun!
• Mini marshmallows – these cute little guys transform into adorable mummies that kids will love.
• White chocolate melting wafers – melt them for the mummy wraps and drizzle for a sweet, creative touch.
For Serving
• Clear cups – perfect for showcasing the delightful layers of pudding, crumbs, and marshmallow mummies in your Mummy’s Tomb Dirt Cups.
How to Make Mummy’s Tomb Dirt Cups
-
Prepare the chocolate pudding by mixing the contents of the boxes with 3 cups of cold milk. Whisk until smooth, then chill in the refrigerator for about 5-10 minutes until slightly firm.
-
Crush the graham crackers into coarse crumbs using a rolling pin or food processor. Aim for a texture similar to sand, which will create the perfect “dirt” layer atop your pudding.
-
Fill each clear cup with a generous layer of chocolate pudding, about halfway full. The rich, creamy pudding is the heart of your Mummy’s Tomb Dirt Cups.
-
Top each cup with the crushed graham cracker crumbs, creating a sandy layer that will give your dessert that beloved dirt cup feel.
-
Melt the white chocolate melting wafers in a microwave-safe bowl. Heat in 30-second intervals until fully melted and smooth. This will be used to create the mummy wraps.
-
Drizzle the melted white chocolate over the mini marshmallows to make them look like little mummies. Use a spoon or piping bag for a fun, artistic approach.
-
Place the marshmallow mummies on top of the graham cracker layer in each cup. This adds a whimsical finishing touch, bringing your delightful dessert to life!
-
Let the white chocolate set at room temperature, or speed up the process by placing the cups in the refrigerator for a few minutes before serving.
Optional: Sprinkle some extra graham cracker crumbs on top for an added crunch!
Exact quantities are listed in the recipe card below.
Mummy’s Tomb Dirt Cups Variations
Feel free to put your own spin on these delightful Mummy’s Tomb Dirt Cups for an even more personalized treat!
- Dairy-Free: Substitute almond milk or coconut milk for a rich, non-dairy pudding base that still tastes heavenly.
- Fruit-Filled: Add a layer of crushed raspberries or strawberries between the pudding and crumb layers for a burst of fruity flavor.
- Nutty Crunch: Mix crushed nuts or granola with the graham cracker crumbs for an added crunch and a nutty twist in texture.
- Spiced Chocolate: Sprinkle in a dash of cinnamon or cayenne to the chocolate pudding mix for a surprise kick of warmth and flavor.
- Marshmallow Fluff: Instead of mini marshmallows, use a dollop of marshmallow fluff on top for a gooey, sweet finish that’s fun to eat.
- Chocolate Crust: Make a chocolate crust from Oreo crumbs instead of graham crackers, providing a deeper chocolate flavor that indulgent chocolate lovers will adore.
- Gummy Worms: For extra fun, add gummy worms peeking out from the “dirt” for a playful Halloween touch that kids will love!
- Vegan Chocolate: Use vegan chocolate pudding and coconut whipped cream to make these dirt cups completely plant-based while staying deliciously rich.
Embrace creativity and let these variations inspire your own unique versions of this spooky treat!
How to Store and Freeze Mummy’s Tomb Dirt Cups
Room Temperature: Keep these Mummy’s Tomb Dirt Cups at room temperature for up to 2 hours during serving to enjoy them fresh and creamy.
Fridge: Store any leftovers in the refrigerator, covered, for up to 3 days. The pudding will stay deliciously creamy, while the graham cracker topping may soften over time.
Freezer: Although not recommended for freezing, if you must, freeze the cups without the toppings for up to 1 month; leave the graham crumbs and marshmallow mummies off until you’re ready to serve.
Reheating: There’s no need to reheat these delightful cups; simply grab one from the fridge and enjoy straight away!
What to Serve with Mummy’s Tomb Dirt Cups?
These delightful cups are an enchanting treat that pairs well with a variety of accompaniments to create a full festive experience.
-
Spooky Halloween Punch: A fruity, fizzy drink made with sparkling water and orange juice, it’s a refreshing complement to the rich dessert.
-
Chocolate-Dipped Strawberries: Their fresh sweetness contrasts perfectly with the pudding’s creaminess, adding a touch of elegance to your dessert table.
-
Mini Pumpkin Pies: The warm spices of pumpkin pie amplify the fall flavors, bringing a cozy element that guests will adore.
-
Ghostly Popcorn: Fluffy popcorn drizzled with white chocolate and ghost-shaped sprinkles provides a fun, crunchy snack alongside the creamy dirt cups.
-
Candy Corn Mix: A sweet and salty mix of candy corn and nuts adds a festive touch, capturing the spirit of Halloween in every bite.
-
Gingerbread Cookies: The bold, spicy flavors of gingerbread cookies create a delightful balance against the sweet chocolate flavors in your dessert.
-
Caramel Apple Slices: Juicy apple slices drizzled with caramel add a fresh and slightly tart touch, enhancing the overall dessert experience.
Together, these pairings will create a festive feast that transforms your gathering into a vibrant celebration of flavors and fun!
Make Ahead Options
These Mummy’s Tomb Dirt Cups are perfect for busy home cooks looking to save time without sacrificing flavor! You can prepare the chocolate pudding up to 24 hours in advance; just mix it with the cold milk and refrigerate until ready to assemble. Additionally, the graham cracker crumbs can be crushed a day ahead and stored in an airtight container to maintain their crunch. When it’s time to serve, simply fill the cups with the chilled pudding, layer on the graham cracker “dirt,” and finish by adding the adorable marshmallow mummies. With these make-ahead tips, you’ll enjoy a delightful dessert with minimal last-minute effort!
Expert Tips for Mummy’s Tomb Dirt Cups
-
Chill the Pudding: Ensure the chocolate pudding is chilled adequately for a smooth consistency and a delightful texture in your Mummy’s Tomb Dirt Cups.
-
Coarse Crumbs: Crush graham crackers until they resemble coarse sand to achieve that perfect “dirt” topping; too fine will lose the texture.
-
Creative Mummy Wraps: Drizzle white chocolate over mini marshmallows in varying directions for an artistic mummy look; avoid clumping for better appeal.
-
Layering Technique: Fill your cups carefully, layering pudding and graham crumbs thoughtfully; this will enhance the visual appeal and create delightful layers.
-
Set Well: Allow ample time for the white chocolate to set at room temperature or utilize the fridge briefly; avoid rushing this step for a perfect presentation.
Mummy’s Tomb Dirt Cups Recipe FAQs
How do I choose the best chocolate pudding mix for Mummy’s Tomb Dirt Cups?
Absolutely! When selecting your chocolate pudding mix, look for brands that highlight “instant” on the packaging as this ensures a quick set-up. For richer flavor, choose a brand that lists cocoa as one of the main ingredients.
How should I store leftovers of my Mummy’s Tomb Dirt Cups?
After enjoying your Mummy’s Tomb Dirt Cups, store any leftovers in an airtight container in the refrigerator for up to 3 days. Just keep in mind that the graham cracker topping may soften a bit, but the pudding will remain deliciously creamy.
Can I freeze Mummy’s Tomb Dirt Cups?
Very! While it’s not ideal to freeze the entire cups, you can certainly freeze the pudding mixture by pouring it into an airtight container. It will keep well for up to 1 month. Just remember not to add the graham cracker topping and marshmallow mummies until you’re ready to serve them to maintain their texture. When ready, thaw in the refrigerator overnight and assemble.
What if I can’t find white chocolate melting wafers?
No worries! If white chocolate melting wafers aren’t available, you can substitute with regular white chocolate chips. Just melt them carefully in a microwave, using 30-second intervals. Alternatively, candy melts in the same color will do the trick too!
Can I make Mummy’s Tomb Dirt Cups gluten-free?
Absolutely! To create gluten-free Mummy’s Tomb Dirt Cups, simply opt for gluten-free graham crackers. Many brands now offer gluten-free versions that will still give you that delicious “dirt” texture without compromising on the fun or taste.
Are Mummy’s Tomb Dirt Cups safe for pets?
Be cautious! While chocolate pudding and graham crackers are delightful for us, chocolate is toxic to dogs and cats. Make sure your furry friends stay clear of these treats to keep them safe.
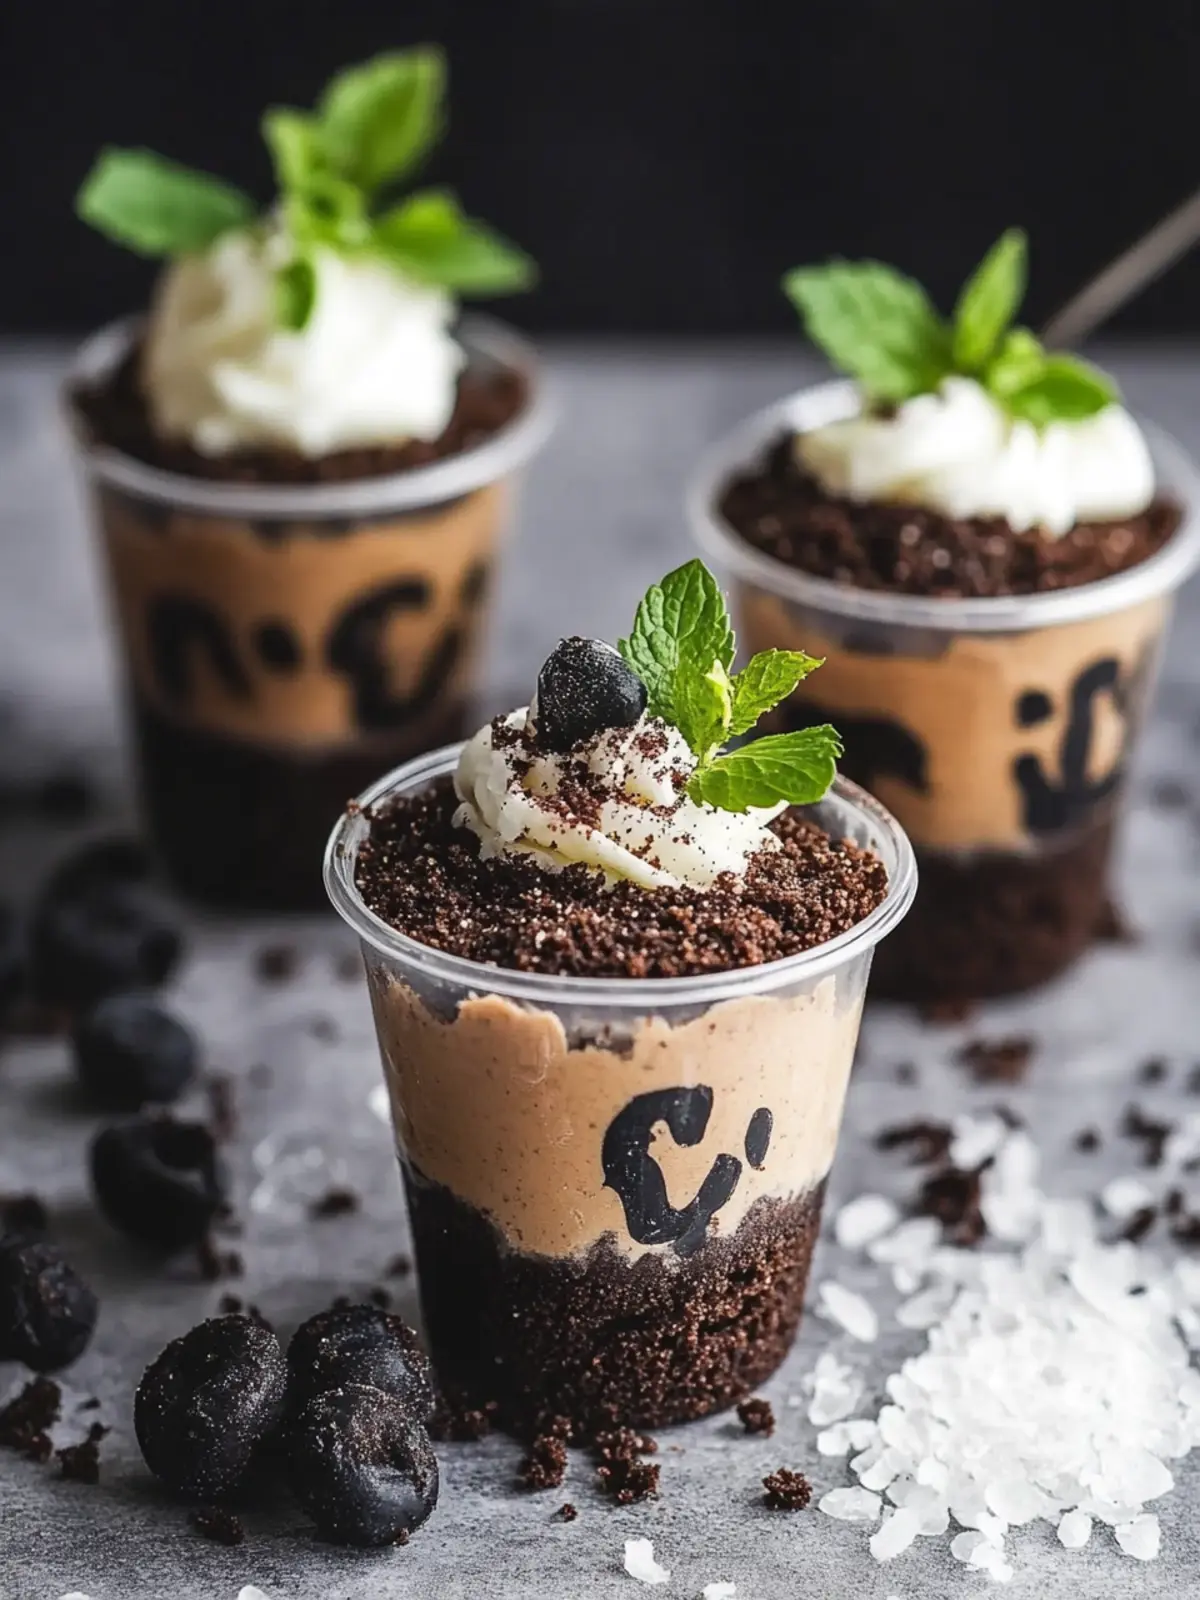
Mummy’s Tomb Dirt Cups: A Spooky Sweet Treat for All Ages
Ingredients
Equipment
Method
- Prepare the chocolate pudding by mixing the contents of the boxes with 3 cups of cold milk. Whisk until smooth, then chill in the refrigerator for about 5-10 minutes until slightly firm.
- Crush the graham crackers into coarse crumbs using a rolling pin or food processor.
- Fill each clear cup with a generous layer of chocolate pudding, about halfway full.
- Top each cup with the crushed graham cracker crumbs, creating a sandy layer.
- Melt the white chocolate melting wafers in a microwave-safe bowl, heating in 30-second intervals until fully melted and smooth.
- Drizzle the melted white chocolate over the mini marshmallows to make them look like little mummies.
- Place the marshmallow mummies on top of the graham cracker layer in each cup.
- Let the white chocolate set at room temperature, or briefly refrigerate before serving.