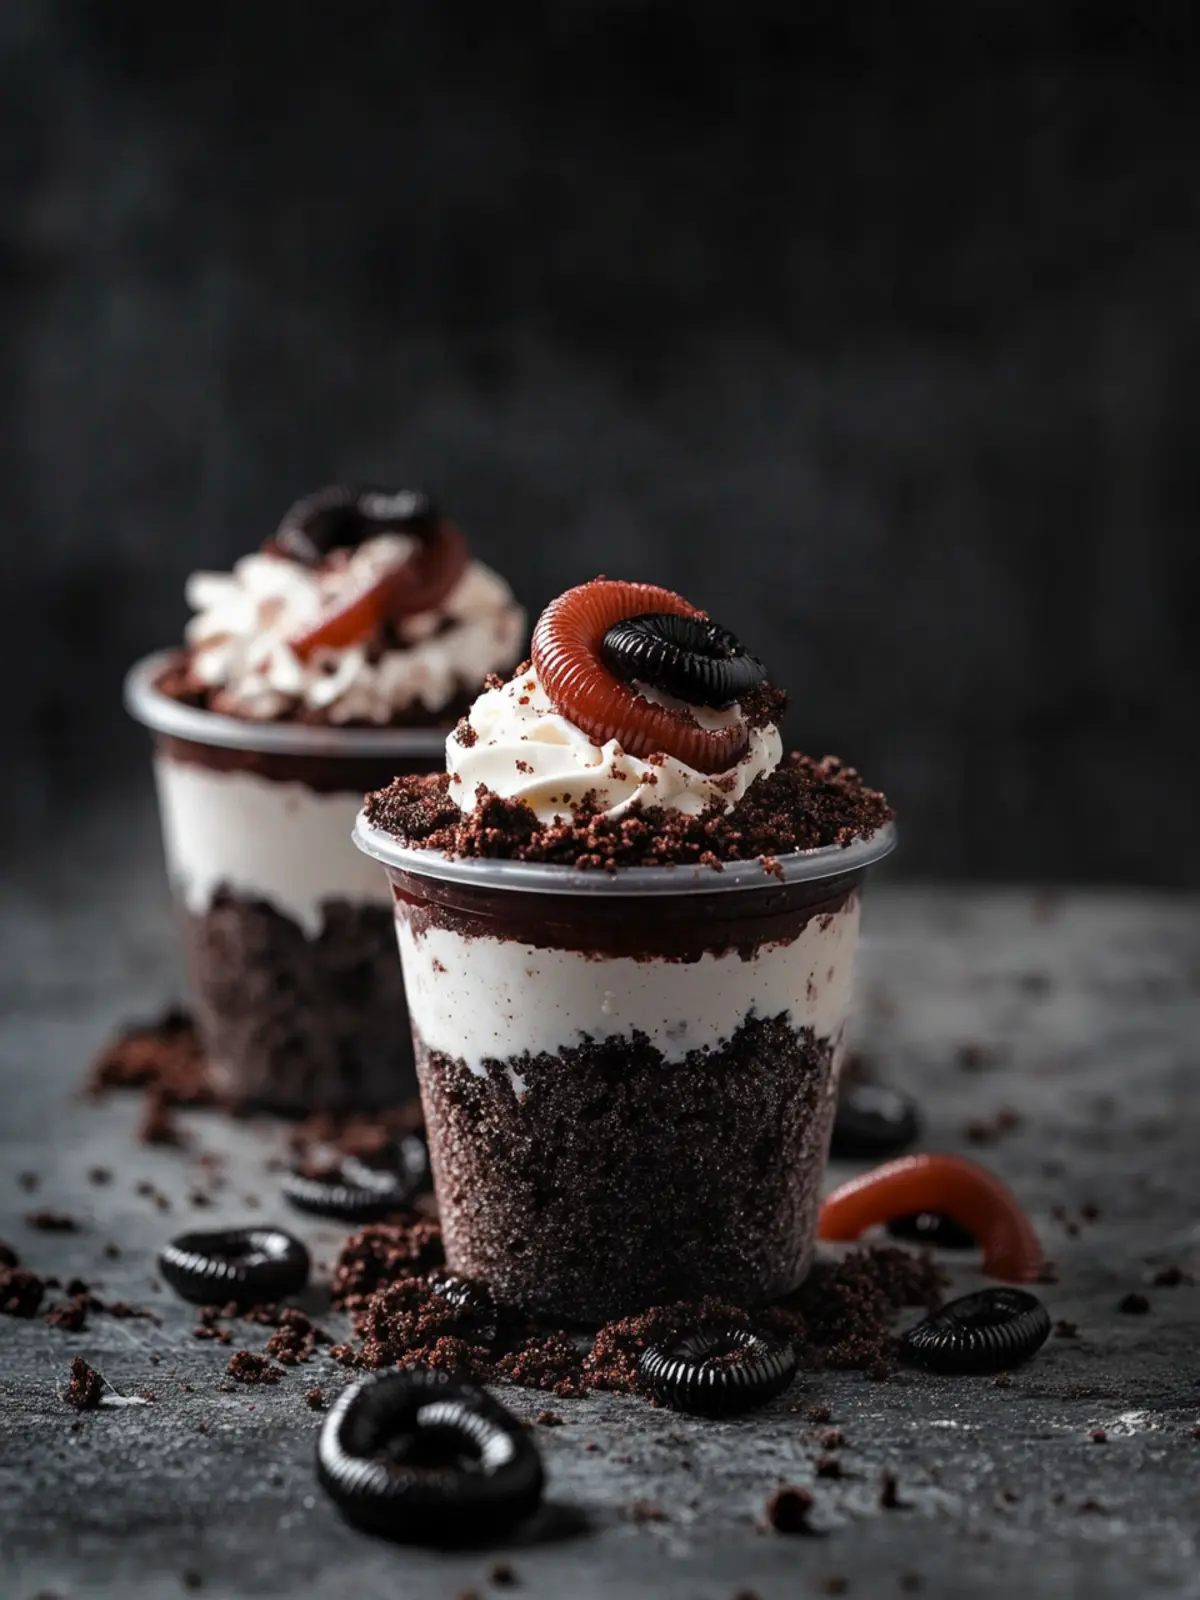
When the warm weather rolls in and I’m looking for a fun and whimsical treat to share, my mind immediately drifts to Worm Dirt Cups. This delightful dessert is not just a feast for the eyes; it’s a deliciously playful way to indulge my inner child! With layers of creamy chocolate pudding, crunchy cookie “dirt,” and gummy worms peeking out, these cups are perfect for entertaining kids and adults alike.
Recently, I made a batch for a backyard barbecue, and the delighted reactions were priceless. Everyone was intrigued by the unique presentation, but it was the rich chocolatey flavor that had them coming back for more. Plus, they couldn’t believe how easy these were to whip up! If you’re tired of the same old fast food routine and craving something homemade that will wow your guests, these Worm Dirt Cups will definitely save the day. Let’s dive into this charming recipe that promises to be a hit on any occasion!
Why are Worm Dirt Cups a must-try?
Delightful Presentation: These cups deliver a whimsical experience that’s sure to spark joy in both kids and adults.
Rich Chocolate Flavor: The layers of chocolate pudding paired with cookie crumbs create a decadent taste that is simply irresistible.
Simple Process: With just a few ingredients and easy steps, anyone can whip up this treat without any hassle.
Perfect for Parties: Their unique look makes them an eye-catching addition to any gathering, ensuring they will be the center of attention.
Creative Customization: Feel free to switch up the gummy candies or jam for a personal touch—these cups are super versatile!
Elevate your dessert game with these fun treats; they’re sure to impress, so check out more fantastic ideas in our collection of creative desserts!
Worm Dirt Cups Ingredients
For the Pudding
• Chocolate instant pudding – The base of our delicious dirt; ensures a rich, chocolatey flavor.
• Cold milk – Helps create a creamy texture, essential for the pudding to set perfectly.
For the Dirt Layer
• Chocolate sandwich cookies – Crushed to resemble dirt; Oreos are a fantastic choice for added flavor.
For the Creepy Touch
• Raspberry jam – Adds a fun “blood” drip effect, giving a spooky twist to your Worm Dirt Cups.
• Gummy worms – These playful candies will have your guests giggling as they crawl out of the dirt!
For Serving
• Clear plastic cups – Perfect for showcasing your layers and creating a visual treat for everyone.
Get ready to bring some fun to your kitchen with these Worm Dirt Cups!
How to Make Worm Dirt Cups
-
Prepare the chocolate pudding by whisking it with 3 cups of cold milk according to the package instructions. Chill the mixture in the refrigerator for about 2 hours until it sets and thickens to a creamy texture.
-
Crush the chocolate sandwich cookies in a food processor until they resemble coarse dirt. Aim for a texture that mimics garden soil, which will add to the authenticity of your dessert.
-
Fill your clear plastic cups approximately 2/3 full with the chilled chocolate pudding. Ensure even portions for a beautiful layered effect; this will serve as the base of your Worm Dirt Cups.
-
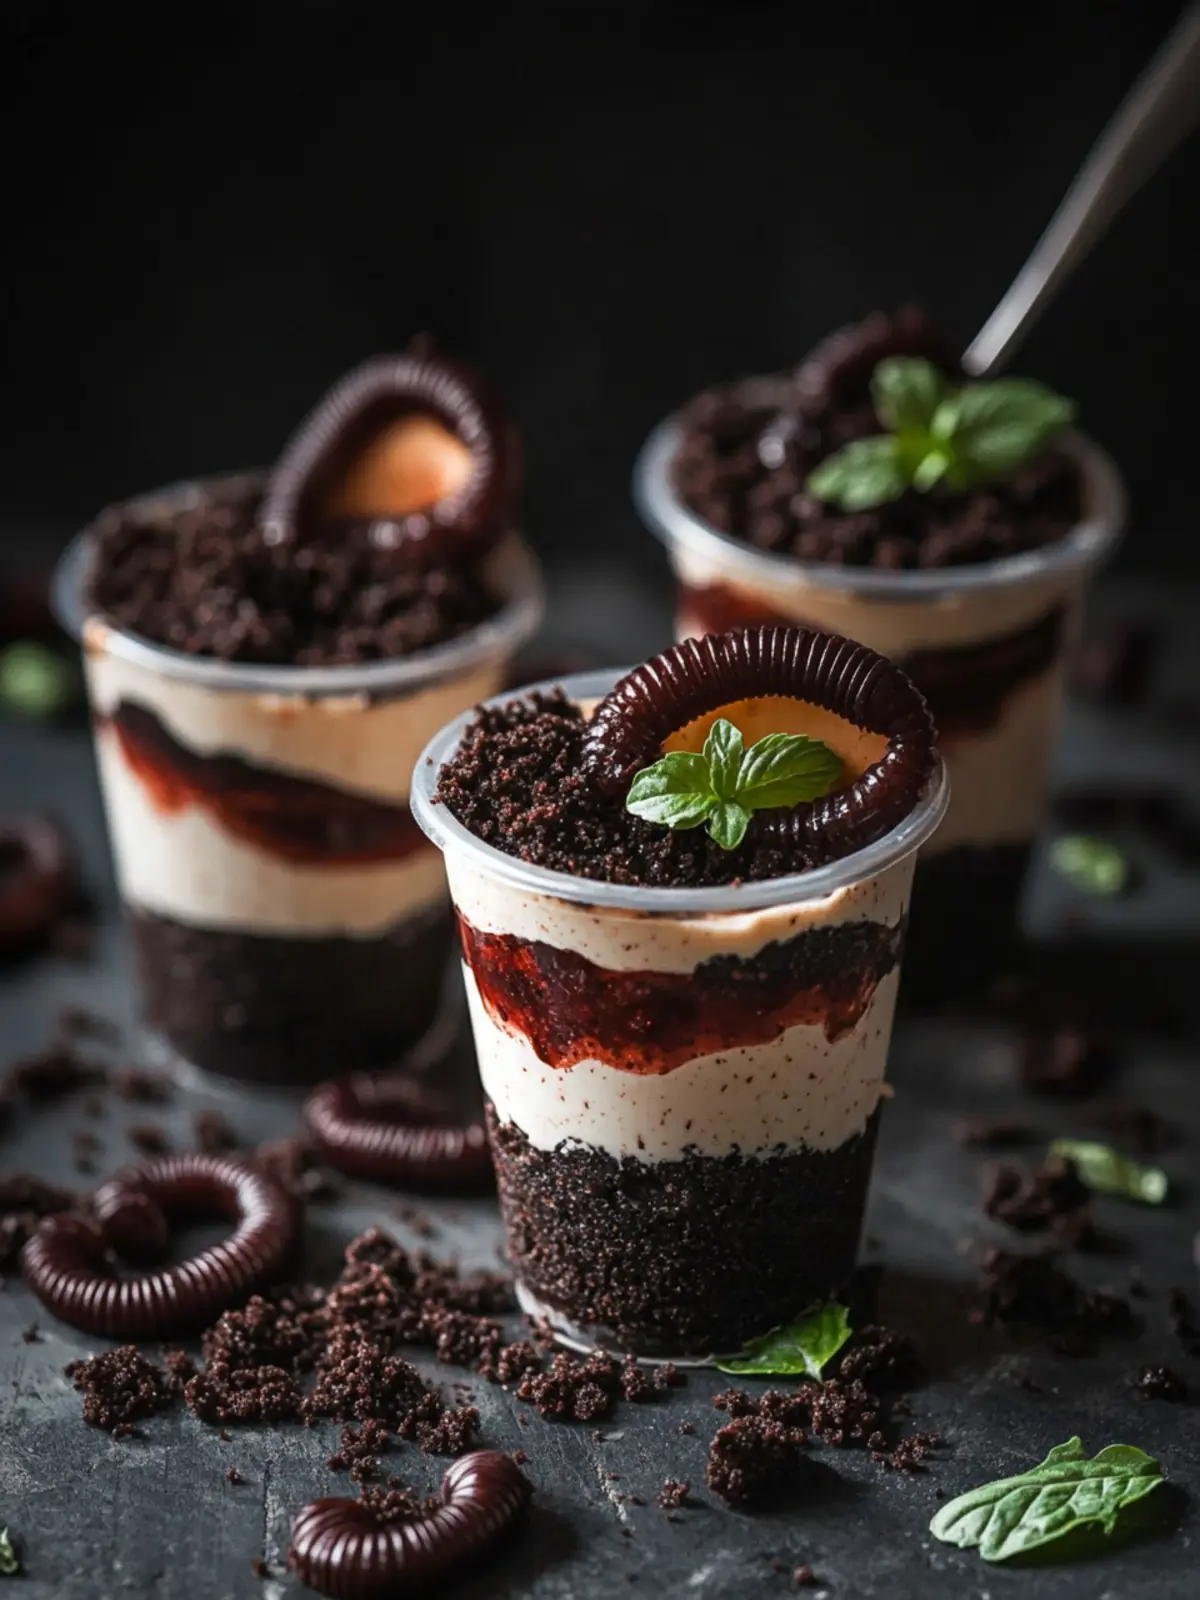
Drizzle raspberry jam down the inside edges of the cups using a spoon. This creates a spooky “blood” drip effect, adding flair and fun to your dessert presentation.
-
Top each cup generously with the crushed cookie mixture, creating a realistic dirt layer over the pudding. Make sure every cup is well-covered for that perfect “garden” look.
-
Insert gummy worms into the cups, so they appear to be crawling out from the dirt. Place them strategically for maximum effect; the more, the merrier!
-
Chill the completed Worm Dirt Cups in the refrigerator until you’re ready to serve. This keeps everything nice and cool, ensuring your guests enjoy these treats at their best!
Optional: For a fun twist, sprinkle some colorful sprinkles on top of the dirt for added visual interest.
Exact quantities are listed in the recipe card below.
Make Ahead Options
These Worm Dirt Cups are a fantastic option for meal prep, allowing you to save time before your next gathering. You can prepare the chocolate pudding and crush the cookies up to 24 hours in advance; simply store the pudding in an airtight container in the fridge to keep it creamy. Likewise, store the crushed cookie mixture in a sealed bag or container at room temperature (to prevent moisture). When you’re ready to serve, fill the cups with the pudding, drizzle in the raspberry jam, top with cookie crumbs, and add the gummy worms for that delightful finish. This way, you’ll have an impressive and whimsical dessert with minimal last-minute effort!
Worm Dirt Cups Variations
Get ready to unleash your creativity in the kitchen with these fun twists on a classic!
-
Nutty Crunch: Add crushed nuts or granola to the dirt layer for a delightful crunch that will surprise your guests.
-
Fruit Flavored Jelly: Swap the raspberry jam for strawberry or grape jelly to create a different taste that still enchants the eyes.
-
Vegan Option: Substitute dairy milk with almond or oat milk and use dairy-free pudding for a plant-based delight that’s just as fun!
-
Spicy Twist: Mix in a hint of chili powder with the pudding for a surprising kick that pairs unexpectedly well with chocolate.
-
Chocolate Overload: Drizzle melted chocolate over the cookie crumbs for an indulgent and extra decadent layer.
-
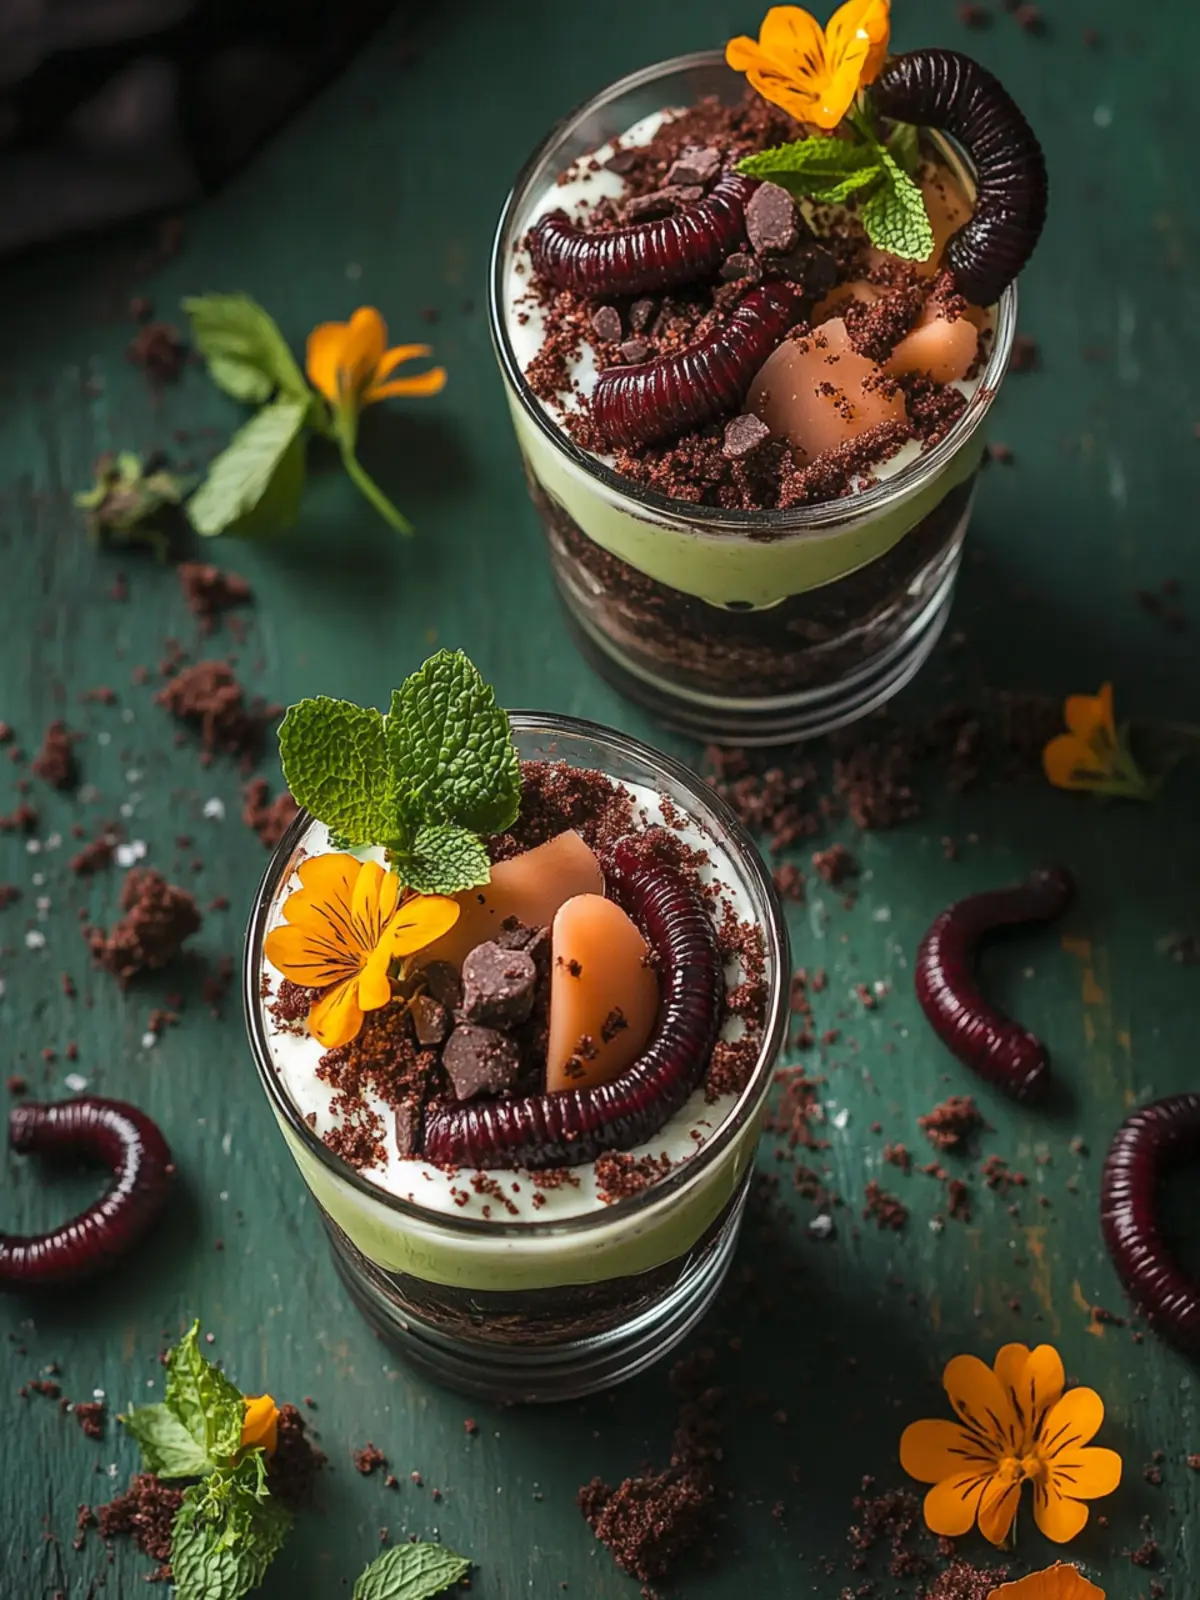
Seasonal Themes: Use colored jello instead of pudding for Halloween or a green pudding for St. Patrick’s Day; it’s an easy way to celebrate the season!
-
Syrup Surprise: Instead of raspberry jam, drizzle chocolate or caramel syrup for a rich flavor boost that’s hard to resist.
-
Cheesecake Layer: Incorporate a layer of cheesecake filling between pudding and dirt for a creamy surprise that will send your treat over the top.
Let your imagination run wild and make these Worm Dirt Cups truly your own!
What to Serve with Worm Dirt Cups?
Creating a magical dessert experience goes beyond just the Worm Dirt Cups; it’s all about crafting the perfect meal to accompany them.
-
Vanilla Ice Cream: The creamy richness of vanilla ice cream perfectly balances the chocolaty depth, adding a delightful cold contrast.
-
Fruit Skewers: Colorful fruit skewers provide a fresh and juicy element that brightens the table and offers a refreshing crunch.
-
Chocolate-Covered Strawberries: These decadent delights echo the chocolate flavor while adding a touch of elegance. Their sweet burst complements the dessert.
-
Muddy Buddy Snack Mix: For a playful touch, serve snacks like muddy buddy mix, a sweet and crunchy snack that pairs fabulously with the Worm Dirt Cups.
-
Soda Floats: A fizzy vanilla or cherry soda float makes for a nostalgic and fun drink pairing, enhancing the whimsical theme of the dessert.
-
Chocolate Milkshake: A rich, chocolate milkshake enhances the overall dessert experience, creating a cohesive chocolatey indulgence that everyone will love.
Imagine gathering your friends and family around a table filled with these delightful treats to complement your Worm Dirt Cups—a feast that’s sure to spark joy and create lasting memories!
How to Store and Freeze Worm Dirt Cups
Fridge: Keep your Worm Dirt Cups covered tightly with plastic wrap or in an airtight container; they will last for up to 3 days.
Freezer: It’s not recommended to freeze these cups as the pudding and gummy worms do not thaw well and may lose their texture.
Reheating: For optimal taste and texture, serve these cups chilled; simply remove from the fridge and enjoy right away!
Assembly: If you’ve prepped the pudding and cookie layers in advance, store them separately and assemble the cups just before serving for a fresh and delightful experience.
Expert Tips for Worm Dirt Cups
-
Chilling Time: Ensure to chill the pudding for at least 2 hours; this step is crucial for achieving the right texture in your Worm Dirt Cups.
-
Cookie Crushing: Aim for a coarse crumb when crushing the chocolate cookies; finely ground crumbs may not replicate the dirt texture as effectively.
-
Jam Drizzle Technique: Use a spoon to carefully drizzle the raspberry jam down the sides of the cups. Avoid overloading—too much can create a mess and overpower the chocolate flavor.
-
Layering Strategy: For a beautiful presentation, layer pudding and cookie bits evenly. This allows guests to appreciate each tasty layer as they dig in.
-
Gummy Worm Placement: Insert gummy worms just before serving to keep them fresh and avoid sogginess. A few worms per cup can enhance the colorful appeal.
Enjoy crafting these delightful Worm Dirt Cups, and remember—experimenting with the ingredients can lead to even more fun results!
Worm Dirt Cups Recipe FAQs
How do I choose the right chocolate pudding?
Absolutely! For the best flavor, opt for high-quality instant chocolate pudding. Look for boxes that list chocolate as the primary ingredient and avoid those with artificial flavors. This will ensure your Worm Dirt Cups have a rich and decadent taste!
How should I store leftover Worm Dirt Cups?
Very simply! Store your Worm Dirt Cups in the refrigerator in an airtight container or tightly covered with plastic wrap for up to 3 days. This keeps the chocolate pudding fresh and creamy while maintaining the yummy cookie “dirt” texture.
Can I freeze Worm Dirt Cups?
It’s generally not recommended to freeze Worm Dirt Cups. The pudding can separate, and the gummy worms may become too mushy after being thawed. If you’re considering making them ahead of time, prepare the pudding and cookie layers separately and keep those in the freezer. Assemble the cups fresh just before serving for the best results!
What do I do if my pudding didn’t set?
If your pudding isn’t thickening properly, there may be a couple of reasons. First, ensure you’ve whisked it well with the right amount of cold milk as noted on the package. Also, allow it to chill in the refrigerator for at least 2 hours. If it still seems runny, you can whisk in a bit of extra pudding mix to help it achieve a thicker consistency.
Are there any dietary considerations for the ingredients?
Absolutely! If you’re accommodating allergies or dietary restrictions, consider using dairy-free chocolate pudding and milk for a vegan version. You can also substitute the chocolate sandwich cookies with gluten-free options. Additionally, if you have pets at home, keep the gummy worms out of their reach, as sugary treats can be harmful to them.
Can I customize the gummy worms or jam?
The more the merrier! Feel free to experiment by using different gummy candies or swapping out the raspberry jam for strawberry or cherry for a delightful twist. You can even add sprinkles or edible eyes on top for extra fun! Enjoy creating your unique version of these Worm Dirt Cups!
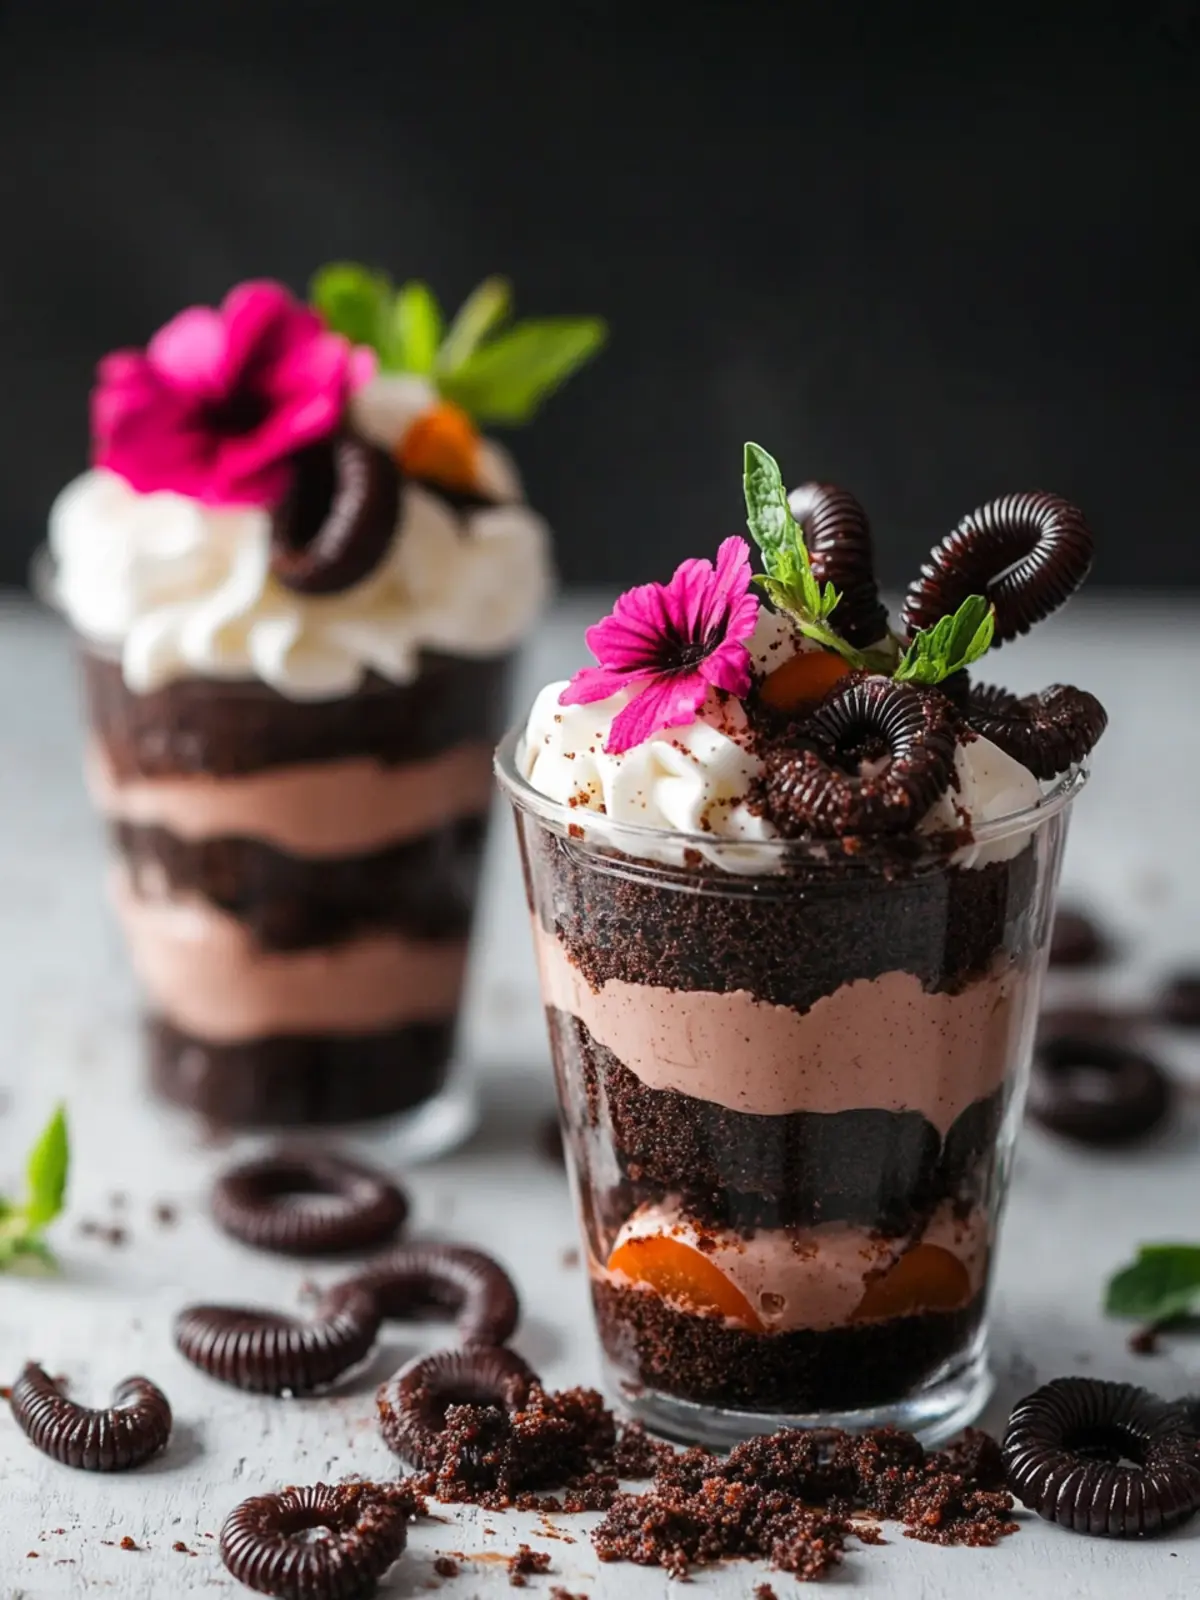
Worm Dirt Cups: A Fun, Creepy Treat for All Ages
Ingredients
Equipment
Method
- Prepare the chocolate pudding by whisking it with 3 cups of cold milk according to the package instructions. Chill the mixture in the refrigerator for about 2 hours until it sets and thickens to a creamy texture.
- Crush the chocolate sandwich cookies in a food processor until they resemble coarse dirt.
- Fill your clear plastic cups approximately 2/3 full with the chilled chocolate pudding.
- Drizzle raspberry jam down the inside edges of the cups using a spoon.
- Top each cup generously with the crushed cookie mixture, creating a realistic dirt layer over the pudding.
- Insert gummy worms into the cups, so they appear to be crawling out from the dirt.
- Chill the completed Worm Dirt Cups in the refrigerator until you’re ready to serve.