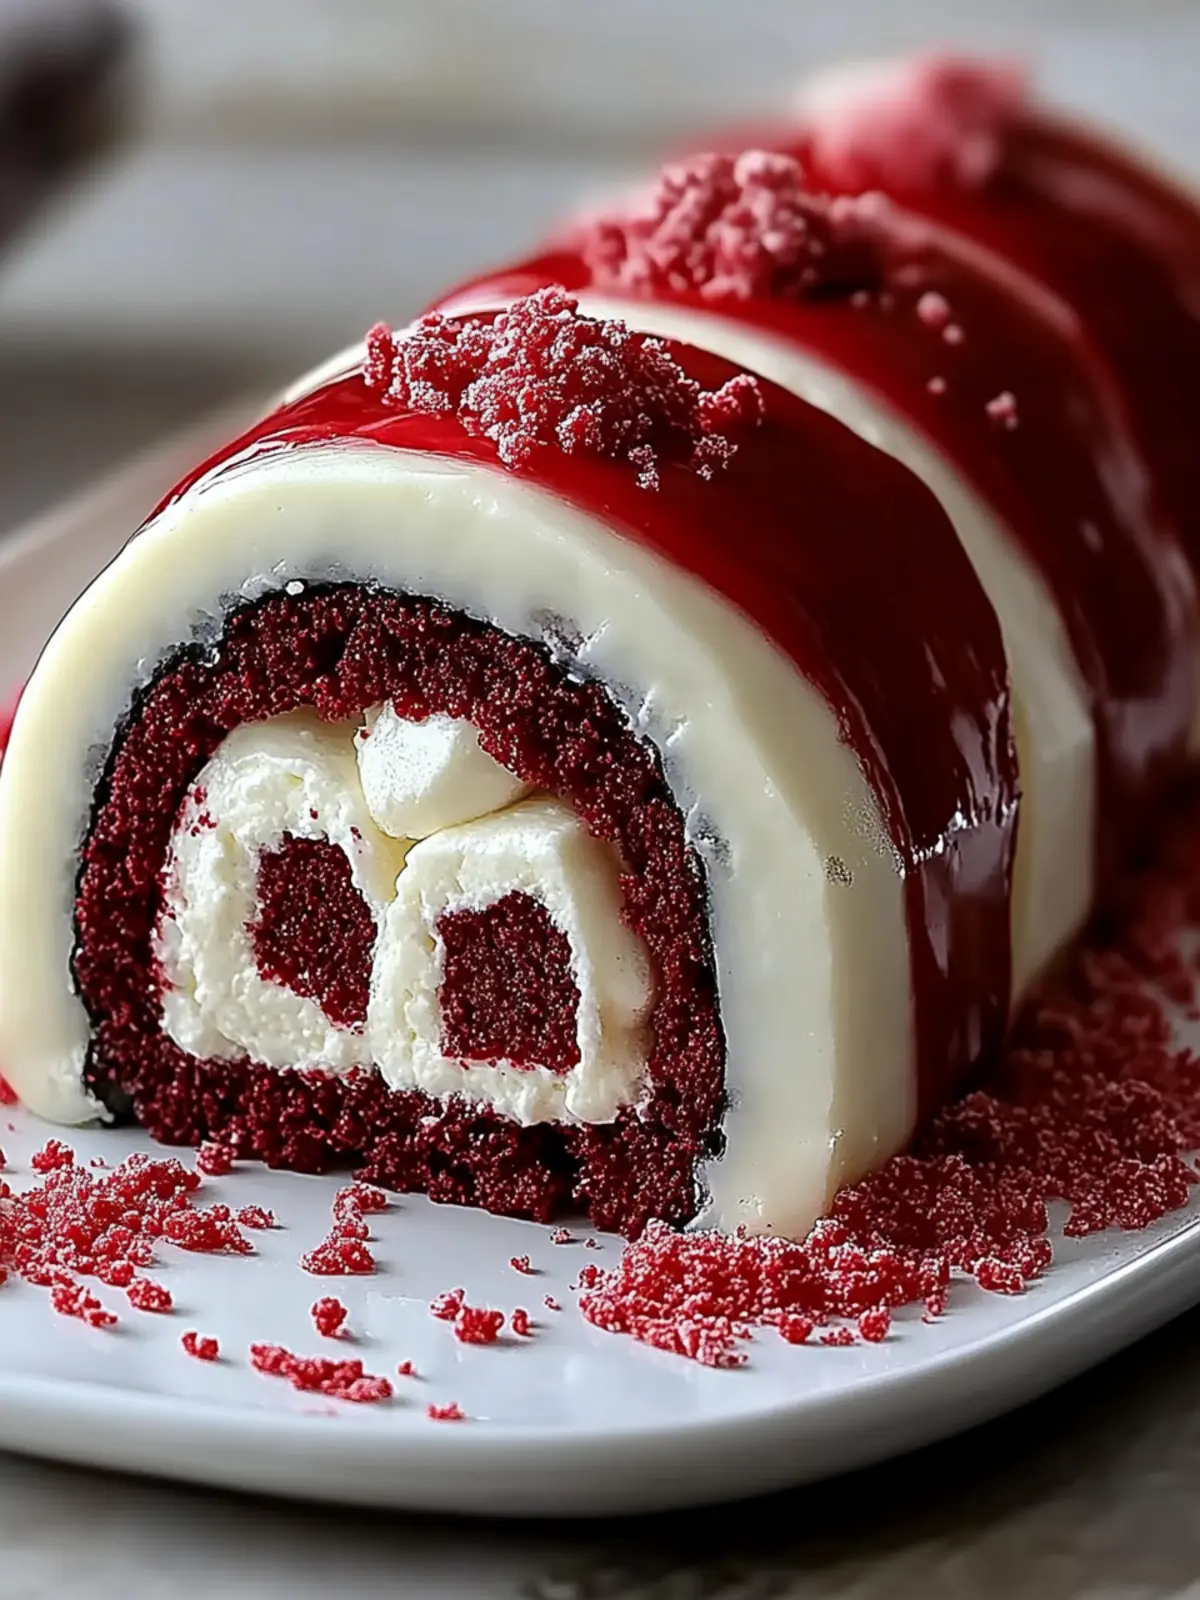
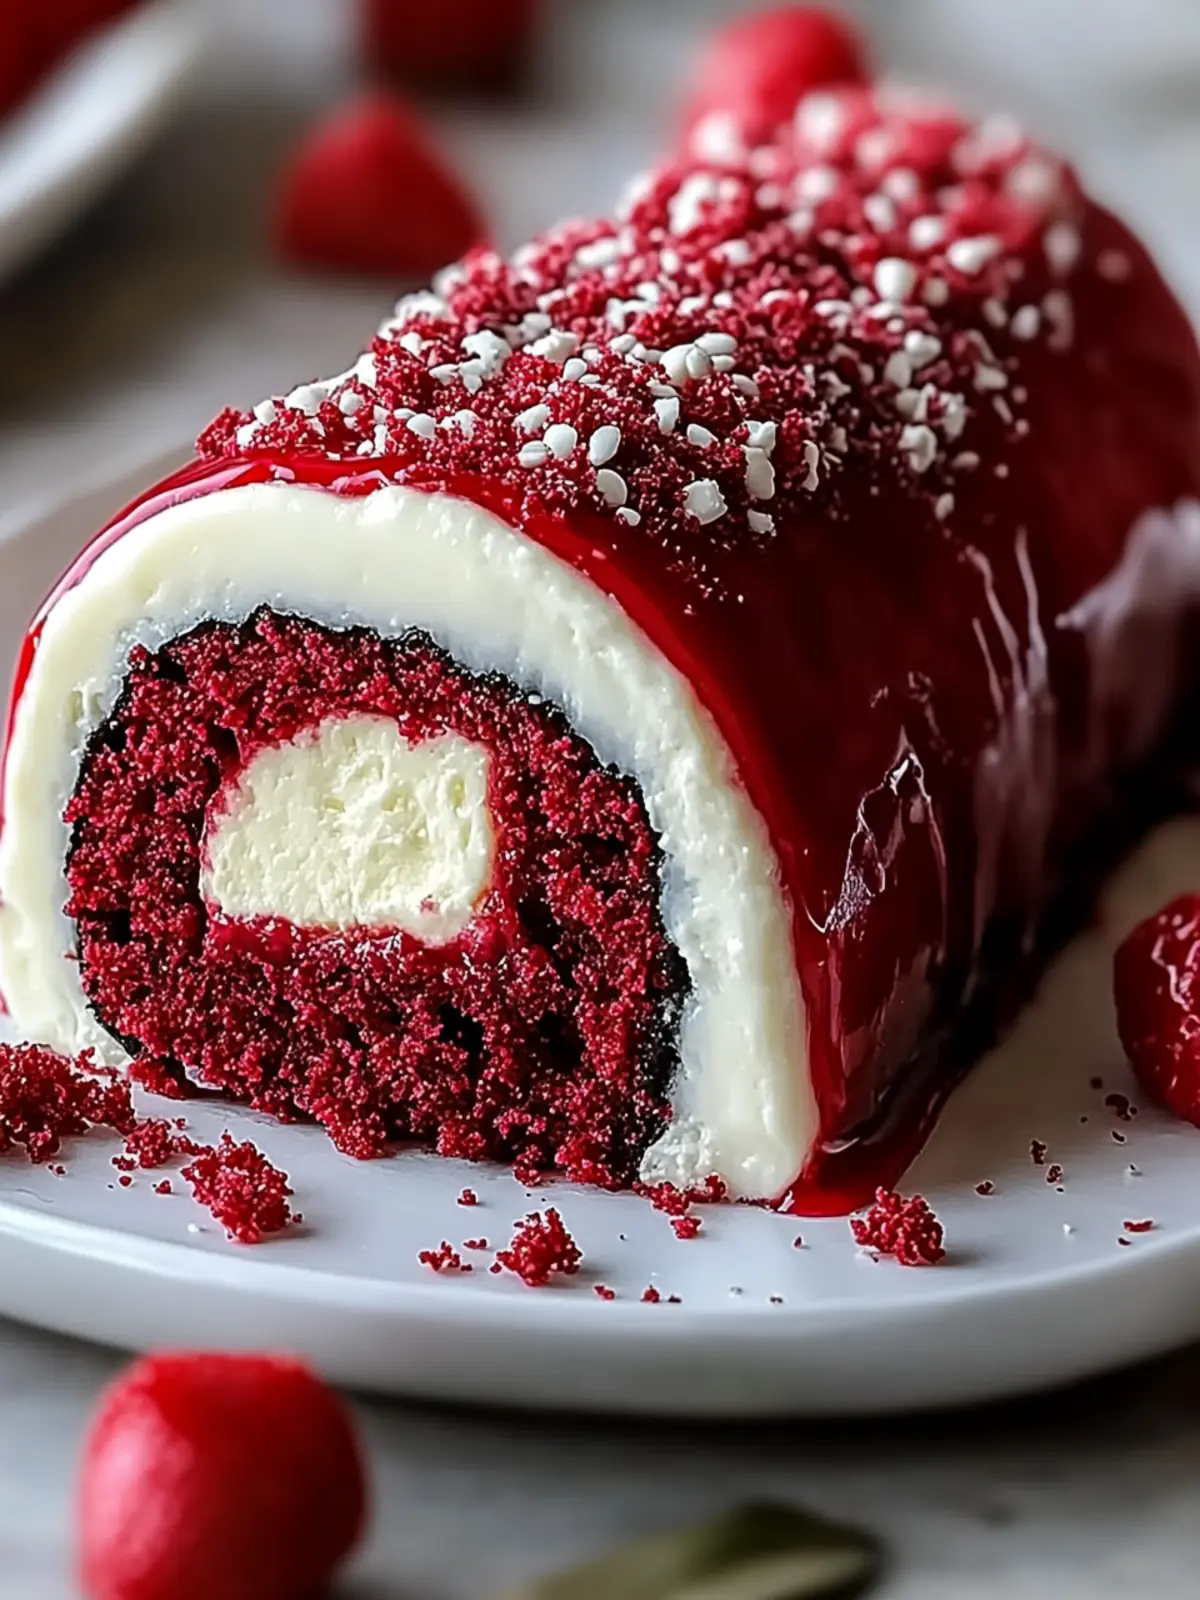
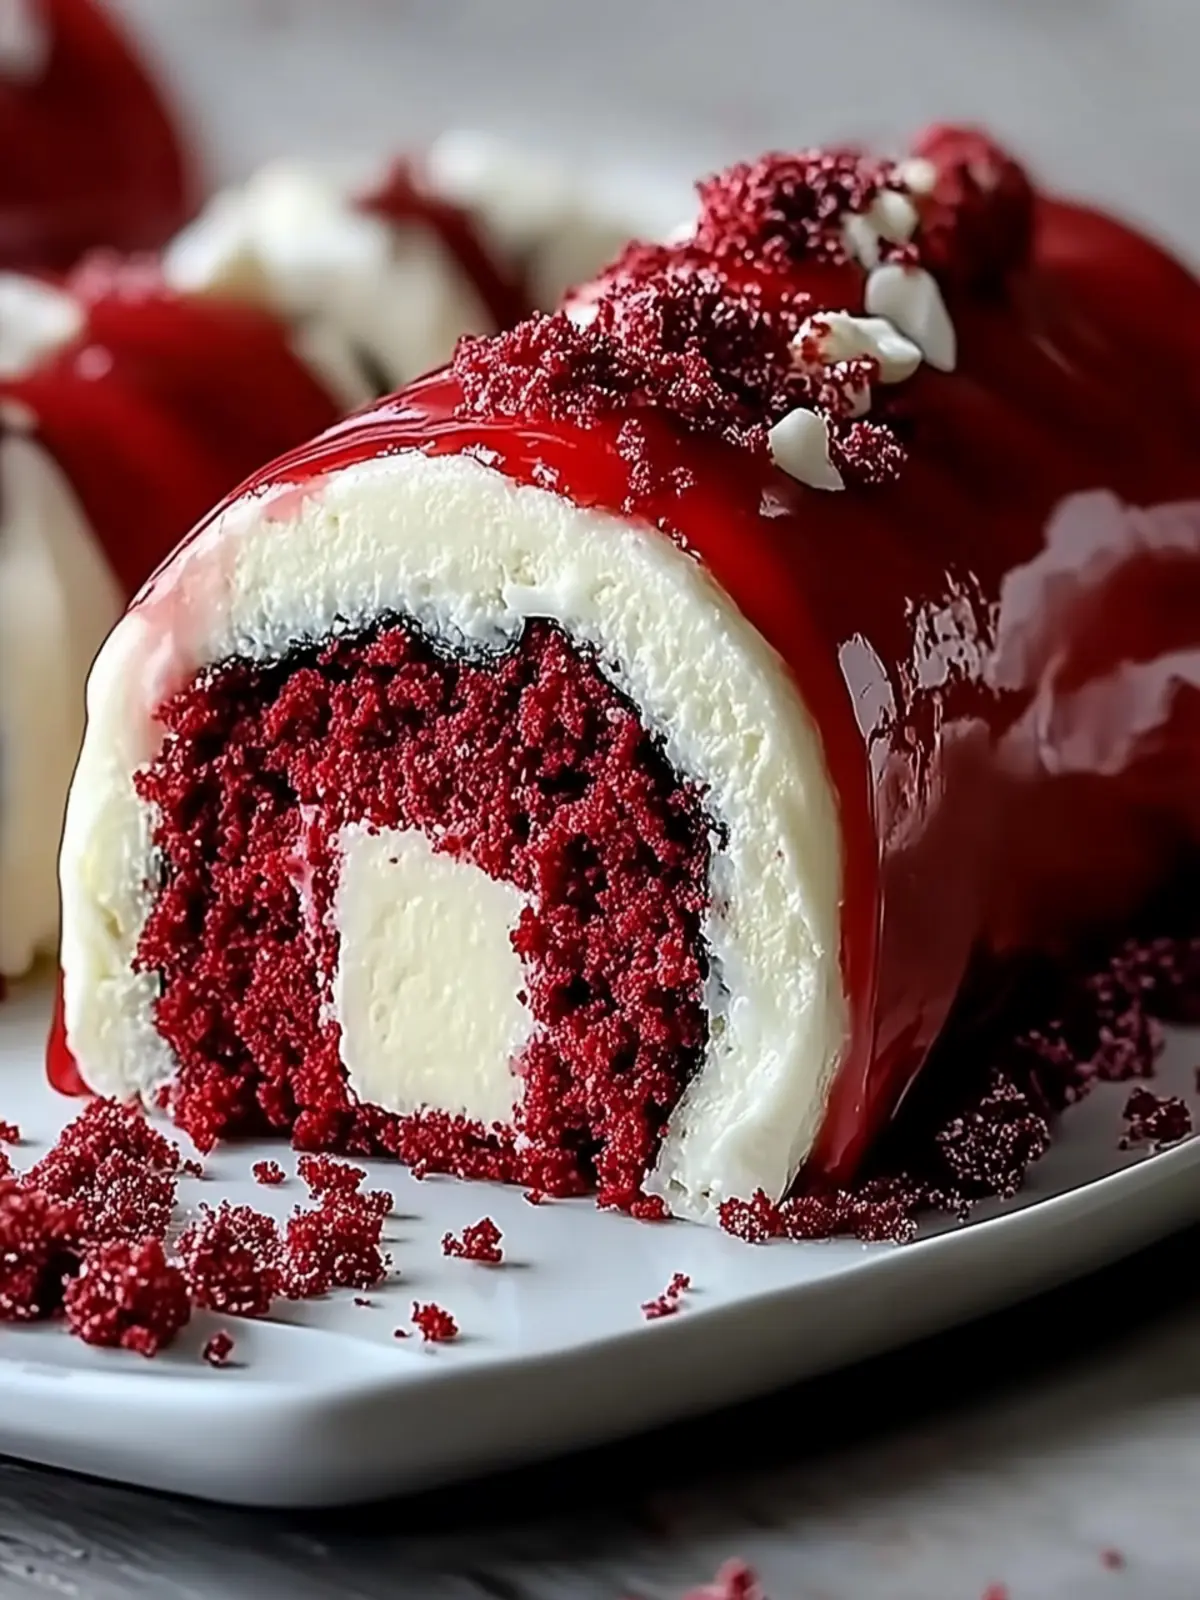
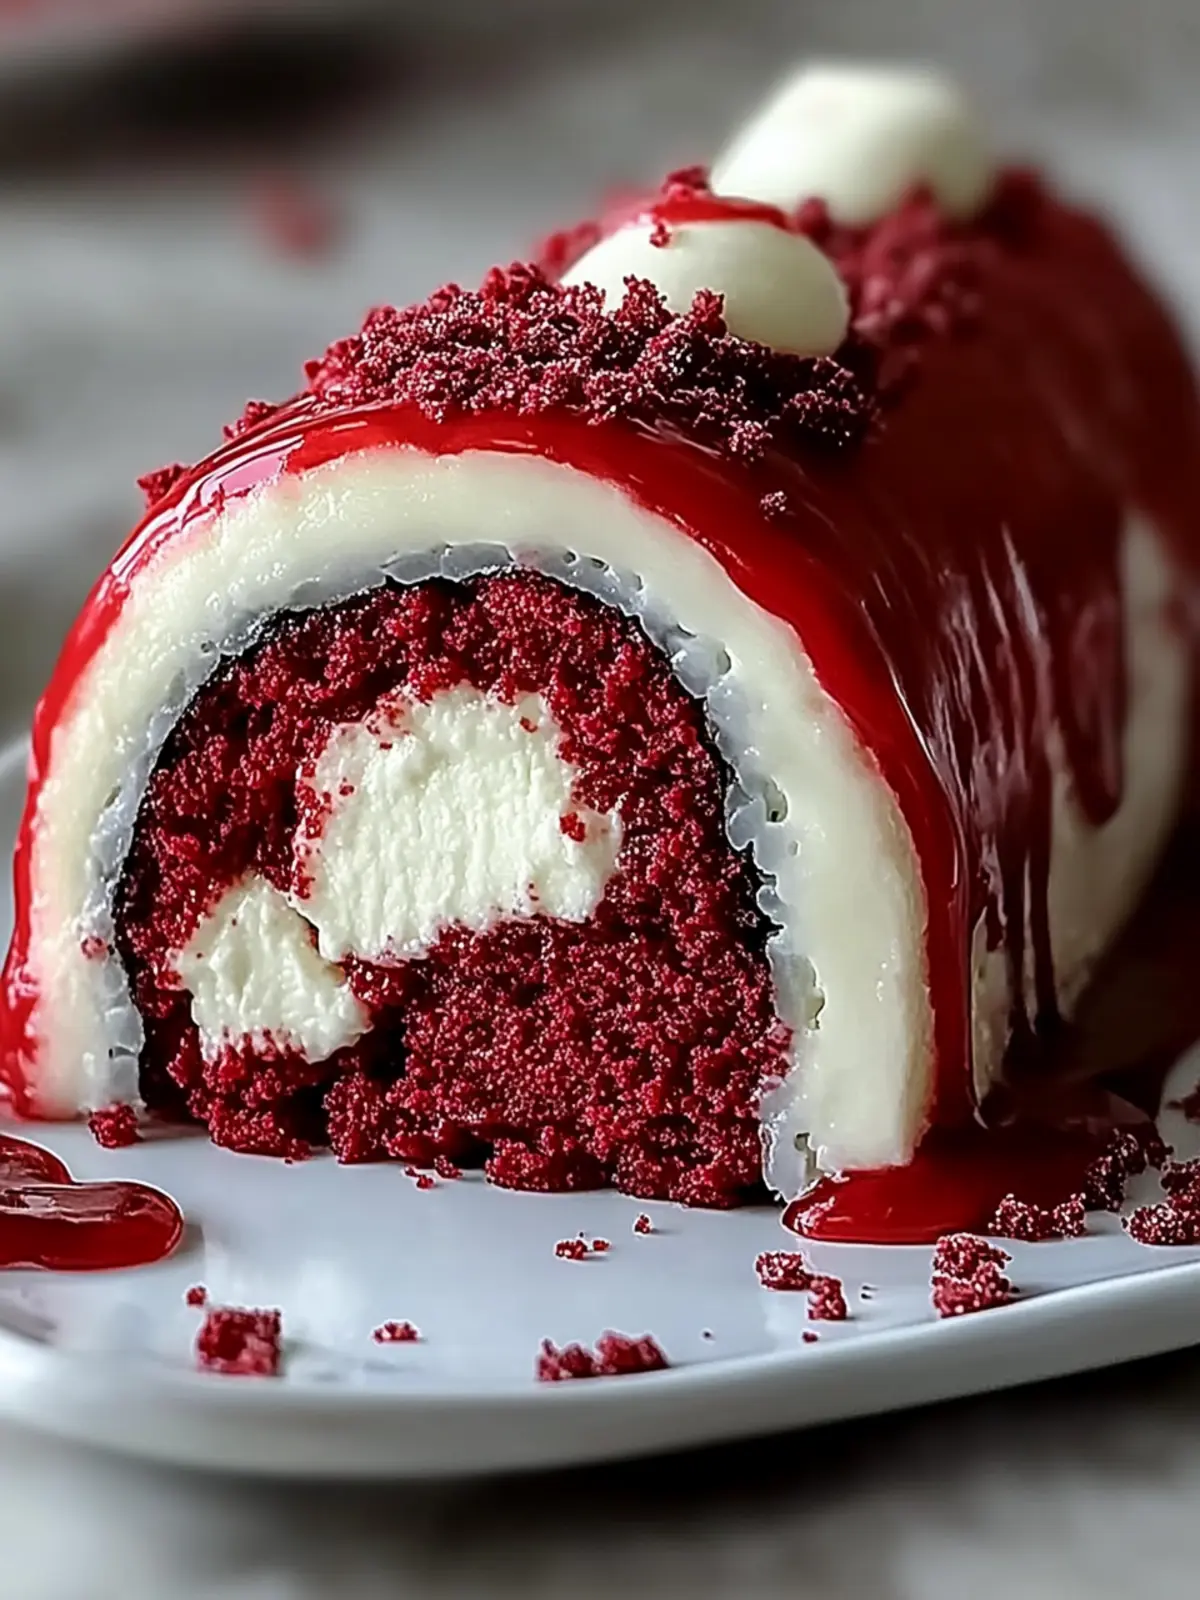
There’s something undeniably exciting about taking a classic dessert and giving it a playful twist. When I first experimented with these No-Bake Red Velvet Cheesecake Sushi Rolls, I couldn’t believe how effortlessly they transformed my usual dessert routine into a delightful culinary adventure. Picture this: the luscious, velvety richness of red velvet cake meets the creamy indulgence of cheesecake, all wrapped in sweet, chewy strawberry fruit leather.
This fun, fusion treat not only delivers on flavor but also sparks joy with its stunning presentation. Whether you’re hosting a gathering or simply want to impress your family after dinner, this recipe comes together swiftly, making it the perfect solution for those who crave homemade decadence without the stress of baking. Plus, the best part? You can easily customize fillings to match your tastes. Get ready to elevate your dessert game with these charming sushi rolls that are sure to captivate and delight!
Why is Red Velvet Cheesecake Sushi a must-try?
Uniqueness: This dessert blends two favorites—red velvet cake and cheesecake—into a fun sushi form, perfect for adventurous eaters.
No-Bake: Effortlessly whip up a stunning dessert without turning on the oven, saving you time and hassle.
Customizable: Tailor the flavors to your liking by swapping fillings or wrappers—mango fruit leather anyone?
Crowd-Pleaser: Its vibrant colors and playful presentation will wow guests at any gathering.
Quick Prep: Assemble this delicious treat swiftly, making it ideal for unexpected dessert cravings or last-minute parties.
Red Velvet Cheesecake Sushi Ingredients
For the Sushi Rice
• Sushi Rice – Provides the base for the rolls; rinse thoroughly until the water runs clear to avoid gumminess.
• White Chocolate Cream Cheese – Adds richness and sweetness; store-bought or homemade options work well.
• Red Food Coloring – Gives the sushi rolls their vibrant red hue; gel food coloring is recommended for better color intensity.
For the Cheesecake Filling
• Cream Cheese – Supplies the creamy filling base; opt for full-fat cream cheese for the best texture and flavor.
• Granulated Sugar – Sweetens the cheesecake filling; adjust the sweetness according to personal preference.
• Vanilla Extract – Enhances the overall flavor of the mousse.
• Heavy Cream – Whipped to soft peaks, it creates an airy texture for the cheesecake filling.
For the Wrap and Garnish
• Strawberry Fruit Leather – Wrap the rolls for a sweet fruity layer; can be substituted with thinly sliced fresh strawberries.
• White Chocolate Chips – Melted for drizzling on top for added sweetness and decoration.
• Red Sanding Sugar or Sprinkles – Optional garnish for a festive pop of color.
How to Make Red Velvet Cheesecake Sushi
-
Prepare Sushi Rice: Rinse sushi rice thoroughly until the water runs clear, then cook according to package instructions. Once cooled, mix with white chocolate cream cheese and red food coloring until evenly tinted a vibrant red.
-
Assemble Rice Layer: On a piece of plastic wrap, spread the red velvet rice into a thin rectangle, about 8×10 inches, ensuring it’s evenly distributed for easy rolling.
-
Make Cheesecake Filling: In a bowl, blend cream cheese, sugar, and vanilla extract until smooth. Carefully fold in whipped heavy cream to achieve an airy, light texture perfect for the filling.
-
Fill and Roll: Spread the cheesecake filling along one edge of the rice rectangle. Using the plastic wrap as a guide, roll the rice tightly into a log shape, ensuring the filling is securely enclosed.
-
Wrap with Fruit Leather: Take your rolled sushi and wrap it in strawberry fruit leather, making sure it’s tightly sealed to hold everything together beautifully.
-
Trim and Slice: Using a sharp knife, trim the edges of the sushi log for a neat appearance. Slice into 8-10 even pieces, taking care to maintain the visual appeal of each roll.
-
Decorate: Drizzle melted white chocolate over the sushi pieces and sprinkle with red sanding sugar for an extra festive touch. Chill for at least 30 minutes before serving to allow the flavors to meld.
Optional: Serve with a dusting of powdered sugar or fresh fruit on the side for a refreshing contrast.
Exact quantities are listed in the recipe card below.
Expert Tips for Red Velvet Cheesecake Sushi
-
Knife Choice: Use a sharp knife for clean, even slices to ensure your dessert looks just as delightful as it tastes.
-
Prevent Sticky Rice: Lightly oil the plastic wrap before pressing the rice down to prevent it from sticking.
-
Chill Before Cutting: If your cheesecake filling feels too soft, chill the rolled sushi briefly before slicing to help firm it up.
-
Prep Ahead: Consider preparing components, such as the cheesecake filling and sushi rice, in advance for quick assembly when you’re ready to serve.
-
Mix It Up: Don’t hesitate to experiment with customizable fillings or fruit wrappers to create your ideal version of Red Velvet Cheesecake Sushi!
Red Velvet Cheesecake Sushi Variations
There’s no need to stick strictly to the recipe—let your creativity shine with these fun and tasty twists!
-
Fruit Leather Swap: Replace strawberry fruit leather with mango or peach for a tropical flair that brightens the flavor. The combination of sweet and tangy will surely make your taste buds dance!
-
Fresh Fruit Option: Instead of fruit leather, wrap the sushi in thin slices of fresh bananas or kiwis for a refreshing, healthier alternative. You’ll get an extra juicy bite in every roll!
-
Flavor Boost: Add orange zest or a hint of peppermint extract to the cheesecake filling for a vibrant holiday twist. These flavors will uplift your sushi rolls and take them to a festive level.
-
Mini Sushi Rolls: Create bite-sized versions of your sushi rolls for easy serving at gatherings. These delightful mini treats will have your guests reaching for more!
-
Dairy-Free Delight: For a vegan variation, use dairy-free cream cheese and substitute coconut cream for the heavy cream. You’ll still achieve a luscious flavor without any animal products.
-
Chocolate Infusion: Mix in mini chocolate chips into the cheesecake filling for a decadent chocolate version. Chocolate and red velvet are a classic match made in dessert heaven!
-
Nutty Crunch: Add crushed nuts like pecans or walnuts inside the filling for an unexpected crunch that contrasts beautifully with the creaminess. Each bite becomes a mini adventure!
-
Spicy Kick: If you’re feeling adventurous, add a pinch of chili powder to the cheesecake filling for a subtle heat that surprises the palate. It creates a unique and memorable experience!
How to Store and Freeze Red Velvet Cheesecake Sushi
Fridge: Store uncut rolls in an airtight container for up to 48 hours to maintain freshness. Avoid moisture exposure for best texture.
Freezer: For longer storage, wrap individual pieces tightly in plastic wrap and place them in a freezer-safe container. They can be frozen for up to 3 months without losing flavor.
Thawing: When ready to enjoy, transfer the rolls to the fridge to thaw overnight. Avoid microwaving, as this may alter the texture of the creamy filling.
Reheating: These sushi rolls are best served chilled, so no reheating is necessary. Enjoy the delightful flavors and textures straight from the fridge!
What to Serve with Red Velvet Cheesecake Sushi?
Delight in creating an inviting dessert spread that perfectly complements the whimsy of red velvet cheesecake sushi.
- Fresh Berries: The brightness of strawberries or blueberries adds a refreshing contrast to the rich flavors of the sushi rolls.
- Vanilla Ice Cream: A scoop of creamy vanilla ice cream pairs beautifully, enhancing the dessert experience with its cool, sweet creaminess.
- Chocolate Dipping Sauce: Drizzling warm chocolate sauce adds an indulgent touch, bringing a rich flavor layer to each bite.
- Mint Leaves: A sprig of fresh mint provides a burst of freshness, balancing the sweet richness of the sushi.
- Sparkling Water: Sparkling water with a hint of lemon invigorates the palate between bites, enhancing the dessert experience without overpowering it.
For something extra special, a light, fruity dessert wine could amplify the sweetness while complementing the fun fusion taste of the rolls. Enjoy crafting your perfect dessert ensemble!
Make Ahead Options
These Red Velvet Cheesecake Sushi Rolls are perfect for meal prep enthusiasts! You can prepare the sushi rice and cheesecake filling up to 24 hours in advance. Simply mix and assemble the sushi rice and cheesecake filling, then store them separately in airtight containers in the refrigerator. To maintain quality and prevent the rice from becoming too moist, wrap the rice tightly in plastic wrap or parchment paper. When ready to serve, simply roll the rice with the filling and fruit leather, slice, and drizzle with melted white chocolate. This way, you’ll have delightful, restaurant-quality sushi rolls without the last-minute rush!
Red Velvet Cheesecake Sushi Recipe FAQs
What type of sushi rice should I use for the Red Velvet Cheesecake Sushi?
I recommend using short-grain sushi rice, as it has the right amount of starch to become sticky enough to hold the rolls together. Be sure to rinse the rice thoroughly until the water runs clear to prevent gumminess. This simple step is crucial for achieving the perfect texture!
How should I store leftover Red Velvet Cheesecake Sushi?
To maintain freshness, store uncut rolls in an airtight container in your refrigerator for up to 48 hours. Make sure to keep them away from moisture to avoid a soggy texture. If you want to save them for longer, individually wrap the rolls in plastic wrap and place them in a freezer-safe container for up to 3 months.
Can I freeze Red Velvet Cheesecake Sushi?
Absolutely! When you’re ready to freeze, wrap each piece tightly in plastic wrap. Place them in a freezer-safe container or bag, ensuring they don’t get squished. This way, they can be stored for up to 3 months without losing their delicious flavors. Just remember to thaw them in the fridge overnight before enjoying.
What if my cheesecake filling is too soft?
If you find that your cheesecake filling is a bit too soft to work with, no worries! Simply chill the rolled sushi in the refrigerator for about 30 minutes before slicing. This will firm up the filling and make it easier to cut neatly. Using a sharp knife will also help ensure clean slices, keeping the presentation intact.
Is this recipe suitable for those with dietary restrictions?
It certainly can be! For gluten-free options, make sure to use gluten-free sushi rice and verify all your other ingredients. If you have dairy allergies, you can substitute the cream cheese with a dairy-free alternative like coconut cream or almond cream cheese. For a vegan version, use plant-based cream cheese and a non-dairy heavy cream alternative.
What can I substitute for strawberry fruit leather?
If you’re looking for alternatives to strawberry fruit leather, thinly sliced fresh fruits like mangoes, kiwis, or even bananas work beautifully. Each option brings a different flavor profile that can make your Red Velvet Cheesecake Sushi even more exciting! Feel free to experiment—after all, the more the merrier!
Irresistible Red Velvet Cheesecake Sushi for Dessert Lovers
Ingredients
Equipment
Method
- Rinse sushi rice thoroughly until the water runs clear, then cook according to package instructions.
- Once cooled, mix with white chocolate cream cheese and red food coloring until evenly tinted a vibrant red.
- On a piece of plastic wrap, spread the red velvet rice into a thin rectangle, about 8x10 inches.
- In a bowl, blend cream cheese, sugar, and vanilla extract until smooth.
- Fold in whipped heavy cream to achieve an airy texture.
- Spread the cheesecake filling along one edge of the rice rectangle and roll tightly into a log shape.
- Wrap the rolls in strawberry fruit leather, sealing them tightly.
- Trim edges for a neat appearance and slice into 8-10 even pieces.
- Drizzle melted white chocolate over the sushi pieces and sprinkle with red sanding sugar before chilling for 30 minutes.

