The first time I made these gluten-free cheesecake bars, the clouds parted and my taste buds danced. The creamy, rich filling paired with the buttery graham cracker crust is an experience that elevates any dessert table. Imagine pulling these delightful bars from the fridge, their smooth texture gleaming under the kitchen light, and slicing into the squares—a perfect blend of sweet and tangy with each bite.
This recipe is not just about indulgence; it’s about simplicity and versatility. Whether you’re hosting a gathering or just craving a little something special after dinner, these cheesecake bars deliver satisfaction without the hassle. They’re a breeze to whip up, taking less than an hour to bake, plus a bit of chilling time. And the best part? You can enjoy this delicious treat knowing it’s gluten-free, making it perfect for everyone! So, roll up your sleeves and prepare to embark on a delightful dessert adventure that will leave your friends and family asking for seconds.
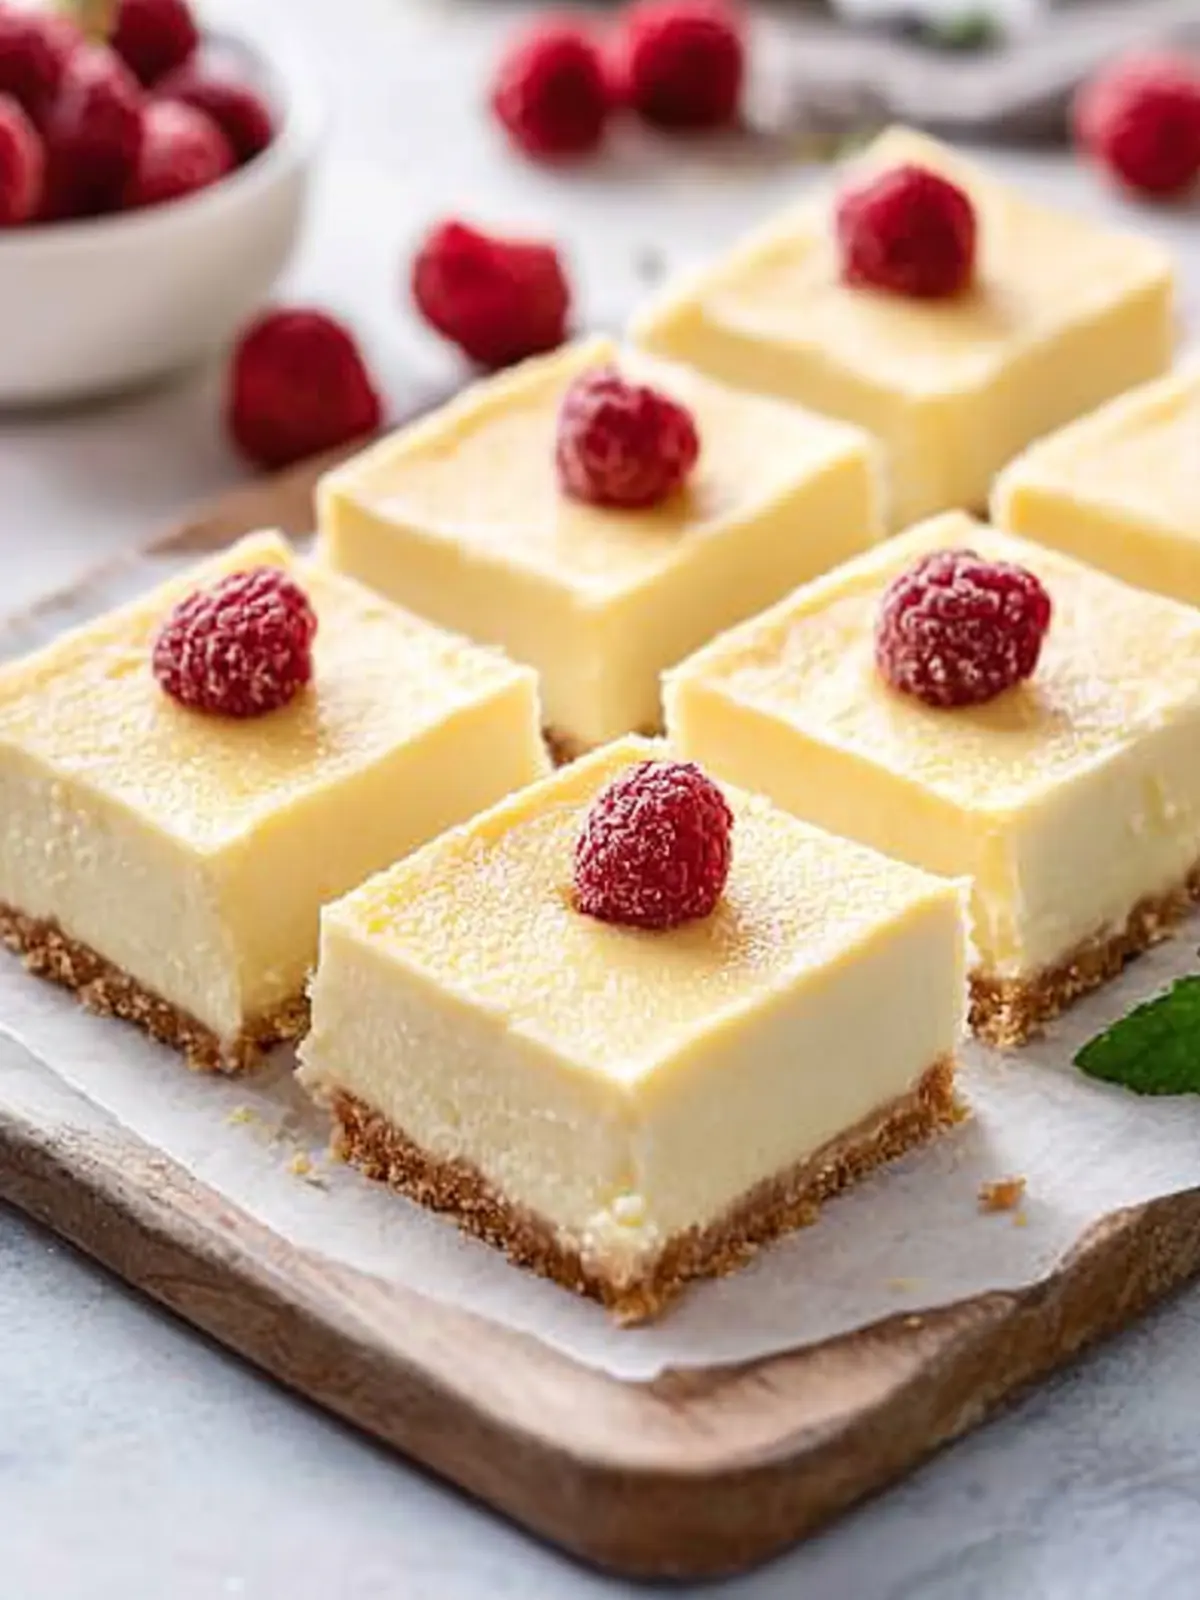
Why love these Cheesecake Bars?
Irresistible flavor: Each bite boasts a creamy, tangy filling paired with a buttery, gluten-free crust, making it a dessert to remember.
Effortless preparation: With just 15 minutes of prep time, you can enjoy this decadent treat without fussing over complicated steps.
Versatile delight: Perfect for gatherings or a simple weeknight treat, these bars adapt to any occasion beautifully.
Crowd-pleaser: This recipe appeals to both gluten-free eaters and those who aren’t, satisfying a range of taste buds.
Make-ahead option: Prepare in advance and chill, ensuring you have a sweet surprise ready whenever the craving strikes!
For more delicious ideas, check out my favorite easy desserts.
Cheesecake Bars Ingredients
For the Crust
• Gluten-free graham cracker crumbs – perfect for creating a sweet and buttery base without gluten.
• Sugar – adds just the right touch of sweetness to the crust.
• Butter – ensures a rich texture; use dairy-free butter for a vegan option.
For the Filling
• Cream cheese – gives these cheesecake bars their creamy richness; opt for dairy-free cream cheese if desired.
• Sugar – balances the tanginess of the cream cheese for a harmonious flavor.
• Eggs – helps set the filling perfectly, creating a delightful texture.
• Milk – keeps the filling smooth and creamy; any milk of choice will work here.
• Vanilla extract – introduces an aromatic sweetness that elevates the flavors of the cheesecake bars.
These cheesecake bars promise to be a hit among your family and friends!
How to Make Cheesecake Bars
-
Preheat Oven: Start by preheating your oven to 350°F (175°C). Line an 8-inch square baking pan with parchment paper, leaving some paper overhang—it’ll help you lift the bars out later!
-
Mix Crust Ingredients: In a small bowl, combine the gluten-free graham cracker crumbs, 2 tablespoons of sugar, and melted butter. Stir until the mixture feels “moist” and can easily hold together.
-
Press Crust: Firmly press the crumb mixture into the bottom of the prepared baking pan. Make sure it’s even and compact for the best texture once baked.
-
Bake Crust: Bake the crust in the preheated oven for 8 minutes. Once golden and fragrant, take it out and let it cool while you prepare the filling.
-
Blend Cream Cheese: In a large mixing bowl, use an electric mixer to blend the cream cheese and ½ cup of sugar until very smooth. Aim for a creamy consistency—this is crucial for your cheesecake bars.
-
Add Eggs and Milk: Add the eggs, milk, and vanilla extract to the cream cheese mixture. Mix until well combined and lovely and smooth, about 1-2 minutes.
-
Pour and Smooth: Carefully pour the cheesecake mixture onto the warm baked crust. Smooth the top with a spatula or gently rock the pan to ensure an even layer.
-
Bake Filling: Bake in the oven for 30 minutes. Then, cover with foil and bake for an additional 10 minutes. The filling should jiggle slightly when shaken—this means it’s just right!
-
Cool and Chill: Let the dessert cool completely in the pan. Cover with wax paper and chill in the refrigerator for about 2 hours until firm.
-
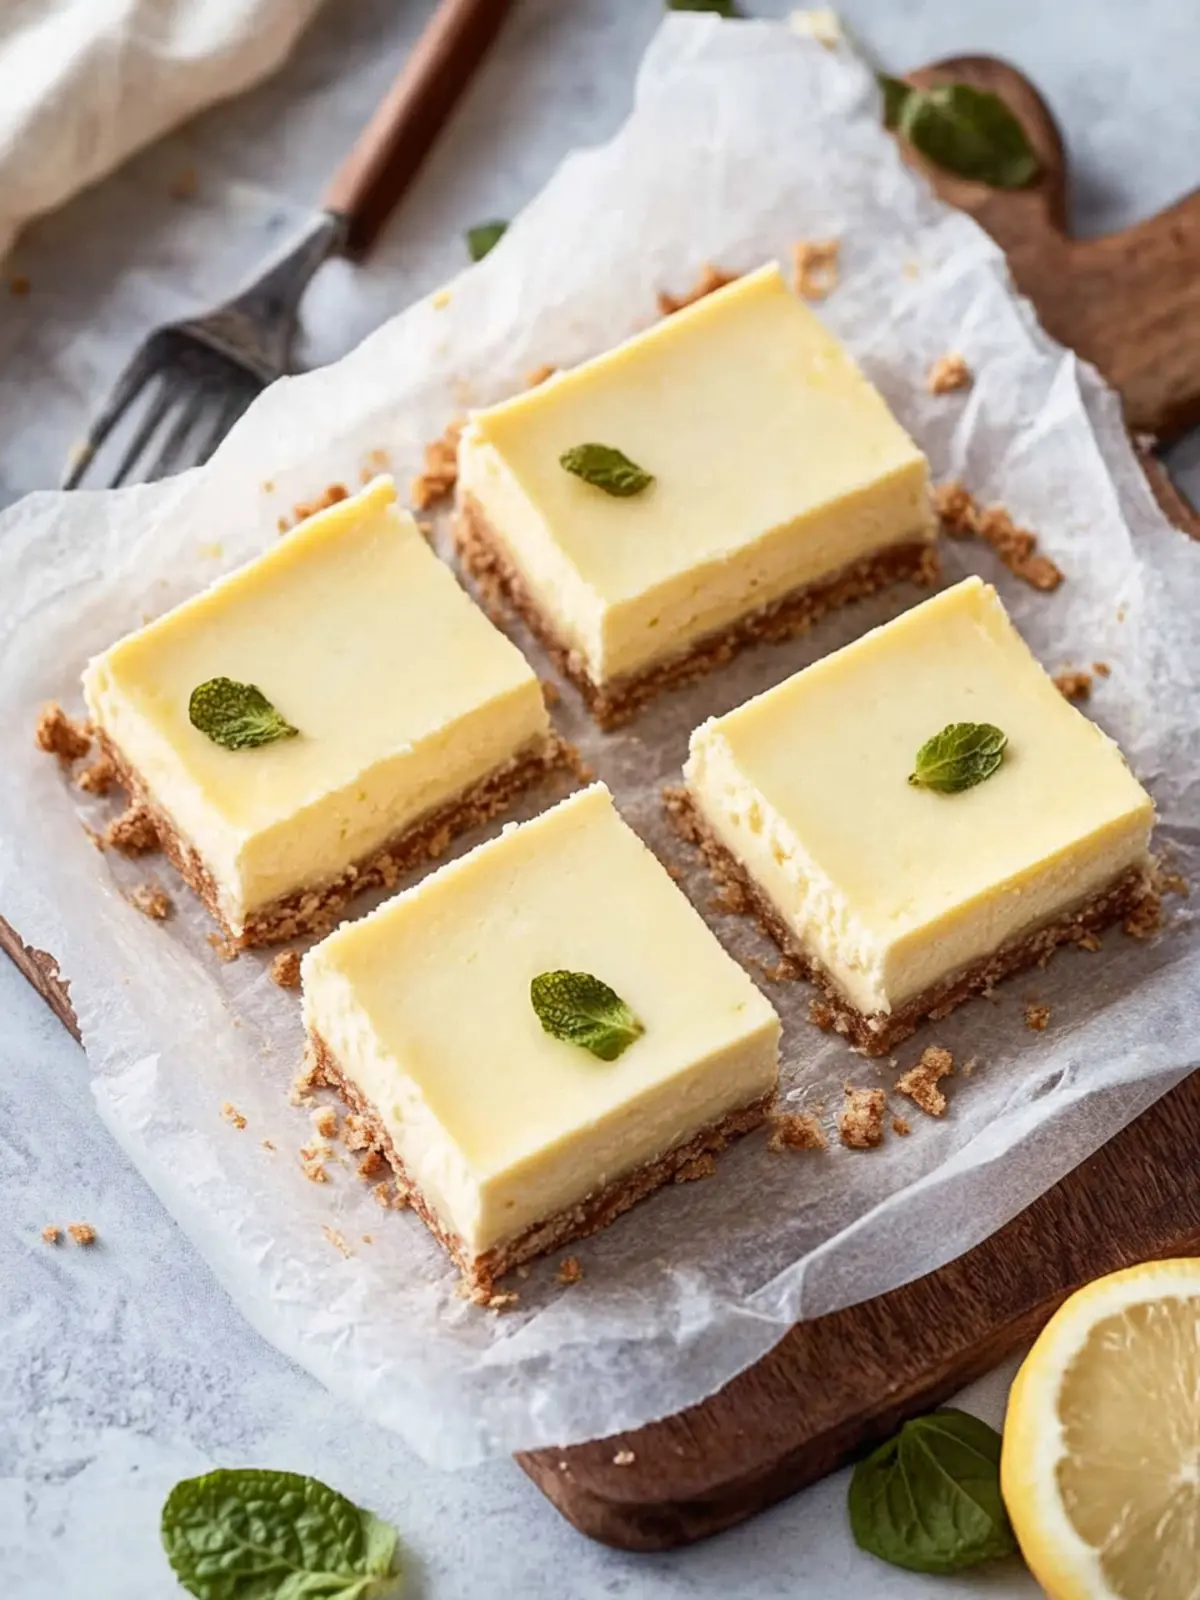
Cut into Squares: Once chilled, gently lift the cheesecake bars out using the parchment paper. Remove the parchment from the sides and cut into 16 squares.
Optional: Dust with powdered sugar before serving for an elegant touch.
Exact quantities are listed in the recipe card below.
Expert Tips for Cheesecake Bars
- Room Temperature Ingredients: Ensure your cream cheese and eggs are at room temperature for a smooth filling, avoiding lumps in your cheesecake bars.
- Perfect Crust Texture: Avoid over-pressing the graham cracker crust. It should be firm but not overly compacted, which can result in dryness.
- Watch the Baking Time: Keep an eye on the cheesecake bars while they bake; they should jiggle slightly in the center when done. Overbaking can lead to a dry texture.
- Cooling Period: Allow the bars to cool completely at room temperature before refrigerating. A sudden temperature change can affect the texture.
- Chill Before Cutting: For clean cuts, let the cheesecake bars chill in the fridge for a couple of hours. This helps them set perfectly for slicing!
Make Ahead Options
These cheesecake bars are fantastic for meal prep, helping you save time on busy days! You can mix the crust and fill it up to 24 hours in advance. Simply prepare the crust and press it into the baking pan, then cover it tightly with plastic wrap and refrigerate. For the filling, prepare the cream cheese mixture and store it separately in the fridge, which keeps it fresh and just as delicious. When ready to bake, pour the filling over the crust and follow the baking instructions. These simple steps ensure your cheesecake bars taste heavenly while giving you more time to enjoy life!
How to Store and Freeze Cheesecake Bars
Room Temperature: Allow the cheesecake bars to cool completely before storing them at room temperature for up to 1 day. Cover loosely with wax paper to keep them fresh.
Fridge: Store leftover cheesecake bars in an airtight container in the refrigerator for up to 5 days. This keeps them creamy and delicious, ready for your next craving!
Freezer: To freeze the cheesecake bars, wrap them individually in plastic wrap and place them in a freezer-safe container. They can be kept frozen for up to 2 months.
Reheating: When ready to enjoy after freezing, thaw the bars in the fridge overnight. For a warm twist, briefly heat in the microwave for 10-15 seconds before serving.
What to Serve with Cheesecake Bars?
Imagine a delightful gathering where your gluten-free cheesecake bars take center stage, but they need a few charming companions to create the perfect meal ensemble.
-
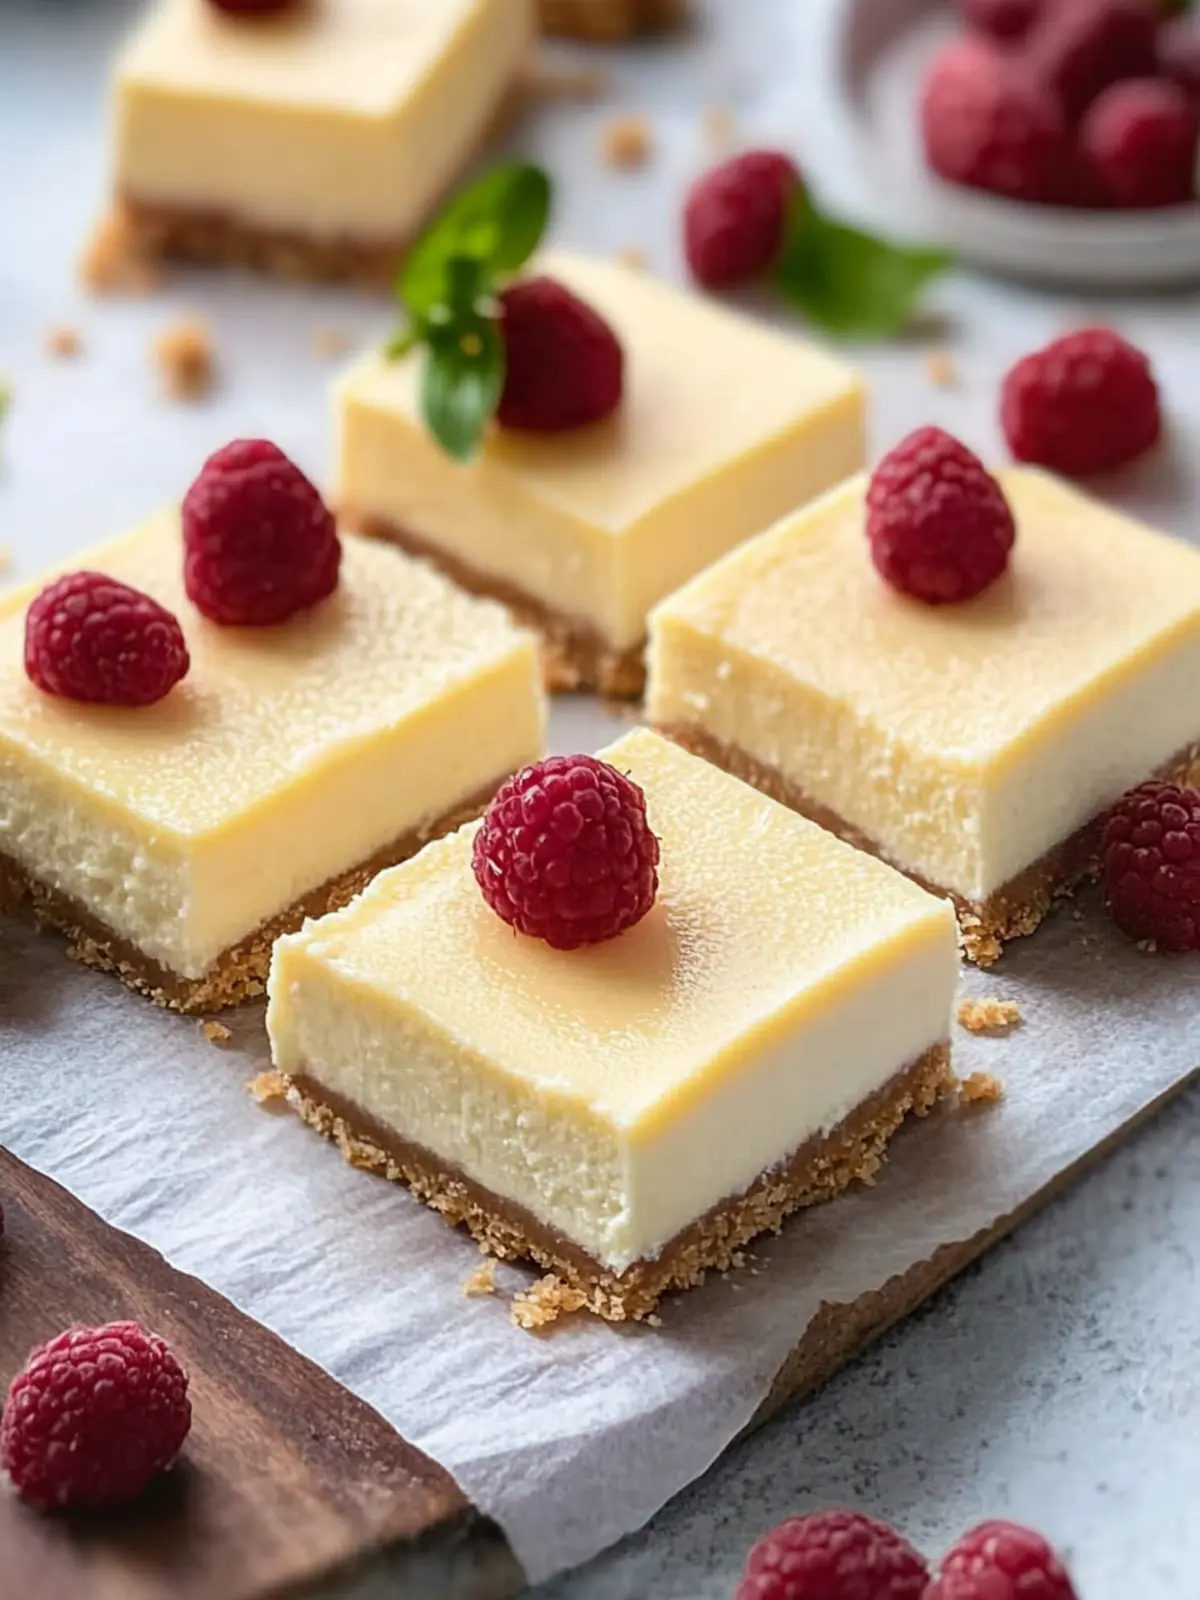
Fresh Berries: The bright acidity of strawberries, blueberries, or raspberries complements the creamy richness of cheesecake bars beautifully, adding a refreshing burst to each bite. Toss them together in a vibrant bowl for a visual feast!
-
Whipped Cream: A dollop of light, fluffy whipped cream adds a luxurious touch. Its airy texture and gentle sweetness elevate the bars, making them even more indulgent—a pure indulgence waiting to be savored.
-
Coffee or Espresso: A warm cup of coffee or a rich espresso balances the sweetness perfectly. The bold flavors cut through the creamy cheesecake, making each bite feel like a hug in a mug.
-
Chocolate Sauce: Drizzling a glossy chocolate sauce over the cheesecake bars introduces a decadent twist. The contrast of textures plays nicely, turning a simple dessert into a sophisticated treat.
-
Caramel Sauce: A drizzle of warm caramel adds a sweet, buttery layer of flavor that harmonizes beautifully with the tangy cheesecake. The gooey goodness makes every bite an irresistible experience.
-
Nutty Granola: Sprinkle some nutty granola on top for an added crunch. The texture complements the creaminess of the cheesecake bars while providing a delightful contrast.
-
Citrus Salad: A refreshing citrus salad with oranges and grapefruit adds a vibrant, zesty note that brightens your palate after each creamy bite, ensuring a perfectly balanced dessert experience.
-
Mint Leaves: For a fresh garnish, add a sprig of mint. It not only enhances the visual appeal but also provides a light, refreshing aroma that rounds out the dessert beautifully.
These pairings will elevate your cheesecake bars to new heights, creating a memorable experience for everyone at your table!
Cheesecake Bars Variations
Feel free to brighten your cheesecake bars with these delightful twists and substitutions.
-
Chocolate Swirl: Add ½ cup of melted dark chocolate to the filling before pouring it over the crust for a rich, decadent treat. Just imagine the beautifully marbled effect!
-
Fruit-Infused: Fold in 1 cup of fresh berries, like strawberries or blueberries, into the cheesecake filling for a fruity twist that adds vibrant color and flavor.
-
Nutty Flavor: Incorporate ½ cup of finely chopped nuts, like pecans or walnuts, into the crust for added crunch and a delightful earthy tone that complements the creamy filling.
-
Coconut Variation: Replace dairy-free milk with coconut milk and add 1 cup of shredded coconut to the filling for a tropical take that transports you to paradise.
-
Caramel Ripple: Drizzle warmed caramel sauce over the cheesecake filling after pouring it into the pan, and swirl gently to create a beautiful pattern. The sweetness elevates this dessert to new heights!
-
Spicy Kick: Add ½ teaspoon of ground cinnamon or a pinch of cayenne pepper to the filling for a warm spice that dances on the palate, intriguing your guests with each bite.
-
Lemon Zest: For a refreshing zing, add 1 tablespoon of lemon zest to the filling, brightening the flavors and making each piece a burst of sunshine on your plate.
-
Pumpkin Spice: During the fall, stir in ½ cup of pumpkin puree and 1 teaspoon of pumpkin pie spice for a seasonal treat that screams cozy comfort!
Embrace these variations to create a personalized dessert that warms your heart and home even more!
Gluten-Free Cheesecake Bars Recipe FAQs
What kind of gluten-free graham cracker crumbs should I use?
Look for certified gluten-free graham cracker crumbs to ensure they are safe for those with gluten sensitivities. I often recommend brands like Schär or Kinnikinnick that have great flavor and texture.
How long can I store leftover cheesecake bars in the fridge?
You can store leftover cheesecake bars in an airtight container in the refrigerator for up to 5 days. Just make sure they are well covered to keep them nice and creamy!
Can I freeze these cheesecake bars?
Absolutely! To freeze, individually wrap the cheesecake bars in plastic wrap and place them in a freezer-safe container. They will stay fresh for up to 2 months. When ready to enjoy, simply thaw them in the refrigerator overnight.
What should I do if my cheesecake bars don’t set properly?
If your cheesecake bars don’t set properly, they might need additional time in the oven. After the initial baking, if the center still jiggled too much when gently shaken, bake them for another 5-10 minutes at 325°F (163°C). Just keep an eye on them!
Are these cheesecake bars safe for those with dairy allergies?
Yes, you can easily make these gluten-free cheesecake bars dairy-free by using dairy-free cream cheese and butter alternatives. Make sure to double-check the labels on your ingredients to avoid any hidden dairy products.
How can I tell if the cheesecake bars are fully baked?
You want to look for the sides to be firm, while the center should jiggle just slightly when you shake the pan. If it quivers like jello, it’s ready to come out of the oven!
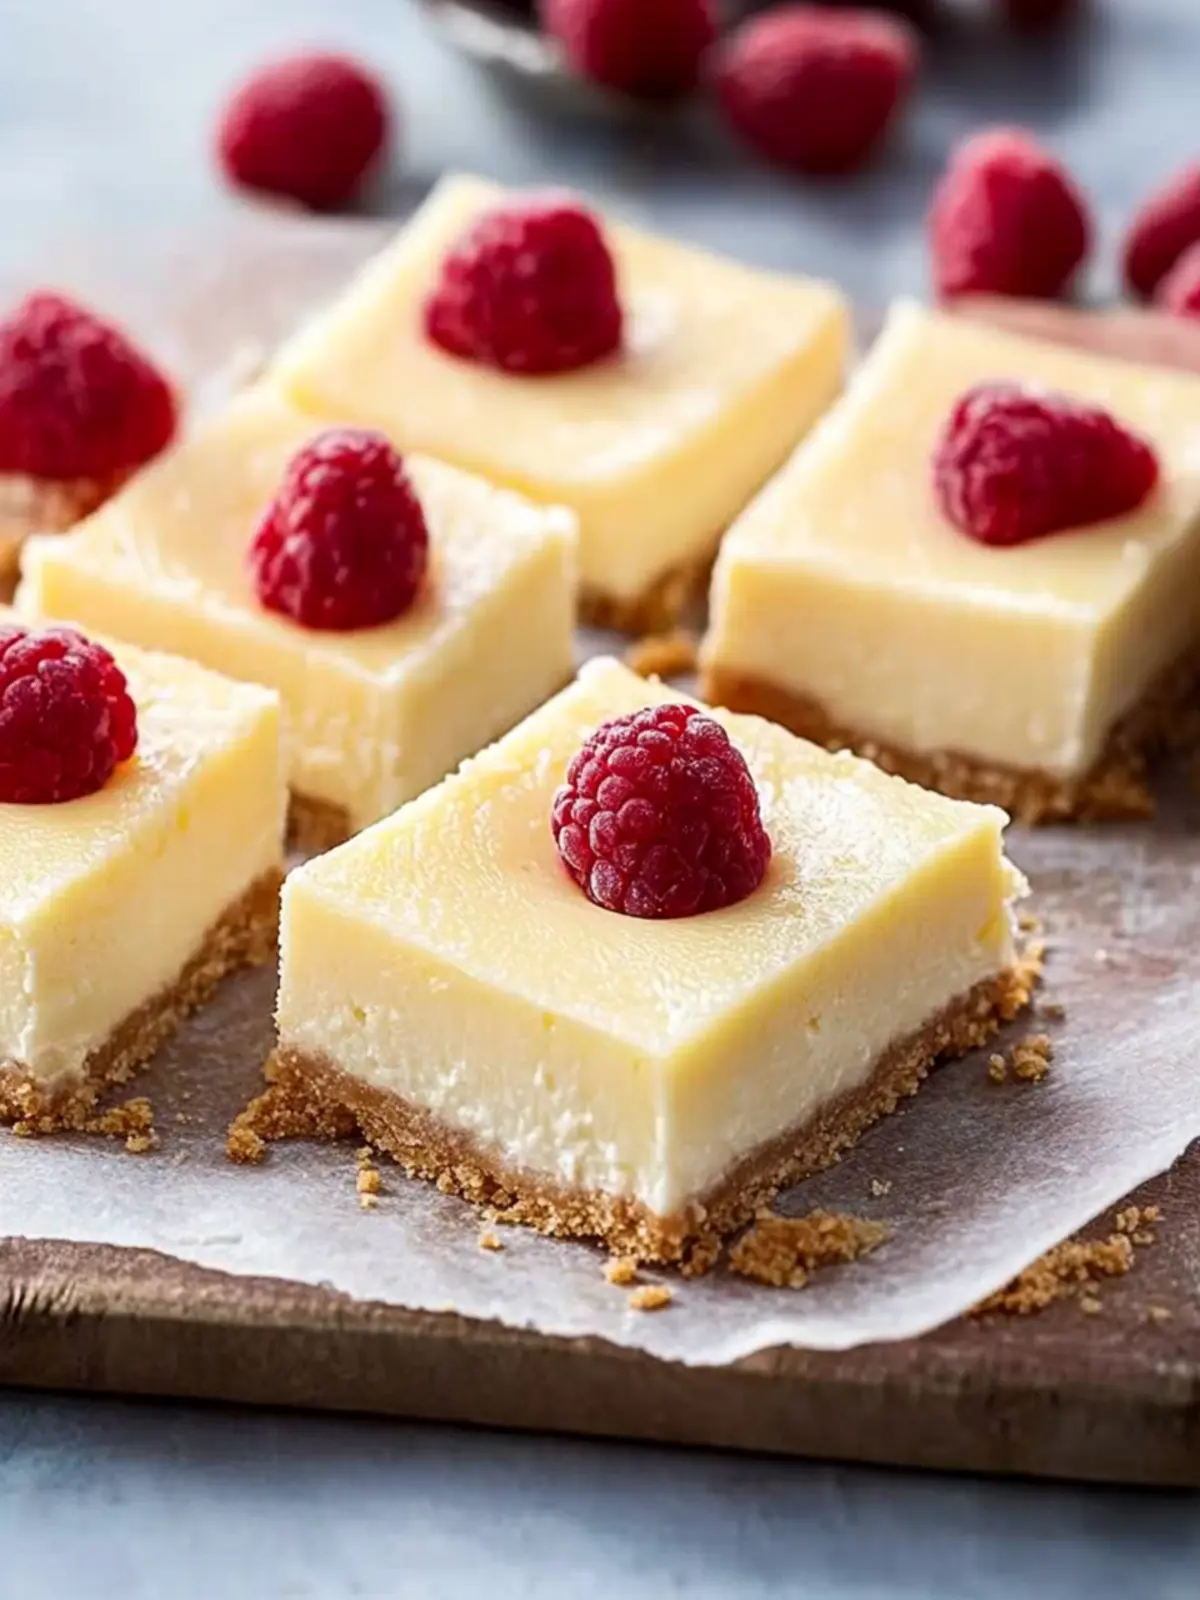
Gluten-Free Cheesecake Bars You Can’t Resist
Ingredients
Equipment
Method
- Preheat your oven to 350°F (175°C). Line an 8-inch square baking pan with parchment paper, leaving some overhang.
- In a small bowl, combine the gluten-free graham cracker crumbs, 2 tablespoons of sugar, and melted butter. Stir until the mixture feels moist.
- Press the crumb mixture into the bottom of the prepared baking pan, ensuring it’s even and compact.
- Bake the crust in the oven for 8 minutes, then let it cool while preparing the filling.
- In a large mixing bowl, blend the cream cheese and ½ cup of sugar until very smooth.
- Add the eggs, milk, and vanilla extract to the cream cheese mixture, mixing until smooth, about 1-2 minutes.
- Pour the cheesecake mixture onto the warm baked crust, smoothing the top with a spatula.
- Bake in the oven for 30 minutes. Cover with foil and bake for an additional 10 minutes.
- Let the dessert cool completely in the pan, then cover with wax paper and chill for about 2 hours.
- Lift the cheesecake bars out using the parchment paper and cut into 16 squares.