
The first bite of a perfectly baked tart shell transports me straight to a sunlit café, no matter where I am. Today, I’m sharing my delightful Gluten-Free Mini Tart Shells recipe that not only satisfies a sweet tooth but does so without any gluten! These delightful little wonders have become a staple in my kitchen—a versatile base just waiting for your favorite fillings, from creamy custards to vibrant fruit compotes.
When I first tried my hand at baking gluten-free, I was worried about the texture and flavor. To my surprise, these mini tarts turned out incredibly flaky and rich, surprising even some of my most discerning friends. Perfect for gatherings or just a cozy night in, they’re so simple to make, you’ll wonder why you ever considered store-bought alternatives. So, roll up your sleeves and let’s create something special that elevates any occasion!
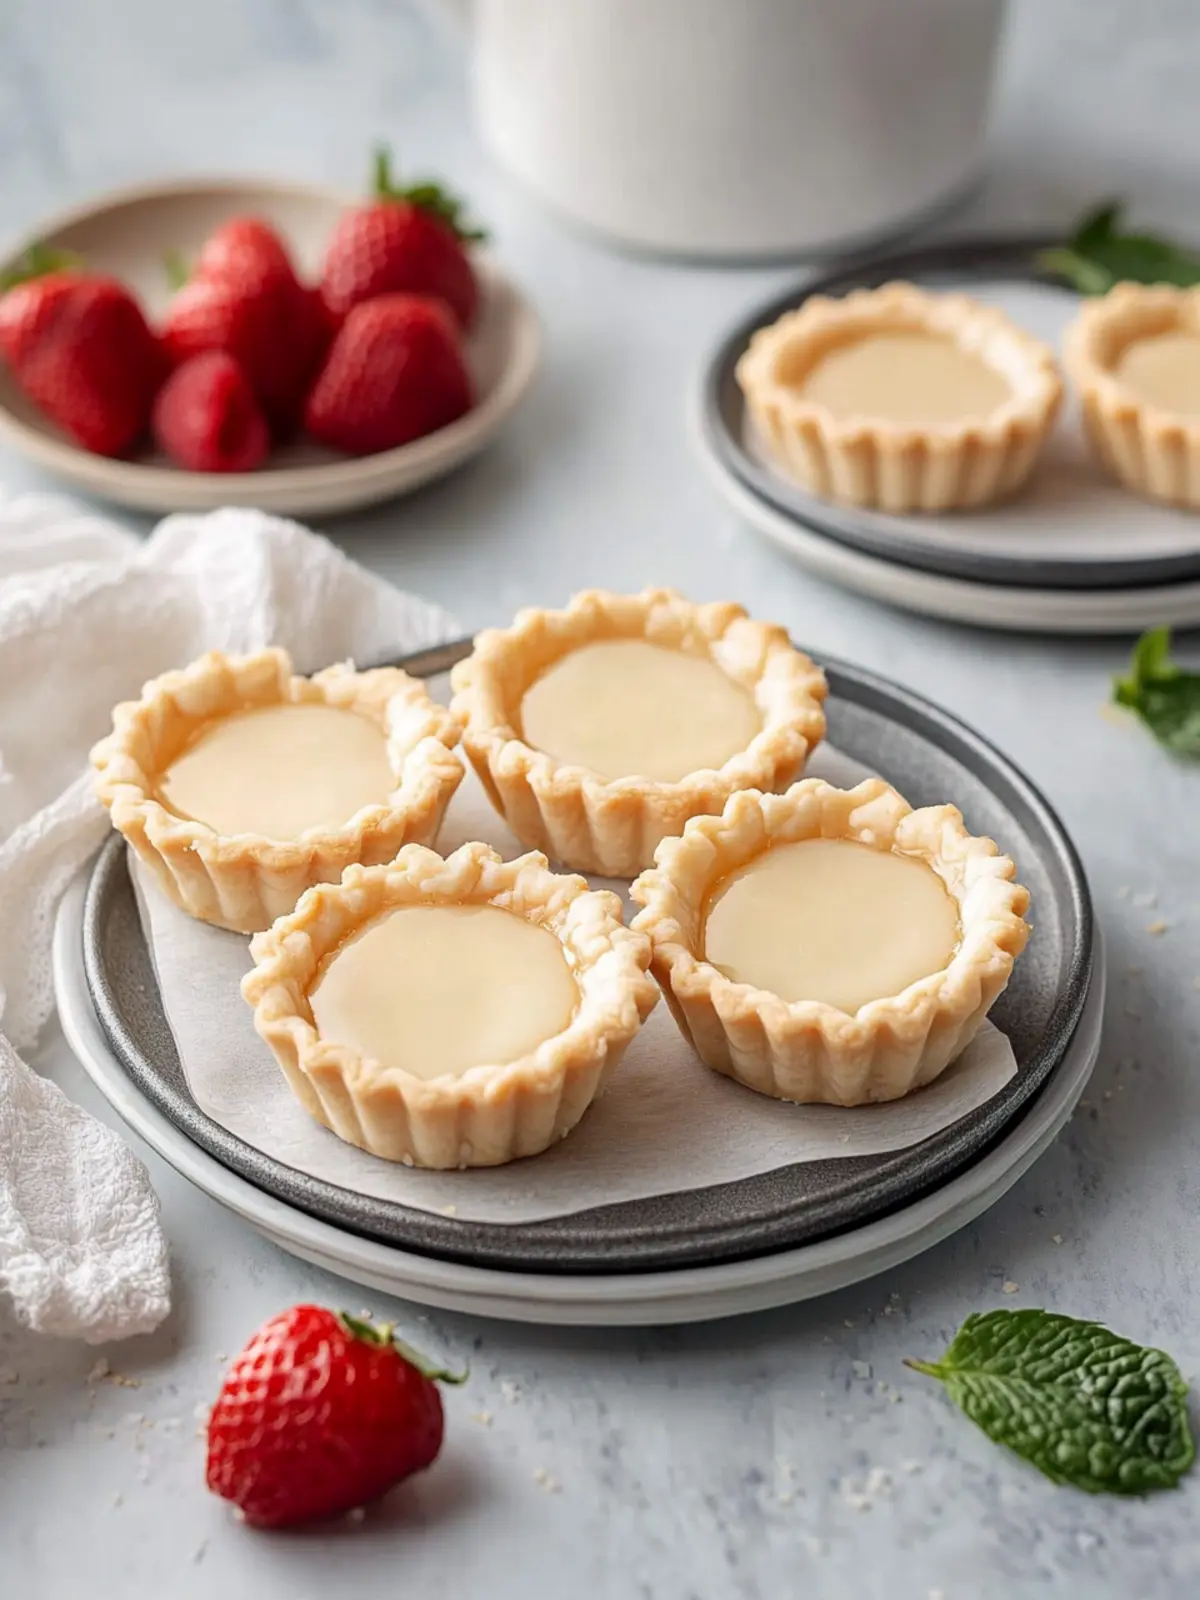
Why are Mini Tart Shells a Must-Try?
Deliciously simple: These mini tart shells are straightforward to whip up, requiring no advanced baking skills.
Flaky texture: With a delightful crunch, they provide the perfect base for any filling, whether sweet or savory.
Versatility reigns: Use them for creams, fruits, or even as starters—limitless possibilities await!
Gluten-free goodness: Biscuits can sometimes lack flavor and texture, but these shells are both rich and inviting.
Quick prep time: Ready in just 35 minutes, they fit perfectly into your busy schedule.
Crowd-pleaser: Serve them at gatherings, and watch as they vanish before your eyes! If you’re looking for exciting filling ideas, check out my filling suggestions!
Mini Tart Shells Ingredients
• Elevate your baking with these essentials!
For the Tart Dough
- 1-to-1 gluten-free flour blend – Perfect for a light and flaky texture without the gluten.
- Powdered sugar – Adds a touch of sweetness, balancing the richness of the butter.
- Cold salted butter – Ensures a tender and flavorful shell; keep it chilled for the best results.
- Large egg yolk – Provides richness and helps bind the dough together seamlessly.
- Cold water – Helps bring the dough together; make sure it’s icy cold for a flaky finish.
- Vanilla extract – An aromatic addition that enhances the overall flavor of your mini tart shells.
With these Mini Tart Shells ingredients in hand, you’re all set to create delicious pastries that will be just the perfect canvas for your imaginative fillings!
How to Make Mini Tart Shells
-
Preheat your oven to 350°F. This ensures that your mini tart shells bake evenly and achieve that lovely golden color.
-
Mix the gluten-free flour and powdered sugar in a medium-sized mixing bowl using a fork or whisk. Make sure they’re well combined for a smooth texture.
-
Add the cold chunks of butter to the flour mixture. Use your fingertips to press them together, forming thin flakes that will create that flaky consistency.
-
Beat the egg yolk, cold water, and vanilla extract together in a small bowl. This mixture will add richness and flavor to your tart dough.
-
Combine the egg yolk mixture with the flour and butter. Use a wooden spoon or spatula to mix until the dry ingredients are just moistened.
-
Form the dough into a ball and place it on a floured surface. Gently flatten it into a 1-inch thick disk.
-
Roll the dough to ⅛ inch thick, covering it with two sheets of plastic wrap to prevent sticking.
-
Cut out circles that are ½ inch larger than the width plus height of your tart pans. For example, use a 4-inch circle for 3-inch pans.
-
Center each circle over a pan and gently drop it in. Lightly press against the edges to fit perfectly.
-
Trim any excess dough from the edges using a butter knife or small offset spatula for a clean finish.
-
Line the pans with cupcake liners and add your pie weights (like dry beans or rice) to keep the shells from puffing up.
-
Chill the tart shells in the refrigerator for about 10 minutes. This helps them retain their shape during baking.
-
Bake for 15 minutes, then remove the liners and pie weights. Prick the bottom of the shells to prevent bubbling during the next bake.
-
Continue baking for an additional 8-10 minutes or until the edges turn a tempting golden brown.
-
Cool the pan on a wire rack for 15 minutes, then carefully remove the shells to cool completely on the rack.
Optional: Serve with a dusting of powdered sugar for an elegant touch!
Exact quantities are listed in the recipe card below.
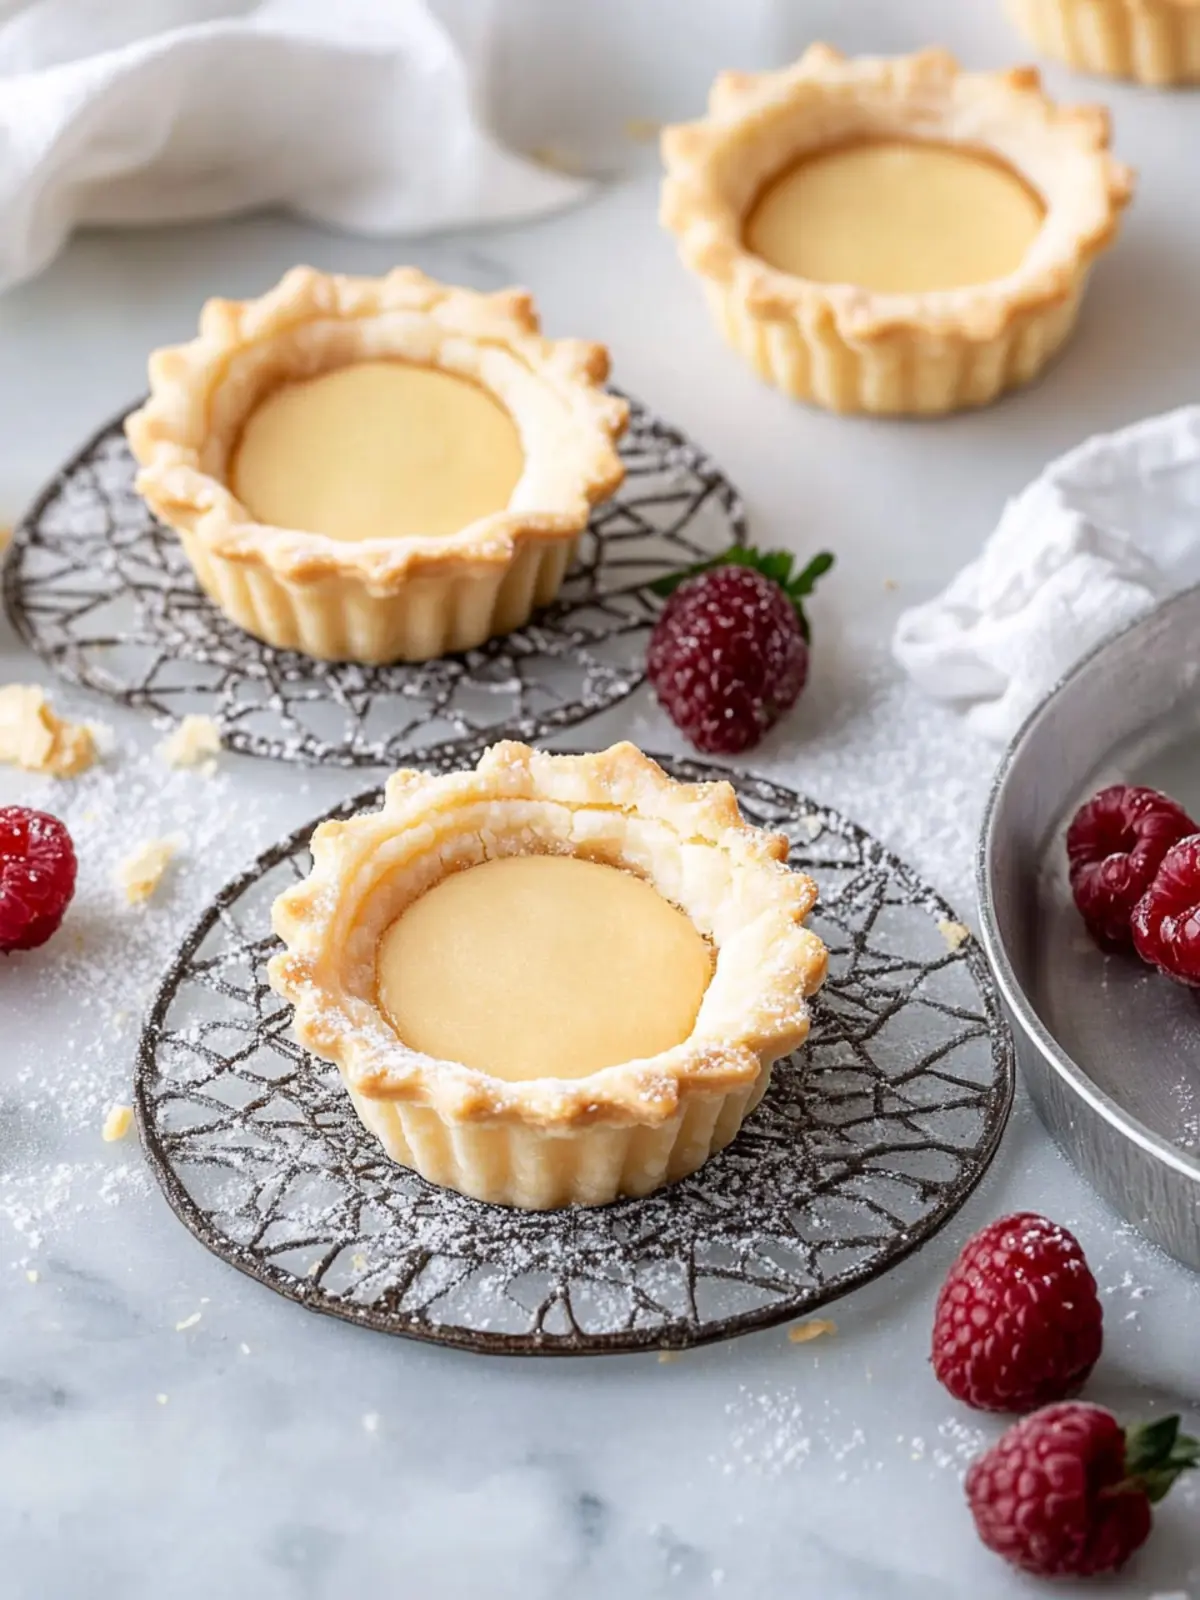
Expert Tips for Mini Tart Shells
-
Chill the dough: Make sure to chill the tart dough before baking. This helps the shells maintain their shape and prevents shrinkage.
-
Avoid overmixing: When combining the ingredients, mix just until moistened. Overmixing can lead to tough, dense shells instead of light, flaky mini tart shells.
-
Use cold ingredients: Keep your butter and water icy cold. This helps achieve that beautiful flaky texture, so don’t skip this step!
-
Trim carefully: When cutting the dough, ensure you leave enough excess to cover the height of your pans. A well-trimmed edge makes for a polished appearance.
-
Fill wisely: Allow your tart shells to cool completely before adding fillings. This prevents soggy bottoms and ensures the flavors stay vibrant.
-
Experiment with flours: If you’re feeling adventurous, try different 1-to-1 gluten-free flour blends to see what texture and flavor you prefer.
Make Ahead Options
These Gluten-Free Mini Tart Shells are perfect for meal prep enthusiasts looking to save time during busy weeknights! You can prepare the tart dough up to 24 hours in advance by following the initial steps through forming the disk. After chilling, wrap the dough tightly in plastic wrap and refrigerate. Additionally, once you’ve rolled and cut the shells, you can freeze them for up to 3 months. Just be sure to lay them flat in a single layer to prevent sticking. When you’re ready to bake, simply take them out of the freezer, fill with your desired filling, and bake as directed. This way, you’ll enjoy delicious, homemade mini tart shells with minimal effort and maximum flavor!
Mini Tart Shells Variations & Substitutions
Feel free to let your creativity shine and make these mini tart shells uniquely yours with these fun twists!
-
Dairy-Free: Substitute the cold salted butter with coconut oil or a vegan butter alternative for a dairy-free version.
-
Nutty Flavor: Incorporate ¼ cup of ground almonds or hazelnuts into the gluten-free flour blend for an intriguing nuttiness.
-
Herb-Infusion: Add fresh or dried herbs, such as thyme or rosemary, to the dough, creating a savory tart shell perfect for quiches.
-
Sugar-Free: Utilize a sugar alternative like erythritol or monk fruit sweetener in place of powdered sugar for a sugar-free twist on these shells.
-
Chocolate Delight: Mix in 2 tablespoons of cocoa powder to the flour blend for a chocolatey shell that pairs beautifully with berry fillings.
-
Citrus Zest: Grate some lemon or orange zest into the dough for a refreshing burst of flavor that brightens your tarts.
-
Spicy Kick: Add a pinch of cayenne pepper or chili powder to the dough for an unexpected heat that plays well with sweet fillings.
-
Flaky Texture Boost: Mix in a tablespoon of finely grated parmesan cheese to the dough for added richness and a crunchy texture.
With these variations, you can create an enchanting array of mini tart shells that cater to every palate and occasion!
What to Serve with Mini Tart Shells?
Elevate your mini tart experience with delightful accompaniments that will engage all your senses.
-
Rich Chocolate Mousse: This luxurious filling pairs beautifully with the flakiness of the shells, creating a decadent dessert.
-
Fresh Berry Compote: Bursting with flavor, a berry compote adds a vibrant, tangy sweetness that complements the buttery shell.
-
Lemon Curd: Bright and zesty, lemon curd brings a refreshing contrast, making each bite a taste of sunshine.
-
Spiced Whipped Cream: A dollop of this creamy topping infused with cinnamon or nutmeg enhances the tart shells’ sweetness, balancing the textures.
-
Vanilla Ice Cream: This classic option adds a creamy element that melts into the warm tart shell, creating a delightful harmony of temperatures.
-
Herbed Goat Cheese: For a savory twist, spread herbed goat cheese on the shells and top with roasted vegetables for a unique appetizer.
With these ideas, your mini tart shells will transform into a delightful, flavorful journey that both family and friends will adore!
How to Store and Freeze Mini Tart Shells
Room Temperature: Keep cooled mini tart shells in an airtight container at room temperature for up to 3 days, ensuring they remain fresh and delicious.
Fridge: If you want to keep them longer, store the shells in the refrigerator for up to 5 days. Use parchment paper between layers to prevent sticking.
Freezer: To freeze, wrap the cooled mini tart shells tightly in plastic wrap and then in aluminum foil. They can last in the freezer for up to 2 months. Just thaw before filling!
Reheating: When ready to use, reheat the shells in a 350°F oven for about 5-7 minutes to restore their crispiness before adding your favorite fillings.
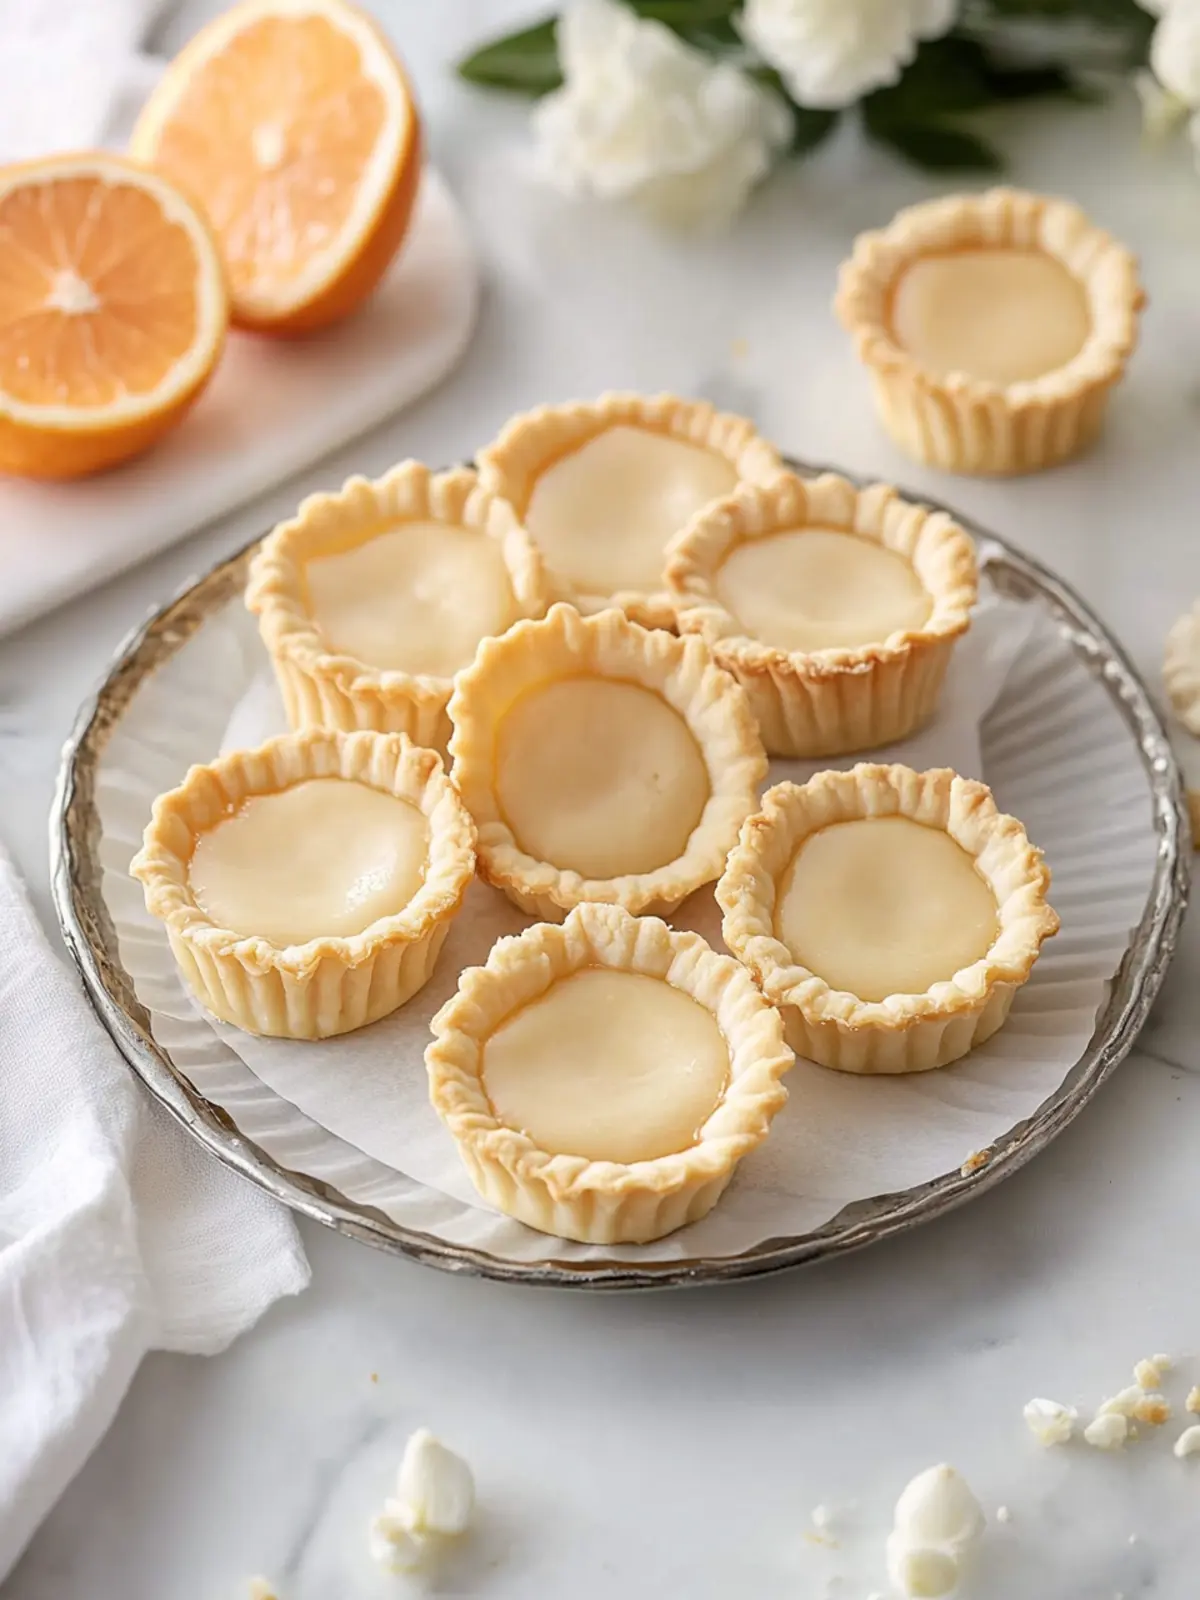
Gluten-Free Mini Tart Shells Recipe FAQs
How do I choose the right gluten-free flour blend?
Absolutely! When selecting a gluten-free flour blend, look for one labeled “1-to-1” for best results in recipes like these mini tart shells. These blends typically contain a mix of rice flour, tapioca starch, and xanthan gum, providing a texture closest to regular flour. Avoid blends with large granules, as they can result in a gritty finished product.
How should I store mini tart shells?
Very good question! Store your cooled mini tart shells in an airtight container at room temperature for up to 3 days. If you prefer a longer storage solution, pop them in the fridge for up to 5 days. Just remember to place parchment paper between layers to avoid them sticking together.
Can I freeze mini tart shells?
Absolutely! To freeze your mini tart shells, wrap each cooled shell tightly in plastic wrap followed by aluminum foil to prevent freezer burn. They are good for up to 2 months in the freezer. When you’re ready to use them, simply thaw at room temperature or pop them in a 350°F oven for about 5-7 minutes to regain their flakiness.
What should I do if my tart shells puff up while baking?
If your mini tart shells puff up during baking, don’t fret! It often happens when there is too much steam trapped inside. To prevent this, be sure to prick the bottoms of the shells after pre-baking before placing them back in the oven. You can use a fork or skewer to gently pierce the bases, allowing steam to escape and ensuring a flat, perfectly baked tart shell.
Are these mini tart shells suitable for gluten allergies?
Yes! These gluten-free mini tart shells are crafted specifically for those with gluten sensitivities or celiac disease. Just make sure to double-check all ingredients used, including the gluten-free flour blend, to ensure there are no trace amounts of gluten. They’re a delicious alternative that everyone can enjoy!
What if I want to make these mini tart shells dairy-free as well?
A great consideration! To make these mini tart shells dairy-free, substitute the cold salted butter with a dairy-free butter alternative or coconut oil. The same measurements will work, but it’s crucial to keep the alternative just as cold for that flaky texture you desire. Enjoy your baking adventure!
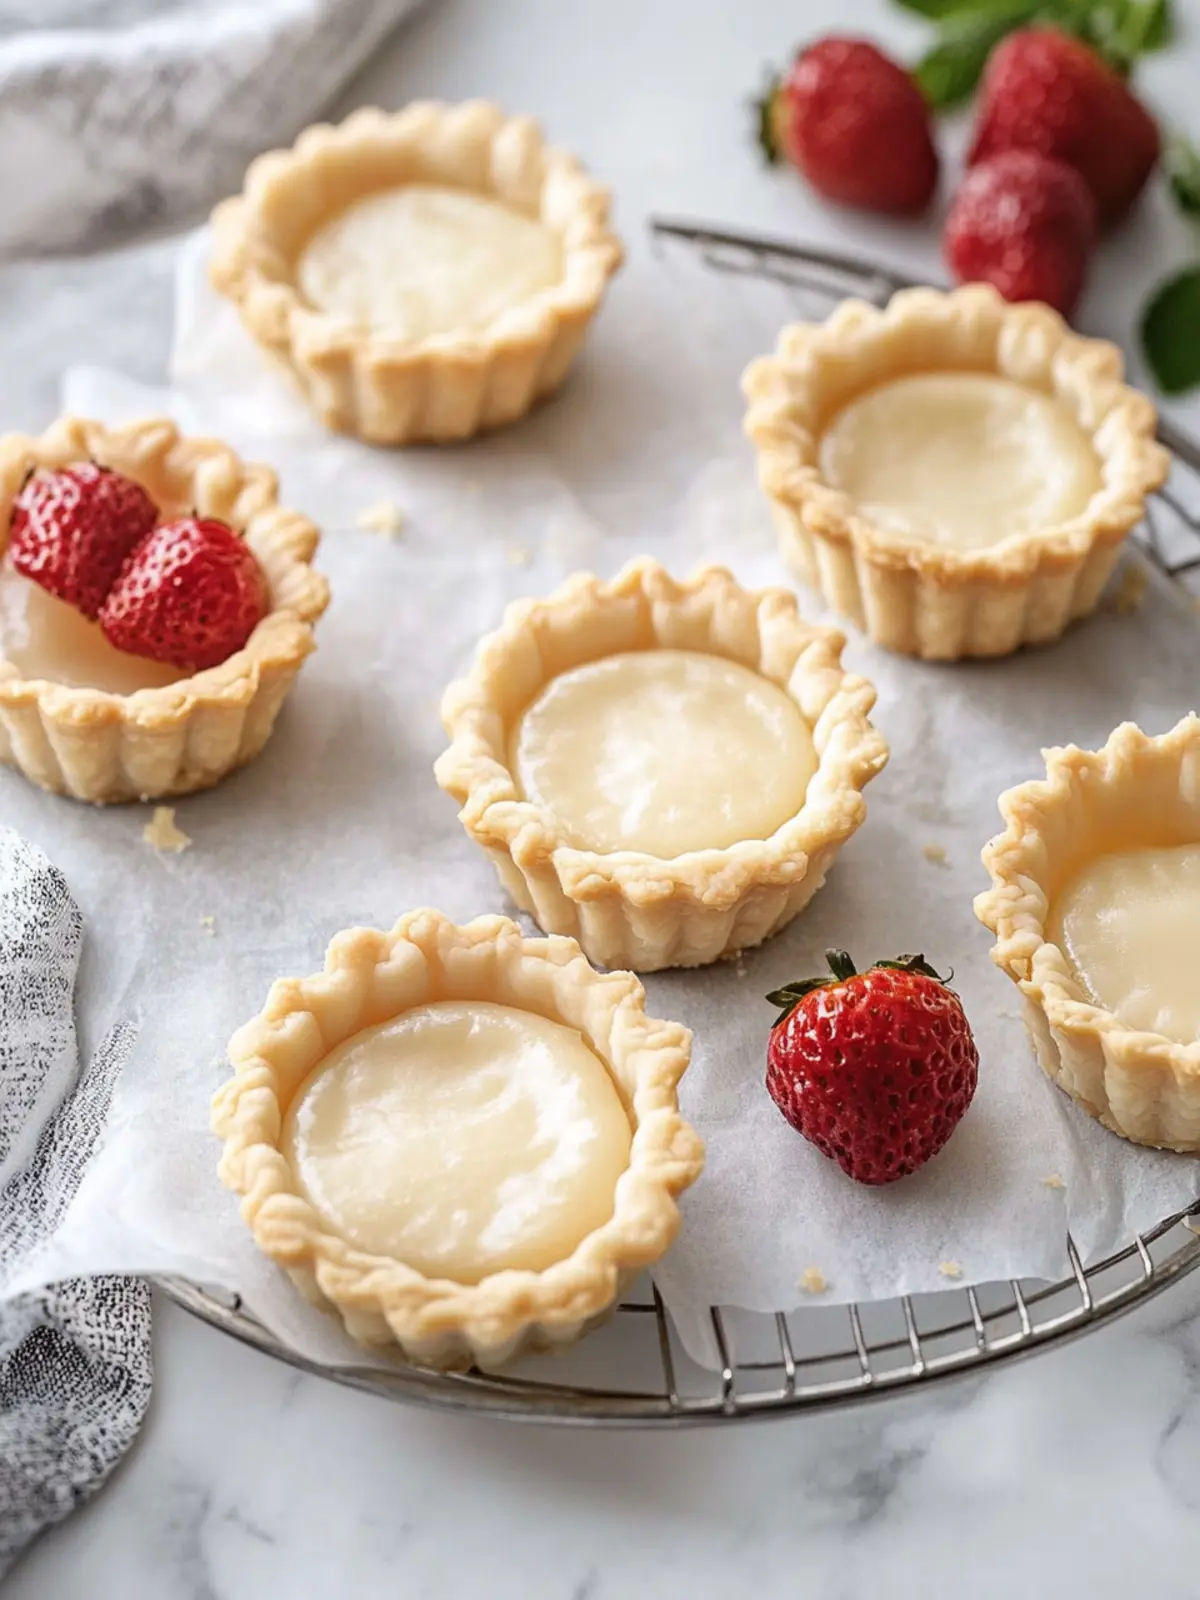
Deliciously Easy Mini Tart Shells for Your Sweet Creations
Ingredients
Equipment
Method
- Preheat your oven to 350°F.
- Mix the gluten-free flour and powdered sugar in a medium-sized mixing bowl.
- Add the cold chunks of butter to the flour mixture and press them together.
- Beat the egg yolk, cold water, and vanilla extract in a small bowl.
- Combine the egg mixture with the flour and butter.
- Form the dough into a ball and flatten it into a disk.
- Roll the dough to ⅛ inch thick, covering it with plastic wrap.
- Cut out circles that are ½ inch larger than the width plus height of your tart pans.
- Center each circle over a pan and press it in.
- Trim any excess dough from the edges.
- Line the pans with cupcake liners and add pie weights.
- Chill the tart shells in the refrigerator for about 10 minutes.
- Bake for 15 minutes, then remove the liners and pie weights.
- Continue baking for an additional 8-10 minutes.
- Cool the pan on a wire rack for 15 minutes before removing the shells.