
After a long week of fast food and takeout, I found myself craving something indulgent yet simple to whip up at home. That’s when I stumbled upon this No Bake Chocolate Peanut Butter Oreo Dessert, and let me tell you—it felt like unearthing a treasure buried in my memory. The layers of creamy peanut butter, rich chocolate, and crunchy Oreos meld together in a delightful symphony that sings to your sweet tooth.
Not only is this dessert a breeze to prepare, with only a 20-minute hands-on time, but it’s also a crowd-pleaser that will have your friends and family coming back for seconds (and thirds). No baking, just chilling; it’s perfect for those moments when you want a show-stopping treat without the fuss. Whether it’s a potluck, a gathered celebration, or a cozy night in, this decadent dessert is your secret weapon to impress everyone. So grab your ingredients and a 9×13 pan, and let’s create a sweet masterpiece that will have everyone begging for the recipe!
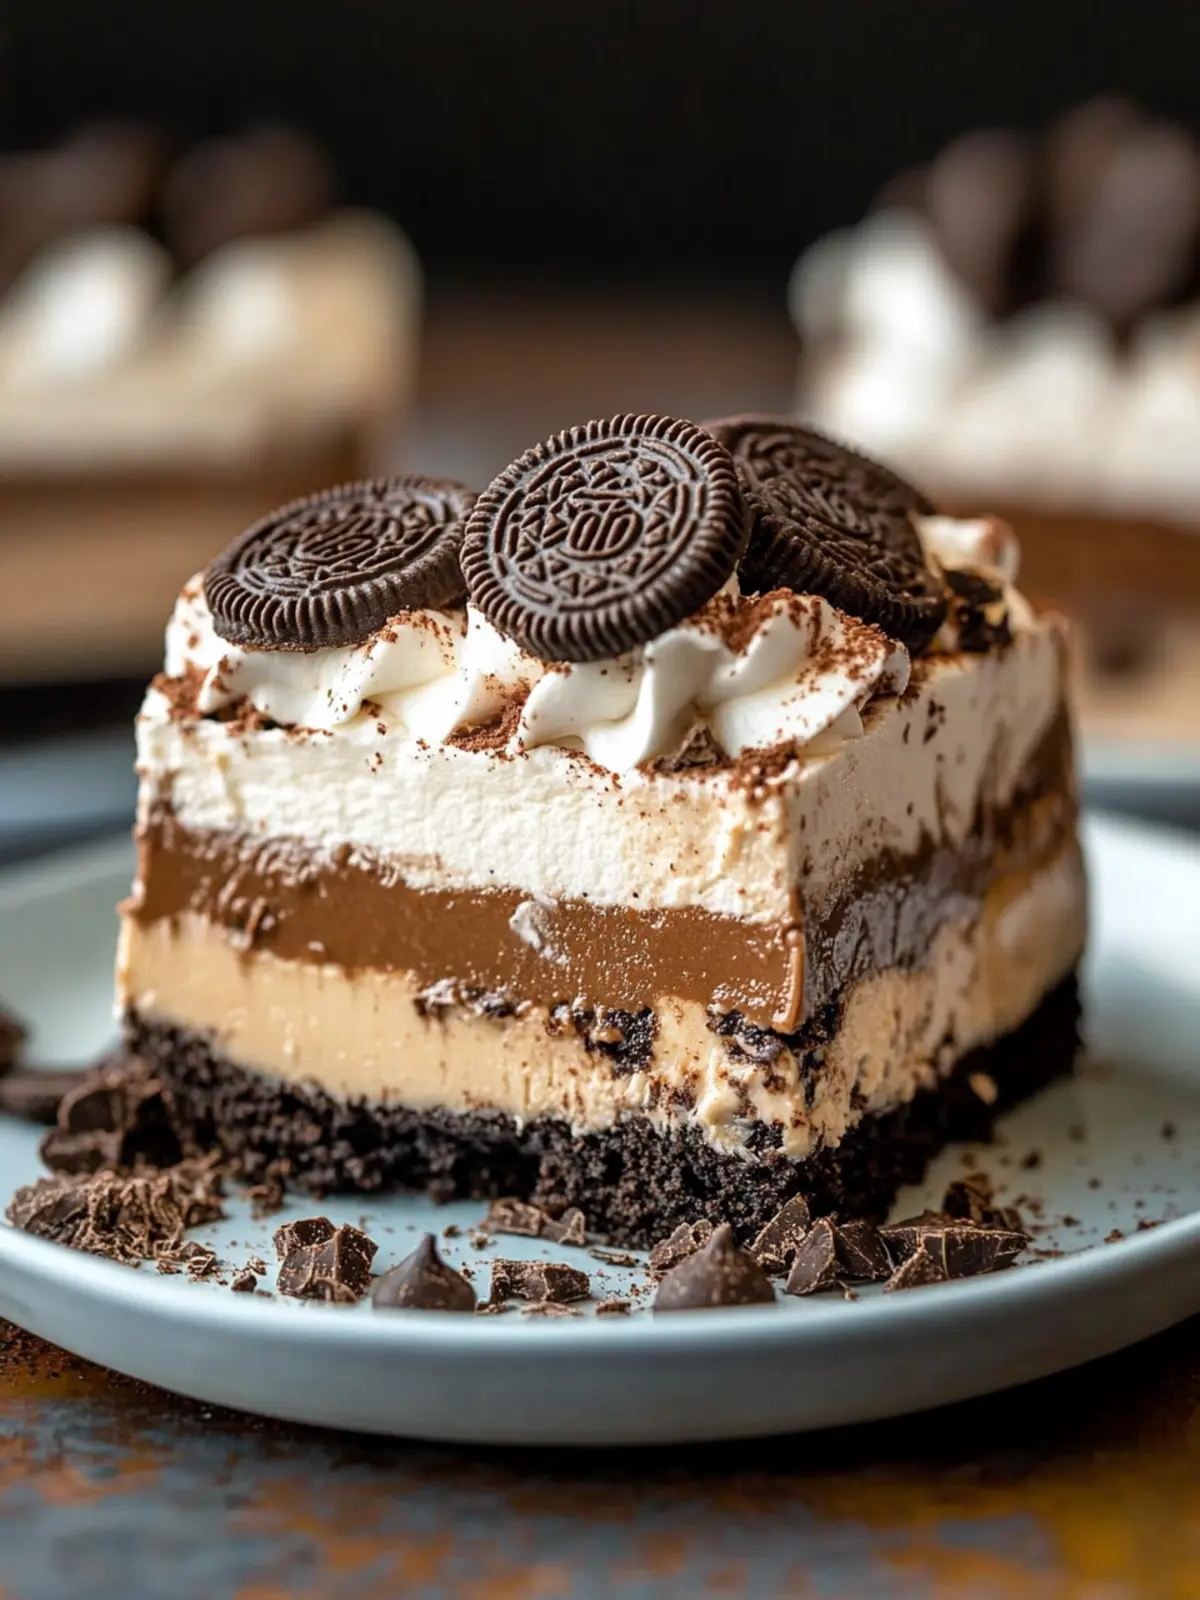
Why will you love No Bake Chocolate Peanut Butter Oreo Dessert?
Heavenly Layers: Each bite combines creamy peanut butter and rich chocolate, balanced perfectly with crunchy Oreos.
Super Easy: With only 20 minutes of prep time, you’ll create an irresistible dessert without turning on the oven.
Crowd Favorite: A guaranteed hit at gatherings, this treat is sure to leave your guests asking for the secret recipe.
No Baking Required: Chill your creation and let the refrigerator do all the work!
Versatile Fun: Customize with your favorite toppings, from nuts to sprinkles, making it perfect for any occasion.
Dive into the deliciousness and treat yourself—you won’t regret it!
No Bake Chocolate Peanut Butter Oreo Dessert Ingredients
• Dive into creating the ultimate sweet sensation!
For the Base
- 12 oz milk chocolate chips – Reserve half for a rich chocolate layer later.
- 1 pkg Oreos (14.3 oz) – The crunchy star of this dessert, crushed to perfection!
For the Filling
- 16 oz cream cheese – Provides a creamy texture that balances the chocolate and peanut butter.
- 1 box Instant Vanilla Pudding (3.4 oz) – Adds a touch of sweetness and a smooth consistency.
- 1 cup creamy peanut butter – For that delightful, nutty flavor in every bite!
- 3 ½ cups milk – To help create the perfect mixture for your fillings.
For the Topping
- 1 box Instant Chocolate Pudding (3.4 oz) – Enhances the chocolatey goodness of the dessert.
- 12 oz whipped topping – Lightens the dessert and adds a delightful finish.
Optional Garnishes
- Chocolate chips, shaved chocolate, or peanuts – Sprinkle on top for a decorative and tasty touch!
Get ready to impress with this No Bake Chocolate Peanut Butter Oreo Dessert!
How to Make No Bake Chocolate Peanut Butter Oreo Dessert
-
Prepare Oreos: In a food processor, add Oreos and pulse until they turn into smooth crumbs. This crunchy base is essential for that delightful texture—set aside for later use.
-
Melt Chocolate: In a small bowl, combine 6 oz of chocolate chips and ¼ cup milk. Microwave until melted and smooth, stirring well—let it cool slightly while you assemble the layers.
-
Create the Base Layer: Spread ⅓ of the crushed Oreos on the bottom of a 9×13 pan. Use a fork to press down firmly, forming a cohesive base that’ll hold everything together.
-
Mix the Peanut Butter Filling: In a medium bowl, beat 8 oz cream cheese until smooth. Sprinkle in the vanilla pudding mix and peanut butter, then mix well. Gradually add in 1 ¾ cups of milk while continuing to beat until fully combined. Spread this creamy mixture over the Oreo crumb layer.
-
Add More Oreos: Spread another ⅓ of the crushed Oreos over the peanut butter layer, ensuring even coverage for a delightful crunch.
-
Prepare the Chocolate Layer: In another medium bowl, beat the remaining 8 oz cream cheese until smooth. Add the chocolate pudding mix, the cooled chocolate sauce, and 1 ½ cups milk. Beat until all ingredients are blended smoothly. Spread this chocolaty layer over the Oreo crumbs.
-
Top with Oreos Again: Evenly distribute the final ⅓ of the crushed Oreo mixture over the chocolate layer, creating a lovely layered effect.
-
Add the Whipped Topping: Gently spread the whipped topping over the top layer of Oreos, creating a fluffy, inviting finish to your dessert.
-
Garnish (Optional): If desired, sprinkle chocolate chips, shaved chocolate, or peanuts on top for an extra touch of texture and flavor.
-
Chill Out: Place the pan in the refrigerator and allow to chill for 4-6 hours. When it’s time to serve, cut into squares and enjoy your delightful creation!
Optional: Drizzle some melted chocolate on top before serving for an extra indulgent touch.
Exact quantities are listed in the recipe card below.
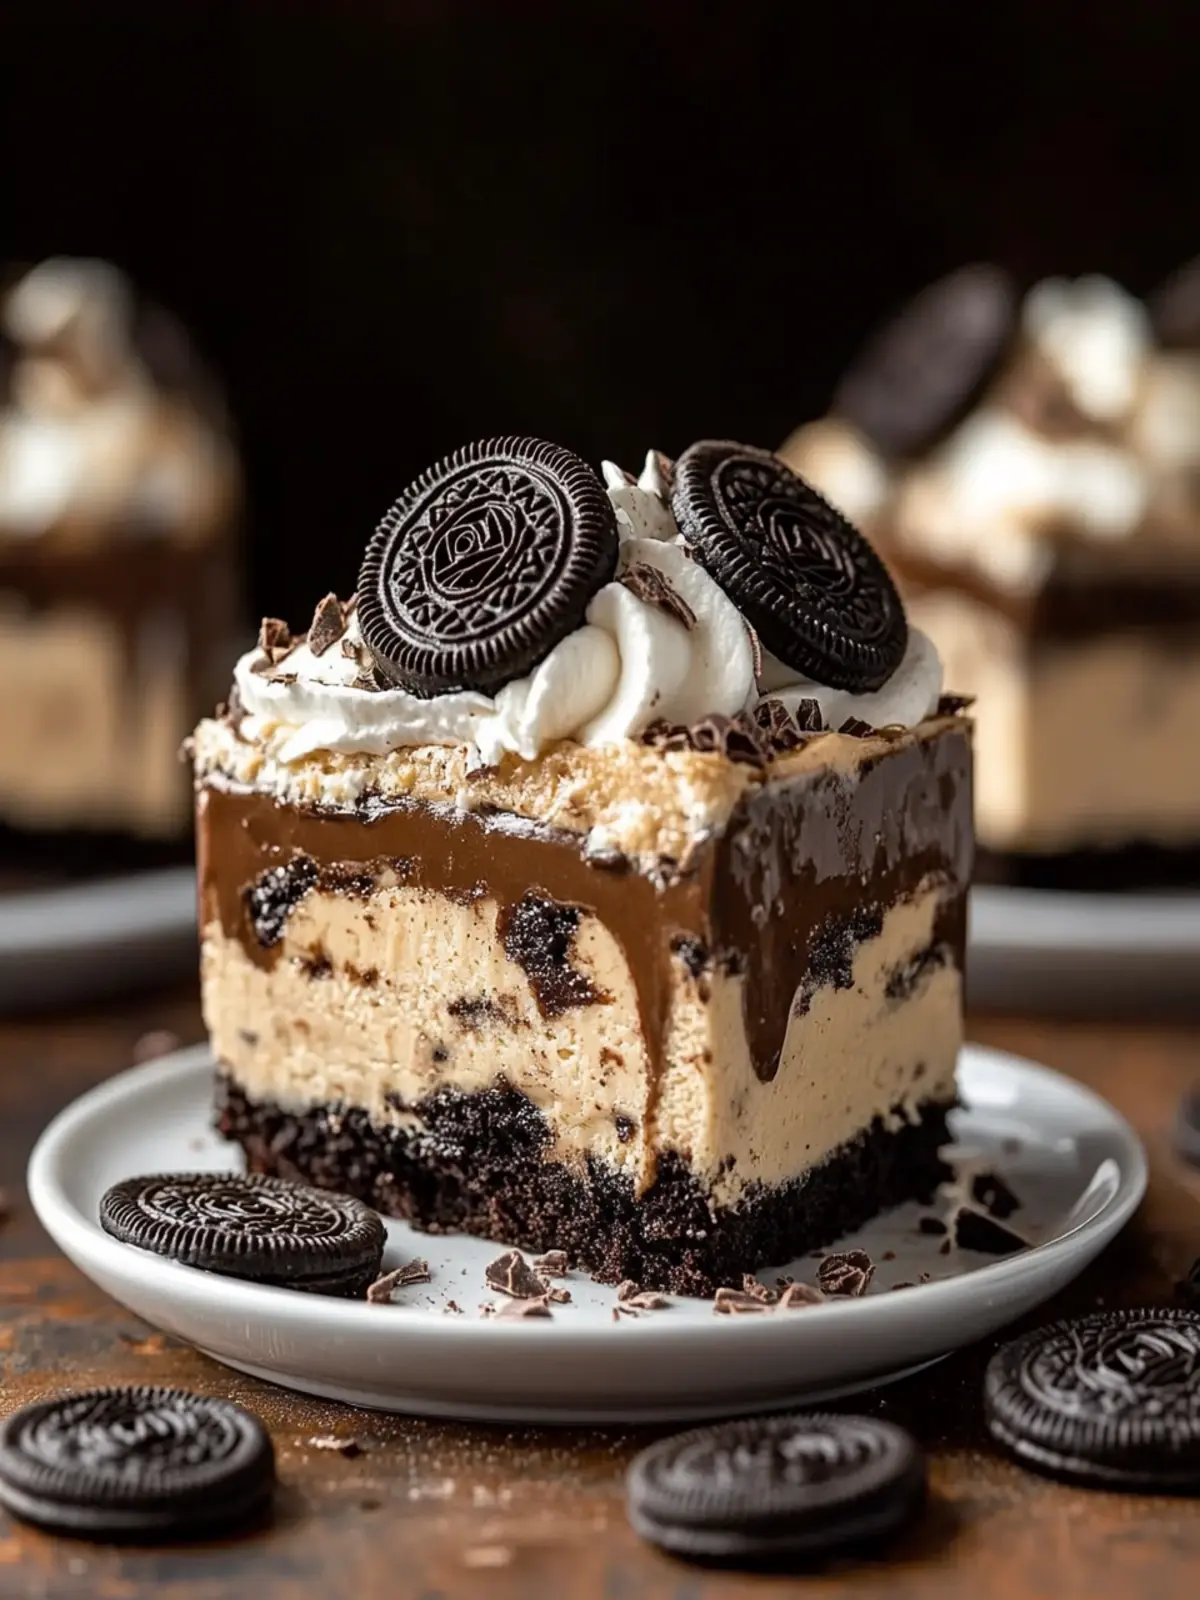
No Bake Chocolate Peanut Butter Oreo Dessert Variations
Feel free to get creative with this delightful dessert and make it your own!
- Gluten-Free: Swap regular Oreos for gluten-free cookies, ensuring everyone can indulge without worry.
- Nut Butter Twist: Try almond or cashew butter instead of peanut butter for a unique flavor experience!
- Vegan: Use dairy-free cream cheese, plant-based milk, and coconut whipped cream for a vegan version of this treat.
- Cookie Dough Layer: Mix in some edible cookie dough for an added surprise between layers—an irresistible decadent twist!
- Minty Fresh: Add a few drops of peppermint extract to the peanut butter filling for a cool flavor shift that’s perfect for the holidays.
- Spicy Kick: Incorporate a pinch of cayenne pepper or chili powder for a surprising heat that complements the chocolate and peanut butter beautifully.
- Caramel Drizzle: Drizzle homemade or store-bought caramel sauce on top before chilling for an extra layer of sweetness.
- Fruit Fusion: Add sliced bananas or strawberries in between layers for a refreshing and fruity twist that brightens every bite.
Adjusting these layers will make this dessert even more memorable. Enjoy customizing your creation!
Expert Tips for No Bake Chocolate Peanut Butter Oreo Dessert
-
Crush Oreos Well: Ensure your Oreos are finely ground for a smoother crust and layer integration; larger chunks can disrupt the texture.
-
Room Temperature Cream Cheese: Let your cream cheese soften before mixing; this prevents lumps and ensures a silky filling.
-
Chill Long Enough: Allow the dessert to chill for at least 4 hours; this helps the layers set properly for easier slicing and enhanced flavor.
-
Layer Evenly: Spread each layer as evenly as possible to keep the balance of flavors and textures throughout the dessert.
-
Customize Toppings: Feel free to use your favorite toppings like chopped nuts or sprinkles, but keep them light so they don’t overpower the No Bake Chocolate Peanut Butter Oreo Dessert.
Make Ahead Options
These No Bake Chocolate Peanut Butter Oreo Desserts are fantastic for meal prep enthusiasts! You can prepare the layers up to 24 hours in advance to save time on busy days. Start by completing steps 1-7, but hold off on adding the whipped topping and any garnishes. Once assembled, cover the dessert tightly with plastic wrap and refrigerate it. When you’re ready to serve, simply spread the whipped topping on top and add your favorite garnishes. This method ensures your dessert remains just as delicious, creamy, and satisfying while preventing the Oreos from getting soggy. You’ll have a show-stopping treat ready with minimal effort!
What to Serve with No Bake Chocolate Peanut Butter Oreo Dessert?
Set the stage for an unforgettable meal by pairing delightful sides and drinks with this indulgent dessert.
-
Fresh Berries: The tartness of strawberries or raspberries cuts through the sweetness, balancing each rich bite beautifully. A bowl of mixed berries can add a splash of color and freshness to your dessert table.
-
Vanilla Ice Cream: A scoop of creamy vanilla ice cream enhances the chocolate and peanut butter flavors, creating a classic combination that’s hard to resist. This duo can bring an extra dose of sweetness while cooling off your palate.
-
Chocolate Drizzle: An additional drizzle of warm chocolate sauce over each serving elevates the dessert to a decadent level, amplifying its chocolatey goodness. Plus, it makes for a visually stunning presentation.
-
Coffee or Espresso: Pair this rich dessert with a cup of strong coffee or a shot of espresso to contrast the sweetness perfectly. The bitterness of coffee complements the sweet layers and enhances the entire experience.
-
Mini Cheesecakes: Serve mini cheesecakes alongside to offer a different texture and flavor, enhancing the dessert spread while keeping it indulgent. These little bites bring a creamy and tangy note that contrasts beautifully with the richness of the No Bake Chocolate Peanut Butter Oreo Dessert.
-
Sparkling Water: Crisp sparkling water or soda provides a refreshing palate cleanser after the dessert. The bubbles can lighten the indulgence, making it perfect for those who appreciate a fizzy lift.
-
Homemade Whipped Cream: Add a dollop of freshly whipped cream on top for a classic touch. It lightens the dessert and enhances the creamy textures.
-
Nutty Brownies: Serve alongside fudgy nut brownies to satisfy the chocoholics in your life. The added texture of nuts can provide crunch, making dessert time more exciting!
Embrace the joy of serving this delightful dessert with your preferred pairings to create a memorable dining experience!
How to Store and Freeze No Bake Chocolate Peanut Butter Oreo Dessert
Fridge: Store leftovers in an airtight container in the refrigerator for up to 3 days to maintain freshness and flavor.
Freezer: For longer storage, wrap individual slices tightly in plastic wrap and place them in a freezer-safe container for up to 2 months.
Thawing: To enjoy frozen slices, transfer them to the fridge for several hours or overnight before serving; quick thawing in the microwave is not recommended.
Reheating: The No Bake Chocolate Peanut Butter Oreo Dessert should be served chilled—no need to heat! Enjoy it as a refreshing treat straight from the fridge.
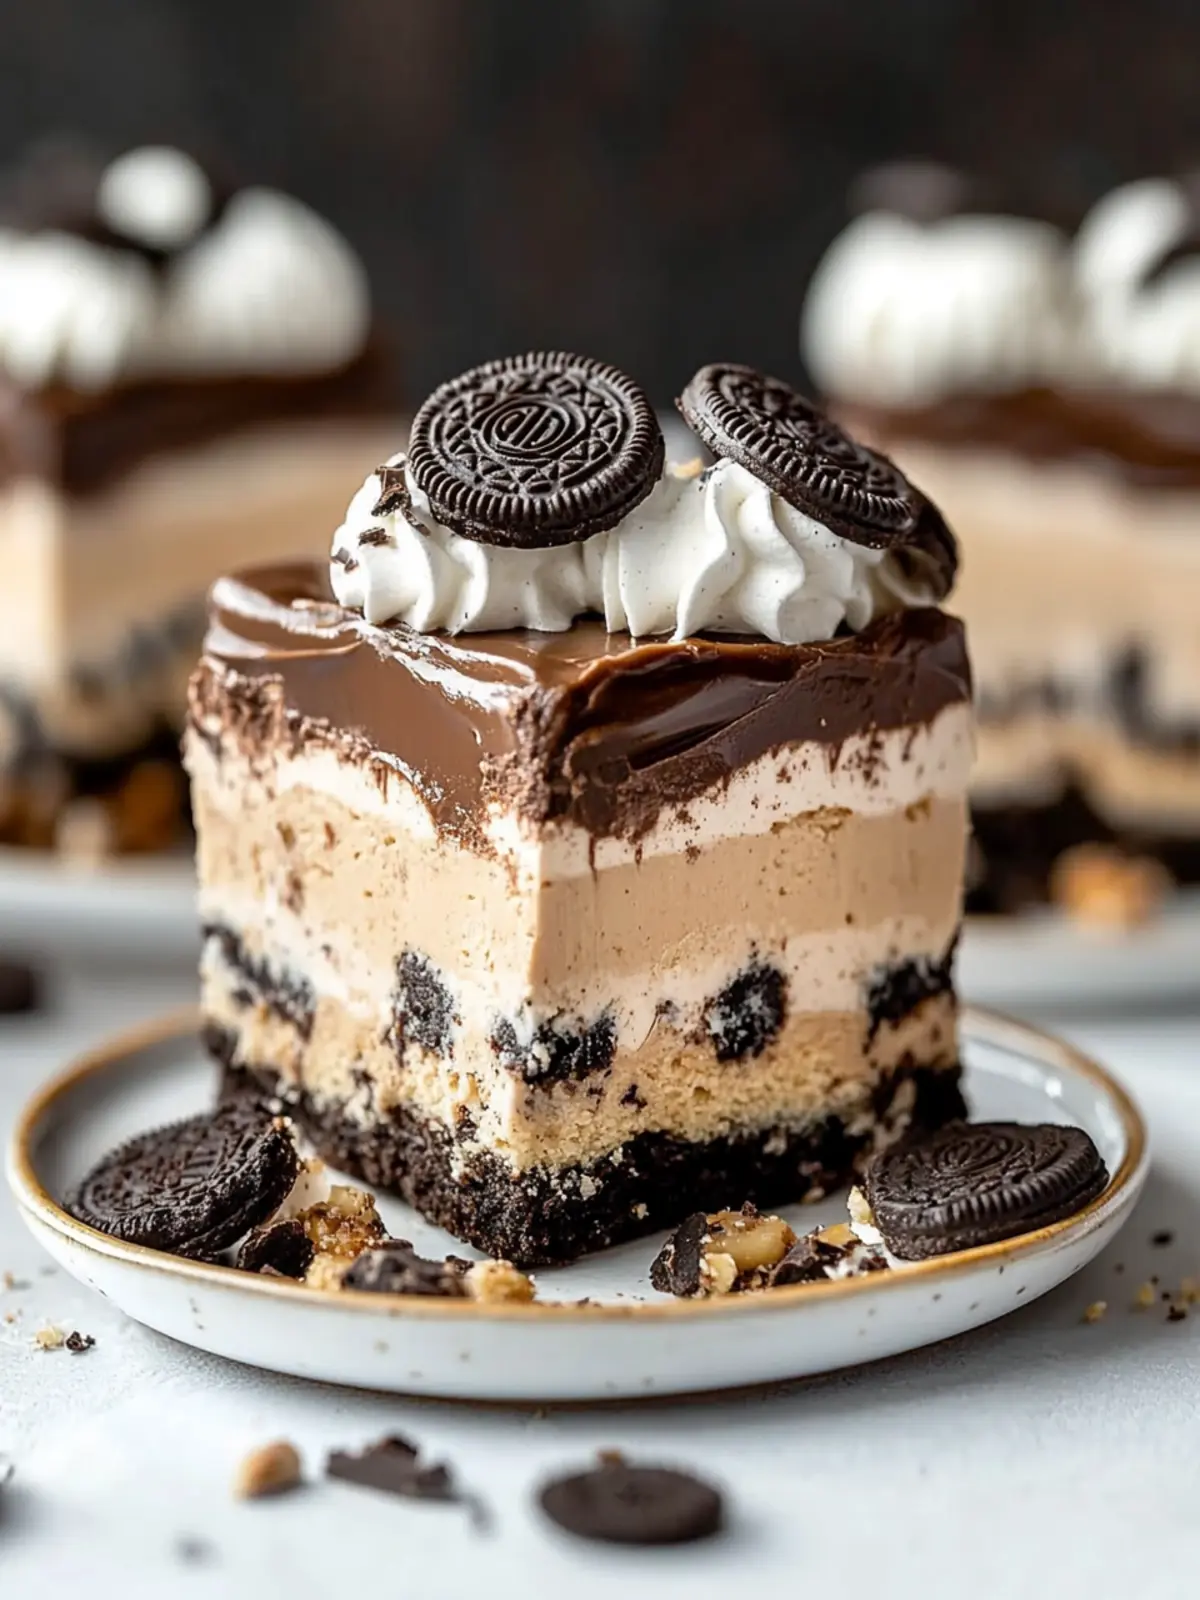
No Bake Chocolate Peanut Butter Oreo Dessert Recipe FAQs
How do I select the right Oreos for this recipe?
Absolutely! Choose fresh Oreos that aren’t stale or expired for the best flavor and texture. Check the package for any dark spots or signs of moisture, which can affect crunchiness.
How long can I store my No Bake Chocolate Peanut Butter Oreo Dessert in the fridge?
You can store your dessert in an airtight container in the refrigerator for up to 3 days. This will keep it fresh and delicious, but make sure to enjoy it sooner for the best flavor and creaminess!
Can I freeze leftovers of the No Bake Chocolate Peanut Butter Oreo Dessert?
Very! To freeze leftovers, wrap individual slices tightly in plastic wrap and place them in a freezer-safe container. They should keep well in the freezer for up to 2 months. When you’re ready to enjoy, just transfer them to the fridge to thaw overnight.
What if my cream cheese filling is lumpy?
If you find your filling has lumps, don’t worry! Make sure your cream cheese is at room temperature before mixing, as this helps prevent lumps. If it happens anyway, you can beat the mixture longer or use a hand mixer to smooth out the filling further.
Are there any common allergens in this recipe?
Indeed! This No Bake Chocolate Peanut Butter Oreo Dessert contains common allergens such as dairy (cream cheese and whipped topping), peanuts (from peanut butter), and gluten (from Oreos). If you’re serving guests with allergies, feel free to substitute with no-gluten cookies and allergy-friendly spreads!
Can I add different toppings to customize my dessert?
The more the merrier! Feel free to get creative with your toppings. You can use chocolate chips, shaved chocolate, or even fruits like strawberries for a refreshing twist. Just keep in mind that heavier toppings might overwhelm the dessert’s flavors.
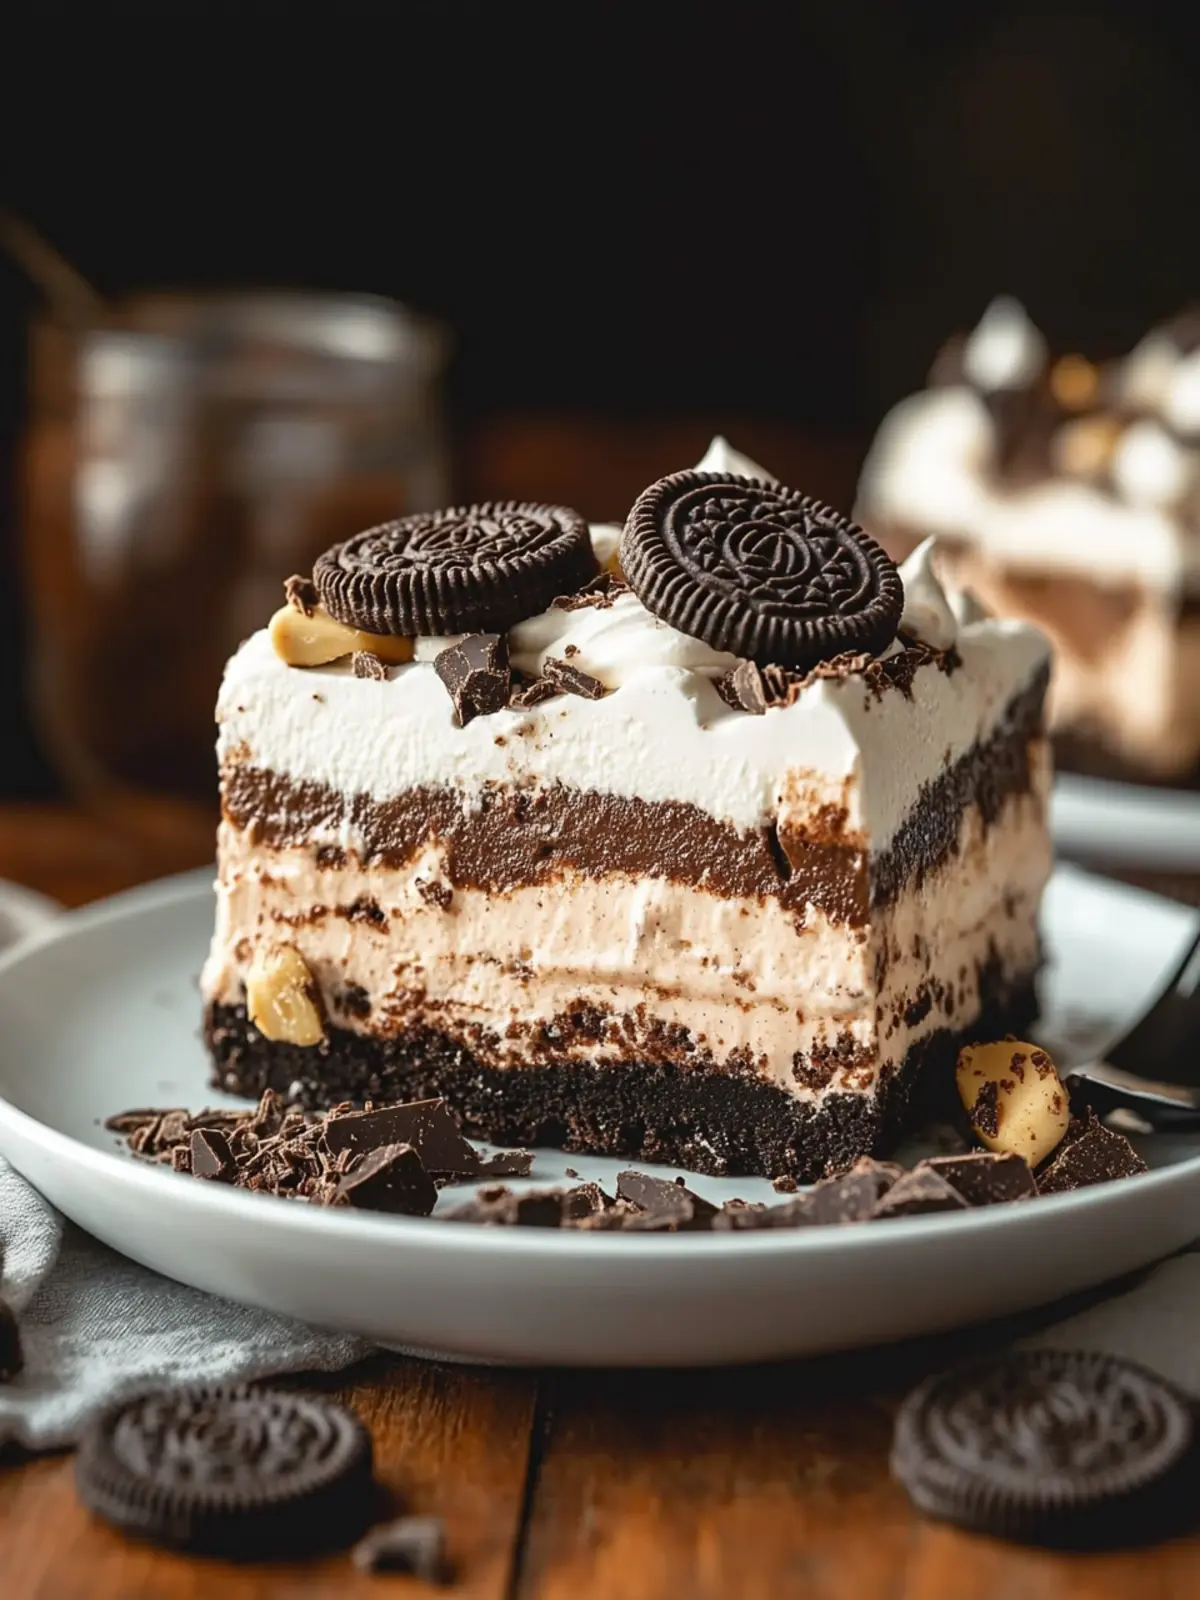
Indulge in No Bake Chocolate Peanut Butter Oreo Dessert Bliss
Ingredients
Equipment
Method
- In a food processor, add Oreos and pulse until they turn into smooth crumbs. Set aside.
- In a small bowl, combine 6 oz of chocolate chips and ¼ cup milk. Microwave until melted and smooth, then cool slightly.
- Spread ⅓ of the crushed Oreos on the bottom of a 9x13 pan and press down firmly.
- In a medium bowl, beat 8 oz cream cheese until smooth. Add in the vanilla pudding mix, peanut butter, and 1 ¾ cups of milk. Mix well.
- Spread the peanut butter mixture over the Oreo layer.
- Spread another ⅓ of the crushed Oreos over the peanut butter layer.
- In another bowl, beat the remaining 8 oz cream cheese, then add the chocolate pudding mix, cooled chocolate sauce, and 1 ½ cups milk. Mix until smooth.
- Spread the chocolate layer over the Oreo crumbs.
- Evenly distribute the final ⅓ of the crushed Oreos over the chocolate layer.
- Spread the whipped topping over the top layer of Oreos.
- If desired, sprinkle optional garnishes on top.
- Place in the refrigerator to chill for 4-6 hours, then serve cut into squares.