
The moment I unveiled this Oreo Poke Cake for dessert, my guests were enchanted, eyes lighting up at the sight of that luscious whipped topping and the familiar crunch of crushed Oreos. This delightful dessert has a way of sparking joy, effortlessly blurring the lines between a classic chocolate cake and a creamy pudding experience.
After a long week, I found myself searching for a way to indulge with minimal effort, and this recipe became my go-to sanctuary. With just a handful of ingredients, it promises a crowd-pleasing treat that takes only 30 minutes in the oven!
If you’re tired of the same old desserts or need something that satisfies both your chocolate cravings and your love for nostalgic flavors, look no further. Homemade Oreo Poke Cake not only dazzles but also brings people together, making it an ideal centerpiece for gatherings or a simple indulgence any day of the week. So, let’s dive into this deliciously easy recipe that will surely become a cherished favorite in your home!
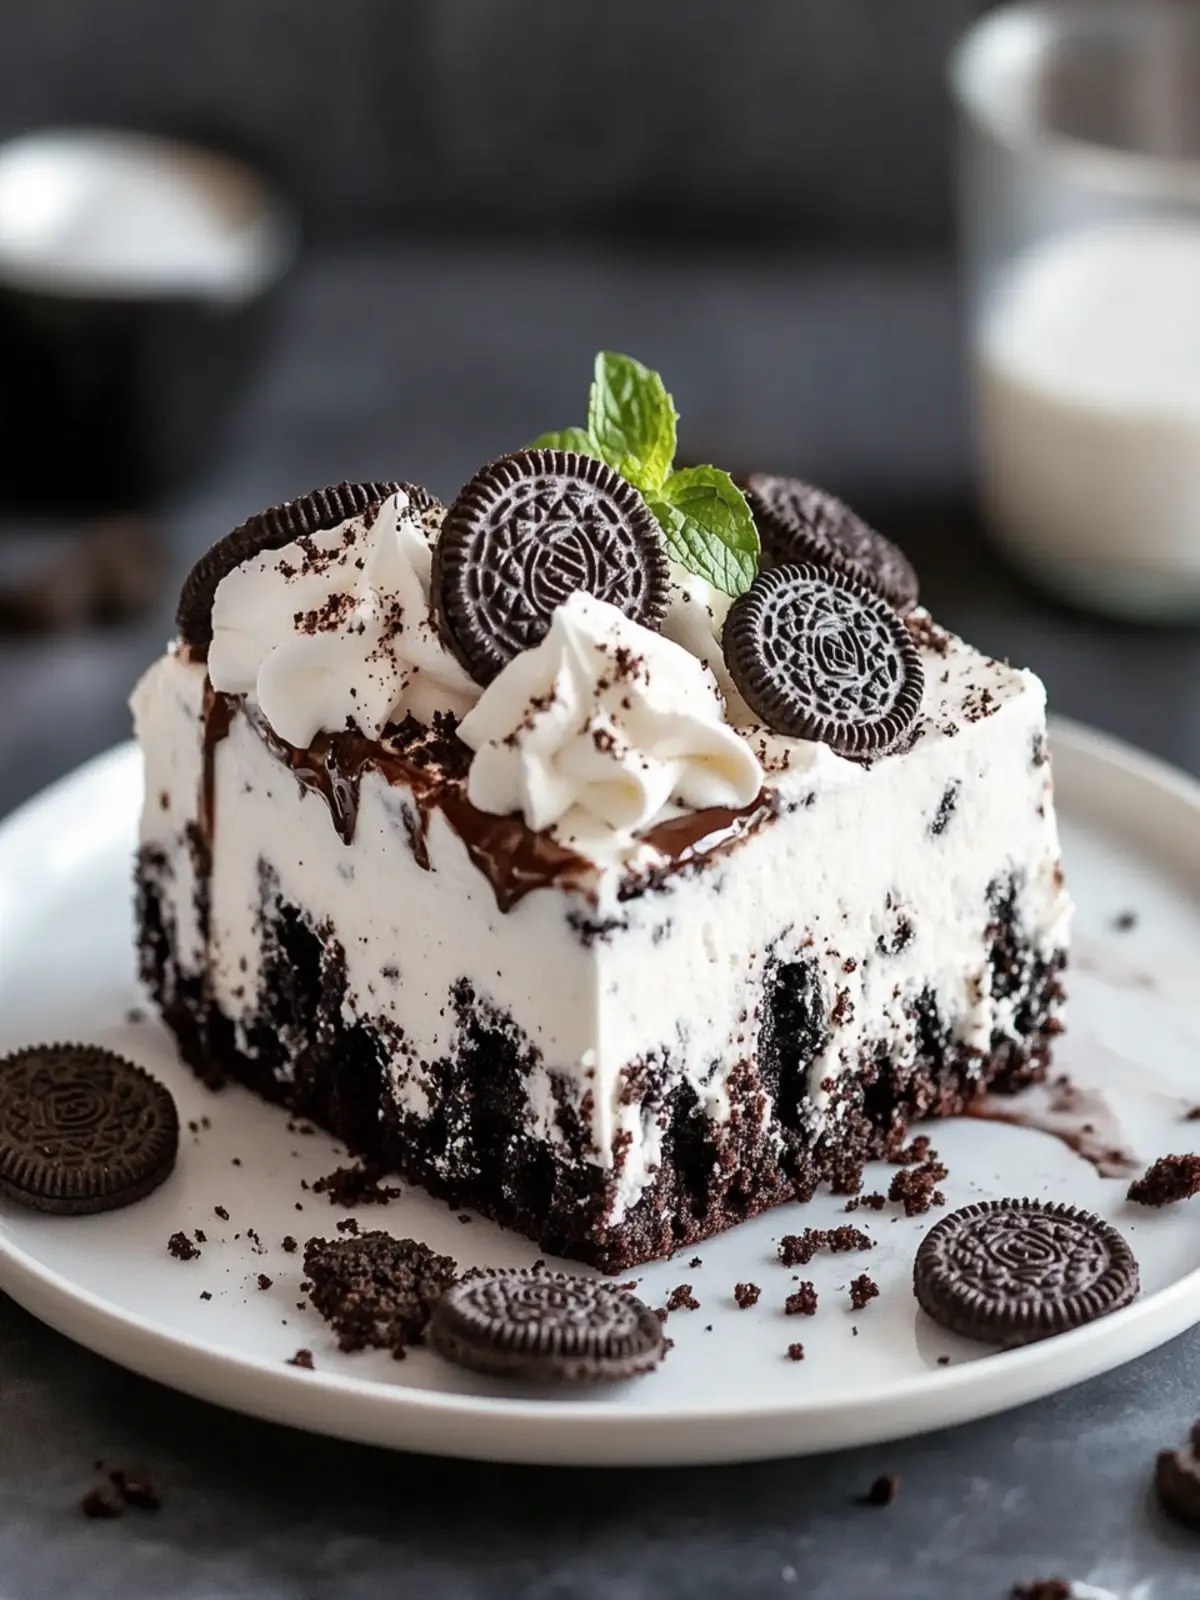
Why will you crave Oreo Poke Cake?
Indulgent flavors: This dessert features a rich chocolate base layered with creamy pudding, making each bite an explosion of taste.
Effortless preparation: With only a few simple ingredients, you can whip up this treat in no time, perfect for busy weekends!
Crowd-pleaser: The combination of Oreos and whipped topping is a universally loved blend that leaves everyone wanting more.
Versatile serving options: Whether you enjoy it as a dessert for a gathering or a midweek treat, it fits any occasion beautifully.
Ready to explore more delightful treats? Check out our chocolate dessert recipes for more scrumptious ideas!
Oreo Poke Cake Ingredients
For the Cake
- Chocolate cake mix – a rich foundation that gets the party started for flavors.
- Water – adds moisture to ensure your cake is tender and delicious.
- Vegetable oil – helps keep the cake moist and adds a subtle richness.
- Eggs – bind all the ingredients together, providing structure to your cake.
For the Pudding Layer
- Instant Oreo pudding mix – brings that signature Oreo flavor, making the cake truly irresistible.
- Cold milk – guarantees a smooth, creamy consistency for the pudding layer.
For the Topping
- Whipped topping – light and fluffy, it provides a perfect contrast to the dense cake below.
- Crushed Oreos – sprinkle on top for that delightful crunch and visual appeal.
Optional Garnish
- Chocolate syrup – drizzle over the top if you’re in the mood for a little extra indulgence!
Get ready to create an unforgettable Oreo Poke Cake that will impress family and friends alike!
How to Make Oreo Poke Cake
-
Preheat the oven to 350°F. Prepare a 9×13 inch baking pan with a light coating of cooking spray. This will ensure your cake slides out effortlessly after baking.
-
Mix the cake ingredients in a large bowl: combine the chocolate cake mix, water, vegetable oil, and eggs. Stir until everything is well combined and you have a smooth batter.
-
Pour the batter into the prepared baking pan, spreading it evenly. Bake for 25 minutes, or until a toothpick inserted in the center comes out clean. Expect a delightful chocolate aroma to fill your kitchen!
-
Cool the cake completely. Once cool, gently poke holes all over the cake using the handle of a wooden spoon. This will allow the pudding to soak in deeply, enhancing the flavor.
-
Whisk together the Oreo pudding mix and cold milk in a medium bowl until the mixture is smooth and creamy. This will create a luscious pudding layer that complements the cake perfectly.
-
Spread the pudding evenly over the poked cake. Make sure you fill the holes well so every bite is rich with flavor.
-
Refrigerate the completed cake for at least one hour to allow the pudding to set and meld with the cake. This step is crucial for the best taste!
-
Top the cake with whipped topping, ensuring it’s spread smoothly for a lovely finish.
-
Sprinkle crushed Oreos generously over the whipped topping for that signature crunch and beautiful presentation. Serve and watch your loved ones delight!
Optional: Drizzle chocolate syrup on top for an extra touch of decadence!
Exact quantities are listed in the recipe card below.
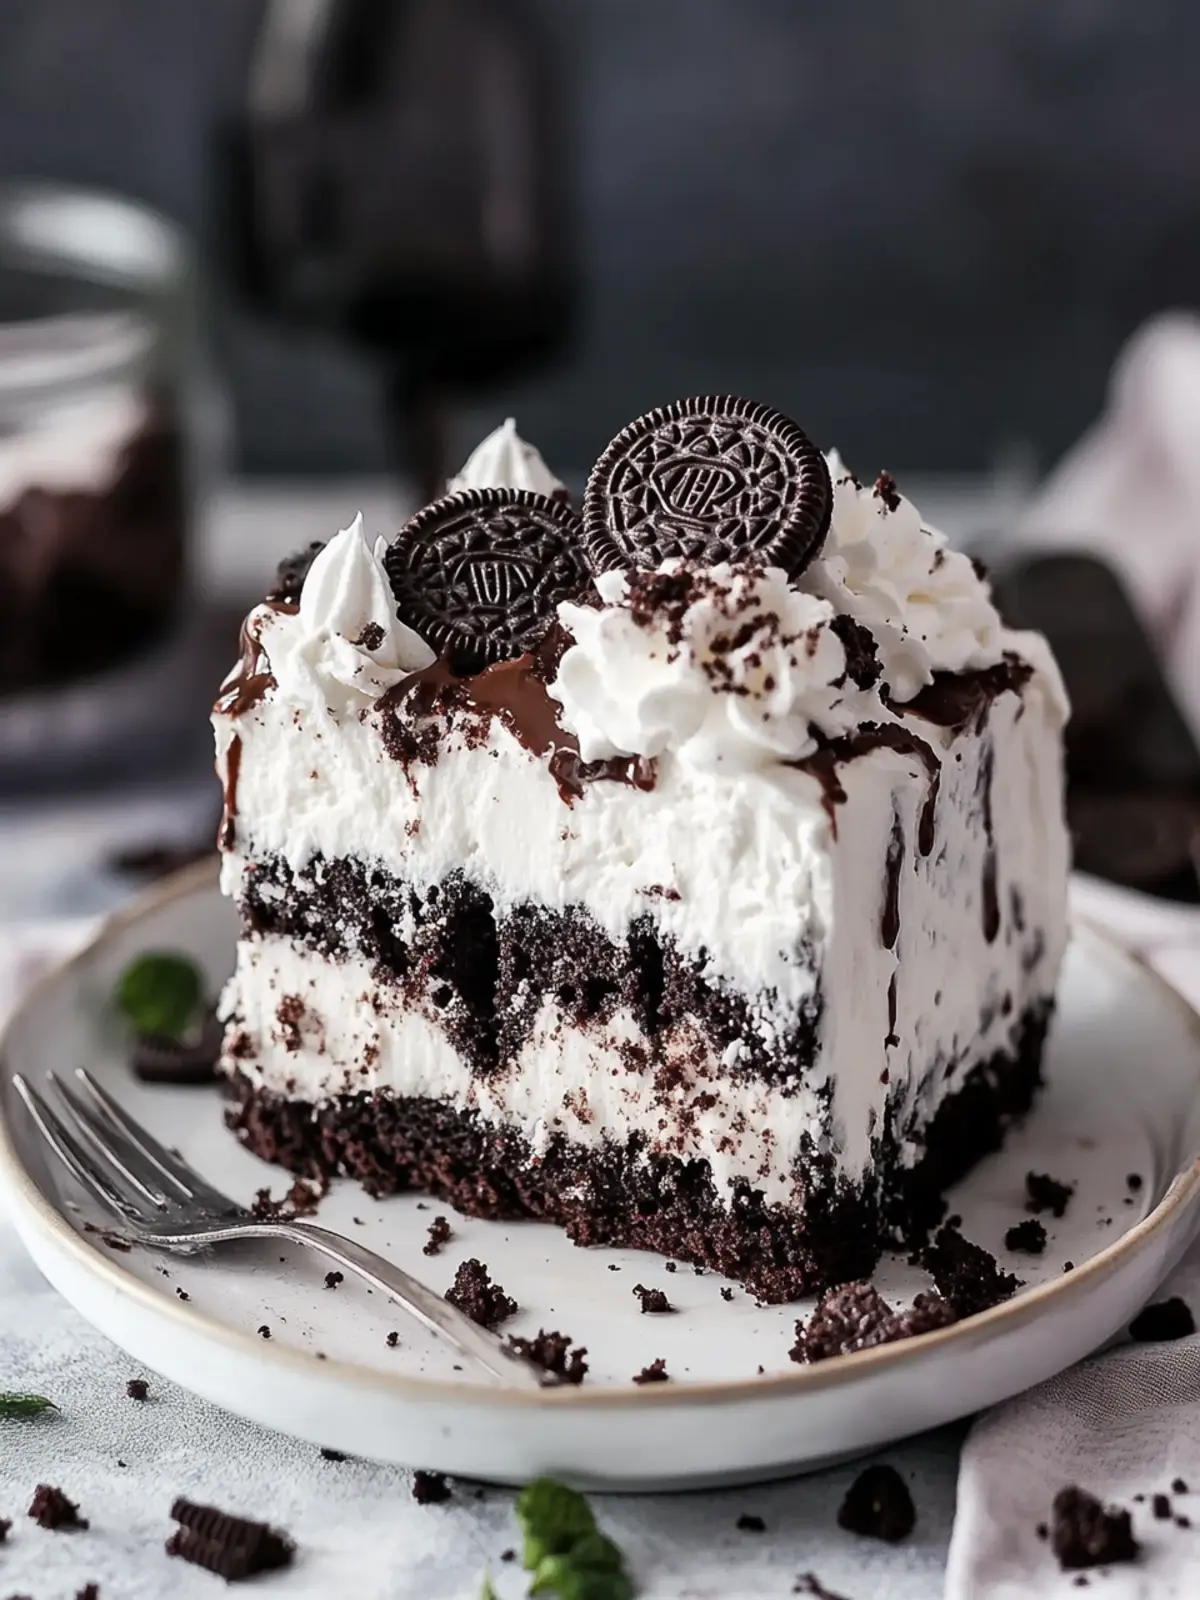
Oreo Poke Cake Variations
Feel free to get creative and customize this delicious dessert to suit your tastes and dietary needs!
-
Gluten-Free: Swap the chocolate cake mix for a gluten-free variety and enjoy without worry. The flavor remains delightful, and everyone can indulge!
-
Vegan: Replace the eggs with flaxseed meal (1 tablespoon ground flaxseed + 3 tablespoons water) and use a plant-based milk for the pudding layer. You won’t miss the dairy!
-
Mini Versions: Make individual-sized poke cakes in muffin tins for a fun and portable treat. Perfect for parties or packed lunches!
-
Flavor Boost: Add a splash of vanilla extract to the cake batter for an aromatic twist that enhances the chocolatey goodness.
-
Nutty Crunch: Fold in some crushed nuts like pecans or walnuts into the pudding layer for added texture and a nutty flavor. It adds a delightful crunch!
-
Caramel Version: Drizzle caramel sauce over the pudding layer before adding the whipped topping for a rich, sweet contrast that takes this dessert up a notch.
-
Mint Chocolate: Stir in some crushed mint candies or peppermint extract into the pudding layer for a refreshing kick that’s oh-so-delicious!
-
Berry Surprise: Layer some fresh raspberries or strawberries between the cake and pudding for a fruity delight that complements the rich chocolate flavor beautifully.
Storage Tips for Oreo Poke Cake
Fridge: Store any leftover Oreo Poke Cake in an airtight container in the refrigerator for up to 3 days to maintain its freshness and flavor.
Freezer: You can freeze slices of Oreo Poke Cake! Wrap each slice tightly in plastic wrap and then place them in a freezer-safe bag. It will last for up to 2 months.
Reheating: To enjoy frozen cake, simply thaw it in the fridge overnight. For a warm treat, microwave individual slices for about 10-15 seconds.
Optional Topping: If you’ve already added whipped topping, it’s best to consume the cake within 2-3 days for optimal taste, as the texture may change over time.
What to Serve with Oreo Poke Cake?
Looking to create a delightful meal experience to complement this creamy, chocolaty treat?
-
Vanilla Bean Ice Cream: The classic pairing offers a creamy contrast to the rich cake, making each bite even more indulgent.
-
Fresh Berries: Juicy strawberries and blueberries add a pop of freshness that lightens the chocolatey richness of the poke cake.
-
Chocolate Milkshake: Pair this decadent dessert with a thick milkshake for a double-chocolate delight that will thrill any sweet tooth.
-
Fudge Brownies: For the ultimate chocolate-lover’s feast, serve alongside warm fudge brownies to intensify the dessert experience.
-
Mint Chocolate Chip Cake: This minty twist brings a refreshing burst of flavor, balancing the sweetness of the Oreo Poke Cake.
-
Coffee or Espresso: A strong cup of coffee enhances the chocolate flavors, offering the perfect finish to this dessert extravaganza.
-
Crème Brûlée: The silky texture and caramelized sugar top provide a sophisticated contrast that elevates any gathering.
-
Chocolate Chip Cookies: A nostalgic favorite that pairs well with the creamy texture of the poke cake, it’s a delightful combo for all ages.
Expert Tips for Oreo Poke Cake
Use Room Temperature Ingredients: Ensure your eggs and milk are at room temperature for a smoother batter that rises evenly.
Don’t Overmix: Stir your cake batter just until combined to keep the cake light and fluffy. Overmixing can lead to a dense texture.
Poking Holes: Use the handle of a wooden spoon to poke holes gently—too deep, and the pudding may leak through.
Chill Time is Key: Allow the cake to chill for a full hour in the refrigerator. This step helps the flavors meld perfectly, making every bite irresistible.
Presentation Matters: For an eye-catching finish, spread the whipped topping smoothly and be generous with the crushed Oreos on top of your Oreo Poke Cake!
Make Ahead Options
These Oreo Poke Cake are perfect for busy home cooks looking to save time! You can prepare the cake up to 24 hours in advance by baking and cooling it, then poking holes as directed. Cover the cooled cake tightly with plastic wrap and refrigerate until you’re ready to add the pudding layer. You can whisk together the Oreo pudding mix and milk and store it separately in the fridge for up to 3 days; this ensures it stays fresh and creamy. When you’re ready to serve, simply spread the pudding over the cake, refrigerate for an hour, and top it off with whipped cream and crushed Oreos. This way, you’ll have a delightful dessert ready with minimal last-minute effort!
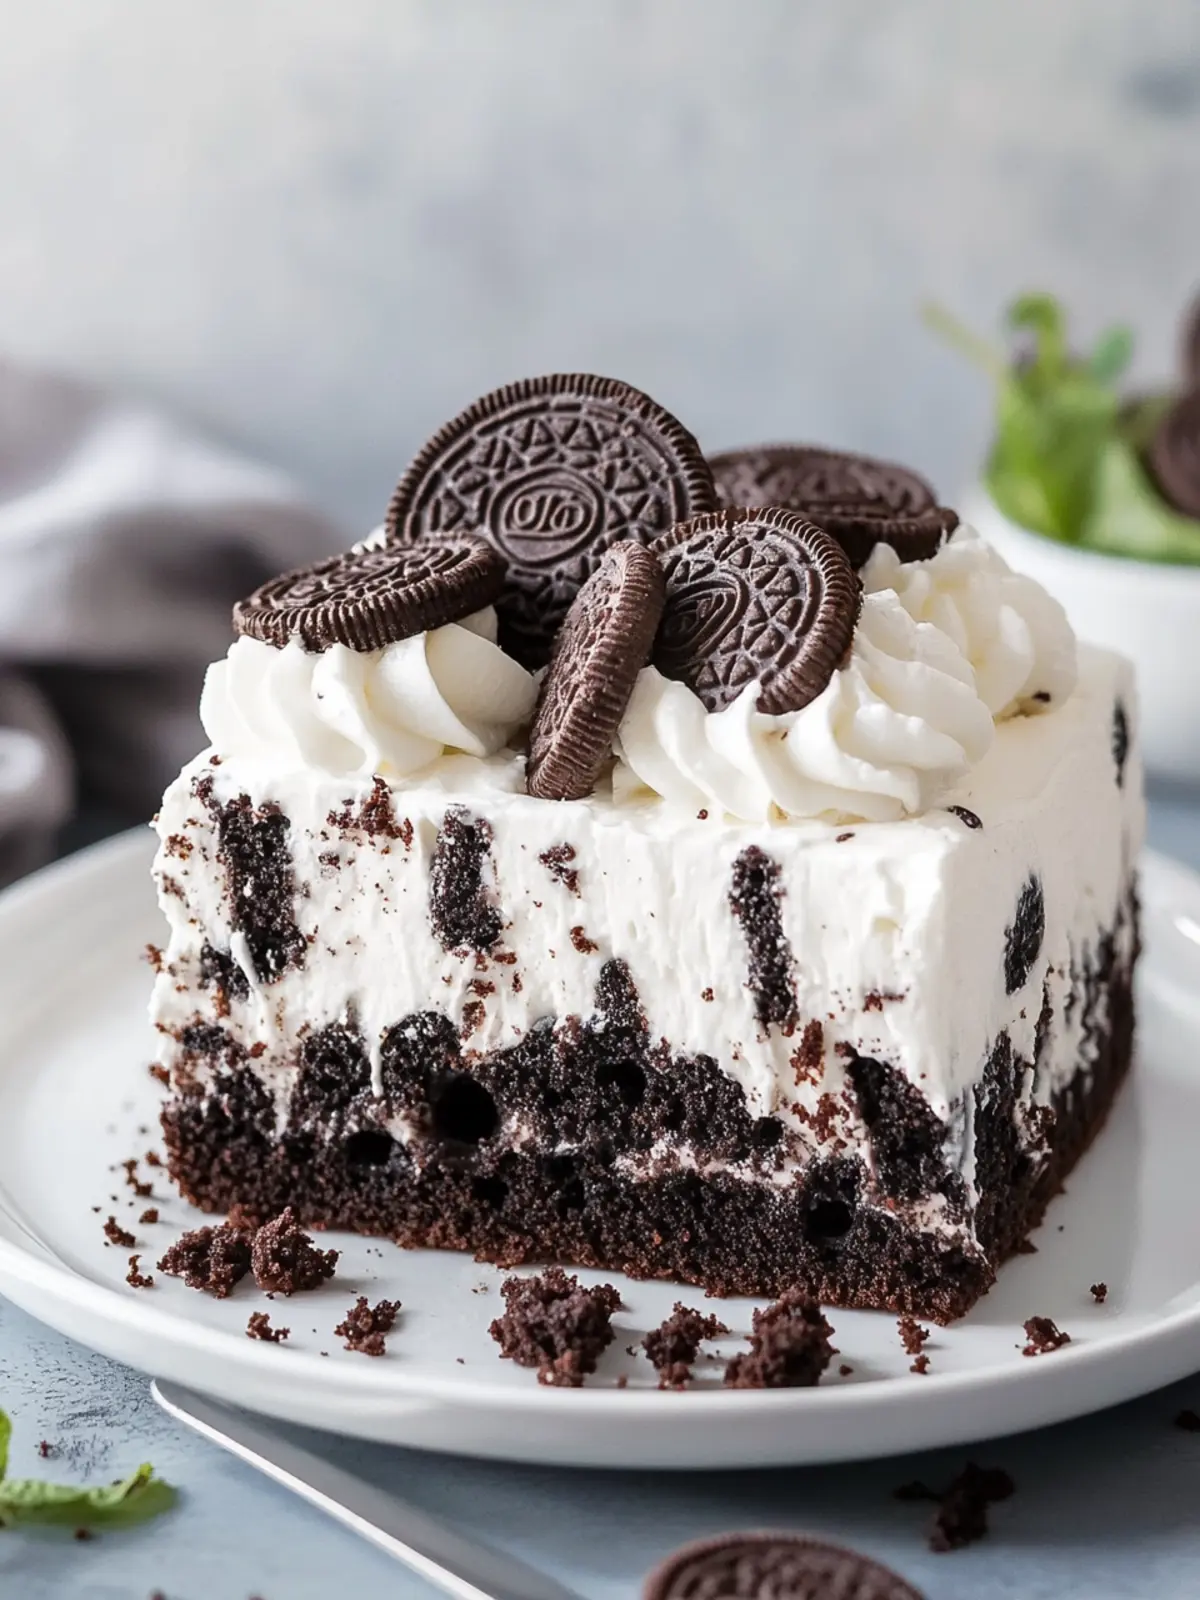
Oreo Poke Cake Recipe FAQs
What type of chocolate cake mix should I use?
I recommend using a classic chocolate cake mix for the richest flavor. You can choose any brand you prefer, but make sure it’s a standard box size (15.25-19.25 oz) so the proportions match well with the other ingredients.
How should I store leftovers of Oreo Poke Cake?
Absolutely! Store any leftover Oreo Poke Cake in an airtight container in the refrigerator for up to 3 days. This keeps it fresh and allows the delicious flavors to meld beautifully. Just make sure it’s covered to prevent it from drying out.
Can I freeze Oreo Poke Cake?
Yes, you can! To freeze your Oreo Poke Cake, wrap individual slices tightly in plastic wrap. Place them in a freezer-safe bag, and they’ll be good for up to 2 months. When you’re ready to enjoy, simply thaw in the fridge overnight. For a warm slice, microwave it for about 10-15 seconds.
What if my cake doesn’t rise properly?
If your cake doesn’t rise, it could be due to expired baking powder in the cake mix or overmixing the batter. Ensure your ingredients are fresh and avoid stirring too vigorously once combined. Additionally, make sure to preheat your oven fully before baking!
Can I make Oreo Poke Cake gluten-free?
Certainly! You can use a gluten-free chocolate cake mix as an alternative. Just make sure your pudding mix and any other additional toppings (like whipped cream) are also labeled gluten-free. It’s a great way to adapt this recipe for those with dietary restrictions!
Is this recipe safe for pets?
While Oreos are undeniably delicious for us humans, they are not safe for pets, particularly dogs. The chocolate can be toxic to them. Always keep desserts out of reach of your furry friends to ensure they stay safe and sound!
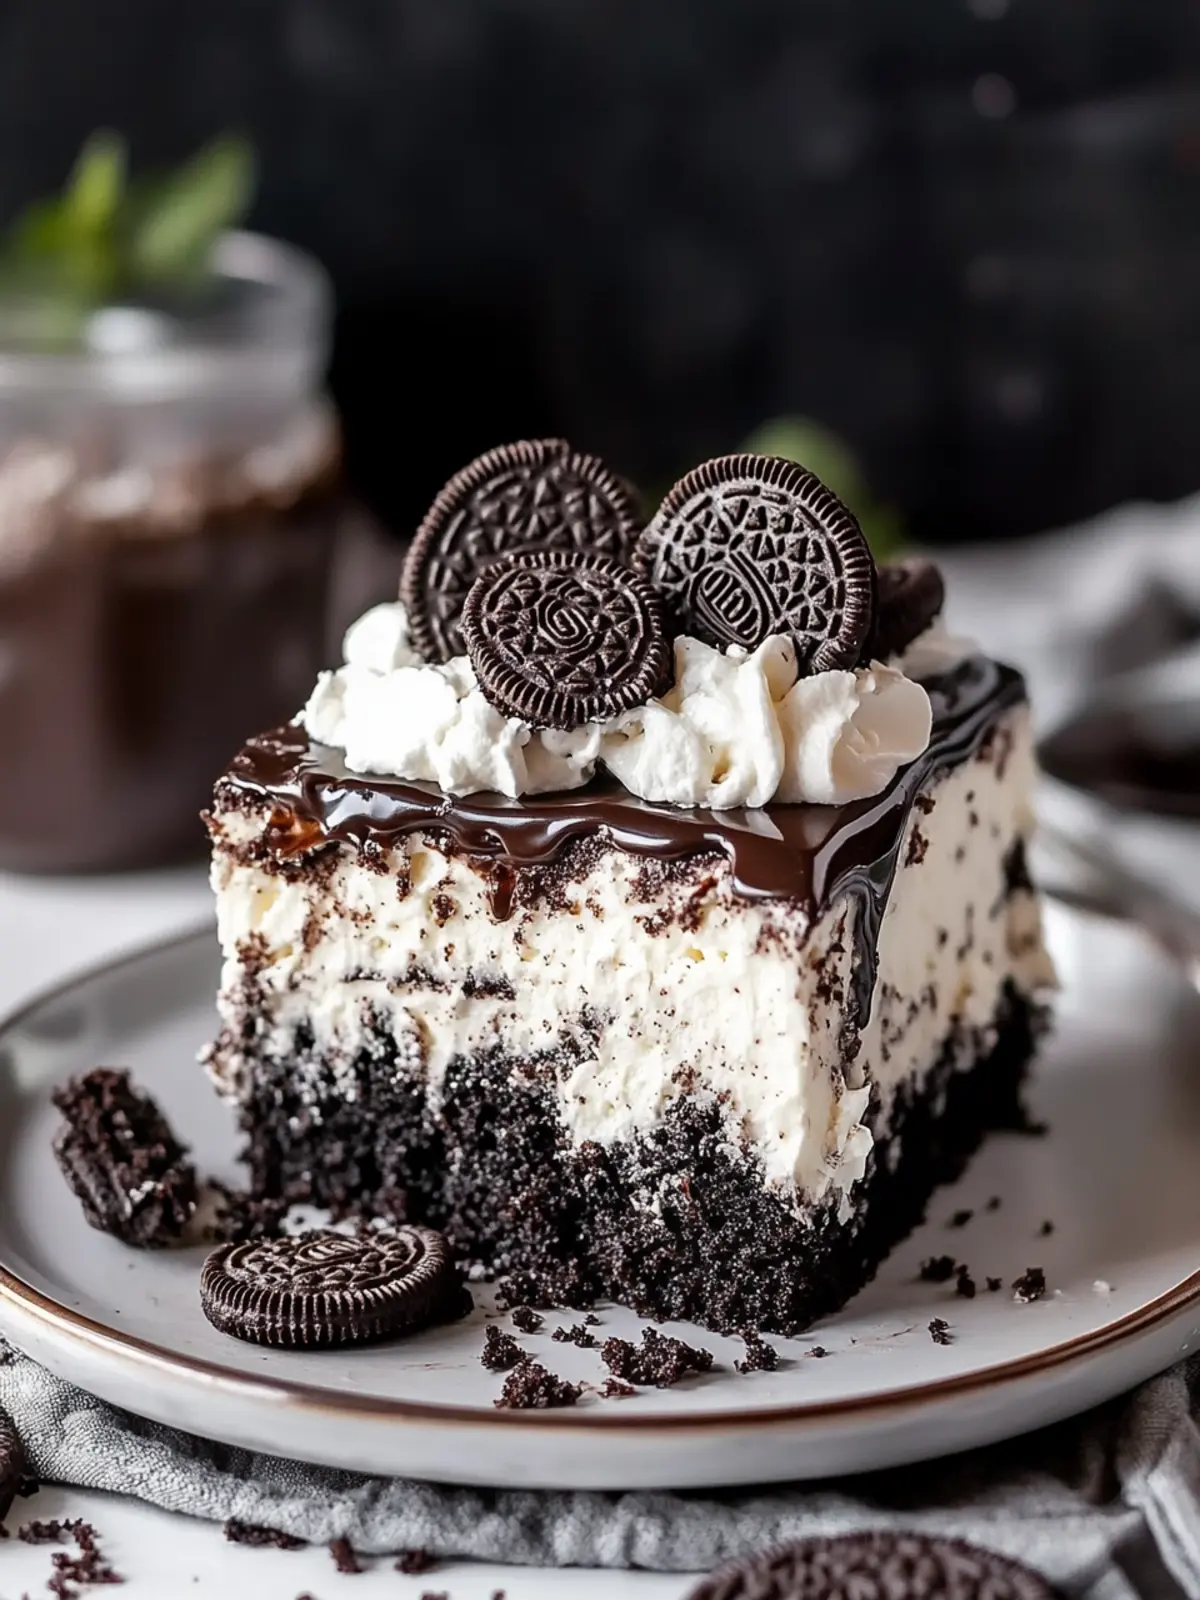
Decadent Oreo Poke Cake You’ll Crave Every Weekend
Ingredients
Equipment
Method
- Preheat the oven to 350°F. Prepare a 9×13 inch baking pan with a light coating of cooking spray.
- Mix the cake ingredients in a large bowl, stirring until smooth.
- Pour the batter into the prepared baking pan and bake for 25 minutes.
- Cool the cake completely and poke holes all over the cake.
- Whisk together the Oreo pudding mix and cold milk until smooth.
- Spread the pudding evenly over the poked cake.
- Refrigerate for at least one hour.
- Top the cake with whipped topping and sprinkle crushed Oreos on top.
- Serve and enjoy!